I didn't have any significant projects on the go so replacing the handle of the old bottle opener seemed like a fine use of a few hours. The metal portion of the opener consisted of two pieces in a configuration that is no longer used and which simpler-to-manufacture designs have long since replaced. Some images of similar openers suggest this is a "vintage" design - which sounds better than "obsolete" I suppose. But that said, it's perfectly functional.
So it was just a matter of making a new handle and transferring over the metalwork which consisted of the two pieces forming the business end along with a metal ferrule. I decided to stick with a round handle and after looking at a few options went with an angular profile, with an increased length for a more comfortable hold (for the two seconds it takes to remove a bottle cap - I'm all about the details).
So it was just a matter of making a new handle and transferring over the metalwork which consisted of the two pieces forming the business end along with a metal ferrule. I decided to stick with a round handle and after looking at a few options went with an angular profile, with an increased length for a more comfortable hold (for the two seconds it takes to remove a bottle cap - I'm all about the details).

The plan didn't take very long to draw
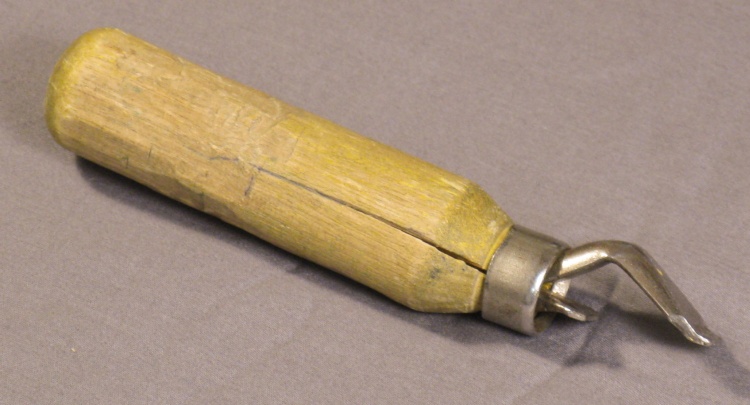
The original opener, in all its glory
The original opener was a rather sad looking thing.
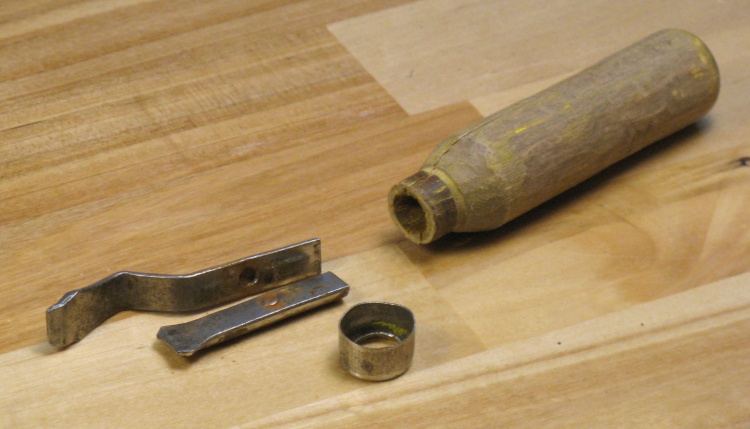
Disassembled into its component parts
The metalwork just pulled straight out (with a fair amount of effort) and the ferrule essentially fell off.
The business end turned out to consist of two separate pieces with a short pin to keep them aligned.
The business end turned out to consist of two separate pieces with a short pin to keep them aligned.
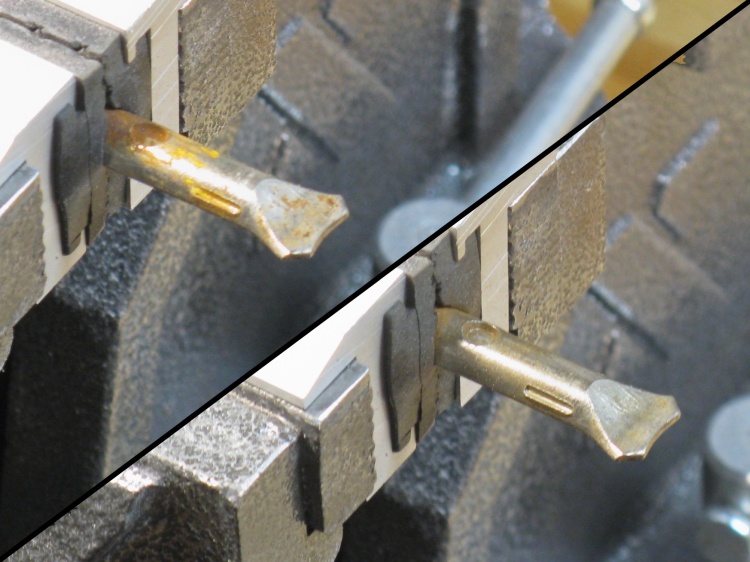
Some wire-brushing cleaned up the metal bits nicely
The metalwork was pretty rusty but it was all just on the surface. A few minutes with a brass wire brush cleaned them up nicely as this before-and-after shot of the short piece shows.
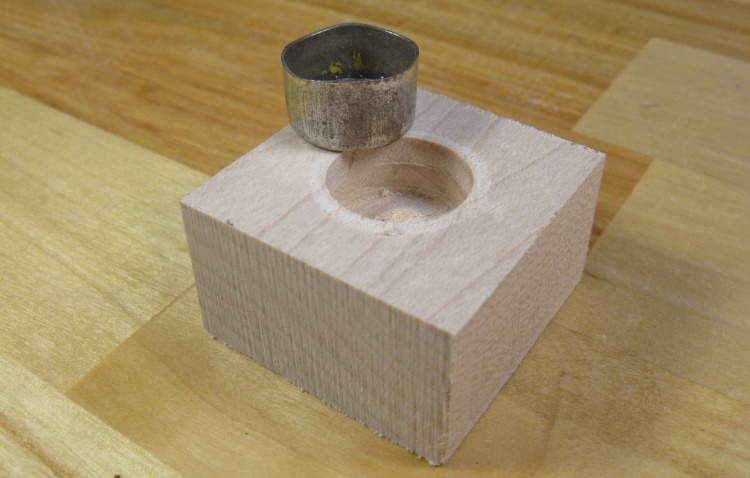
A jig to flatten the ferrule edges
The edge of the ferrule for some reason was pretty wavy so I thought I'd straighten it out.
I turned a little jig with an appropriately-sized hole so I could drop the ferrule in to hold it while I sanded the edge flat on the belt sander.
I turned a little jig with an appropriately-sized hole so I could drop the ferrule in to hold it while I sanded the edge flat on the belt sander.

A little scrap of Roasted Curly Maple
With the metalwork taken care of it was time to look at the new handle. One of my favorite woods is Roasted Curly Maple but I didn't have much left and the regular source (Windsor Plywood) no longer carried it.
I found this scrap which was about 1/2" shorter than needed, but I decided to use it anyway. I thought I'd add on a contrasting wood to bring it up to length and chose the almost-black Wenge* for that.
*I pronounce it wen'-gee (hard g) although there seems to be plenty of other opinions on that.
I found this scrap which was about 1/2" shorter than needed, but I decided to use it anyway. I thought I'd add on a contrasting wood to bring it up to length and chose the almost-black Wenge* for that.
*I pronounce it wen'-gee (hard g) although there seems to be plenty of other opinions on that.
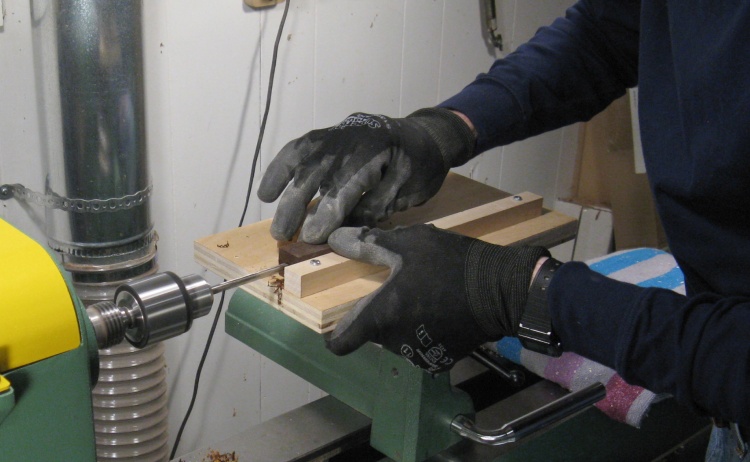
Drilling a pin hole in the Wenge
I thought I'd better add a reinforcement pin between the two pieces of wood since the glue joint is otherwise end grain-to-end grain which isn't very strong.
I set up the horizontal drilling jig on the lathe and in this shot I've employed a passing ninja to drill a shallow 1/4" hole in the end of the Wenge (he was totally silent!). That was followed by drilling a deeper hole in the Maple.
I set up the horizontal drilling jig on the lathe and in this shot I've employed a passing ninja to drill a shallow 1/4" hole in the end of the Wenge (he was totally silent!). That was followed by drilling a deeper hole in the Maple.
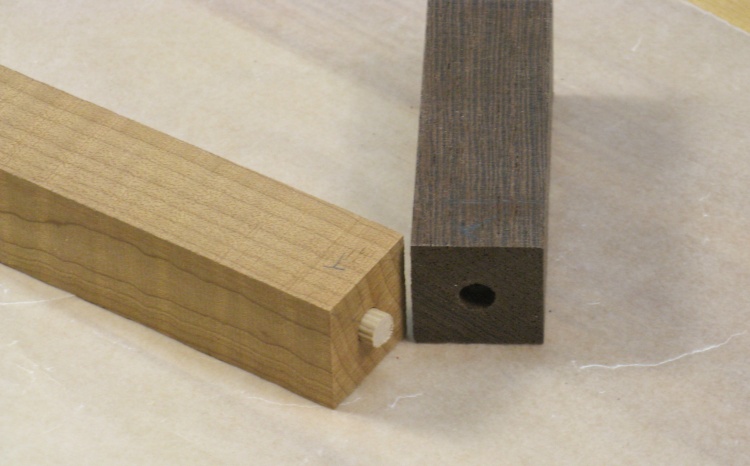
Maple and Wenge ready for gluing
This shows the about-to-be-glued ends of the Maple and Wenge with a short 1/4"-diameter fluted dowel for a bit more joint strength.
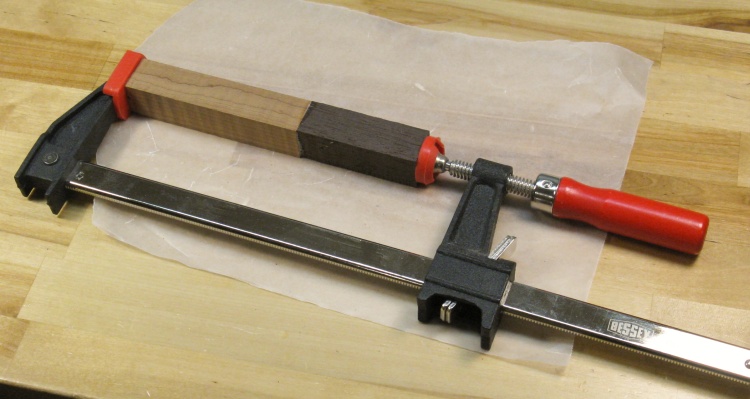
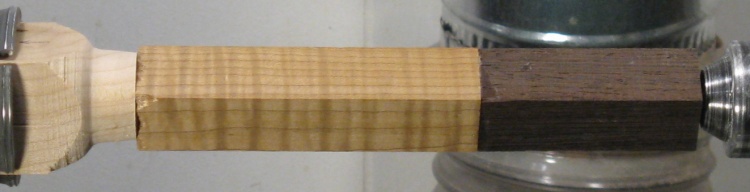
Clamped-together pieces
A bit of glue and some clamping force and soon the two will become one.
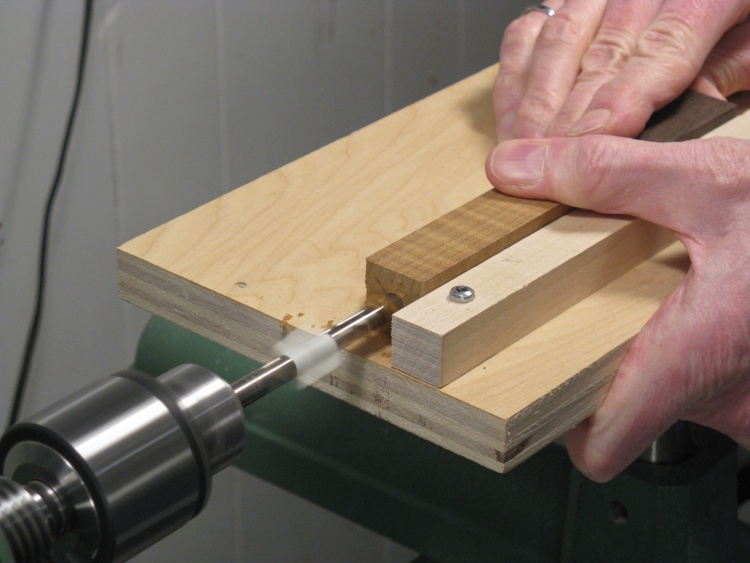
Drilling the metalwork hole
Back to the horizontal drilling jig and the glued-together piece then had a 5/16" hole drilled on one end to accept the metalwork.
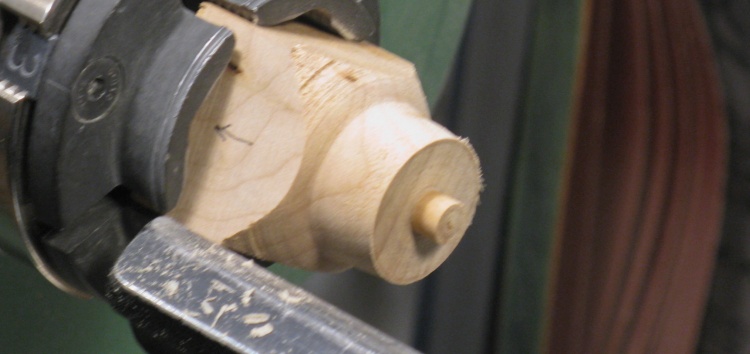
A little jig to fit the end with the hole
The hole in one end of the wood complicated its mounting to the lathe so I turned a little adapter with a short pin to fit into the hole.
Mounted on the lathe
And then it was mounted to the lathe and ready to turn.
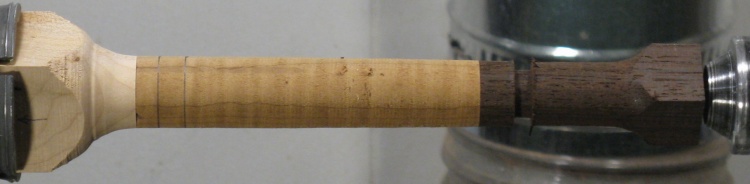
Rounded off
Here it has been rounded and the length marked.
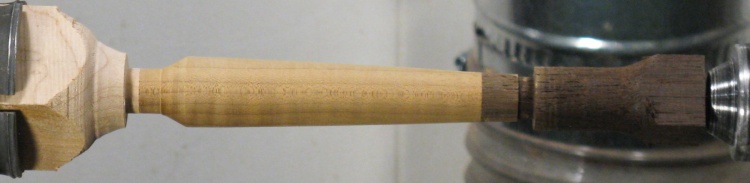
Shaped
And a little bit more work had the shaping done.
The ferrule was epoxied in place
It came off the lathe and the end was cut to the proper length and sanded smooth. Then the ferrule was epoxied in place.
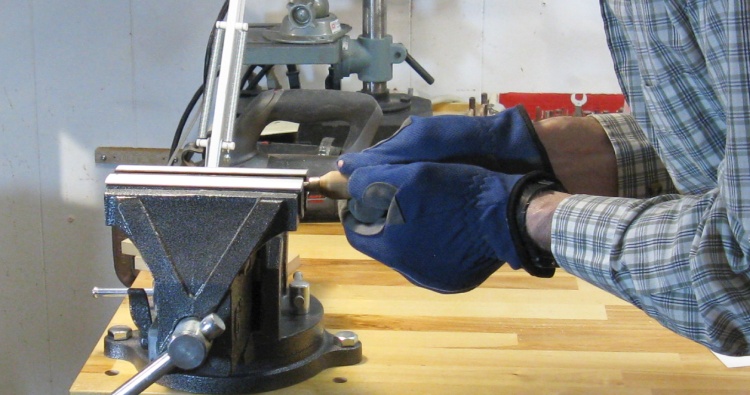
Pushing the handle onto the metalwork
The handle was simply forced onto the metalwork pieces. I pushed by hand as far as practical and then tapped it the rest of the way. The fit was tight enough that it didn't need any glue and the ferrule should keep the wood from splitting.

All together
And that's all - it's fully assembled.

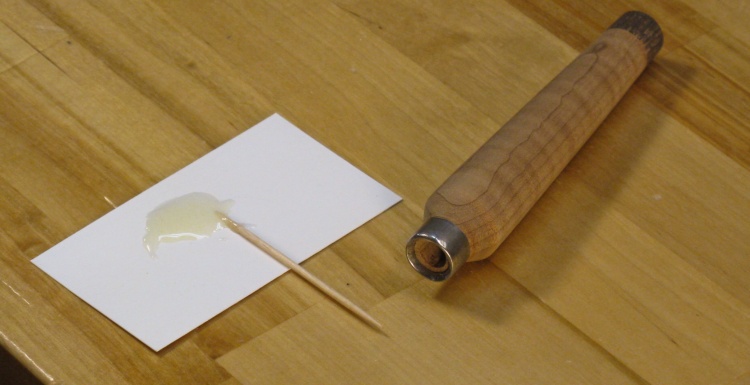
Adding the first coat of varnish
The last step was varnish. In this shot I've just added the first of three coats of Wipe-On Polyurethane.
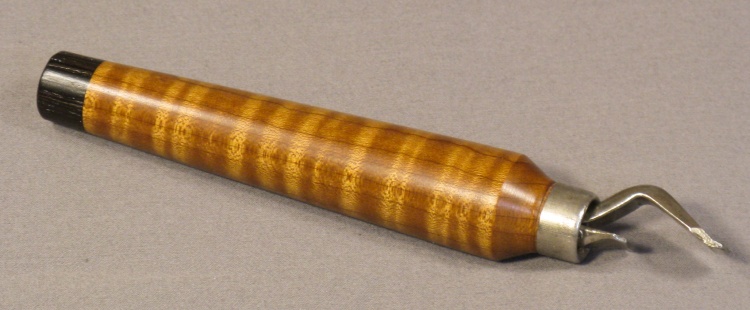
Done
Completed.


