I had originally thought to use Finnish Birch plywood for this box since it is available in a convenient 1/8" thickness (or more accurately 3 mm since it comes from a metric-using country. But for those really die-hard Imperial users, that would be close to 15/128"). However, plywood looks pretty utilitarian so when I spied a nice thin plank of roasted curly maple on my wood shelf, it seemed like a much better choice.
I measured the size I would need for a 3x4 array of coffee pods but the measurement was a little iffy since the pod sides are sloped and pod spacing is largely determined by the top flanges which sometimes overlap a bit. As a result my measurements were probably a bit off, at least in the shorter dimension.
I measured the size I would need for a 3x4 array of coffee pods but the measurement was a little iffy since the pod sides are sloped and pod spacing is largely determined by the top flanges which sometimes overlap a bit. As a result my measurements were probably a bit off, at least in the shorter dimension.
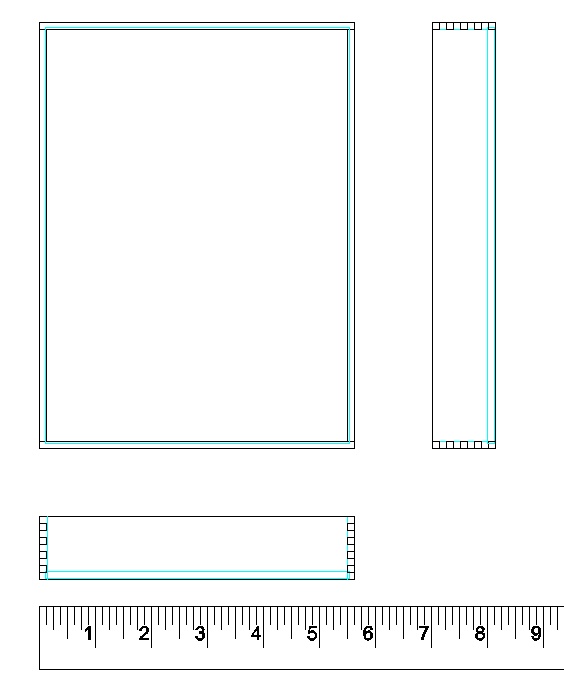
The plan, less any contouring
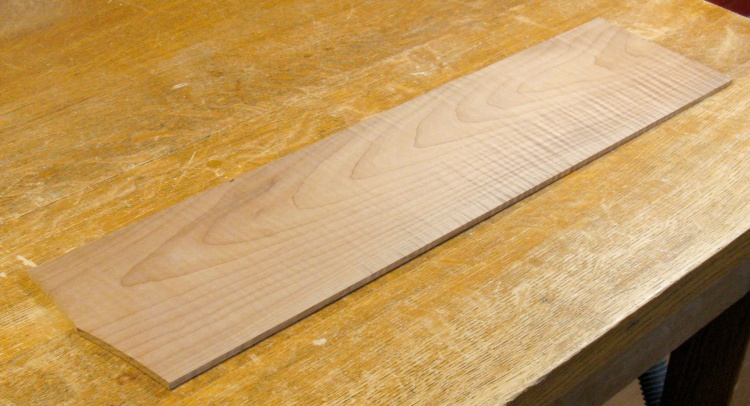
A suitably thin and flat piece of curly maple, nicely roasted
I found this piece of roasted curly maple on my wood shelves. My best guess was that it was left over from a side table I made back in 2012. It was about the right size and just needed to be thinned down a bit.
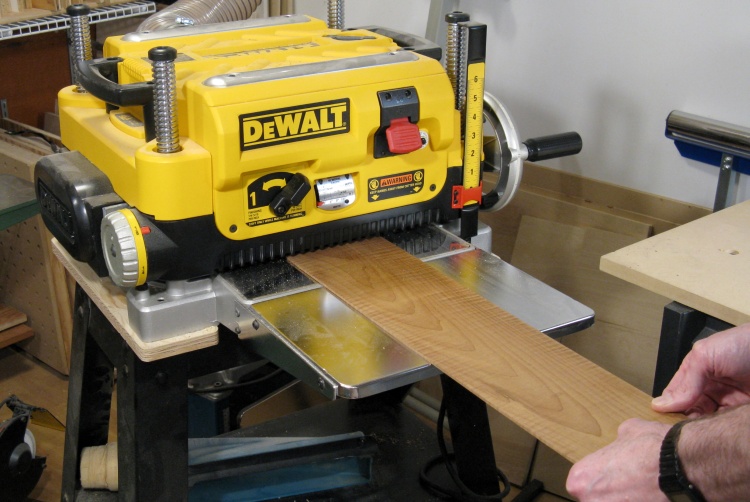
Planing it down to 1/8" thickness
A few passes through the planer brought it to close to 1/8" thickness. Fortunately the board had enough extra length that I could just cut off the sniped parts (about 2-1/2" on each end).
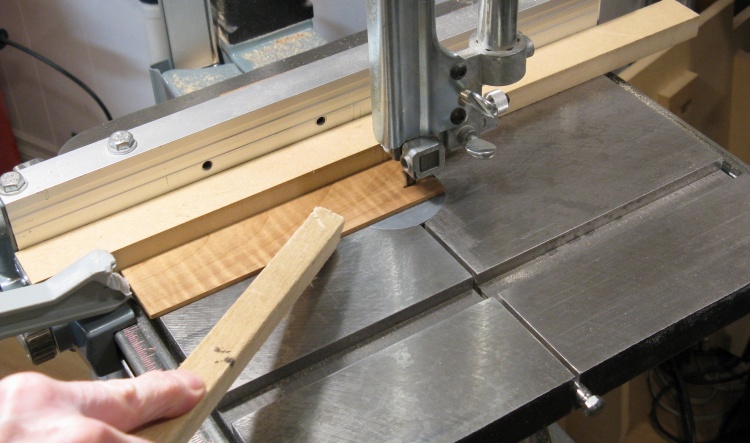
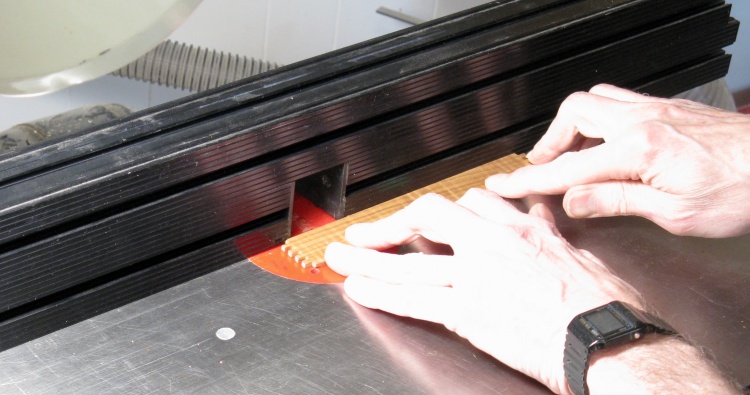
Ripping a section into sides
The next step was to cut it into the pieces the box needed. One section produced the four sides (one shown being cut here) and the rest of it formed the bottom.
The board was very very nearly wide enough for what was needed, but was maybe 0.04" narrow. I figured that had to be close enough.
In the caption, "Ripping" of course refers to cutting in the direction of the grain (versus "crosscutting" which is a bit more self-explanatory).
The board was very very nearly wide enough for what was needed, but was maybe 0.04" narrow. I figured that had to be close enough.
In the caption, "Ripping" of course refers to cutting in the direction of the grain (versus "crosscutting" which is a bit more self-explanatory).
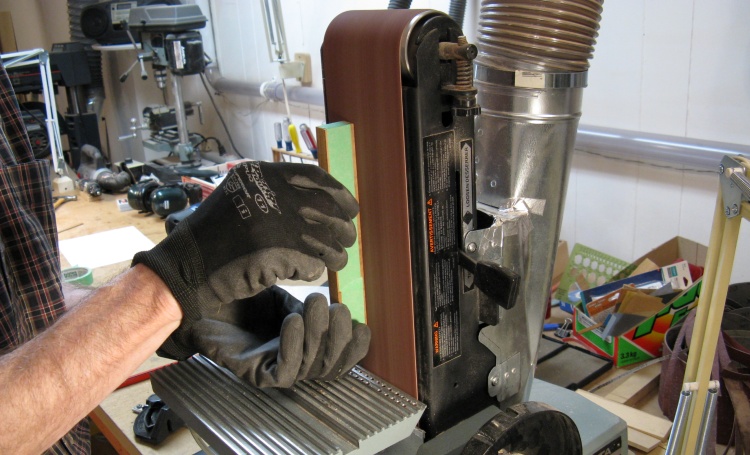
Smoothing edges of sides
The bandsaw leaves pretty rough edges so my standard practise is to cut a bit wide so the edges can be cleaned up. Here the four sides are taped together while the belt sander transforms them into a state of smoothness.

Router table set-up for box joints
Then it was time to address the corner joints. The plan was to make "box joints" which are straight interlocking fingers. These look best if the finger size is the same as the wood thickness, which means 1/8" in this case.
Fortunately the router fence has an attachment for making 1/8" fingers, which makes the joints pretty easy to do.
I've made box joints before, but those have been in plywood. Unfortunately routing plywood doesn't work very well so those had to be done with a different technique. As a result I don't think I've ever been able to use this setup before.
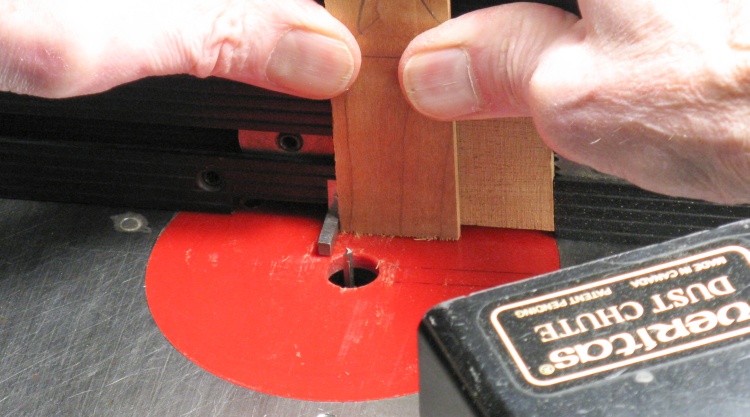
Getting ready to route the first slot in a test piece
The key to getting consistently-spaced slots is the protruding 1/8"-wide metal piece, coincidentally called a key.
The router is set up so the key is exactly 1/8" from the edge of the 1/8" routing bit. Then with the wood against the key, the fence with the wood is slid over the bit to cut a slot.
The router is set up so the key is exactly 1/8" from the edge of the 1/8" routing bit. Then with the wood against the key, the fence with the wood is slid over the bit to cut a slot.
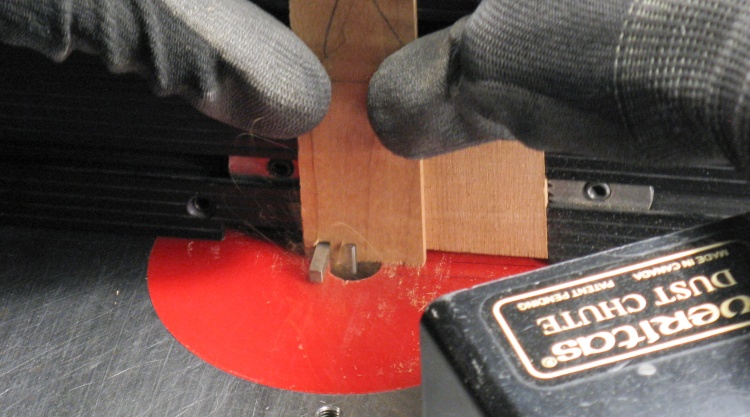
Routing the next slot
Then the wood is moved over so the newly-cut slot straddles the key. This moves the wood exactly 1/4", and once again the fence is slid over the bit which cuts the second slot. Then that slot straddles the key and the next slot is cut, and so on.
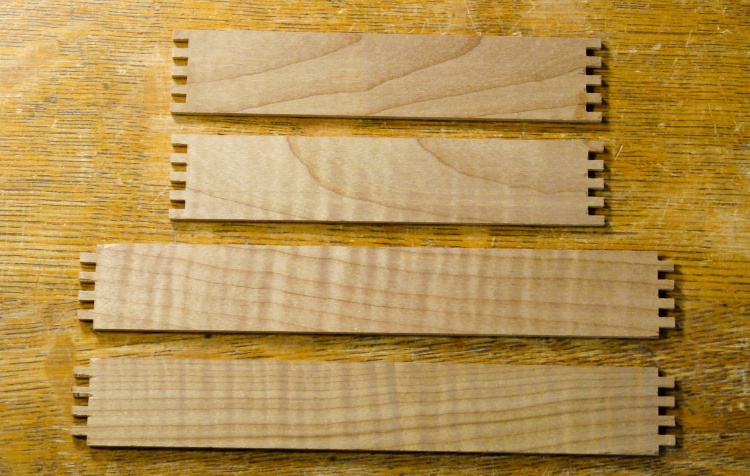
The four sides with ends ready to join
The mating pieces need a slot right on the end so they get started differently but the procedure is otherwise the same.
And in short order the four sides had the ends finished. The height of the sides was a multiple of 1/8", so there was a nice integer number of slots and fingers.
And in short order the four sides had the ends finished. The height of the sides was a multiple of 1/8", so there was a nice integer number of slots and fingers.
Test fit of the four sides
This shows a test fit of the four sides. The router must have been set up accurately since all the joints fit well and the top and bottom edges are all even. You will note that the fingers stick out a bit; making them extra-long is normally done so they can all be evened later to ensure a nice flat corner.
Routing a slot to hold the bottom
The plan called for the bottom to fit into shallow routed slots in the sides so here a slot is being routed into one of the long sides.

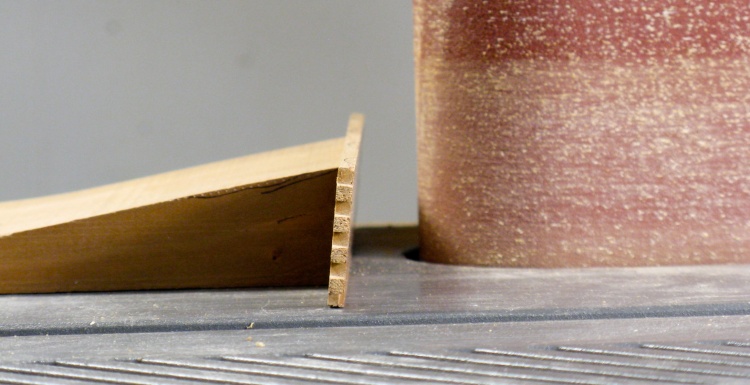
Slightly-too-close view of the ends and bottom slot
This shows a close-up of the inside of the box walls showing the routed slot (and rather rough-looking fingers).
The slots are just over 1/8" wide and about 0.025" deep.
The slots are just over 1/8" wide and about 0.025" deep.
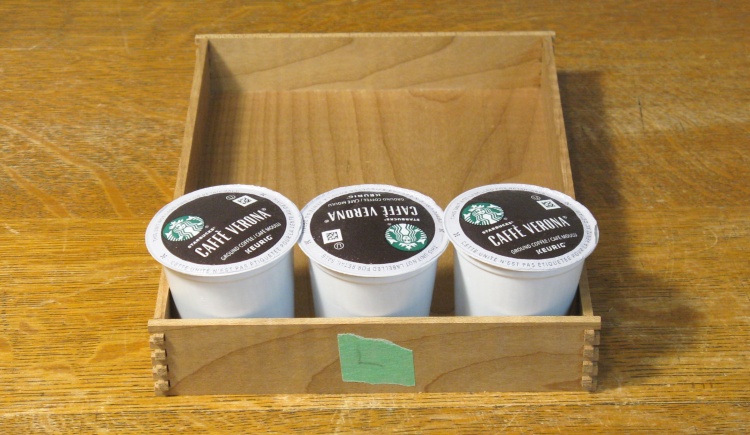
Those pods look a bit crowded in there
With all parts cut for the box it was time to put it together, haul out the coffee and do a test fit.
Unfortunately the three pods look a little bit crowded in there. My wood was a tiny bit narrow which might account for it, but I probably just didn't measure the required width quite accurately enough.
I didn't really want to start over so I thought I'd just give the pods a bit more elbow room by contouring the sides where the pods would touch.
For some reason I prefer to have a variety of pod coffees and currently I'm drinking a couple types of Peets and a couple of Starbucks. Peets is a bit of an obscure brand so I need to order those on-line while I usually pick up the more-common Starbucks at the grocery store. However Safeway is hardly the most economical place to get coffee, so I checked around recently and found them about 20% less at Walmart. I looked on-line to see if they were in my local store and Walmart seems to have only three types of status; Out of Stock, In Stock, and Almost Sold Out. This is rather less rigorous than the normal practise of showing the quantity they have available. I took a chance and headed over to the store for two "Almost Sold Out" items and while one had only two boxes left, the other had a dozen or more. That "almost Sold Out" apparently covers a lot of ground.
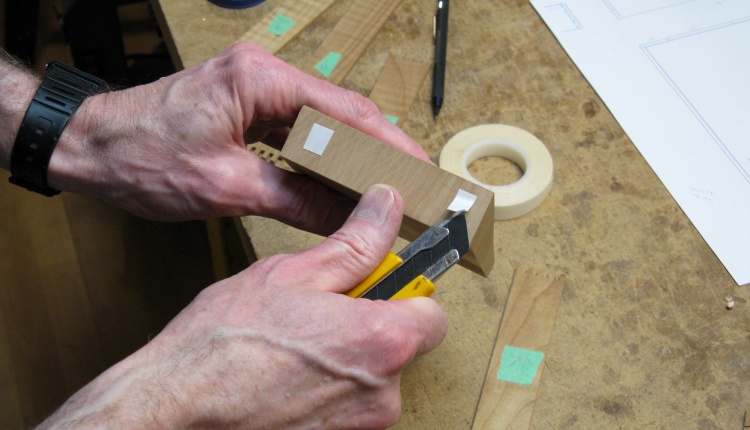
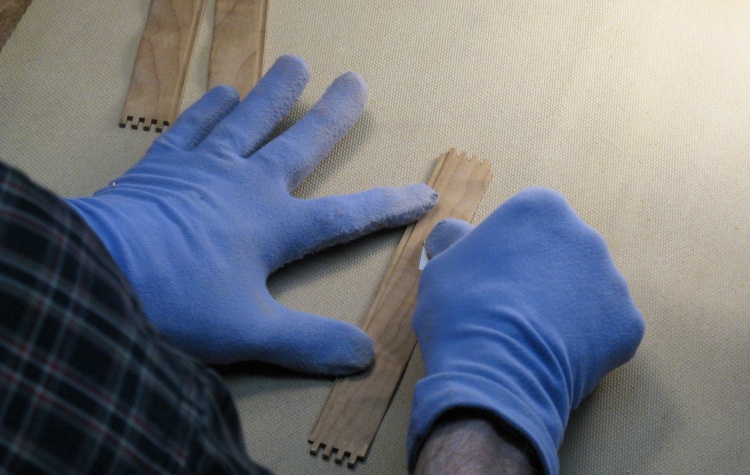
Adding some tape to a sanding jig
I needed a circular contour, preferrably following the slope of the side of the pod. I decided to use the sander to make the contour, so I made a jig to hold the box sides at an angle that matched the pod sides.
Here I'm removing backing paper from double-sided tape that will hold one of the box sides to the jig.
Here I'm removing backing paper from double-sided tape that will hold one of the box sides to the jig.
The jig holding one of the sides at the appropriate 5.7° angle
Here a box side is attached to the jig which holds it at the appropriate angle to the vertical sanding drum.
Forming one of the dips
Then the side was simply held against the drum at the appropriate spots until it had sanded to the right depth.
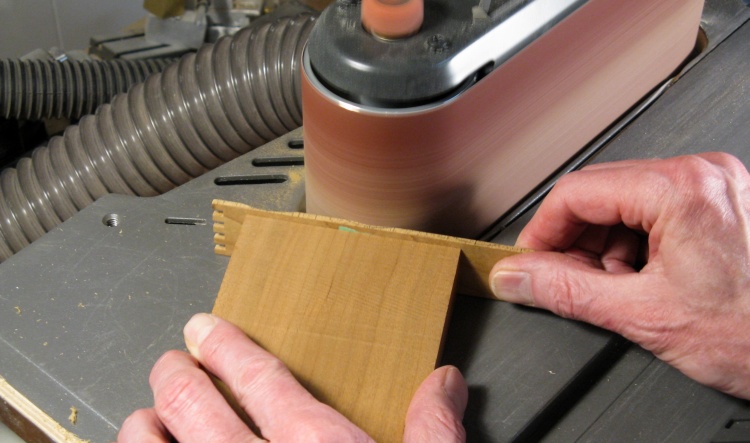
Then some hand-sanding to blend the dips
The sanded dips were smoothed off and the sharp corners eased by some hand-sanding.
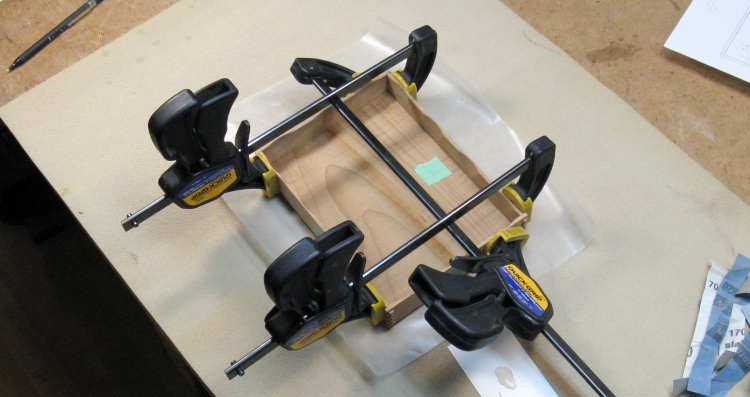
Glued and clamped
Finally it was time to put it together for good, so out came the glue and on went the clamps.
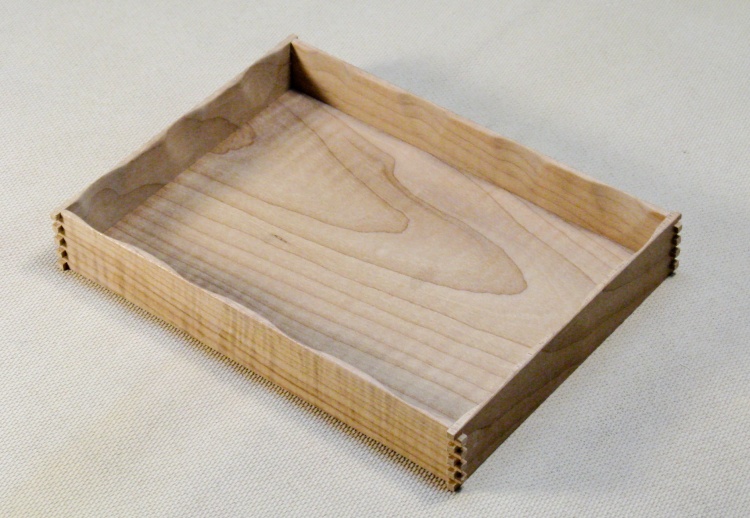
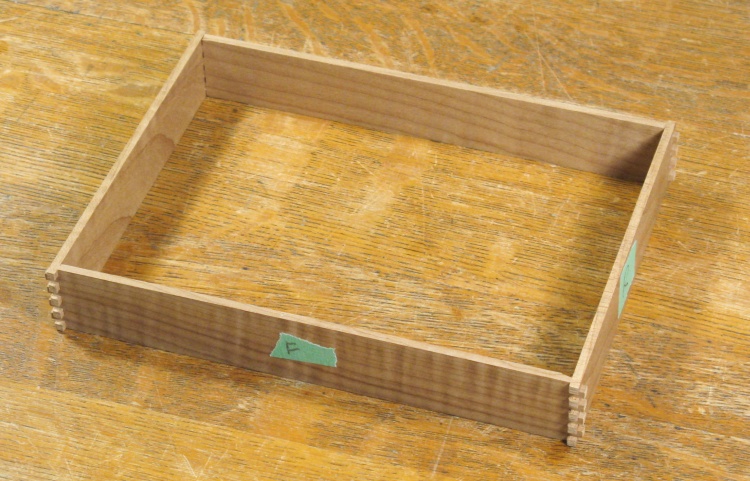
Ready to have excess on corners removed
This is the post-glued box. It just needs to have the corners evened up.
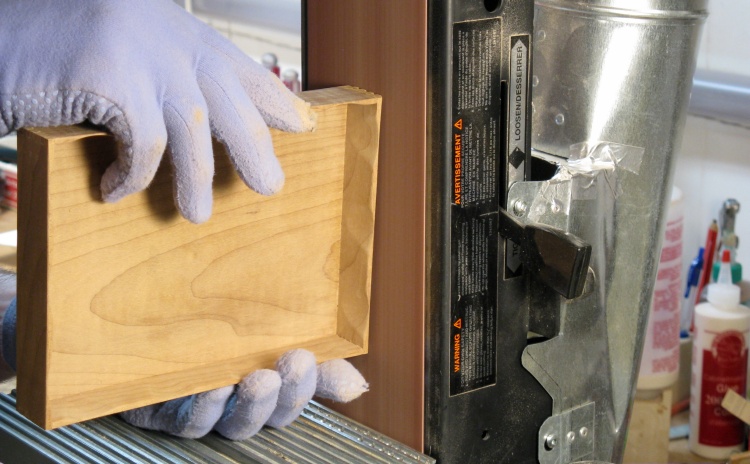
Sanding corner joints flush
The corner protrusions were removed with the belt sander, followed by some hand-sanding of the outside.
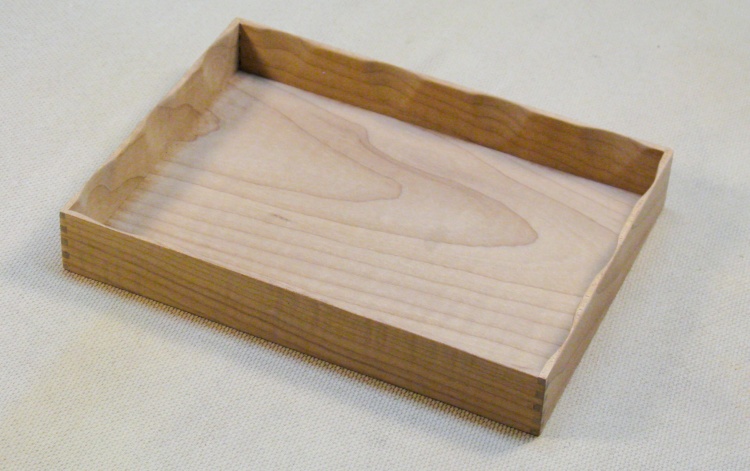
Woodworking done
Here is the box with the woodworking complete.

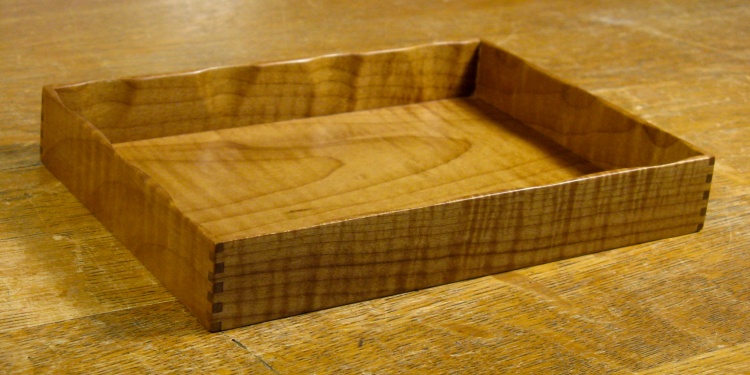
The traditional "first coat of varnish" shot
I used my usual Miniwax Fast-Dry Polyurethane varnish on the box, and this photo shows the first of three coats, still wet.
Completed
Completed.


