"Lines-5"
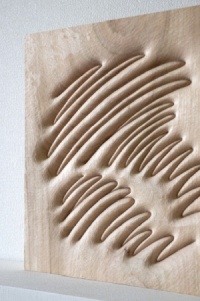
I had come across a photo of an art piece by Japanese artist Midori Takayama and I liked the pressed-into-marshmallow effect of the original art which as you can see to the right was essentially a couple of scribbles, done in Camphor tree wood.
After completing the two carvings I have to admit that the original scribbles better showed off the soft effect than either of the subjects I had chosen so I ended up a bit disappointed in the results. Ah well, as my dad used to say "you pays your money and you takes your chances".
After completing the two carvings I have to admit that the original scribbles better showed off the soft effect than either of the subjects I had chosen so I ended up a bit disappointed in the results. Ah well, as my dad used to say "you pays your money and you takes your chances".
Contents:
• Tree Figure
• Rose Figure
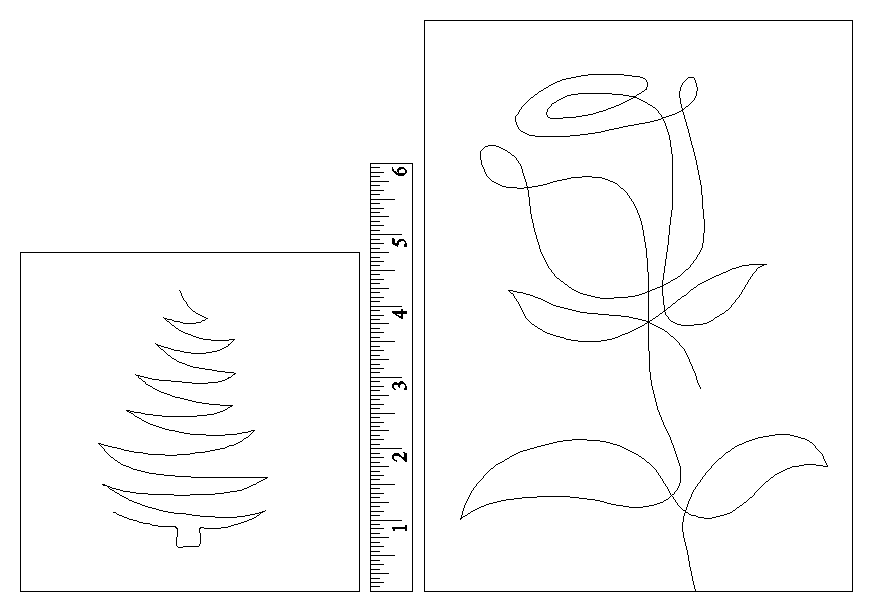
The single-line plans
Tree Figure
I wasn't quite sure how to do the carving of what was essentially a circular-sided trough in the wood so I thought I'd better get some practise first. For the test subject I decided on the squiggle-form tree.
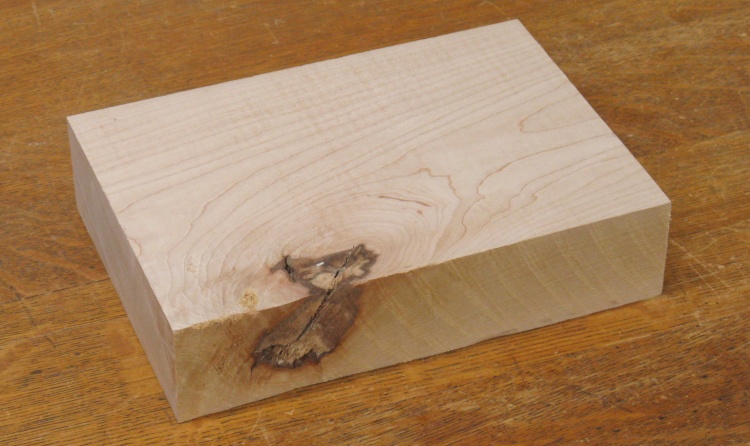
A piece of maple with enough good stuff for the tree
I wanted a wood without too much distracting grain so I settled on maple. The good side of this knotty specimen would be large enough to supply an appropriate-sized blank.
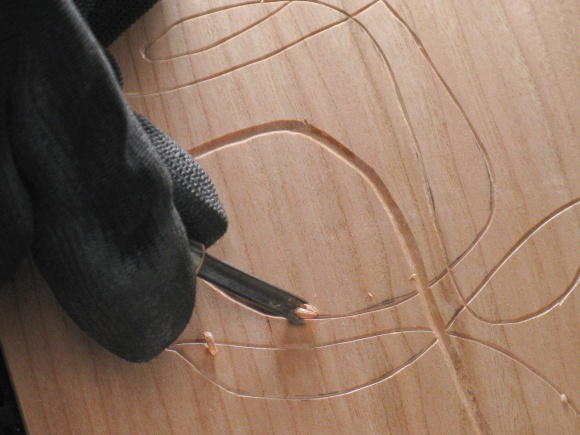
But then I decided I needed practise before the practise so I pulled out a couple scraps just to try things out on. After about four attempts (a couple of which are shown here) I decided that the purely-chisel approach was going to work best. The trickiest part was forming a very narrow dip in the center.
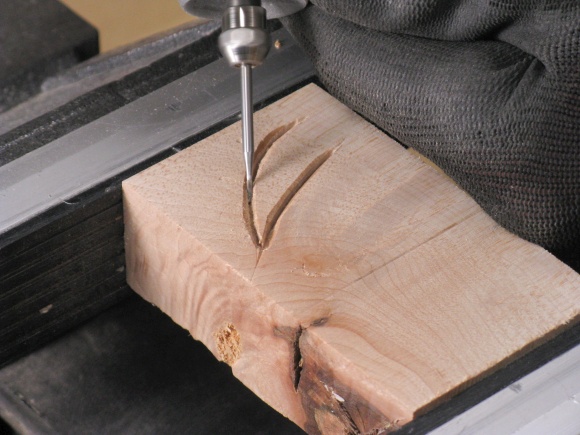
Deepening a notch using a rotary tool
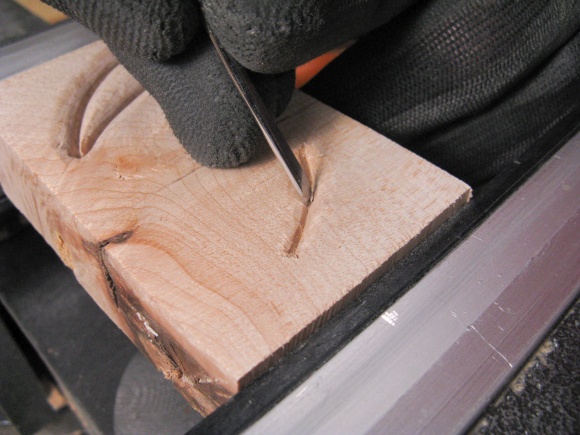
A purely chiseled notch
So then it was on to the real practise board. My big knotty piece was cut up to produce a thinner, cleaner and smaller blank.
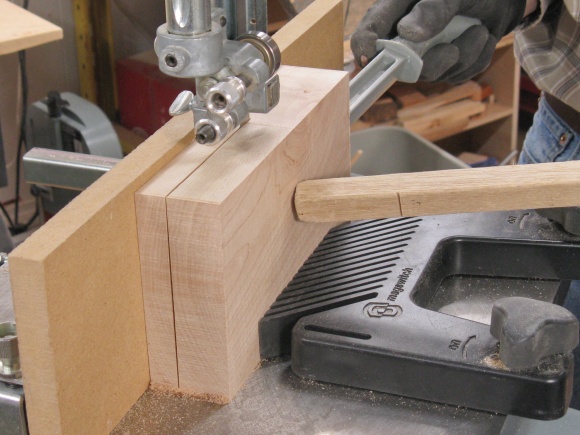
Getting the maple to a more-sensible thickness
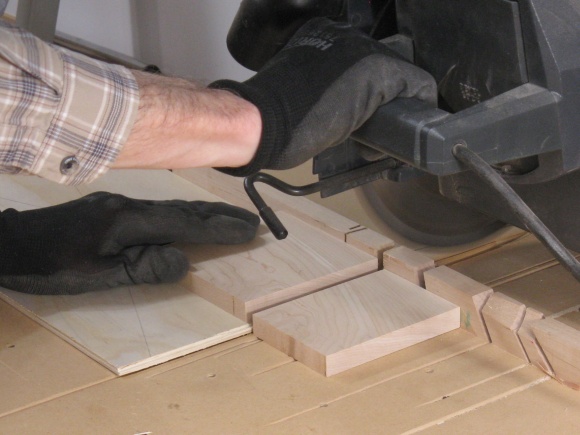
...and length
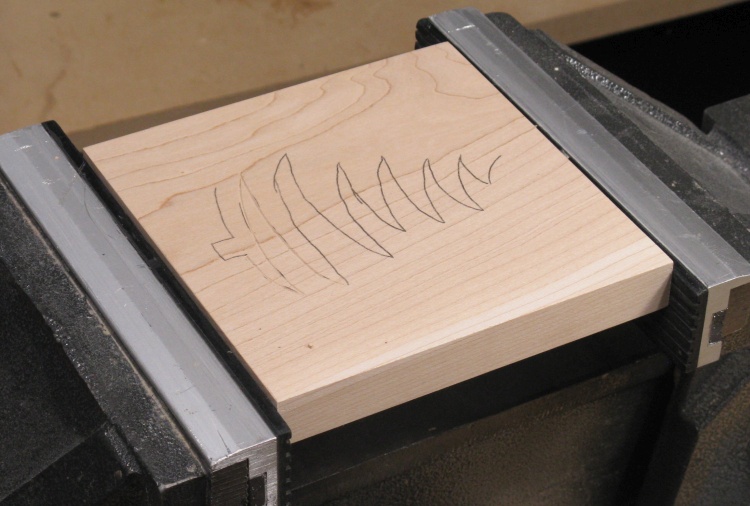
The tree figure squiggled on
The first step was to trace on the pattern. Here it is marked and mounted in the bench vise.
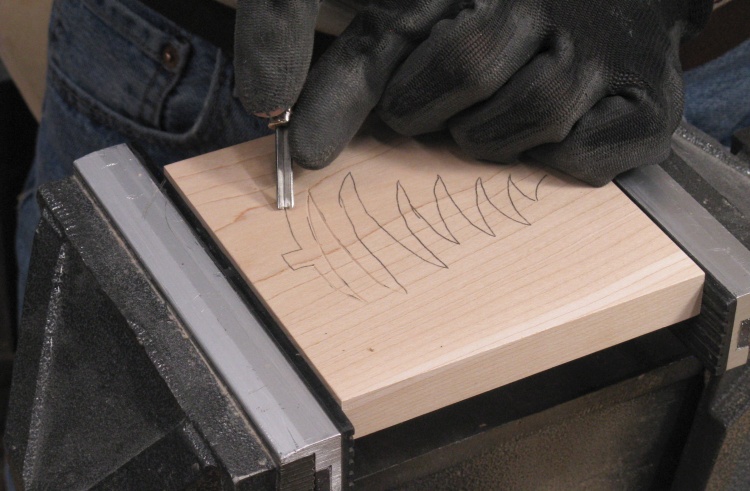
Starting the carving with a V-notch tool
I started by making the marked line into a V-groove. This was done carefully and in a few stages but after a few hours I heard a voice behind my back whispering "move". Actually it was my back, due to being hunched over the vise for extended periods of time.

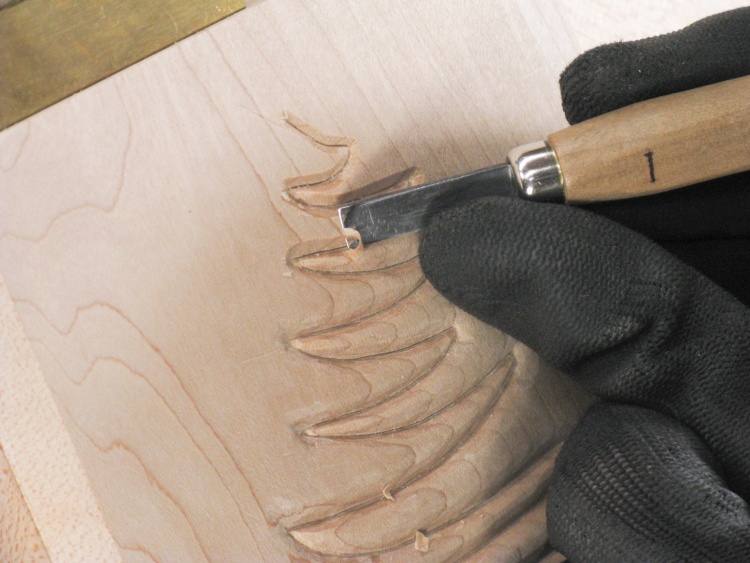
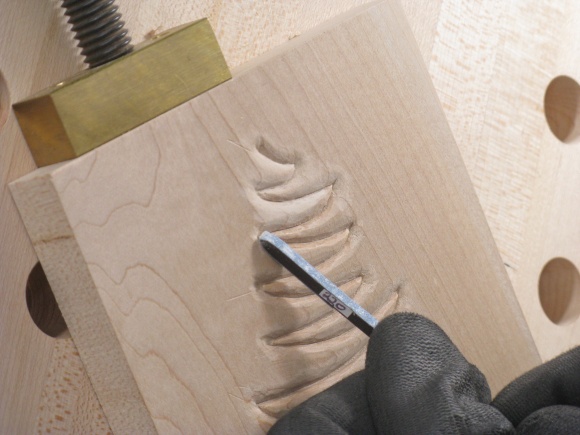
Rounding the sides of the notch
I heeded the advise and pulled out my carving table so I could sit and carve more comfortably.
In this shot the blank is on the carving table and I have started to round off the edges of the V-groove.
In this shot the blank is on the carving table and I have started to round off the edges of the V-groove.
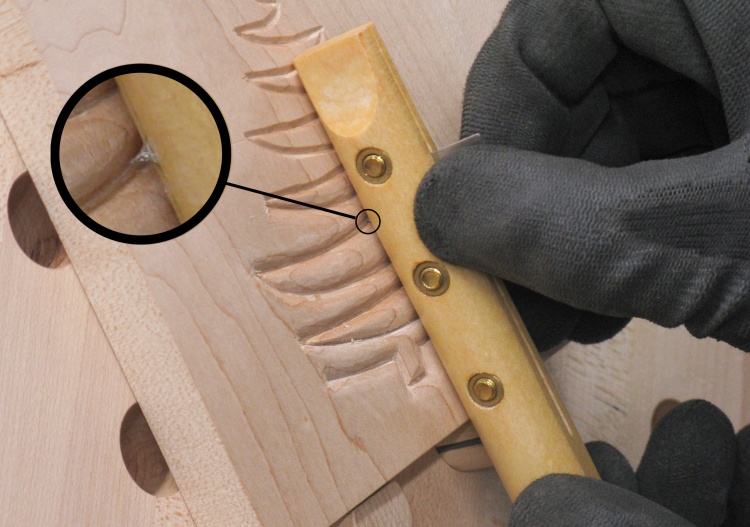
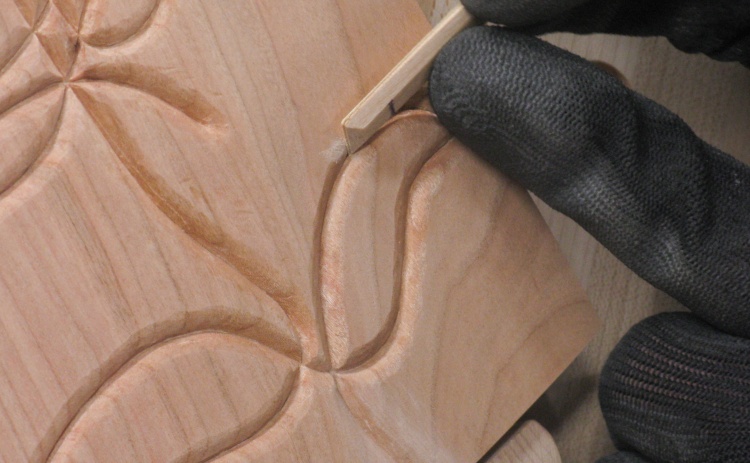
Using a scraping tool to mark a fixed depth
To help ensure a consistent depth along the notch I employed a bead-making tool; a bead in this event being shaped trim along the edge of a table top rather than a small spherical item.
The tool has a sharp blade used to scrape out a notch but it was narrow enough that it only contacted the bottom of the groove. This formed a notch of consistent depth that defined how far down the walls needed to start.
The tool has a sharp blade used to scrape out a notch but it was narrow enough that it only contacted the bottom of the groove. This formed a notch of consistent depth that defined how far down the walls needed to start.
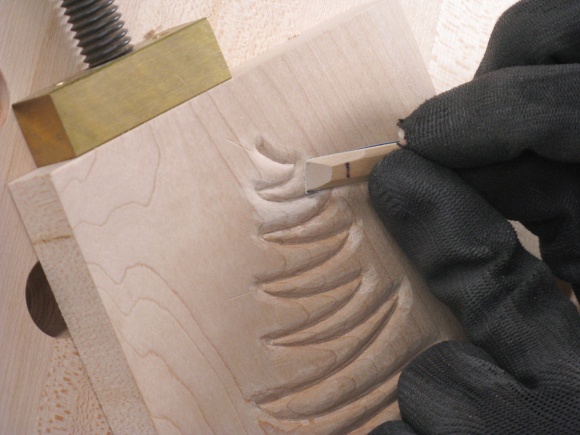
Some more rounding
I worked my way up the tree shape, rounding the V-groove as I went and it's almost done in this shot.
The next step was to smooth off all the curves. Using a variety of small sanding jigs, I started with 150 or 220 grit to do the initial smoothing.
Starting the sanding
A different shape of sander for the corners
A round of finer-grit sanding
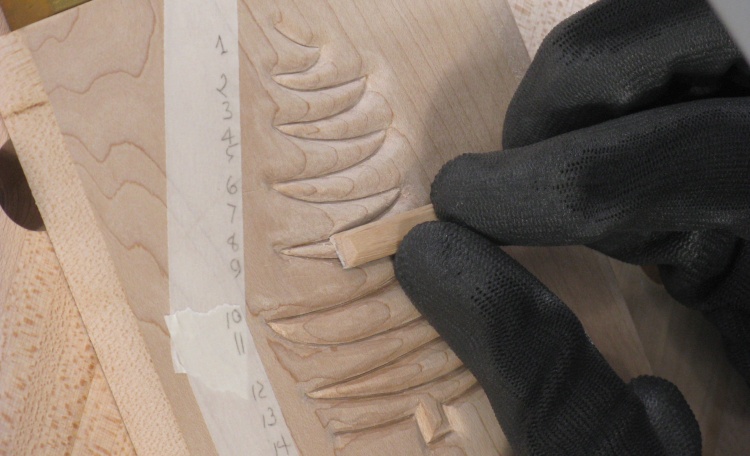
Once done I went over with 320 grit. I temporarily numbered the rows of the trees to better keep track of where I was working.

The front completed
The sanding is complete in this shot.
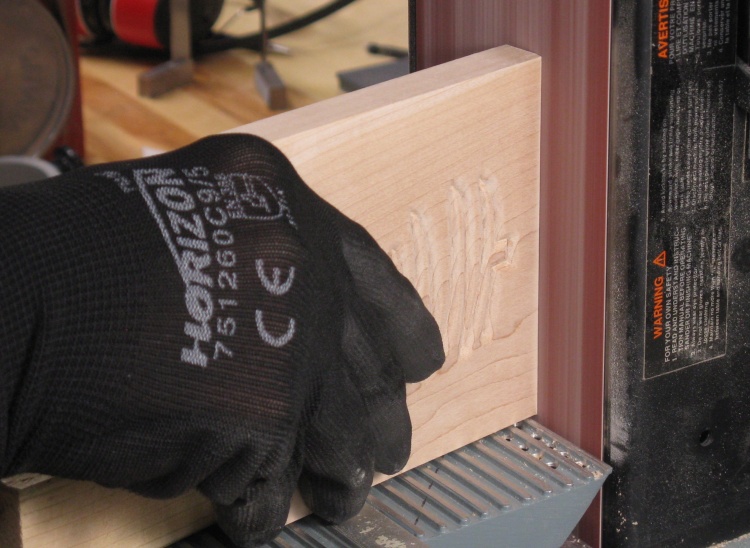
Rounding off the edges
The flat sides looked pretty utilitarian so I used the belt sander (followed by hand sanding with a finer grit) to round them off a bit.
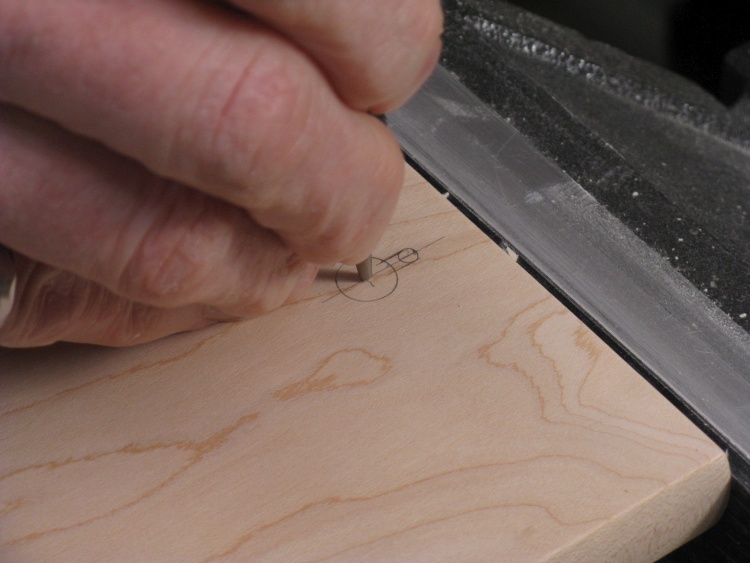
Marking for a keyhole-shaped hanger
The tree shape seemed like a hang-on-the-wall kind of thing so I thought a keyhole would be appropriate. Here I'm finishing up marking the keyhole shape on the back.
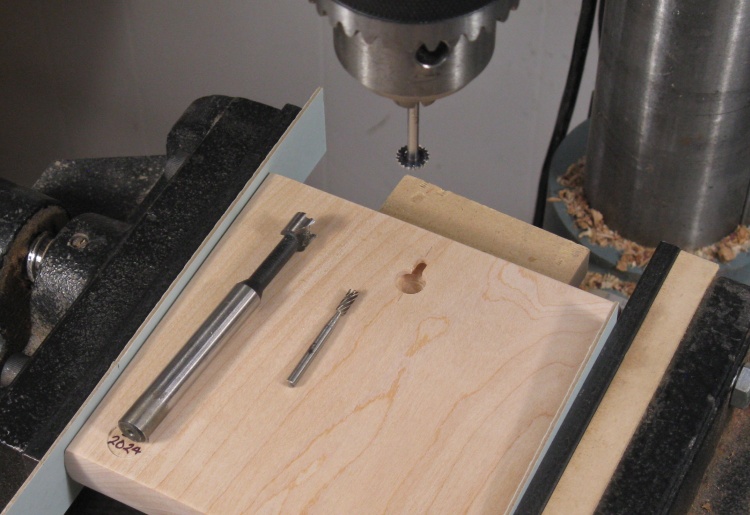
Keyhole cut with the three bits required
The keyhole was cut out using a small selection of bits in the drill press. The completed keyhole along with the bits used can be seen here.

The back view
A shot of the completed back.
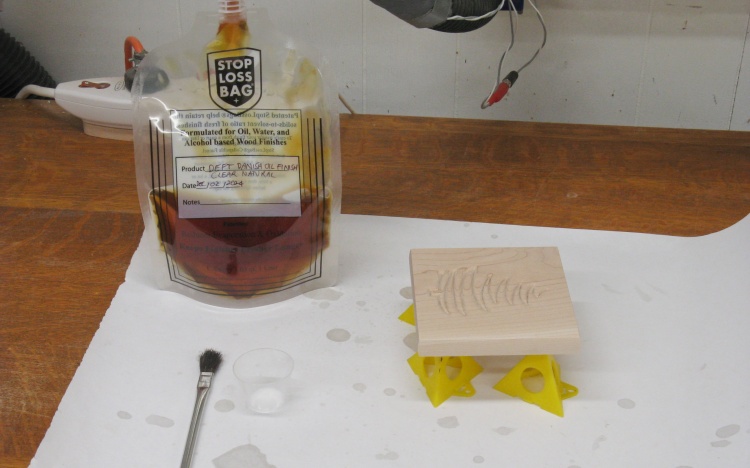
Bag 'O finish ready to go
I decided to use Danish Oil for the finish and here things are set up to get going with that.
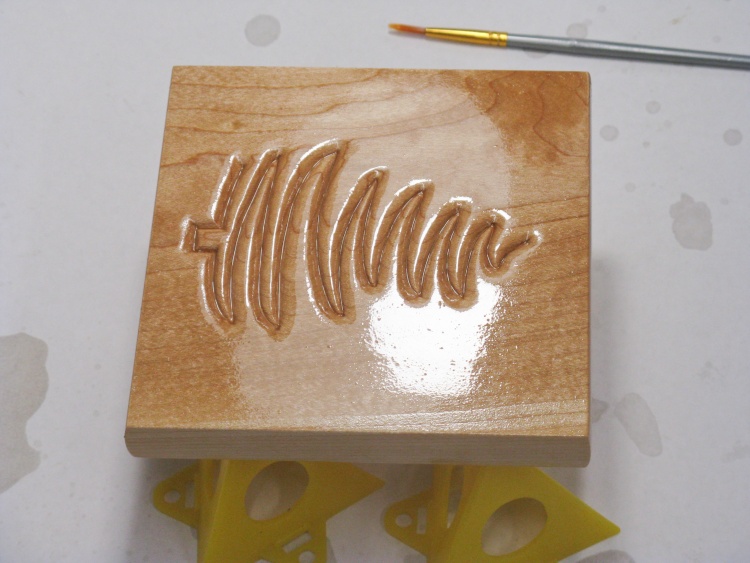
First coat of oil soaking into the wood
Danish Oil is left on the wood for about half an hour and then all the excess is wiped off with a cloth. This nice reflective shot shows the oil still soaking into the wood.
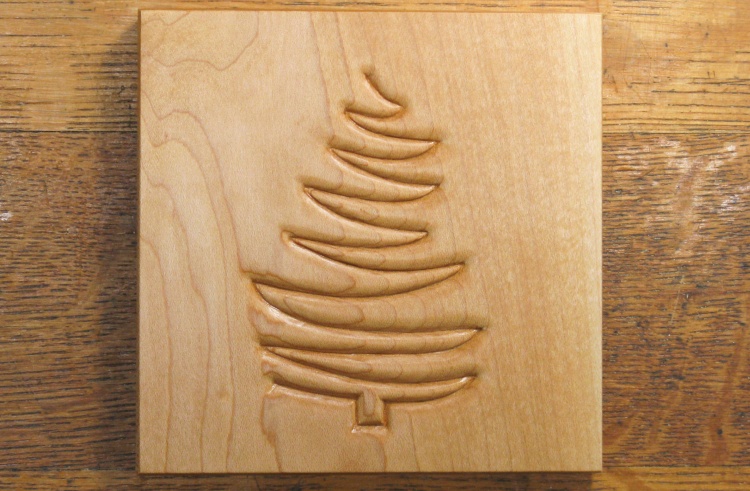
The completed tree figure
The tree received three coats of Danish Oil and here it is after the last coat had dried.
Rose Figure
Once the tree was complete I considered leaving it there, especially since I wasn't terribly happy with its quality; it's fine at a glance but my woodworker's eye can pick out a number of weaknesses. I had also managed to find a more-detailed photo of the art example I was using which revealed a couple things including that the piece was quite a bit larger than I had expected - maybe 16" square, and that the original was purely carved with no apparent sanding, putting my efforts to shame. But I eventually thought I should take another shot at it.
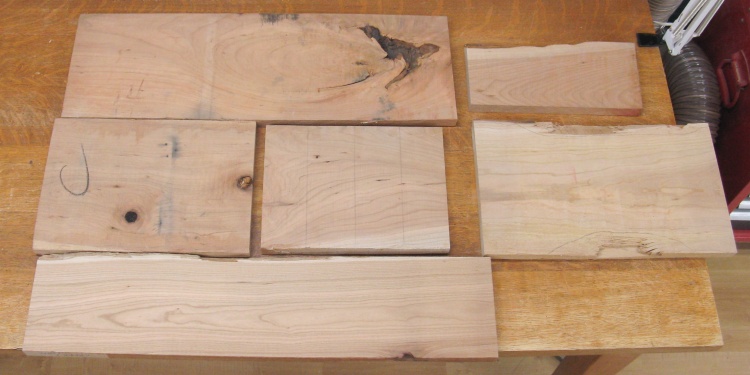
A selection of disreputable cherry boards
This time I thought I'd use cherry for the carving. The cherry boards I had that were of sufficient width formed this rather motley bunch, exhibiting huge differences in grain patterns and colour.
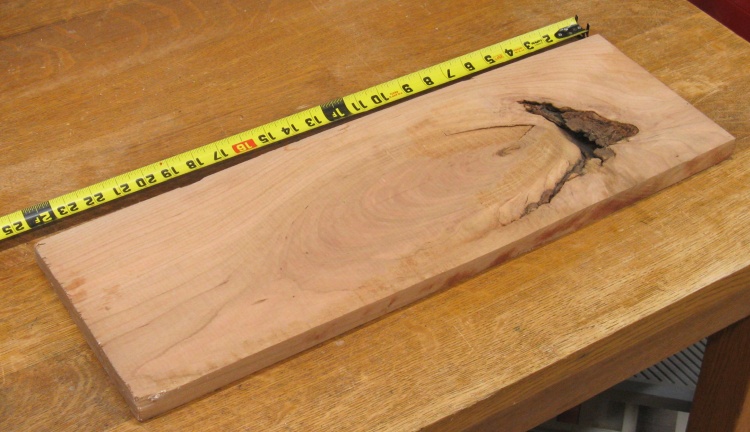
The least-worst one
The left end of this board looked decent.
And then it underwent the usual sawperations to get it to the proper size. The surfaces were not too great-looking so it was treated to a few passes through the planer as well.
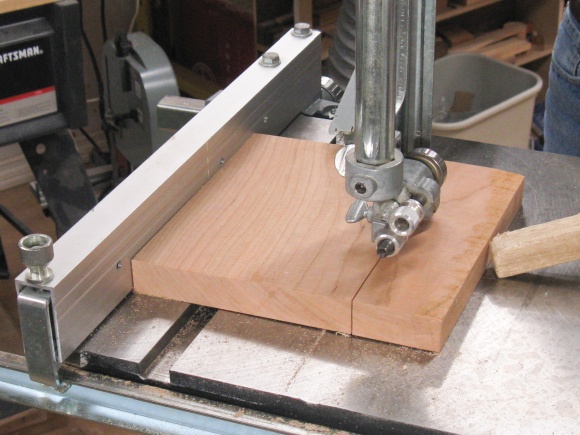
Cutting to size
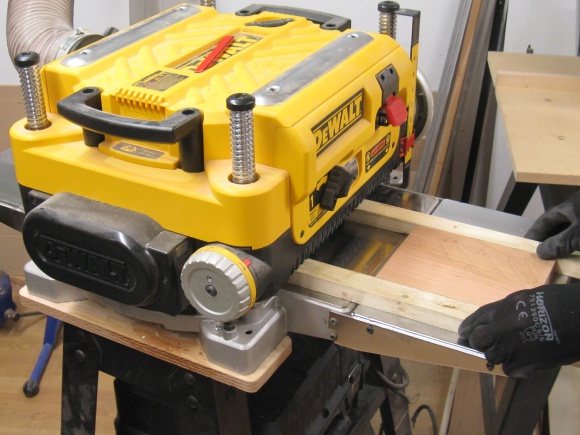
Smoothing the faces
The remaining bit looks decent
There - that looks pretty respectable.
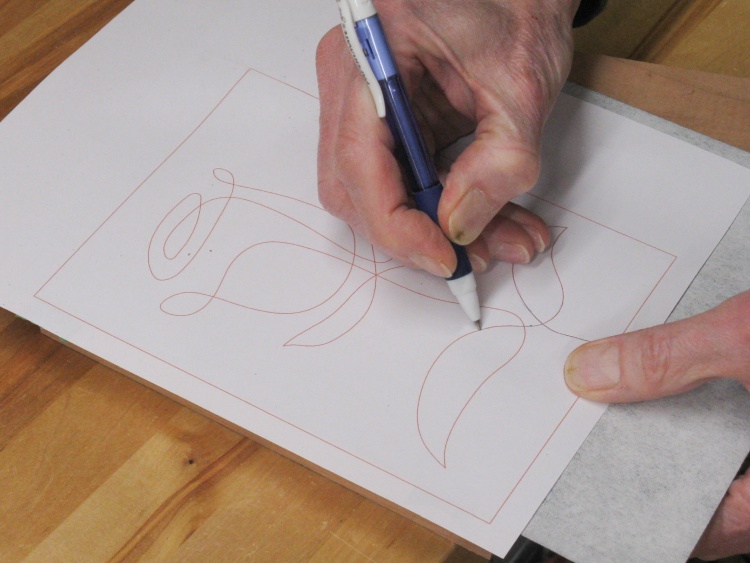
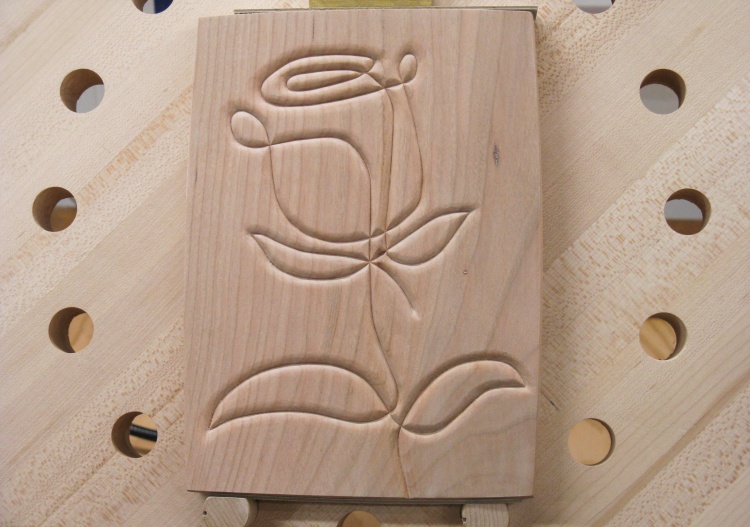
Tracing on the rose figure
The rose figure is formed from a single line which made it pretty easy to trace on to the wood.
Ready to go
Ready for some carving.
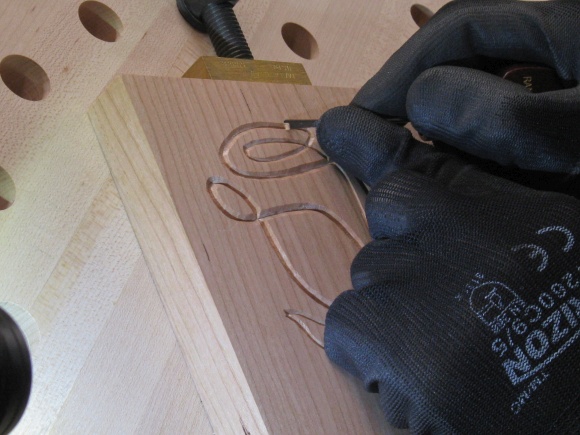
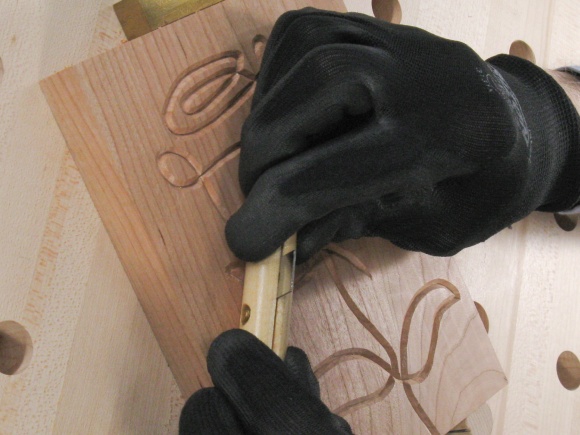
The rose figure was carved using the same techniques developed doing the tree, starting with a shallow V-groove and then enlarging that. As before it was started off in the bench vise for easy to access to all angles.

Starting with a small V-groove
...and progressing to a wider V-groove
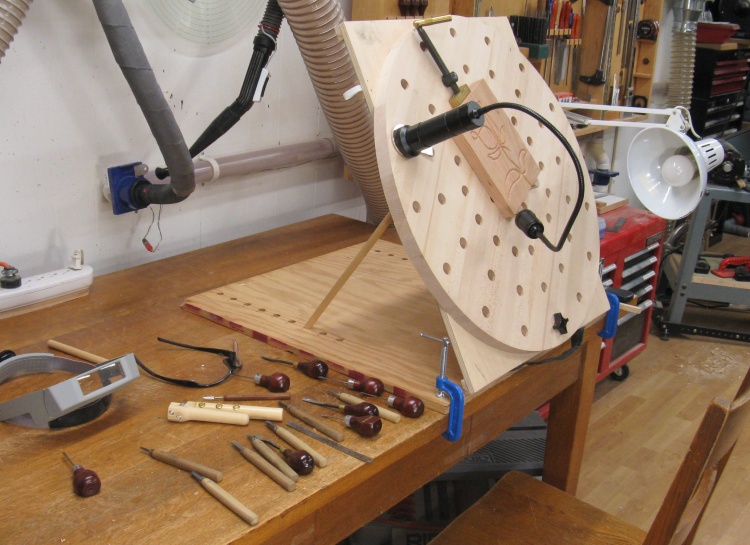
The carving setup
And then it was over to the carving table for more-detailed work. This overview shot shows the clamped-down table and a selection of carving tools, although I relied on only a couple of them for the bulk of the carving.
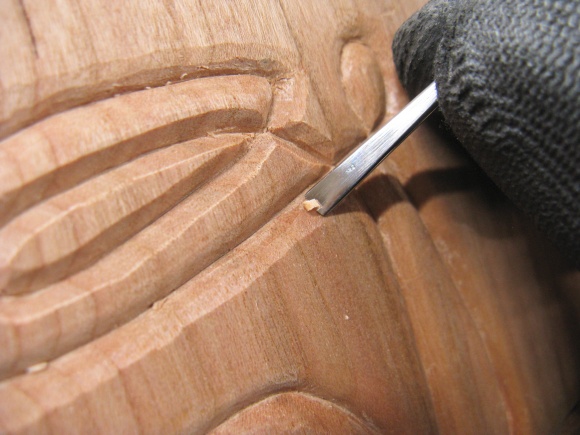
As before the V-groove was enlarged and then the beading tool was used to establish the groove maximum depth.
Deepening the groove
Scraping down to a consistent depth
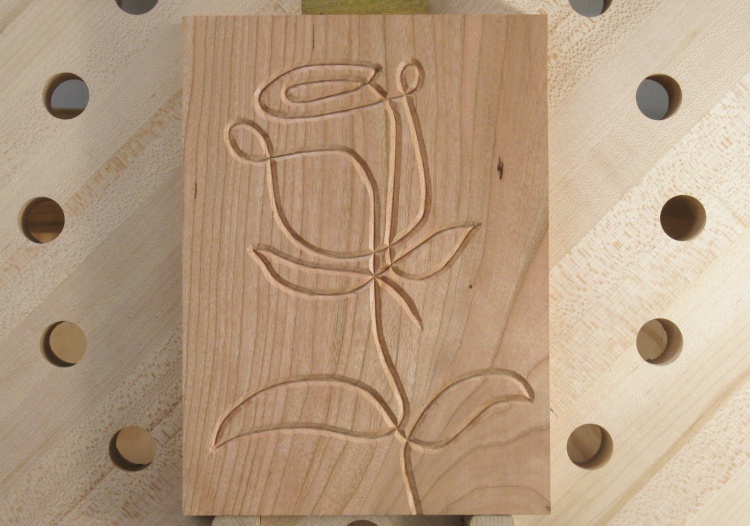
The V-groove part completed
At the time of this photo, the V-groove forming is completed from beginning to end.
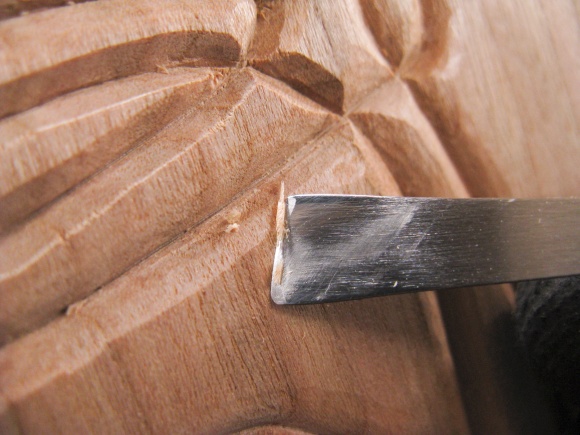
Then it was on to the rounding process.
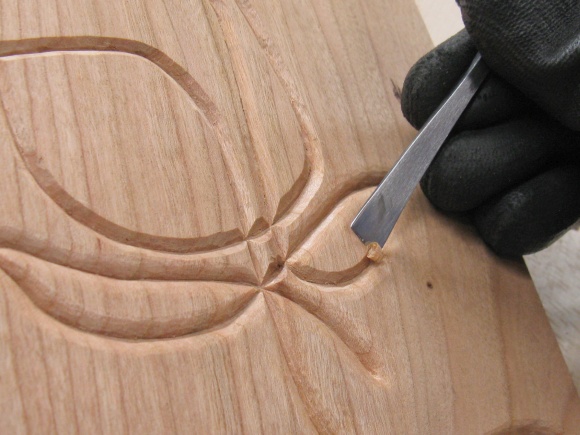
Bevelling for the curve
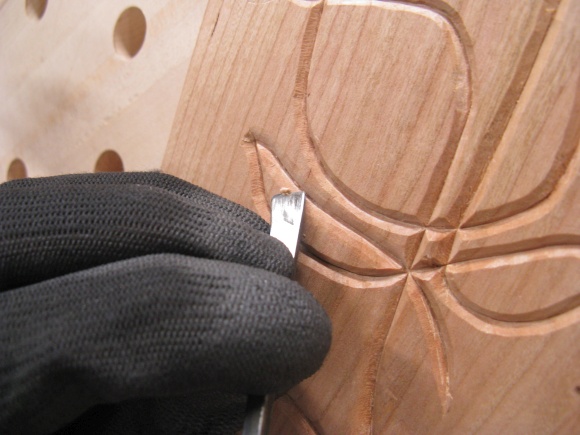
Smoothing the curve
Rounding close-up
More rounding
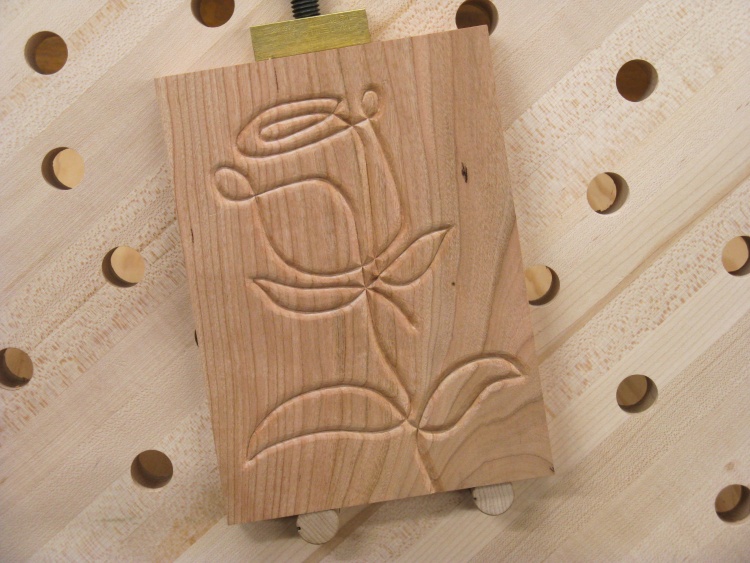
Carving done
After what felt like a long time but wasn't really (it took about a week of couple-hours-a-day carving) it was all done.
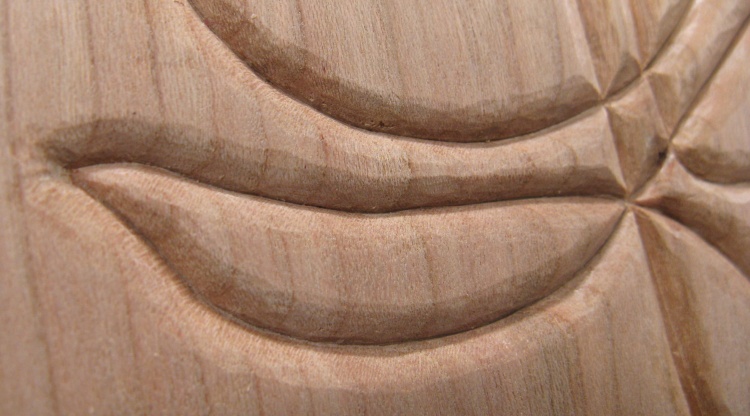
A close-up of the carving
The carving quality was probably OK considering the scale of the piece - for example carving marks are not too obvious in the previous photo - and there was some impetus to leave it as-is since the inspiration piece was just carved and not sanded. However the original was larger (and frankly much better-carved) so the tool marks were far more subtle; a feature rather than a bug.
That wasn't really the case with the carved rose here and I thought it would benefit from removal of the distraction of carving artefacts.
So out came the sandpaper.
That wasn't really the case with the carved rose here and I thought it would benefit from removal of the distraction of carving artefacts.
So out came the sandpaper.
Let the sanding begin!
Of course, sanding a long narrow notch is a bit of a...discomfort in the derriere.
I mostly used sanding jigs like the one shown here - sandpaper taped to a trimmed popsicle stick. I started with 180 grit and followed that up with 220 and then finally 320 grit.
I mostly used sanding jigs like the one shown here - sandpaper taped to a trimmed popsicle stick. I started with 180 grit and followed that up with 220 and then finally 320 grit.
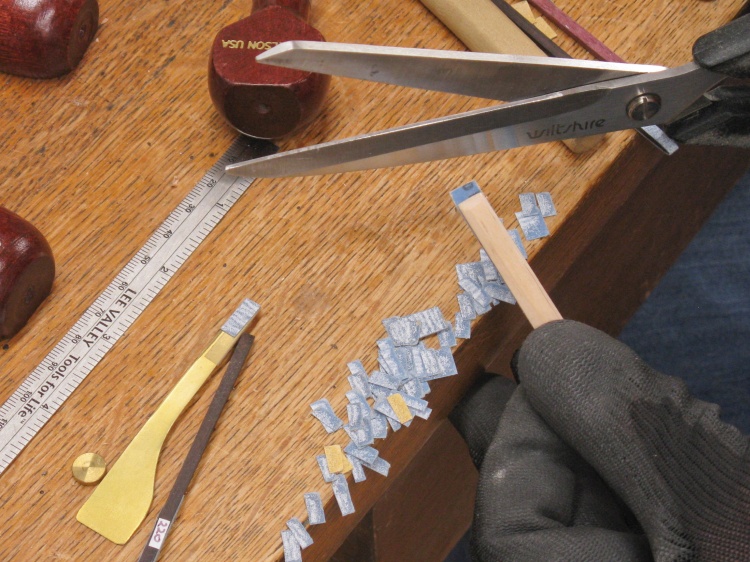
Trimming off the worn bit of sandpaper
Of course the only parts of the sandpaper which can contact the wood are the corner and front edge, and those areas wear out in 5 or 10 seconds of sanding at which point a fresh surface is needed.
I would just pull the sandpaper off, move it up an eighth of an inch and cut off the worn end.
I would just pull the sandpaper off, move it up an eighth of an inch and cut off the worn end.
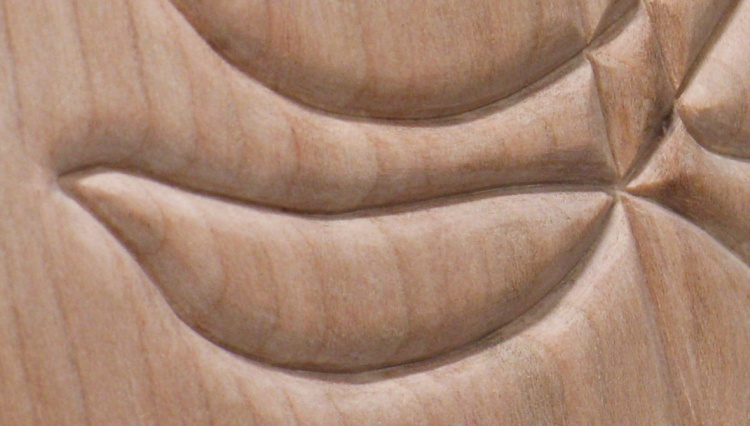
The sanded version
This shows the same leaf as three photos previous but now with sanded edges (and slightly inferior camera focus).
Now all the sanding is done
A few days of sanding completed the rose figure.
The piece also received similar attentions as the tree figure; rounded and slightly curved edges, plus initials and keyhole on the back.
The piece also received similar attentions as the tree figure; rounded and slightly curved edges, plus initials and keyhole on the back.
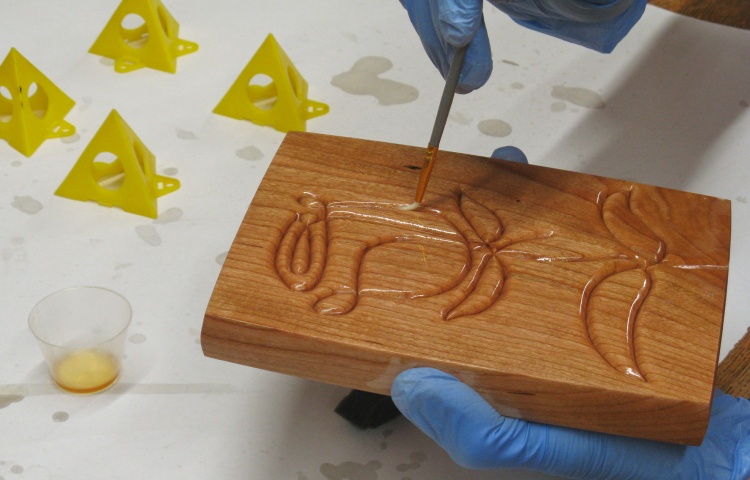
Adding the first coat of finish
Once again I used Danish Oil as a finish. In this photo I'm spreading on the first coat.
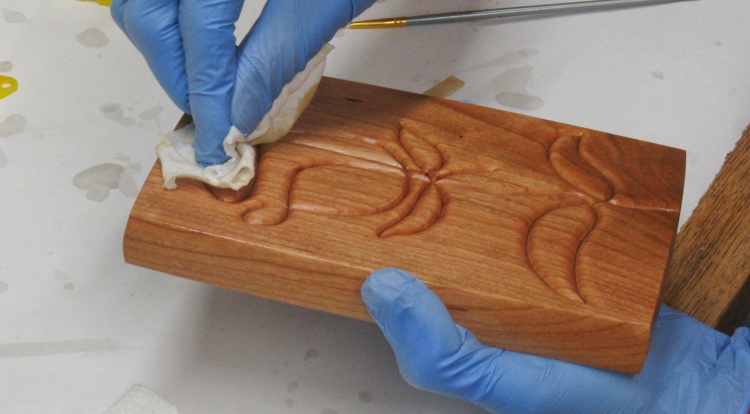
Wiping off the excess finish
The oil soaks into the surface for half an hour and then the excess is wiped off. I used jersey-knit white cotton rags for the wiping portion.
I'd bought a waaayy-too-large bag of rags many years ago thinking it was a lifetime supply and now it's down to one or two left. Whodathunkit?
I'd bought a waaayy-too-large bag of rags many years ago thinking it was a lifetime supply and now it's down to one or two left. Whodathunkit?
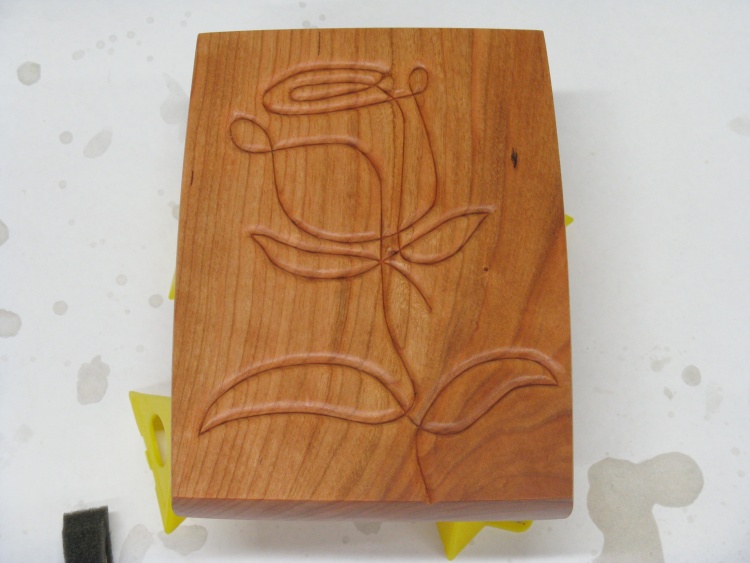
First coat of finish in place
The wood looks much more Cherry-like after the first coat of finish.
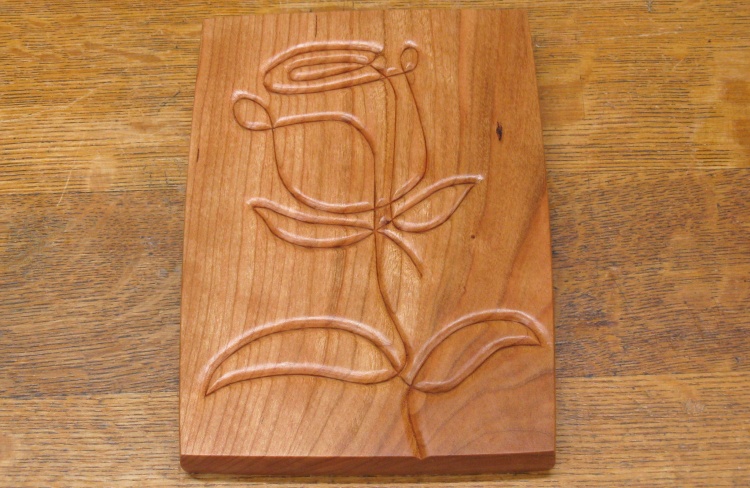
Finishing done
The finishing was complete after three coats of the oil.
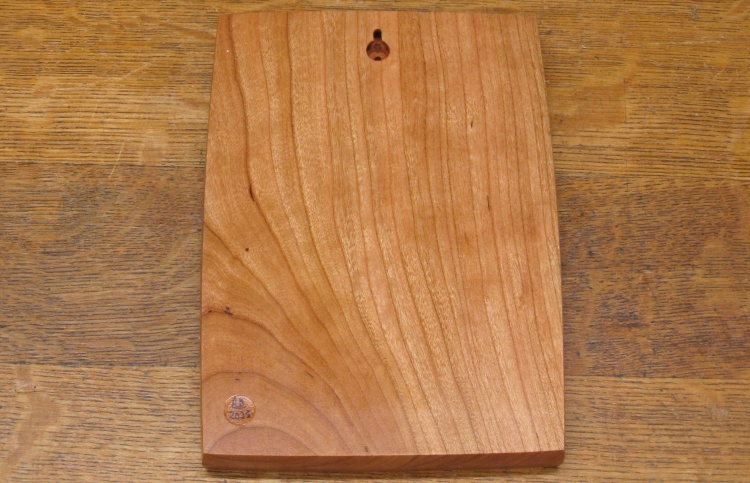
The obverse
The back has a keyhole for hanging similar to the tree.
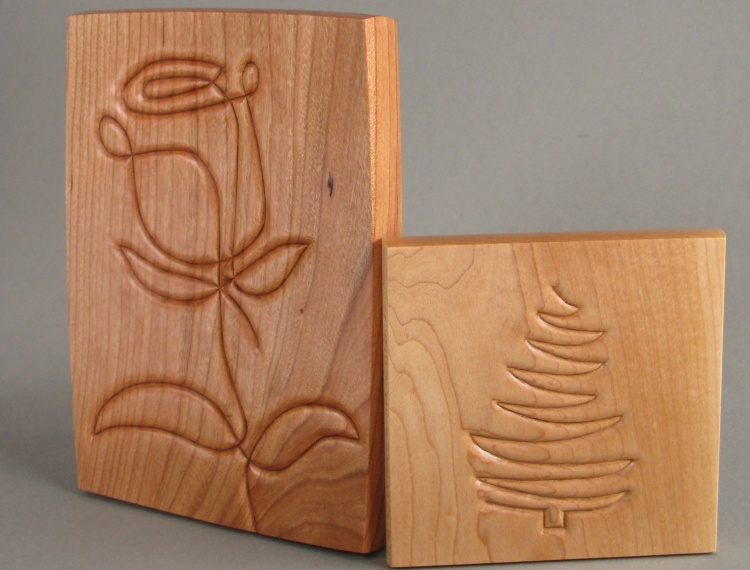
The complete set
Both together.


