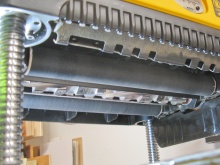
Rollers
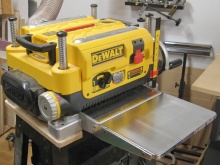
Planer
Benchtop planers are pretty handy in the workshop. They'll trim wood that's usually up to a foot wide down to a settable thickness. To do this they have a pair of rubberized drive rollers that pull the wood past a spinning cutting head. Unfortunately near the ends of the piece of wood, only one of the rollers is engaged so the forces are different than in the middle when both rollers are touching. Depending on the particular planer, its setup, the wood itself, and the phase of the moon, this can result in snipe where the ends of the wood are cut thinner than the middle section.
The snipe depth can vary from zero (good, obviously) up to maybe 5 mil (bad - about the thickness of 2 or 3 sheets of paper - you can feel it and often see it as well). In many cases this isn't a big issue and any visible thickness change can be sanded or planed out. However if the wood is to be laminated, even 1 or 2 mil is a problem.
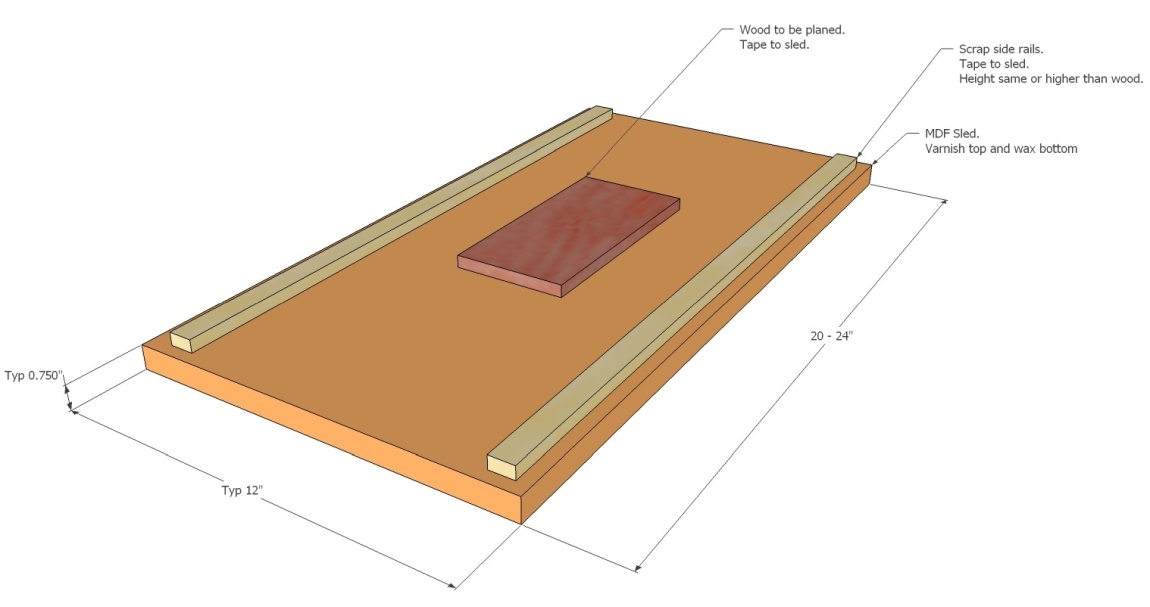
When the sled is used, the planer rollers engage the sled rails to drive it and the attached wood pieces through so any snipe occurs only at the end of the sled rather than at the end of the wood to be planed. Of course the wood must be about three inches inside the ends of the sled for this to be true.
The snipe depth can vary from zero (good, obviously) up to maybe 5 mil (bad - about the thickness of 2 or 3 sheets of paper - you can feel it and often see it as well). In many cases this isn't a big issue and any visible thickness change can be sanded or planed out. However if the wood is to be laminated, even 1 or 2 mil is a problem.
When the sled is used, the planer rollers engage the sled rails to drive it and the attached wood pieces through so any snipe occurs only at the end of the sled rather than at the end of the wood to be planed. Of course the wood must be about three inches inside the ends of the sled for this to be true.
The general concept
This sled will eliminate the snipe and provides a couple other advantages as well;
- There is normally a lower limit to the length of wood that can be put through the planer since the wood must be long enough to span the rollers (lest it be left untouched between them). The sled is driven from its rails so an arbitrarily short piece of wood can go through the planer on it sucessfully.
- Most planers have a lower height limit of around 1/8". The sled raises the working level so that even thinner pieces can be planed.
Of course the sled needs some sacrificial rails that get planed down to the same height as the targeted wood, but it's the rare shop that doesn't have a bunch of scraps that could be used for rails lying around.
One key factor is that the rails and wood must be attached securely to the sled. This is done using window-film tape which is a thin transparent double-sided tape. There are lots of brands of tape but the only one I've found that removes cleanly is a 3M product (2145C). Other tapes hold well but leave a gluey residue that must then be cleaned off.
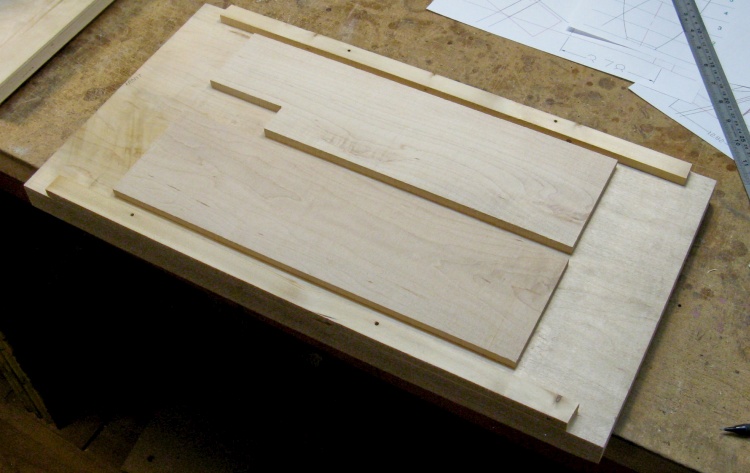
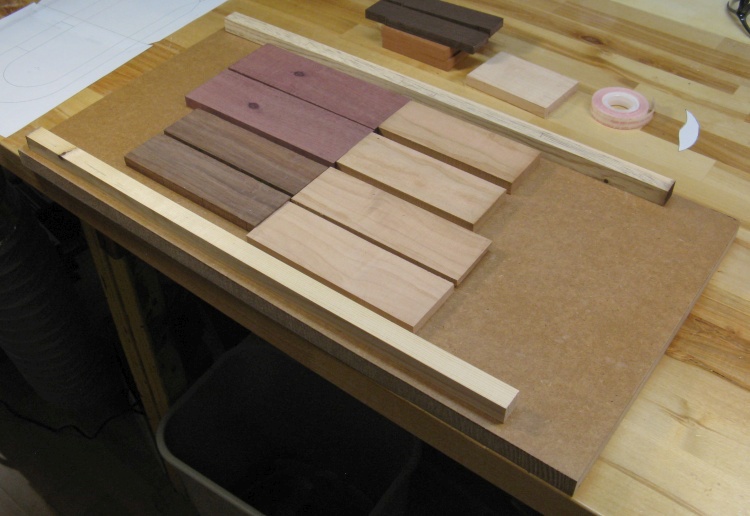
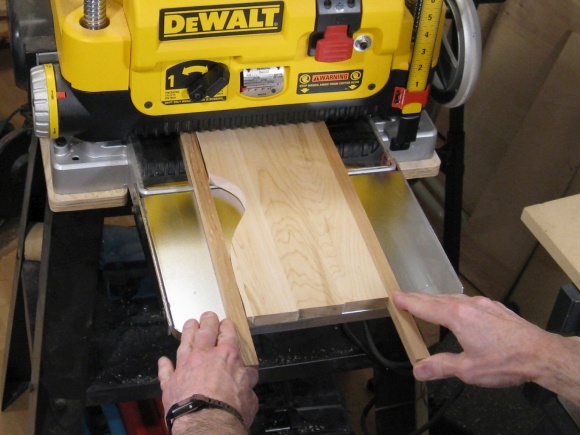
The original maple version
The first sled I used was just a large plank of maple as seen here. In this shot it has the rails and a couple of pieces of wood to be planed already taped down to it.
I used this for a few years and then decided that a piece of MDF would be preferrable since it would be very straight and flat. Besides, I needed the maple for something I was working on.
I used this for a few years and then decided that a piece of MDF would be preferrable since it would be very straight and flat. Besides, I needed the maple for something I was working on.
The Revision 2 MDF version
The MDF version was pretty similar (yes, just a rectangular plank).
MDF doesn't hold tape well so I varnished the top surface for better adhesion and also waxed the bottom which I imagined would let it slide through the planer more smoothly.
MDF doesn't hold tape well so I varnished the top surface for better adhesion and also waxed the bottom which I imagined would let it slide through the planer more smoothly.
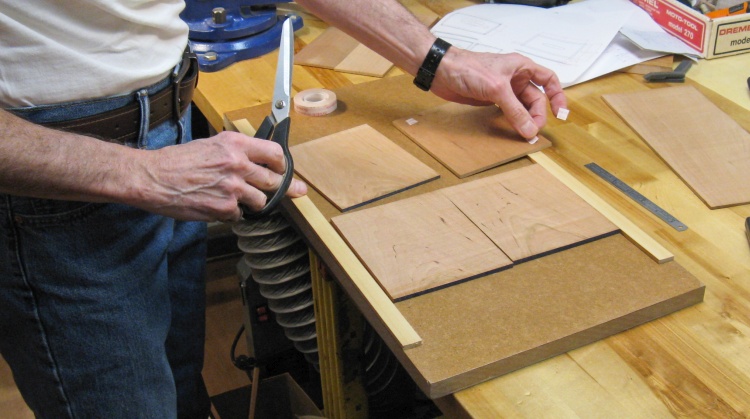
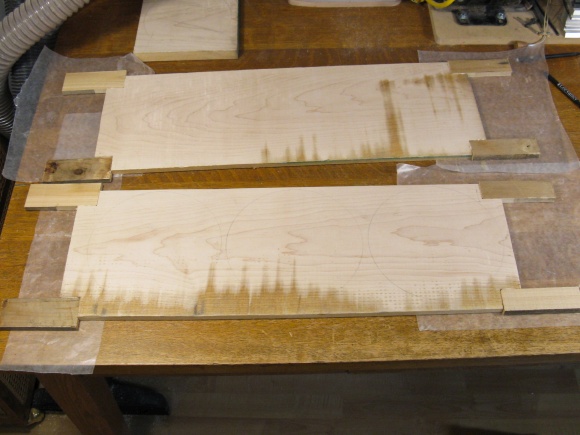
Taping on wood pieces
This is a shot of some pieces of wood in the process of being taped to the sled. I'm sticking squares of tape on each corner of a piece. The rails usually have three patches of tape to hold them down.
When the planing is done. I'll pry off the pieces and the rails using a thin spatula, then pull off the tape.
When the planing is done. I'll pry off the pieces and the rails using a thin spatula, then pull off the tape.
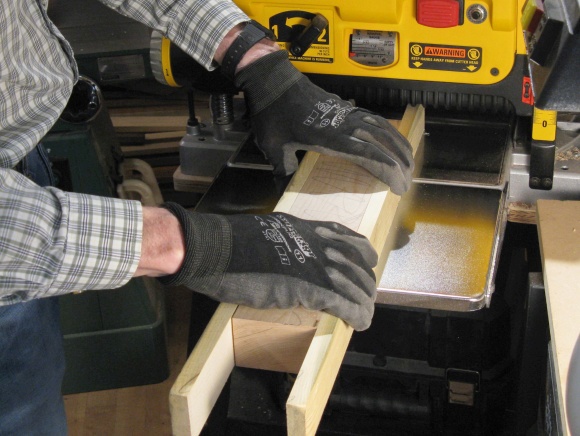
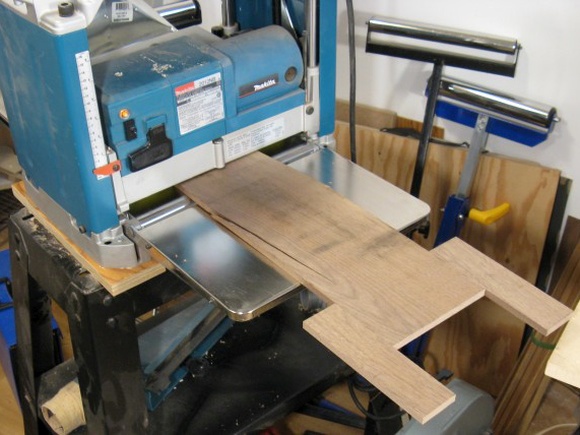
These are some pre-sled shots of various pieces of wood going through the planer (including the old blue Makita). They are all configured to prevent snipe, either through adding longer parallel rails or gluing on extending pieces to essentially move the ends past the good parts of the wood. They all worked fine but were somewhat less convenient than the sled.
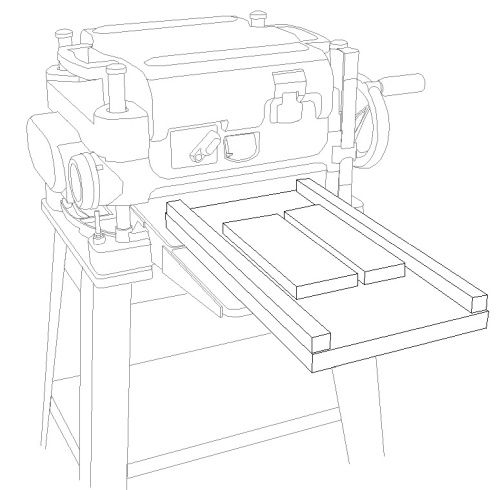
A planer sketch
One interesting thing about the sled is that it managed to make me a few bucks. I submitted it as a tip for Fine Woodworking magazine and it was published a mere 17 months later. They will pay $50 for a tip or $100 for a tip with drawings ($US!).
So of course I sent some drawings; the plan at the top and this sketch (traced out over a photo in a CAD program) along with a description, the sum of which resulted in the magazine page below.
So of course I sent some drawings; the plan at the top and this sketch (traced out over a photo in a CAD program) along with a description, the sum of which resulted in the magazine page below.
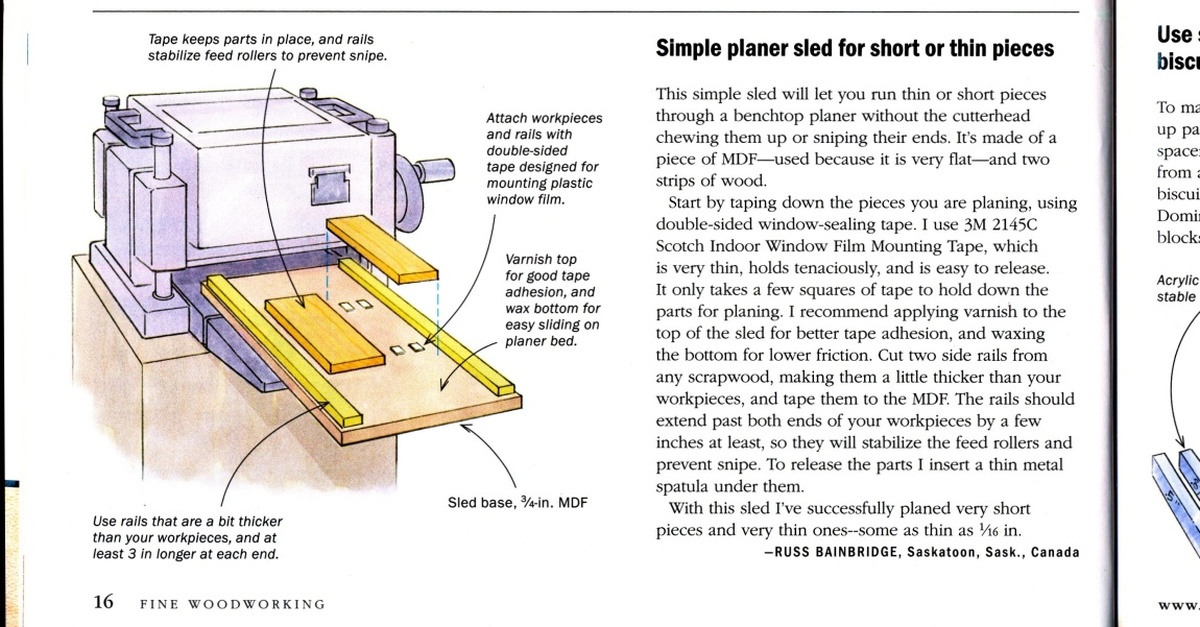
The tip in the mag


