Details
The proportions of our existing cutlery insert didn't match our cutlery selection very well so I thought a custom-made insert could help with that and as a bonus would be a bit less cheesy than the plastic version. This one is pretty simple, made of birch walls with a thin Baltic birch plywood floor and of course fits the drawer like a glove (assuming you'd wear a glove on the inside). It was actually made to match another wooden insert we had and is built with the same proportions, although I'll modestly state, much better joints.
This was built using a few measurements but without the benefit of computerized plans (egads!)
This was built using a few measurements but without the benefit of computerized plans (egads!)
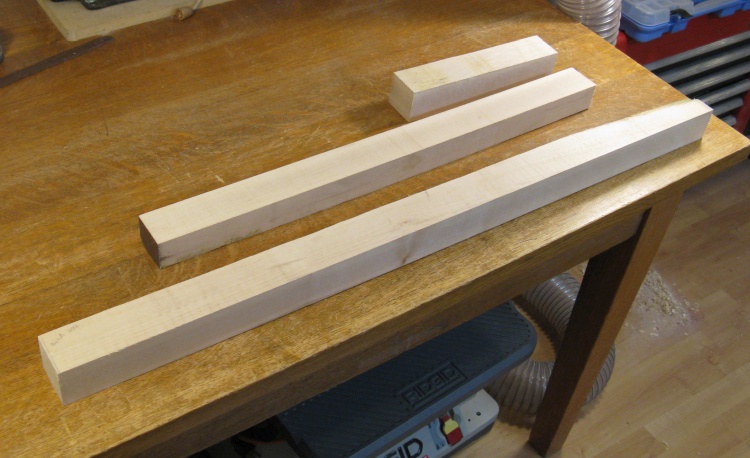
A few pieces of birch
I pulled out a few birch pieces left over from another project. These are nice straight-grained pieces with little visible grain which were ideal for the walls of the insert.
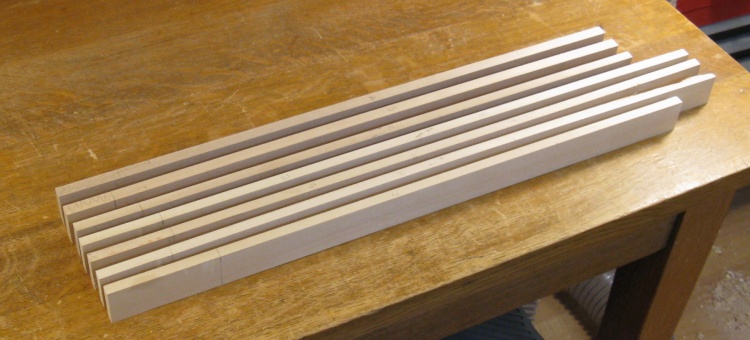
Sliced up closer to wall thickness
I started by slicing the pieces up into narrower versions and marking the best sections to use (since some of the corners and edges were a bit rough). These would be cut to length and then planed down to the final thickness.
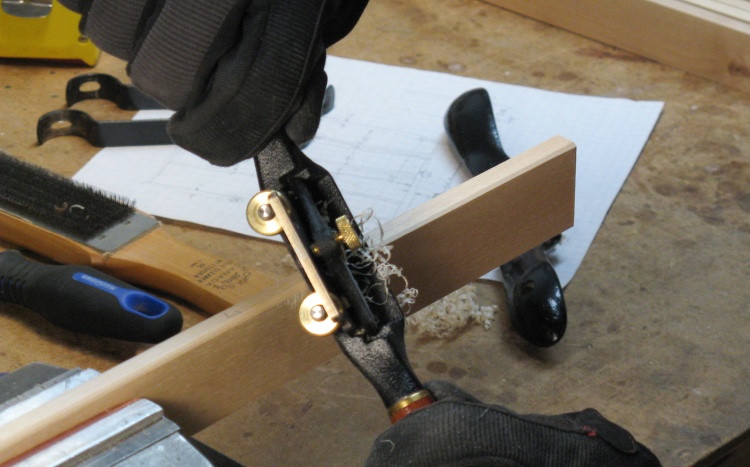
Narrowed walls getting rounded on top
The tops of the walls were to have rounded corners and those were formed using a spokeshave followed by sanding.
At points where the walls were to join other walls, the profile was left square so they could manually be blended together after assembly.
At points where the walls were to join other walls, the profile was left square so they could manually be blended together after assembly.
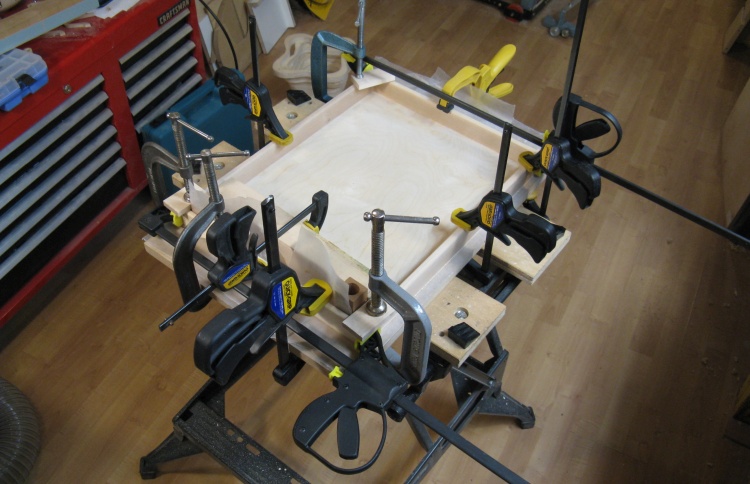
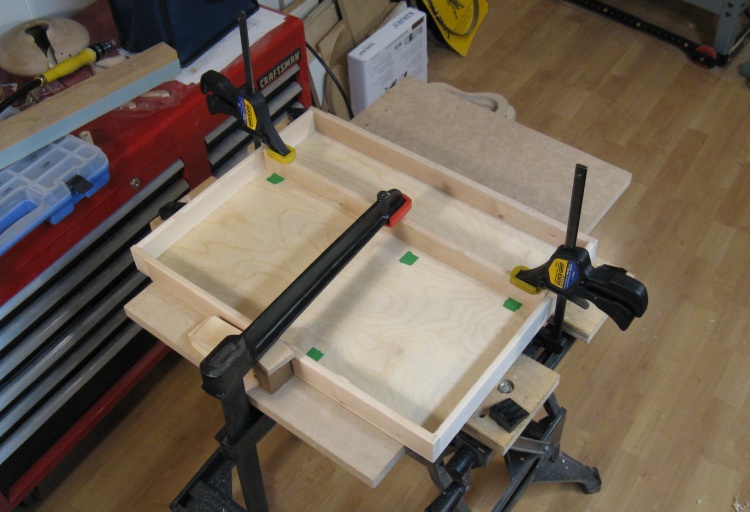
Gluing to a floor made from 1/8" plywood
I pulled out the venerable Black & Decker Workmate to use as a support for gluing.
Then the four walls forming the outside frame along with a rectangle of 1/8" Baltic birch plywood for the floor were assembled and glued together with the aid of a large and varied selection of clamps.
Then the four walls forming the outside frame along with a rectangle of 1/8" Baltic birch plywood for the floor were assembled and glued together with the aid of a large and varied selection of clamps.
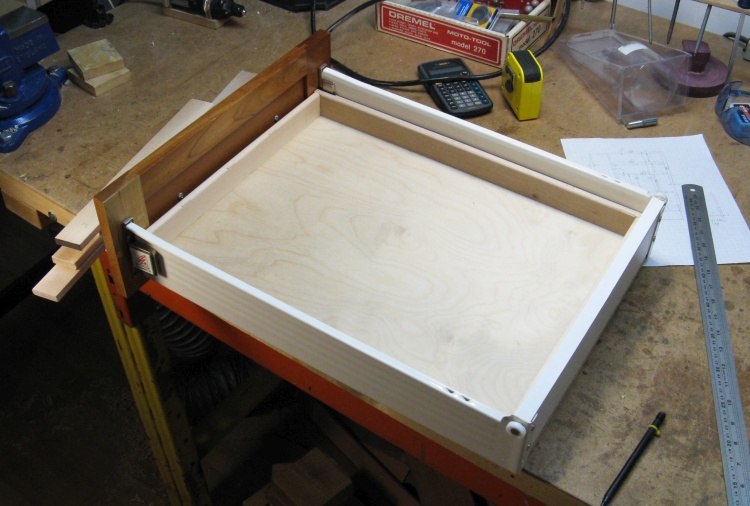
Doing a check of the fit
Before going any further I confirmed that the insert fit into the actual drawer.
Upon completion of action items arising from the Critical Fit Review (it might have required a tiny bit of trimming), I could move on to the rest of the assembly.
Upon completion of action items arising from the Critical Fit Review (it might have required a tiny bit of trimming), I could move on to the rest of the assembly.
Starting to glue in the inner walls
This shot shows the first of the internal walls going into place. I didn't use any fasteners in the construction - all pieces were held in place using glue.
And like the frame, the internal walls had rounded corners except where they were to join another wall.
And like the frame, the internal walls had rounded corners except where they were to join another wall.
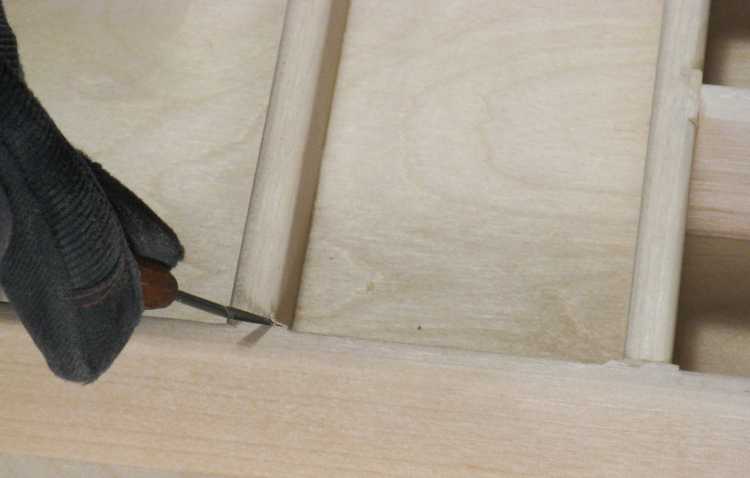
Contouring one of the joins
Once all the walls were in place, the locations of the joins were shaped to blend the curves of the intersecting walls together. I started by carving off the excess wood using a tiny-bladed knife as shown here.
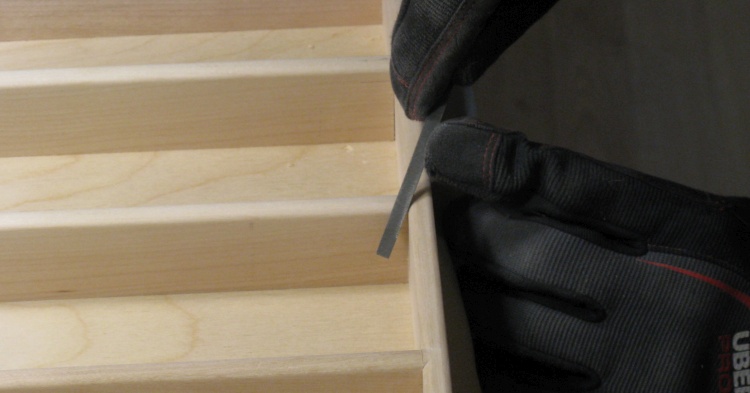
Smoothing out the join with a small file
The carving was followed by filing to finish rounding the curves.
The first coat of varnish on the insert
For the finish I used three coats of Minwax Wipe-On Polyurethane varnish, with light sanding between coats.
In this shot the first coat of varnish has just been brushed on.
In this shot the first coat of varnish has just been brushed on.

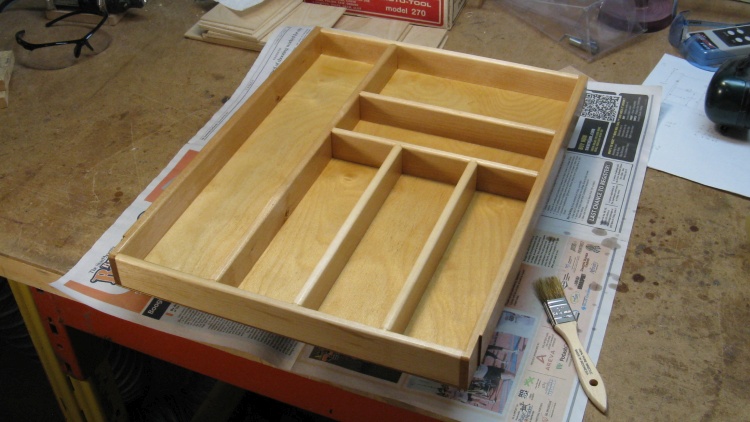
Done and dried
A couple varnish coats later and the insert is done.
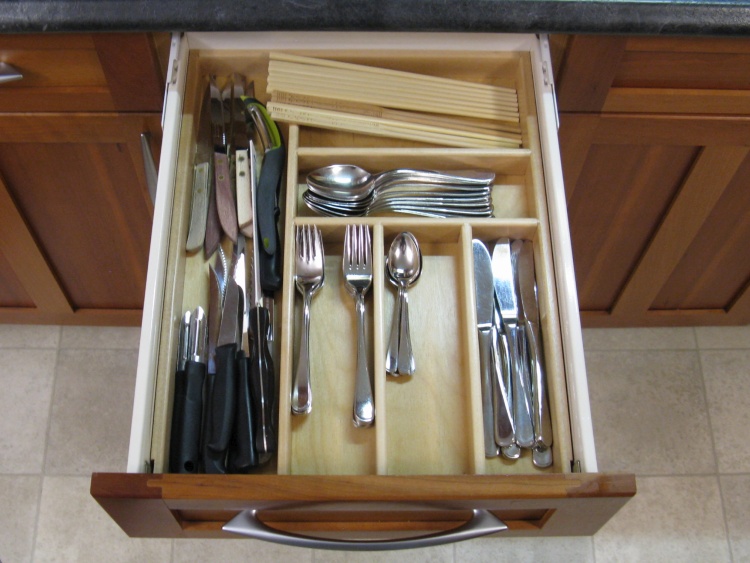
Loaded with cutlery
The insert in place, with unnaturally-neat cutlery stacks.
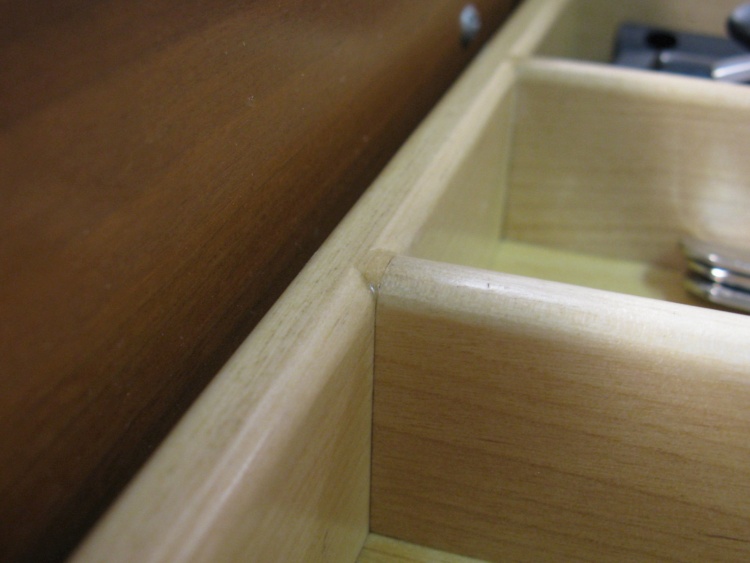
Detail of the wall-to-wall joins
And finally a close-up of one of the wall intersections and below, the commercial version. Ha!
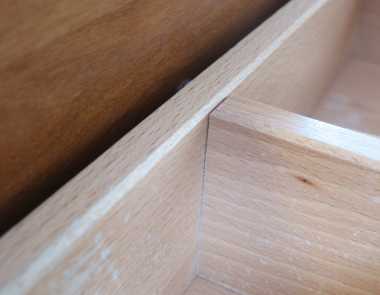
Commercial version


