Details
We store a selection of nuts in translucent containers with snap-on covers. The containers do stack but it takes some digging to get to any but the top ones. This little mini-shelf holds seven of the containers and permits individual access, plus lets things sit on top for a bit more efficiency. It is completely made from 1/8" Baltic birch plywood.
This is a pretty handy shelf although we do need to try to avoid stacking things in front of it.
This is a pretty handy shelf although we do need to try to avoid stacking things in front of it.
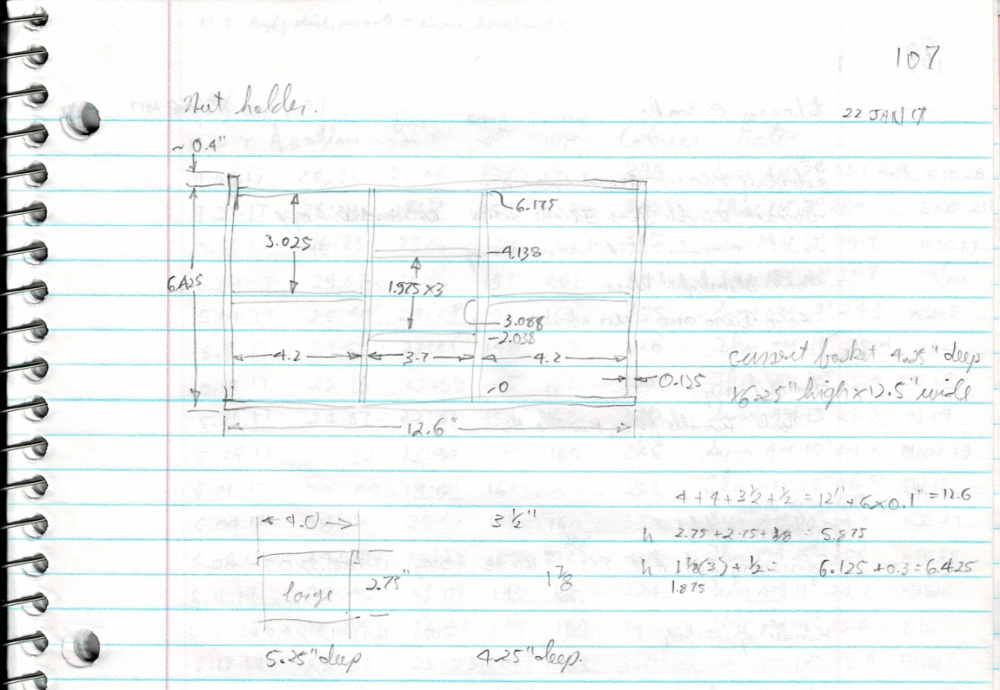
The paper plans
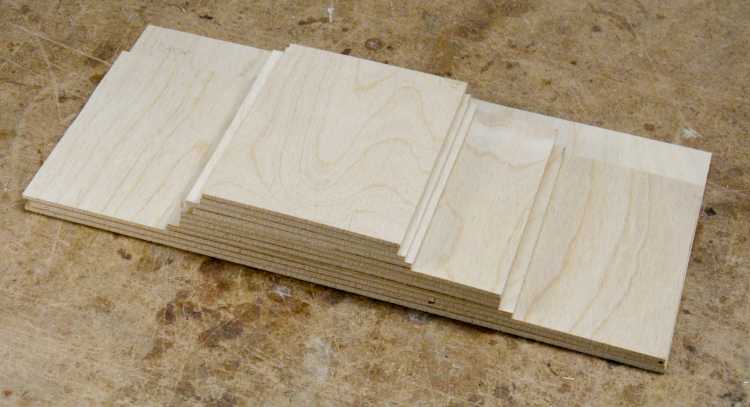
11 pieces of 1/8" plywood
I sliced up a sheet of plywood using the bandsaw and that resulted in this little stack of 11 pieces needed for the shelf.
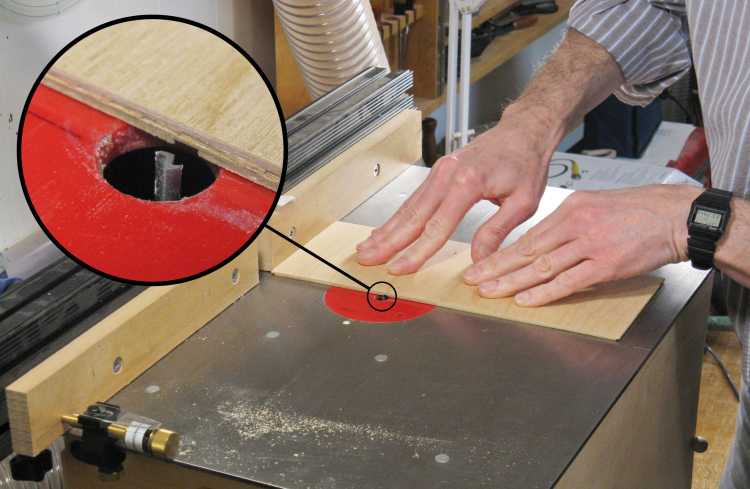
Routing the bottom
All the pieces except the back and shelves were given shallow slots to more-securely hold intersecting pieces.
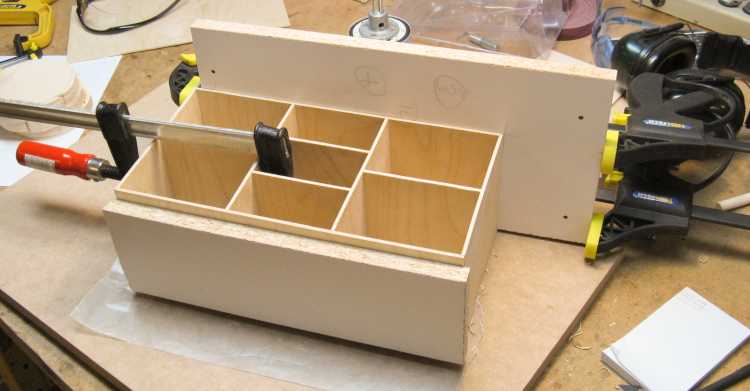
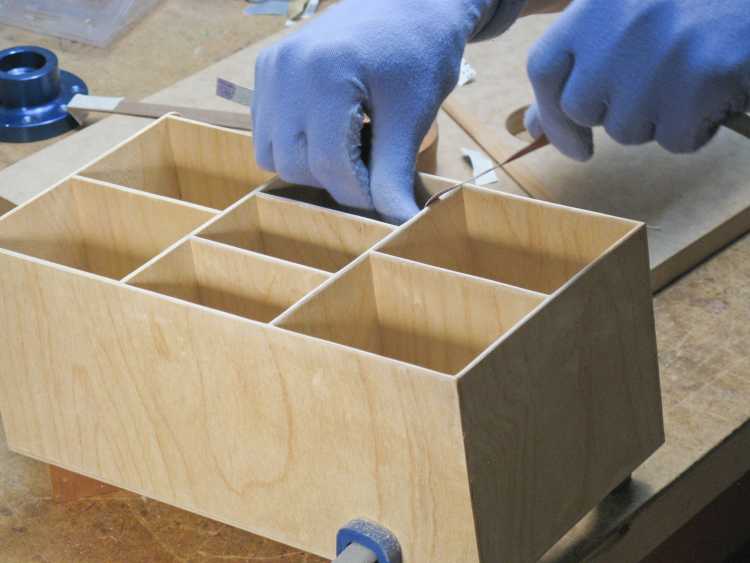
Gluing the walls together
With the aid of a couple scraps of Melamine to help keep things flat, the shelf pieces were assembled with glue in the slots to hold everything together.
I did the gluing in two stages to simplify things with this photo showing the second stage.
I did the gluing in two stages to simplify things with this photo showing the second stage.
Sanding the front edges round
The front edges of the shelves were rounded to look a bit more finished. Most of that was accomplished with strips of sandpaper as seen here.
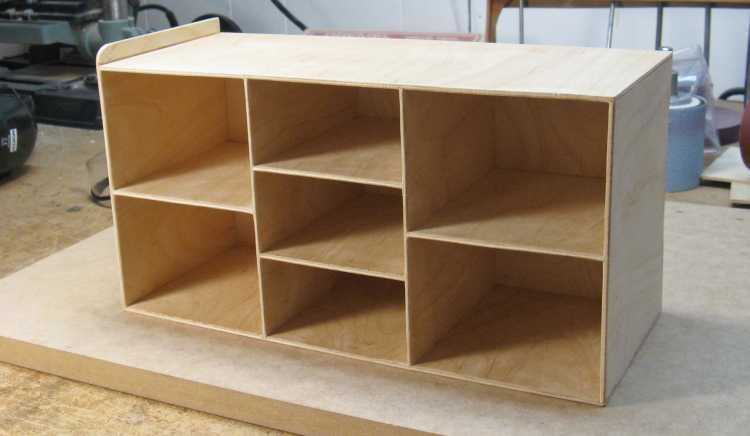
Done and ready for testing
Here the shelf is ready for a check of the fit.
The taller left side is there to prevent any items set on the top from sliding off that end.
The taller left side is there to prevent any items set on the top from sliding off that end.
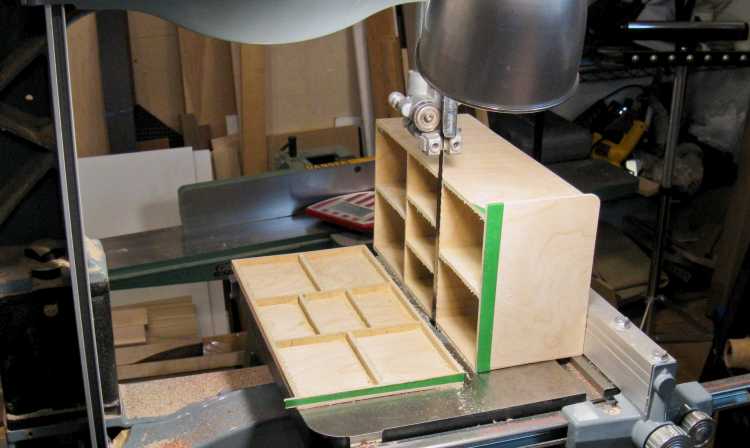
The results of a test failure
The depth of the shelves had been made to match the containers, but that turned out to be a bit too deep to be able to easily get them out.
The depth was going to need to be reduced and that was done by simply cutting off 0.3" or so using the bandsaw, followed by gluing on a replacement back.
The depth was going to need to be reduced and that was done by simply cutting off 0.3" or so using the bandsaw, followed by gluing on a replacement back.
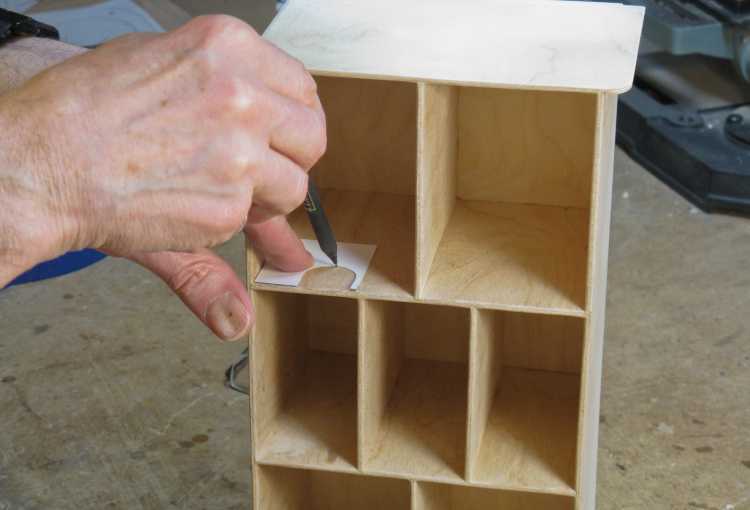
Marking thumb notches
The shelves also needed clearance to allow fingers to grip the sides of the containers, so I added notches to the sides.
In this shot I'm tracing on a notch using a cardboard pattern.
In this shot I'm tracing on a notch using a cardboard pattern.

Grinding out the thumb notches
The notches were a bit tricky to cut since the walls were not accessible to regular saws. Instead I ground notches into the walls using an abrasive bit as shown here.
That was followed up with a sanding drum to smooth off the rather coarsely-ground edges.
That was followed up with a sanding drum to smooth off the rather coarsely-ground edges.
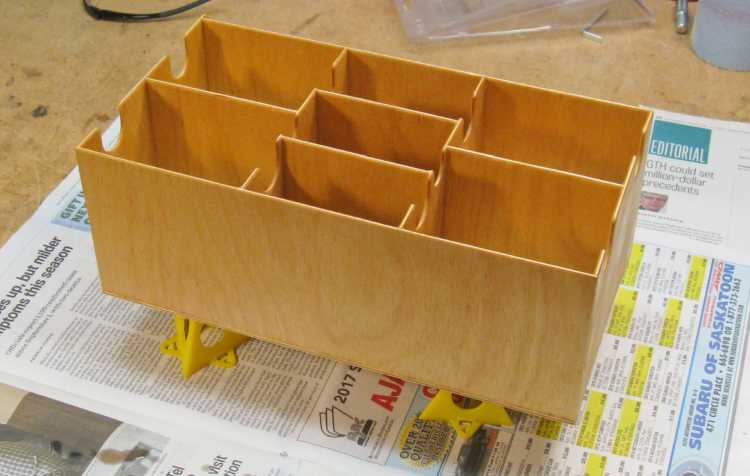
First coat of varnish applied
After the edges of the new notches were rounded, the shelf could have the finish applied. This shot shows the first coat of varnish, still wet.
Like most of the other "kitchen stuff", this received three coats of Minwax Wipe-On poly in a satin finish with light steel-wool sanding between coats.
Like most of the other "kitchen stuff", this received three coats of Minwax Wipe-On poly in a satin finish with light steel-wool sanding between coats.

The completed mini-shelf
A shot of the completed unit.
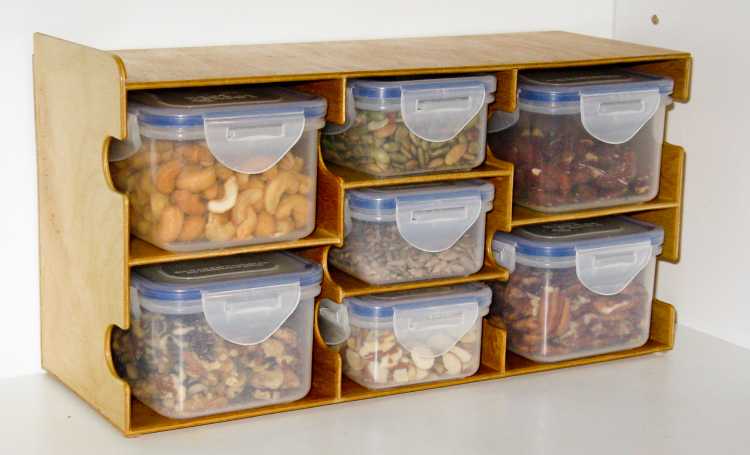
The shelf with a full load of nuts
Here the shelf is in place and filled with nut (and technically, seed) containers.
The three smaller containers in the middle are not as long as the others so I added foam to the back of their cubbyholes so the fronts were even with the others.
The three smaller containers in the middle are not as long as the others so I added foam to the back of their cubbyholes so the fronts were even with the others.


