Details
These are simple open-topped boxes made to hold spice containers - primarily the plastic bags in which bulk spices are often packaged. The two boxes stack for a more efficient footprint, and the top box can be slid in and out to make that easier to do.
While it wasn't really required for strength, the front corners have box joints, although the back wall is just glued into side-wall notches (AKA rabbets). The upper box is tall enough to hold upright bags while the bottom will fit bags or bottles laying flat.
While it wasn't really required for strength, the front corners have box joints, although the back wall is just glued into side-wall notches (AKA rabbets). The upper box is tall enough to hold upright bags while the bottom will fit bags or bottles laying flat.
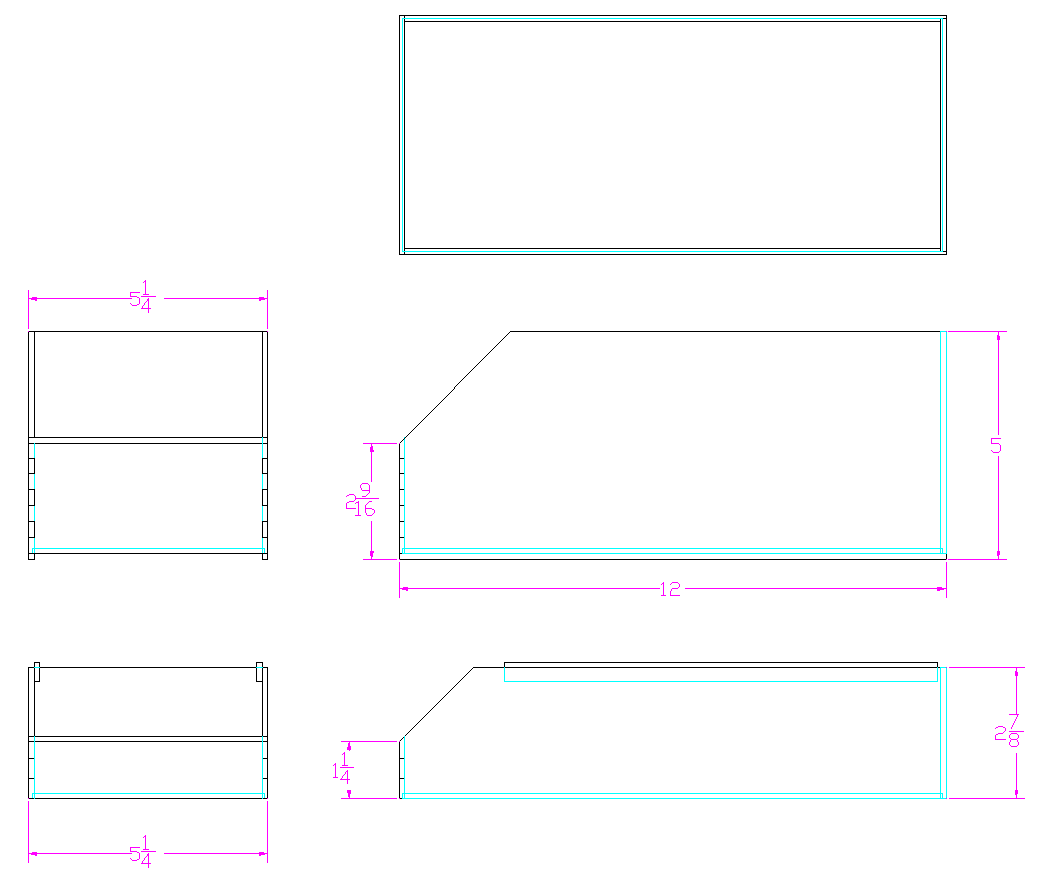
The box plan, with fractional dimensions for some reason
Buying spices at the grocery store always seems to be hit-and-miss. Every grocery chain at which I've regularly shopped have had trouble keeping spices stocked. If their main type is out of stock on a specific spice, you might be able to find it in different container formats, especially for the popular ones. But sometimes that doesn't work either and you are Tarragon-less (or whatever) for at least another week or a trip to an alternate store.
And what's with the spice prices? You can go to the bulk aisle and find say cinnamon for $0.7/100g but in the spice aisle it's $3/150g in a bag or an eye-watering $7/42g in a bottle. Maybe those glass bottles are really expensive...
And what's with the spice prices? You can go to the bulk aisle and find say cinnamon for $0.7/100g but in the spice aisle it's $3/150g in a bag or an eye-watering $7/42g in a bottle. Maybe those glass bottles are really expensive...
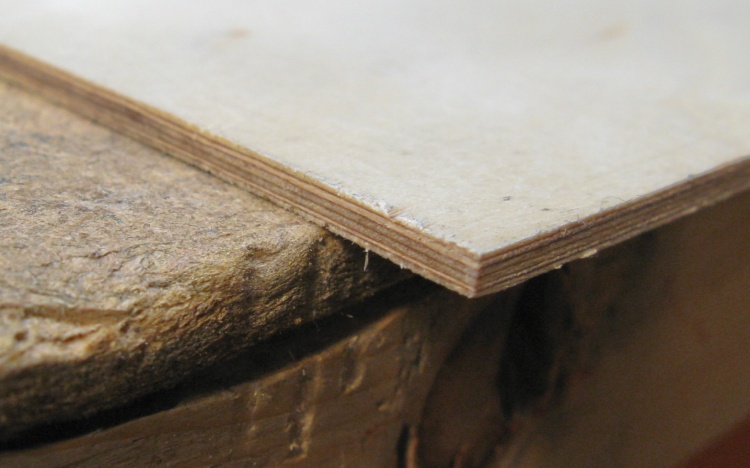
Lots of plys in that 1/8" plywood
I used Finnish Birch plywood for the boxes (also known as aircraft plywood). It has more layers than your garden-variety plywood or even Baltic birch. As a result it is more rigid and probably less likely to warp as well.
This 1/8"-thick example has 6 plies.
This 1/8"-thick example has 6 plies.
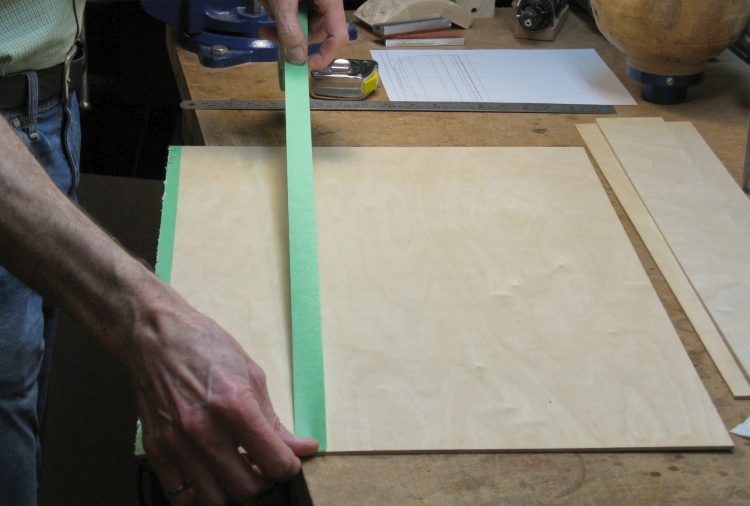
Adding masking tape to reduce splintering from the bandsaw blade
The bandsaw often leaves splinters around the cut so to help prevent that I added masking tape to the bottom which was firmly pressed to the surface.
In fact, the splinters are really only a problem when cutting across the grain as opposed to with the grain as shown here, but I ended up using the tape for both directions until I figured that out.
In fact, the splinters are really only a problem when cutting across the grain as opposed to with the grain as shown here, but I ended up using the tape for both directions until I figured that out.
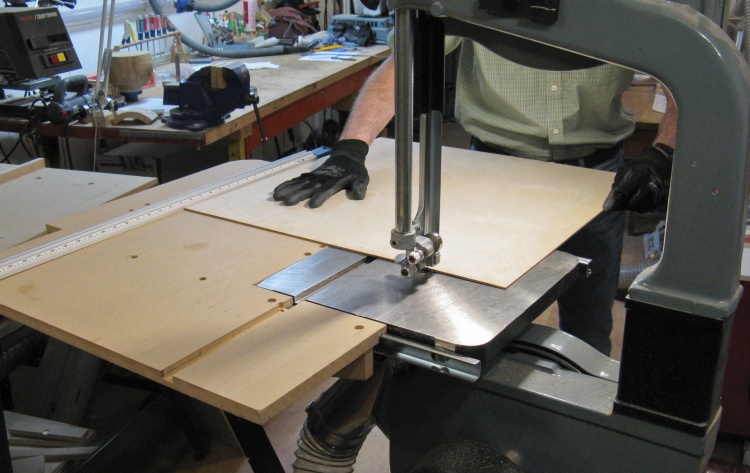
Chopping up the plywood
I deployed the bandsaw extension table to help support the plywood. The clamp-on guide was set for the desired width and here I'm starting to make a cut.
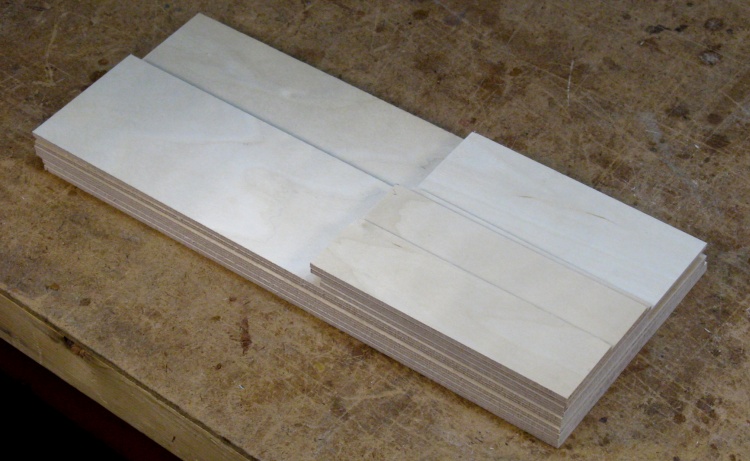
All the pieces cut to size
A bit of bandsaw work produced the small stack of pieces shown here.
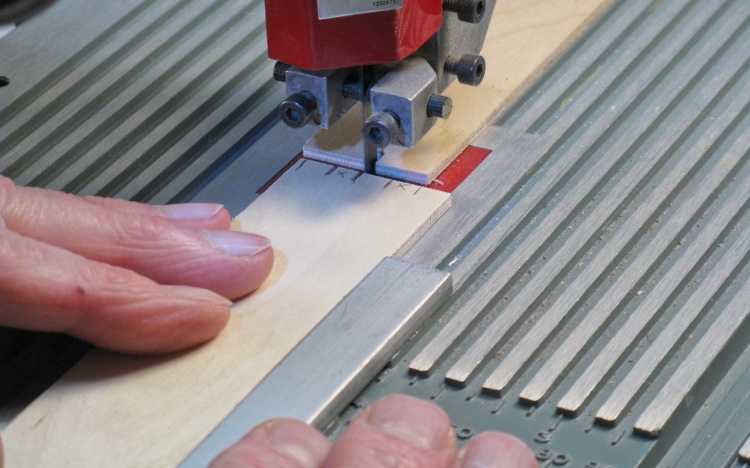
Cutting joints on small bandsaw
The box joints for the front corners were not very critical so I just set up the small bandsaw to cut them manually. That setup mostly included a stop board to limit the length of the cut.
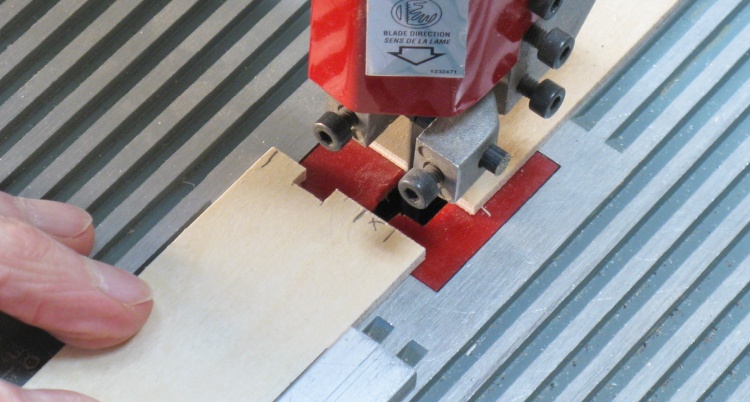
One of the slots cut out
Here one of the notches has been cut out. Since it wasn't very wide, I just used multiple side-by-side cuts to remove the wood in the notch.
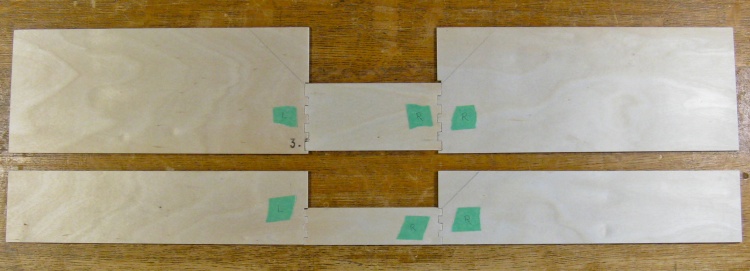
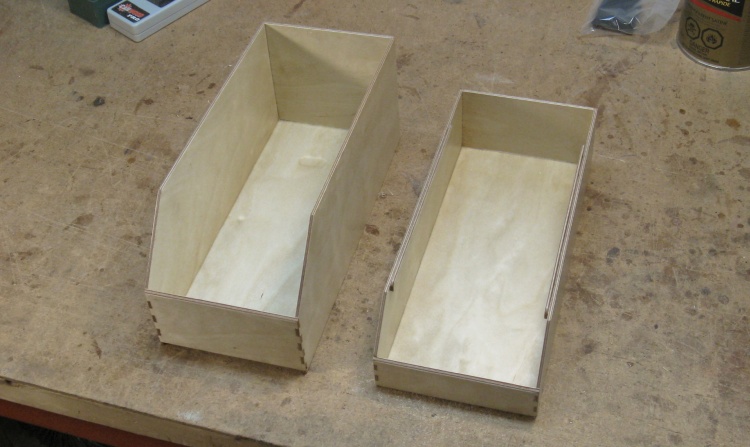
Both boxes with sides fitted together
The box fronts got assembled flat to check the fit and everything looked fine.
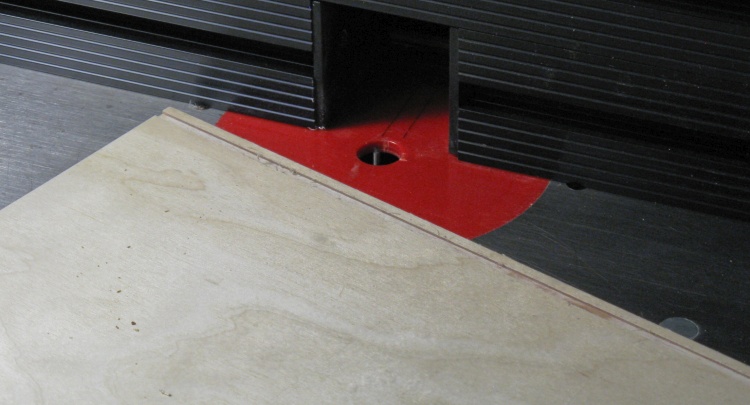
Cutting slots for the floor
The box walls received a bit of routing to form slots for other sides or floor to fit into.
Boxes assembled
And then with a bit of assembly using a bit of glue, the boxes were put together.
The sides had been chamfered prior to assembly and then after the glue was dry;
- the excess joint lengths were sanded off,
- the fronts were tapered to match the sides,
- small walls were added to the short box to enable stacking and sliding.
The sides had been chamfered prior to assembly and then after the glue was dry;
- the excess joint lengths were sanded off,
- the fronts were tapered to match the sides,
- small walls were added to the short box to enable stacking and sliding.
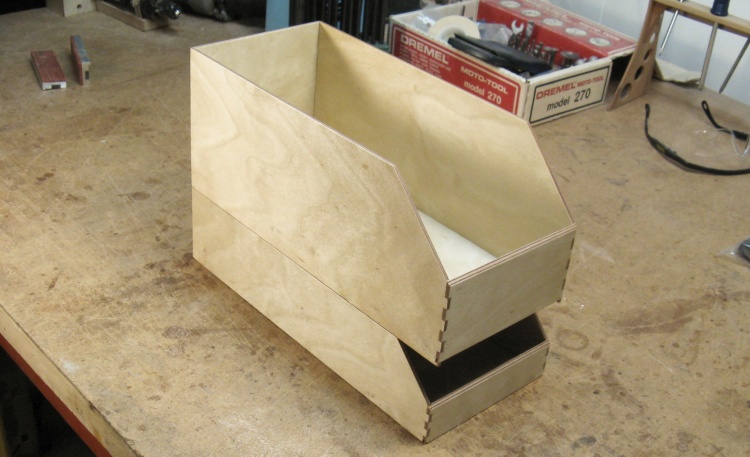
The boxes stacked
This shows the stacked configuration of the boxes.
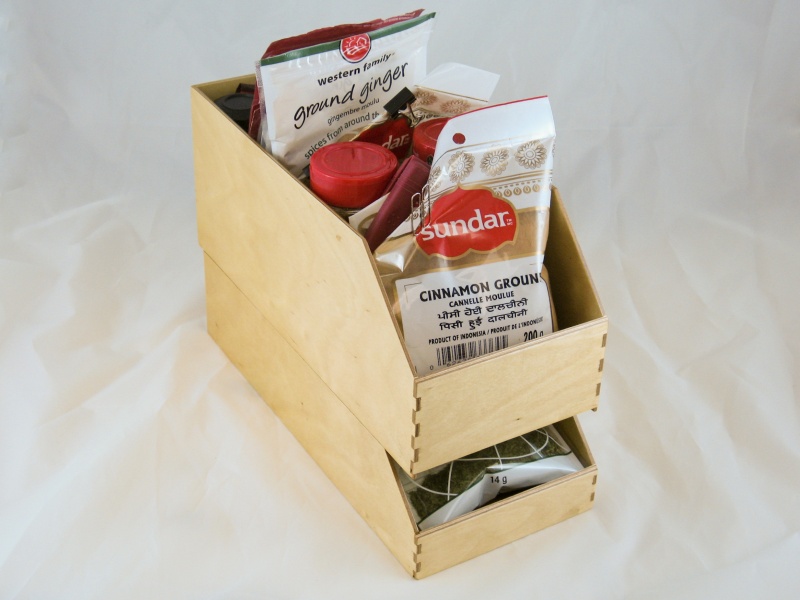
Done & stuffed with spices
The boxes in action.


