Details
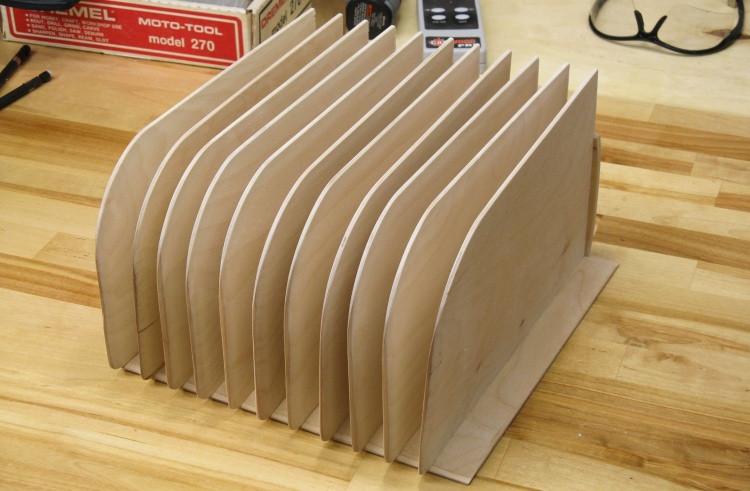
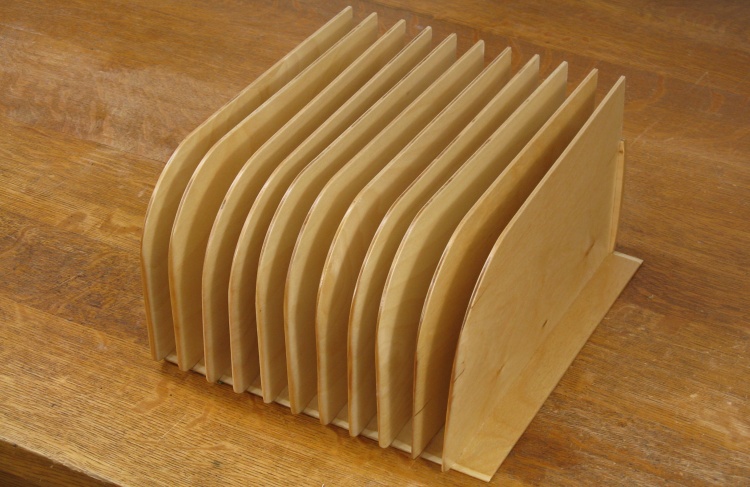
So I'll admit that the rack is not especially pretty - in fact warping of the plywood results in uneven spacing of the walls - but it does the job. Now we can extract or put away a trivet without needing the use of a second hand to make space or prevent a collapse.
When coming up with the design I considered some more wood-efficient versions but they were all effort-inefficient so I stuck with the simple design of solid 1/8" plywood walls in a slotted floor and back as the rather crude drawing below illustrates.
When coming up with the design I considered some more wood-efficient versions but they were all effort-inefficient so I stuck with the simple design of solid 1/8" plywood walls in a slotted floor and back as the rather crude drawing below illustrates.
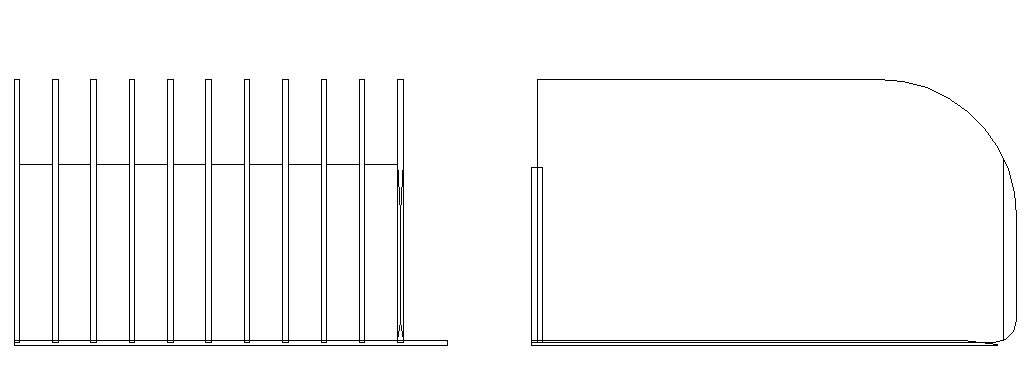
A very basic plan
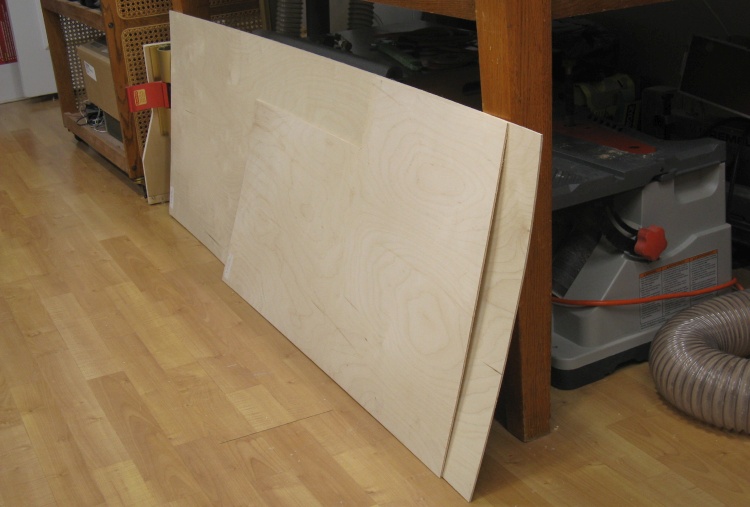
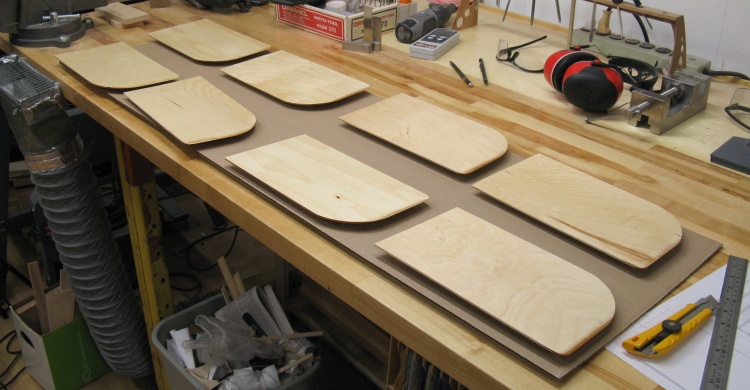
A decent expanse of 1/8" plywood
I had the smaller board shown here on hand but that wasn't going to be quite enough wood so I had to get another sheet.
That made it seem like this rack was going to use a huge amount of wood but in fact it only uses a huge amount of area - about 3/4 of the larger board. That works out to less than one board-foot which is actually a pretty modest amount.
That made it seem like this rack was going to use a huge amount of wood but in fact it only uses a huge amount of area - about 3/4 of the larger board. That works out to less than one board-foot which is actually a pretty modest amount.
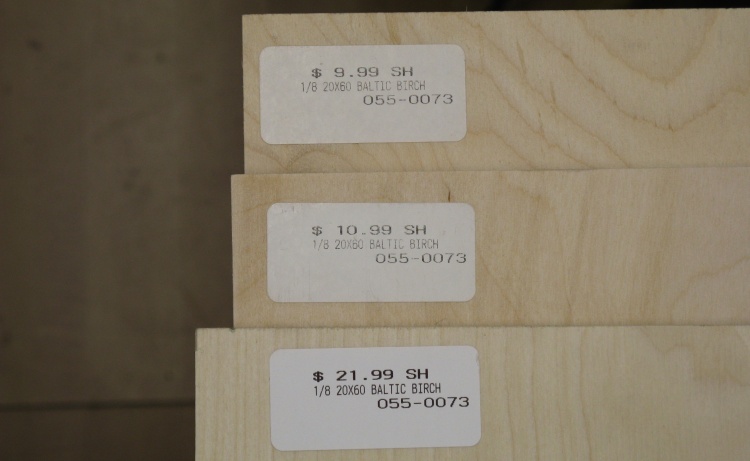
Old, more recent and new
It looks like the crazy post-COVID lumber prices are still in effect for Baltic Birch plywood.
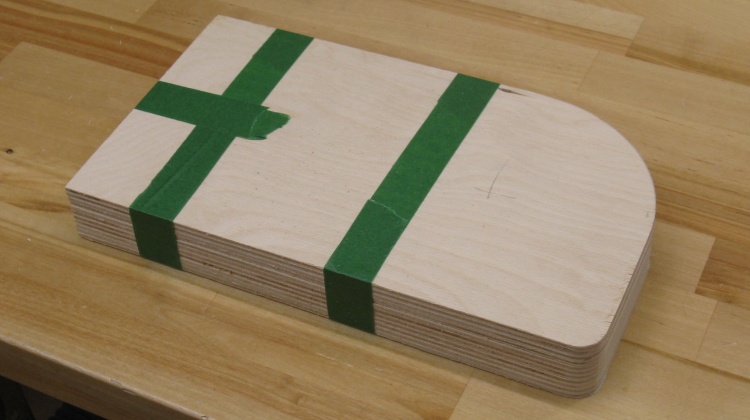
The bundle of 11 walls after shaping
Plywood is nice since you don't need to worry about the thickness or flatness - just shape.
This photo shows the 11 walls taped together so they could have their corners rounded in a single operation.
This photo shows the 11 walls taped together so they could have their corners rounded in a single operation.
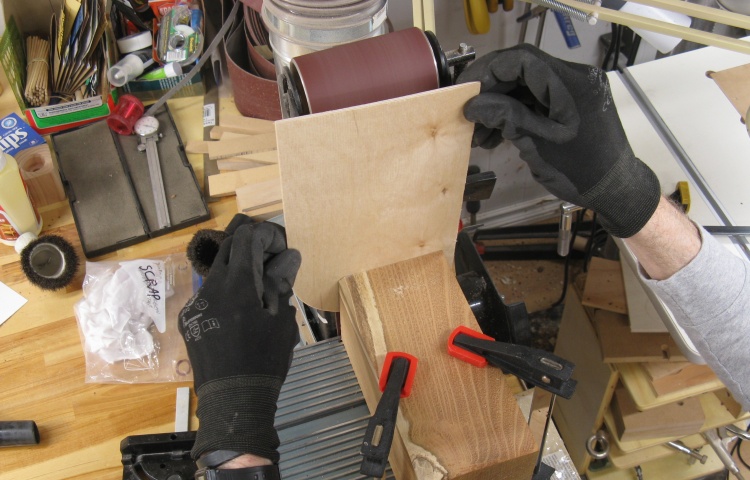
Tapering the front edge
I decided to taper the front edges to make it easier to insert boards. But given the 1/8" wall thickness this probably wasn't necessary - just rounding them for a finished look might have been a better choice.
At any rate this is a shot of the front edge of one of the walls being tapered by sanding on the belt sander (with the aid of a nice block of Black Locust that I'll have to turn into something less square some day).
At any rate this is a shot of the front edge of one of the walls being tapered by sanding on the belt sander (with the aid of a nice block of Black Locust that I'll have to turn into something less square some day).

Routing slots in the floor piece
The bottom and back both needed 1/8"-wide slots to hold the walls. The 1/8" bottom piece being routed here has the slots cut only about 0.05" deep while the 1/4"-thick back received 0.1"-deep slots.

Cleaning up the slots
Here I'm using a small file to clean up the edges of the slots.
The walls are piled nearby and the wood collection in this photo is all that is needed for the rack.
The walls are piled nearby and the wood collection in this photo is all that is needed for the rack.
A dry run of the rack assembly
I did a dry assembly of the rack to make sure everything fit as expected.
The fit was good but I didn't want to have to try to varnish down into the square-cornered canyons between the walls, so I decided to add the finish prior to gluing things together.
The fit was good but I didn't want to have to try to varnish down into the square-cornered canyons between the walls, so I decided to add the finish prior to gluing things together.
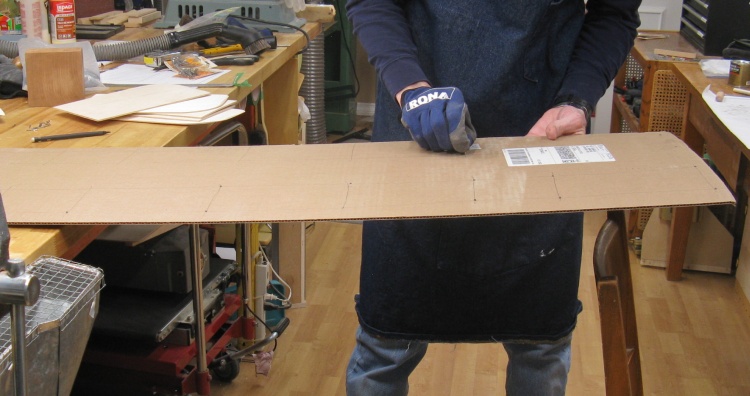
Making a temporary varnish drying bed
There were 13 pieces to varnish and I didn't have a good way to hold them all while they dried. I ended up making this temporary drying bed out of a sheet of cardboard and a bunch of 5/8" common nails that I poked through to hold the pieces up off the surface.
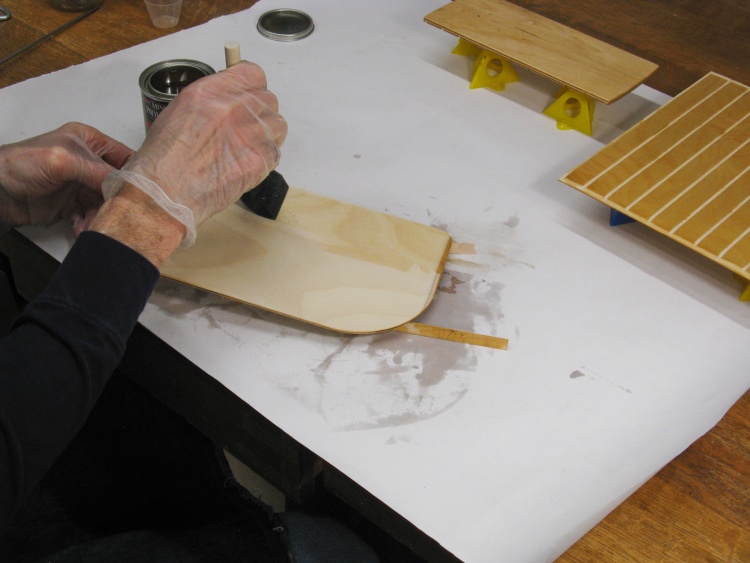
Varnishing individual pieces
The varnishing was pretty straightforward since all the pieces were flat. I just had to be careful to avoid getting varnish in the slots and on the edges where the glue will eventually need to go.
The drying bed populated with wet pieces
I used my usual finish of three coats of Minwax Fast-dry Polyurethane varnish, with light sanding between coats.
This shot shows the drying bed in action with the other pieces scattered elsewhere in the shop.
This shot shows the drying bed in action with the other pieces scattered elsewhere in the shop.
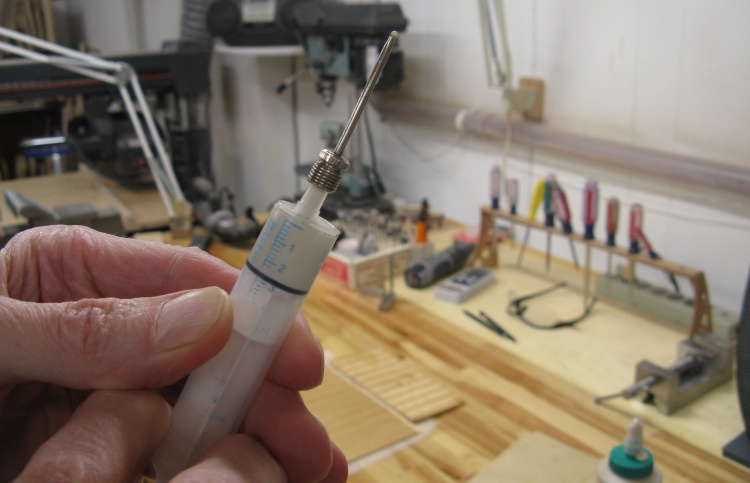
A precision glue-application tool
The glue needed to be applied precisely into the 1/8"-wide slots so just using the glue bottle nozzle wasn't going to cut it. I opted instead for a syringe with a modified inflation needle that was able to deliver a very small-diameter glue bead.
Here I've got a couple ml of glue in the syringe and I'm getting rid of any air bubble.
Here I've got a couple ml of glue in the syringe and I'm getting rid of any air bubble.
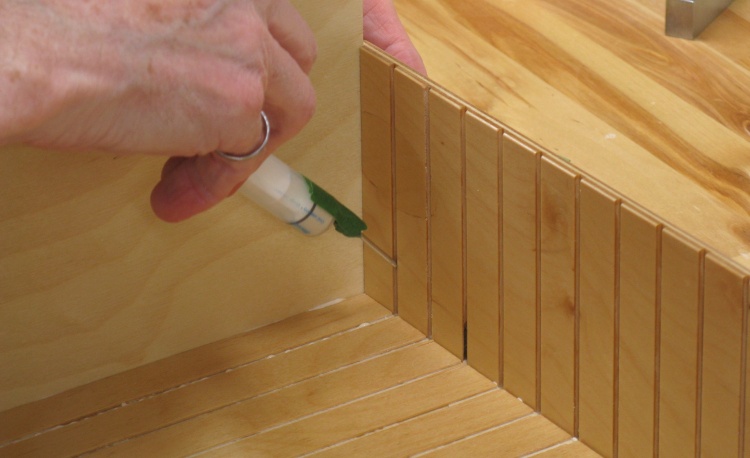
Precisely applying glue
Then it was just a matter of laying a small bead of glue in the slots and sliding in the walls. The friction was enough to keep everything in place without clamping.
The syringe in this cobbled-together arrangement might have come from Canadian Tire but I think Lee valley has glue syringes with tips that don't need to be masking-taped in place. Gotta add those to my list...
The syringe in this cobbled-together arrangement might have come from Canadian Tire but I think Lee valley has glue syringes with tips that don't need to be masking-taped in place. Gotta add those to my list...
All done
And after a bit of drying time, the rack is done.
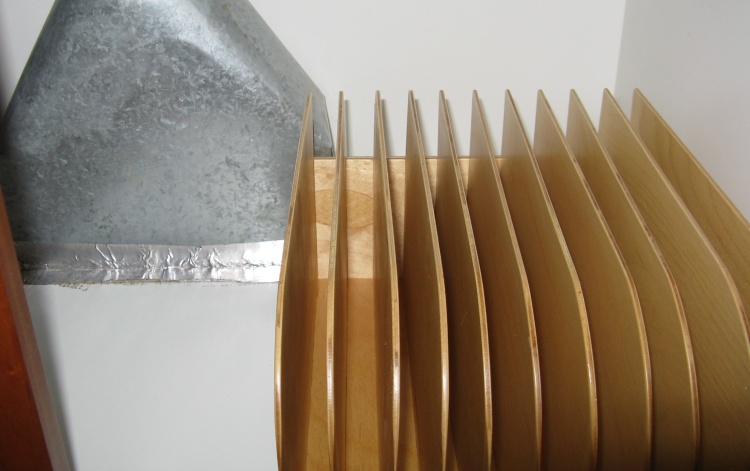
Oops. Where'd that duct come from?
So then it was just a matter of putting it into place.
Except there seemed to be some sort of problem; the rack was too wide to fit beside the duct at the back of the shelf. Oops - I apparently forgot to measure that width.
Except there seemed to be some sort of problem; the rack was too wide to fit beside the duct at the back of the shelf. Oops - I apparently forgot to measure that width.
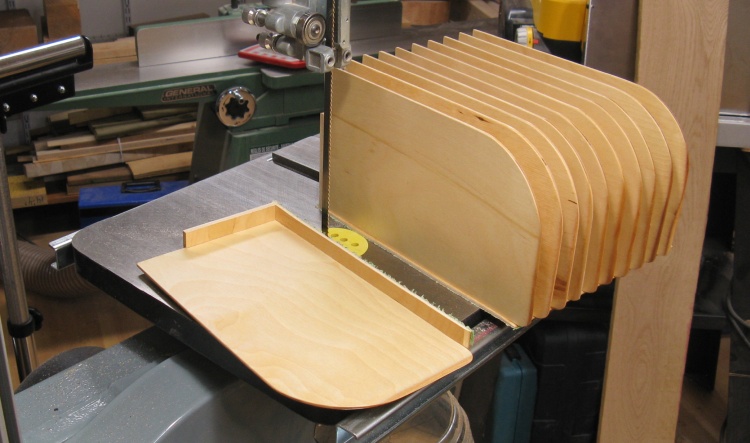
"Tweaking" the width by one slot
Well, I didn't want to modify the duct so that meant the rack got the chop.
I just cut off the end slot as shown here. The rack was made with a couple extra slots so one less wasn't a big issue.
I just cut off the end slot as shown here. The rack was made with a couple extra slots so one less wasn't a big issue.
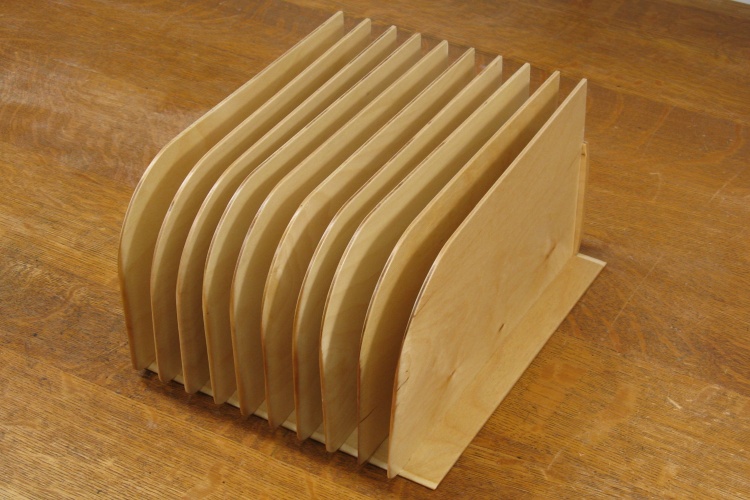
OK, this time it's done
So then after a bit of sanding followed by varnish touch-up on the newly-exposed edges, the (10% shorter) rack was, again, done.
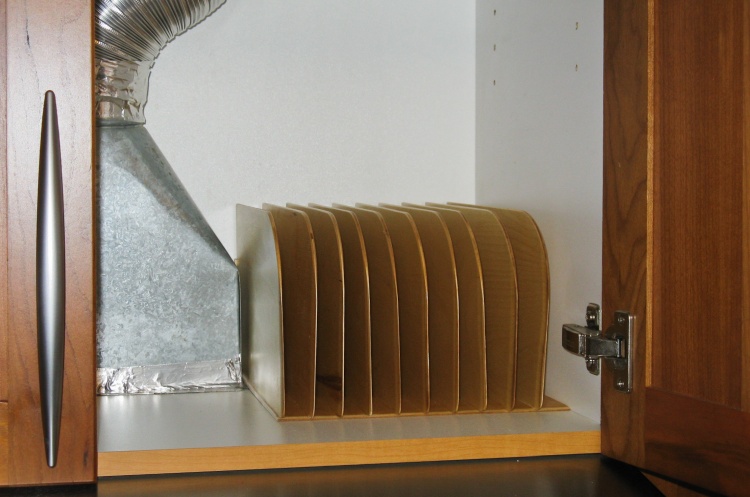
See? Perfect fit
It went into place a bit easier this time.
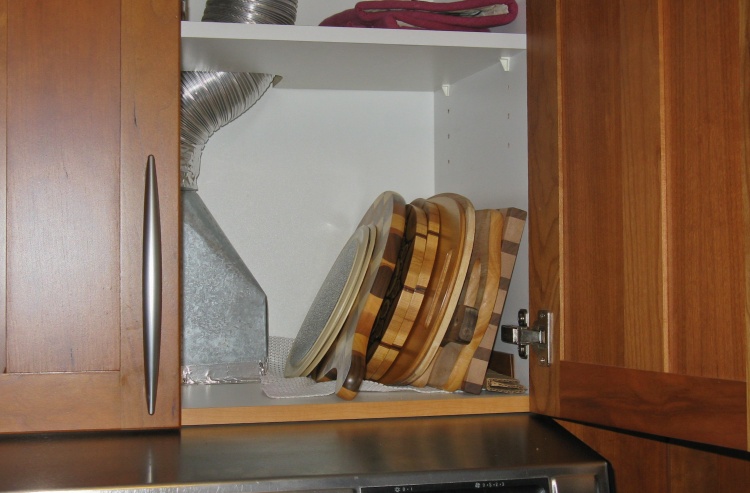
The pile 'o boards
This shows the current (nicely stacked for the photo) selection of boards just ready to slide down and lay flat.
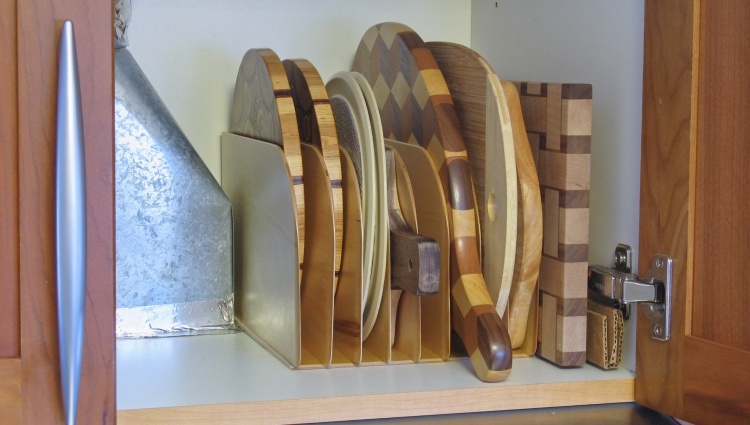
The rack in action
Order! Order in the cupboard!


