A replacement knife handle seemed like a nice simple project, and the curved shape also appealed to my aesthetic sense. It looked pretty good when done but time will tell how well it holds up compared to the original plastic (or, "bonded synthetic resin" in the words of the manufacturer). Yah - plastic.

Outline including tang protruding into the handle
The first question was what material to use. Well, wood of course (although I will say in my defense that I do and have made things from metal, plastic and even rock from time to time). But sticking to the organic end of things my first thought was African Blackwood, although I did in fact consider other woods. For example I had a nice heavy piece of very red-coloured Bloodwood looking for a project, but keeping to the black colour to match other knives in the set seemed like the safest idea. Besides, the Blackwood was pretty much ideal; black, very closed-grain, very heavy and there was even a suitable piece sitting on my shelf.
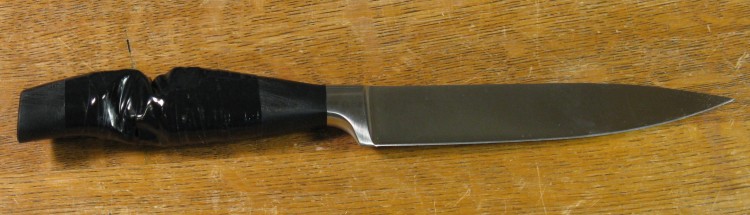
The subject as first encountered
But first, the patient: As mentioned on the main page, the knife handle had an unfortunate encounter with a live heating element. Some black electrical tape smoothed the edges and covered the gaping wound, allowing it to be used as normal.
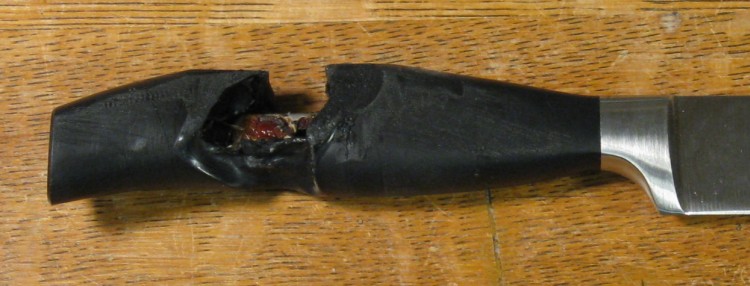
Close-up of the damage
Stripped of the protective tape, the knife looked pretty bad, especially since the innards were red-tinted (melted epoxy maybe?).
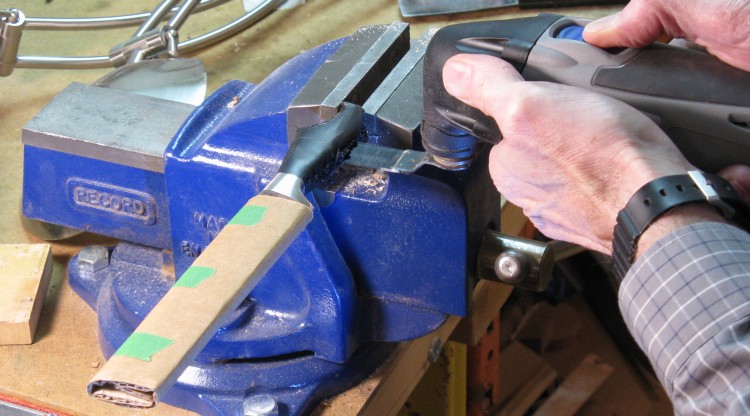
Performing handlectomy
The first step was to remove the existing handle and see what there was to work with. I used a Dremel Multi-Max (vibratey-bladey thingy) to slice the handle in half down to the tang.
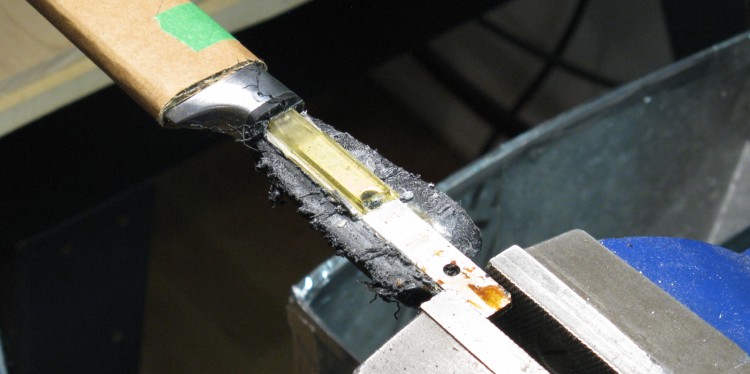
Half the handle removed
It was evident that the handle had originally been epoxied in place.
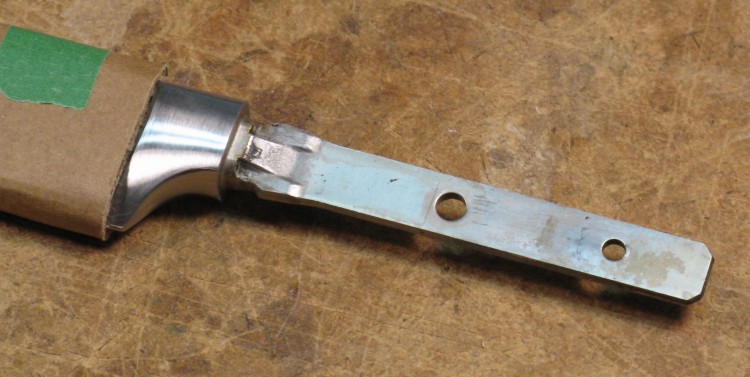
Tang exposed and cleaned up
After removing all the epoxy, plastic and unidentified red gunk, the tang was revealed as shown here.
The wood blank
Many hand-made knife handles are done with two pieces, sometimes with a decorative section dividing them. I didn't think that look would really go with this knife, so I looked for ways to achieve a seamless handle.
The resulting plan was to use a solid handle and drill a round hole for the tang, with some half-round fillers for the sides.
Here is the original wood blank on the full-size handle plan.
The resulting plan was to use a solid handle and drill a round hole for the tang, with some half-round fillers for the sides.
Here is the original wood blank on the full-size handle plan.
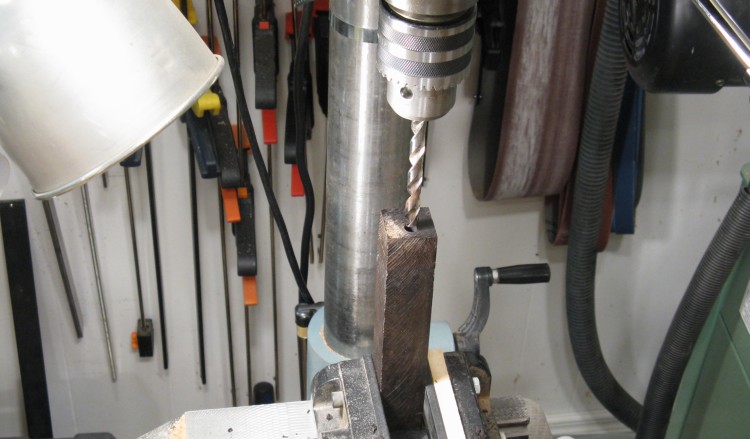
Drilling the hole for the tang
The first step was to drill the hole for the tang, shown happening here on the drillpress.
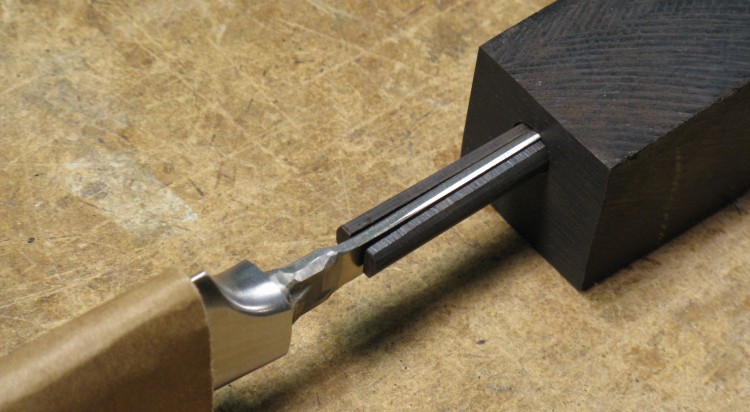
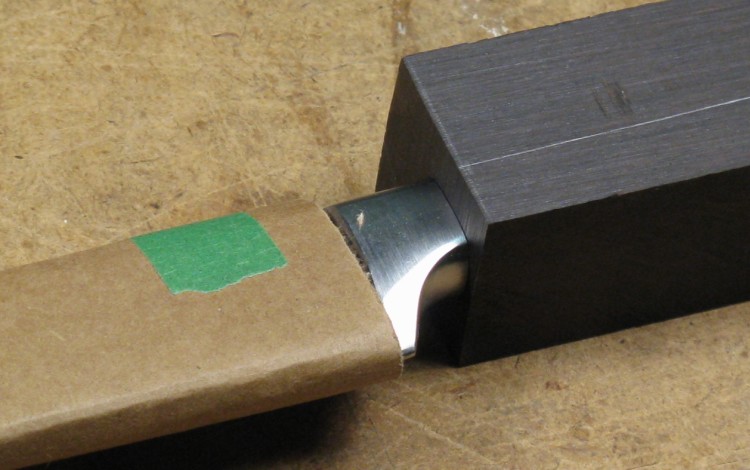
Test-fitting with fillers
One issue with the plan was that the hole size required to fit the full tang height would require too large a hole (the handle gets pretty narrow at the front). So I used a smaller hole and ground down the height of the tang a bit. That is shown by the green lines in the plan way up at the top of the page.
Here I've fabricated a couple filler pieces of wood, shown flanking the ground-down tang for a test fit.
Here I've fabricated a couple filler pieces of wood, shown flanking the ground-down tang for a test fit.
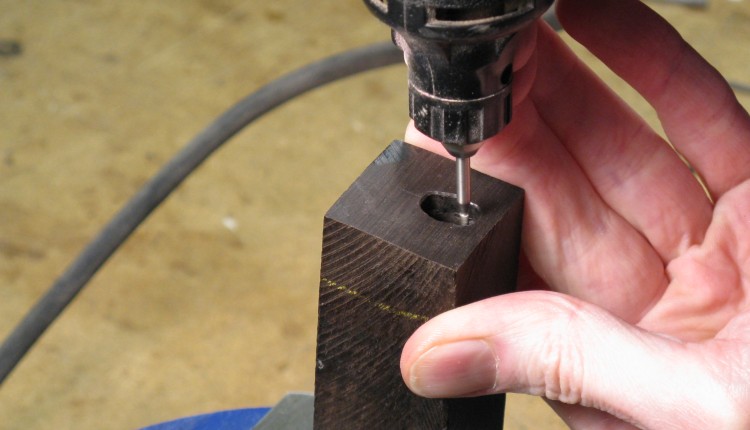
Widening the hole
The tang gets wider near the blade, so the hole needed to be modified to match. This was done with a grinding bit on a Dremel as shown here.
Handle now fits correctly to blade
And after rather too many iterations of grind-fit, grind-fit the handle eventually sat correctly against the blade.

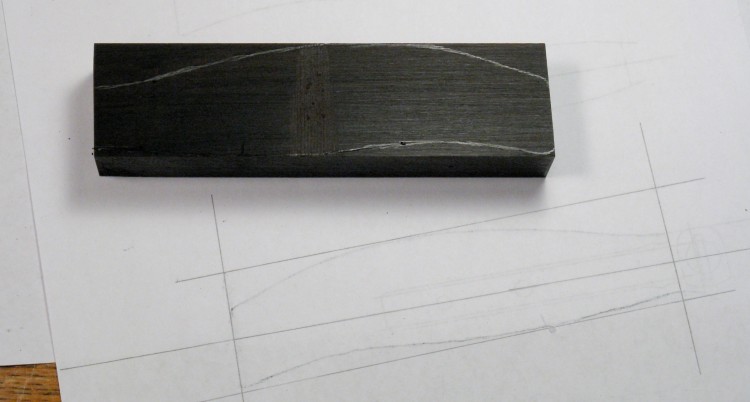
Centerline of handle shown
The wood blank had lots of length and width, but the height was actually marginally short. I managed to eke out another small amount by tilting the blank to better center it on the overall handle shape. In this shot, the tilted center line is visible.

Vertical center-line
I also didn't want to assume that the knife was exactly aligned with the blank (it wasn't, in fact), so here I drew a centerline based on how the blade sat in the blank. The handle would be centered on that line.
Blank marked with outline contour
So with the proper centerlines established, I cut it to length and marked the outline of the handle on the blank.
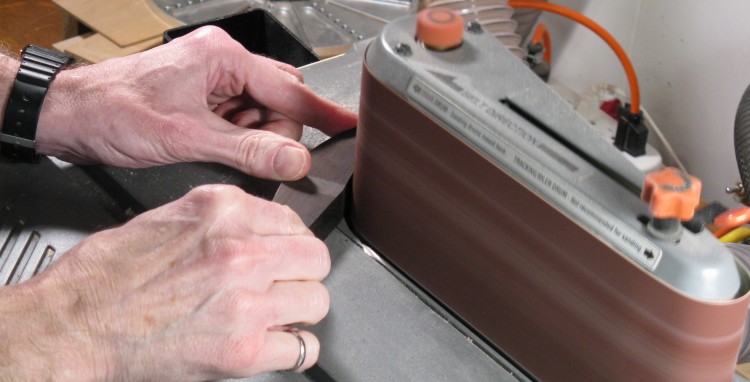
Smoothing the contour
A bandsaw was used to remove the larger pieces of unwanted wood, and then it was onto the belt sander to smooth the profile to the marked lines on top/bottom and sides.
The basic idea, rendered rectangularly
And here the basic rectilinear shape is apparent.

Getting rid of corners
And then it was back to the belt sander to round off the corners and get the shape as close as practical to the target.
Coarsely shaped handle on yet another test fit
The handle here is mostly shaped and just needs final sanding. However first the handle needed to be attached to the knife so the relative positions were fixed and the handle could be shaped flush with the blade guard (AKA "bolster").

Getting ready for gluing
The plan was to epoxy the handle to the blade as was done with the original. Here all the pieces are assembled and ready to go.
Handle with hardened glue
I made sure the tang was well covered in glue and that the cavity was as full as it was practical to get it. This photo shows the handle the next day after the glue had hardened.
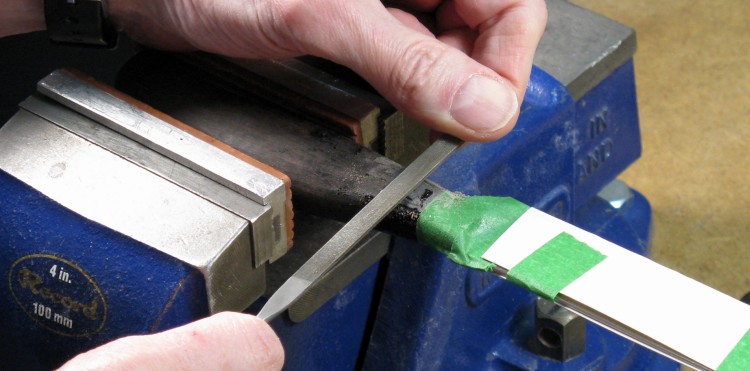
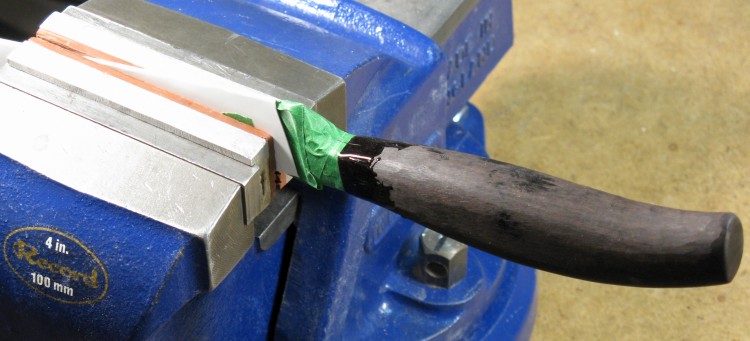
Filing the front of the handle
The handle had been made a bit oversize at the front so it could be shaped to be flush with the blade guard. here a fine file is being used to shape the front of the handle.
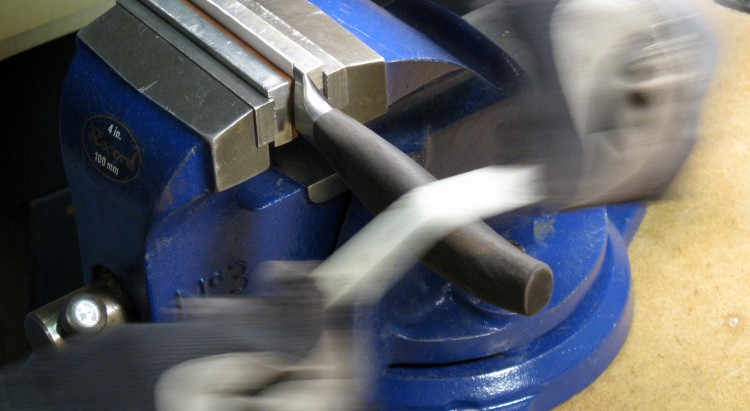
Sanding the handle at blinding speed
After the front part was shaped, the rest of the handle was sanded by hand using strips of sandpaper with increasingly-fine grits. I started at 150 and went up to 600 grit.
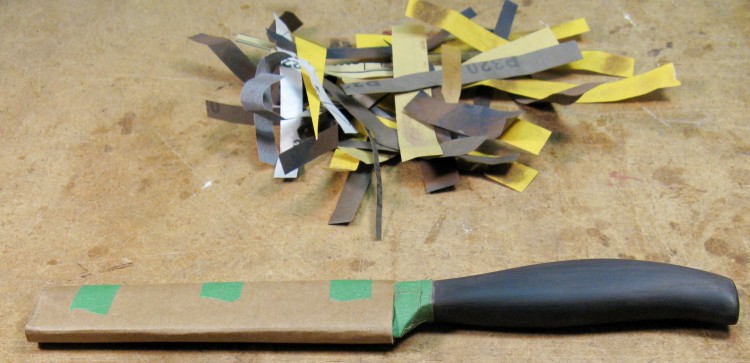
Sanding complete
This shows the handle after sanding, along with the pile of used sandpaper strips used.
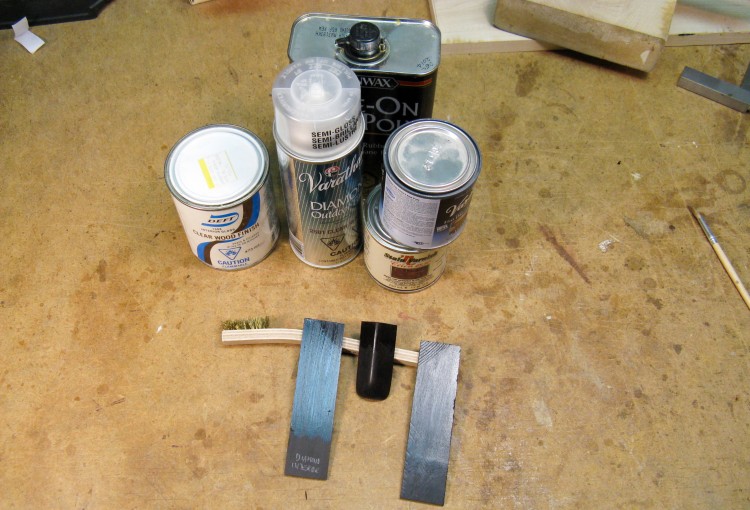
Checking finish possibilities
So the last step was applying a finish. I wanted a nice hard matt finish, to somewhat emulate the "bonded synthetic resin" of the original handle.
My normal go-to varnish didn't harden correctly on a test piece of the blackwood, perhaps due to oil or resin content in the wood. So I tried a number of other finishes with containers and test pieces shown here. I settled on a Miniwax Helmsman satin-finish varnish (not actually in this picture).
My normal go-to varnish didn't harden correctly on a test piece of the blackwood, perhaps due to oil or resin content in the wood. So I tried a number of other finishes with containers and test pieces shown here. I settled on a Miniwax Helmsman satin-finish varnish (not actually in this picture).
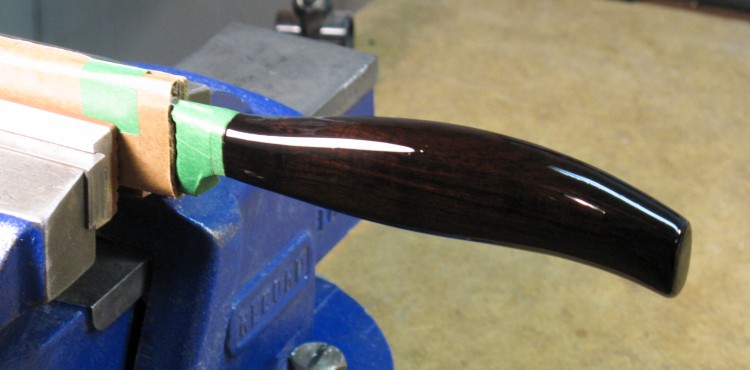
First coat applied
The first coat of varnish has been applied here and is still wet. I applied three coats, but I wasn't able to get as smooth a finish as I wanted.
To solve that I ended up adding another couple coats of the original varnish that I had tried, which had no problem drying with the first varnish isolating it from the wood.
To solve that I ended up adding another couple coats of the original varnish that I had tried, which had no problem drying with the first varnish isolating it from the wood.
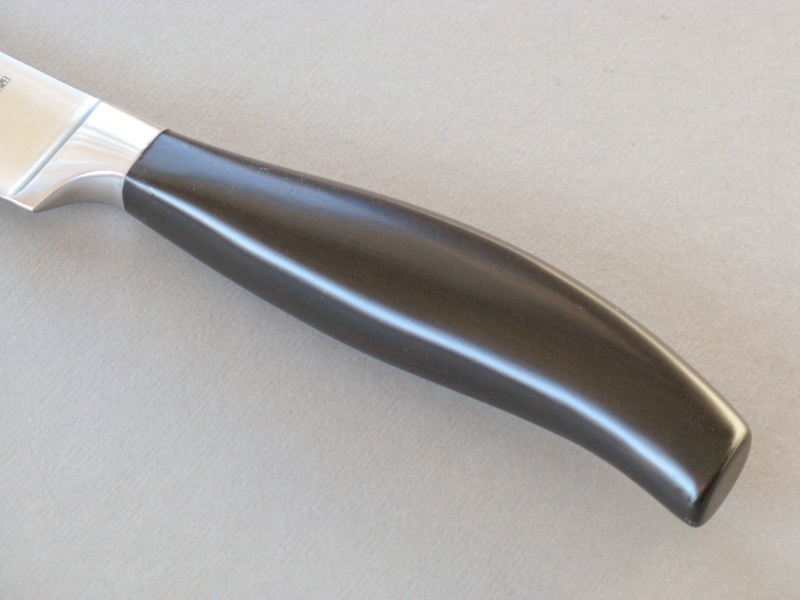
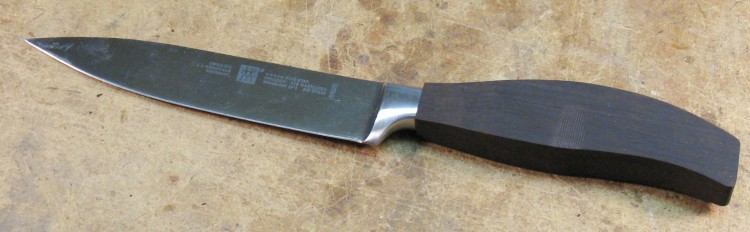
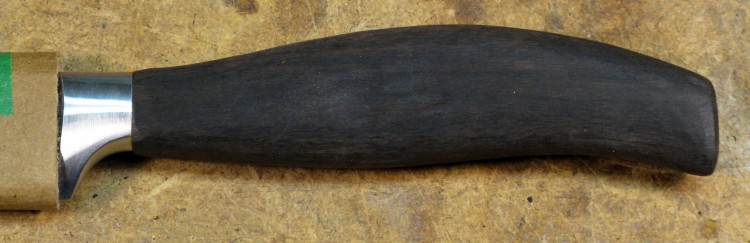
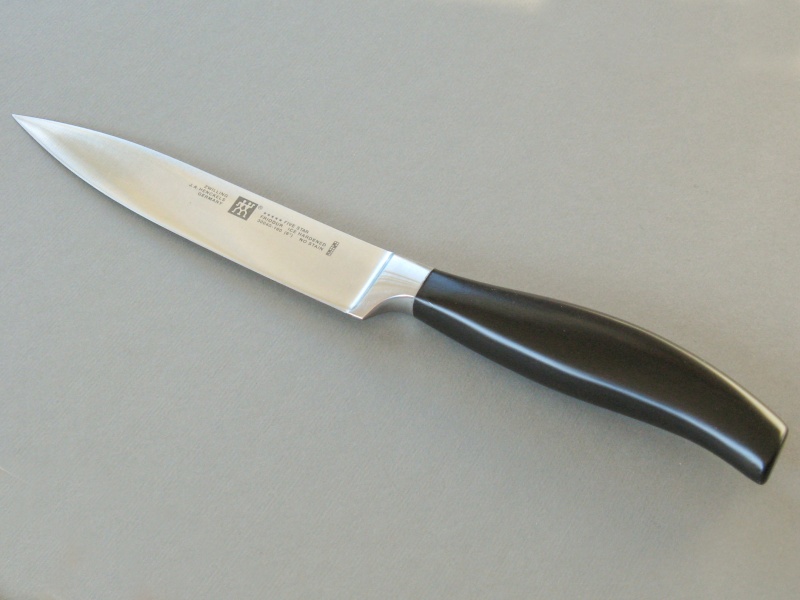
Completed handle
Here is the completed handle, shown in a less workroomy setting.
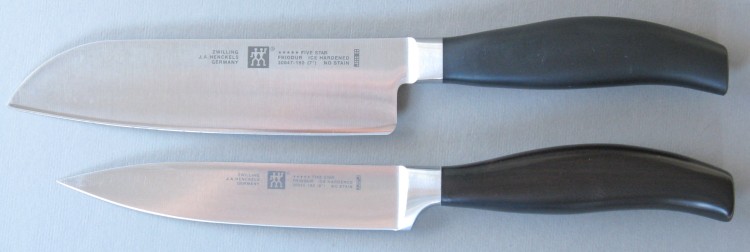
Side profile comparison
We happened to have some of the same series of knives (Zwilling J.A. Henckels Five Star) of our own, and in fact the handle of the wide-bladed "Santoku" knife on the top was used as a model for the new handle.
Here the side contours of the two handles are shown together. The new one is obviously more woody, although it tends to look blacker in real life.
Here the side contours of the two handles are shown together. The new one is obviously more woody, although it tends to look blacker in real life.
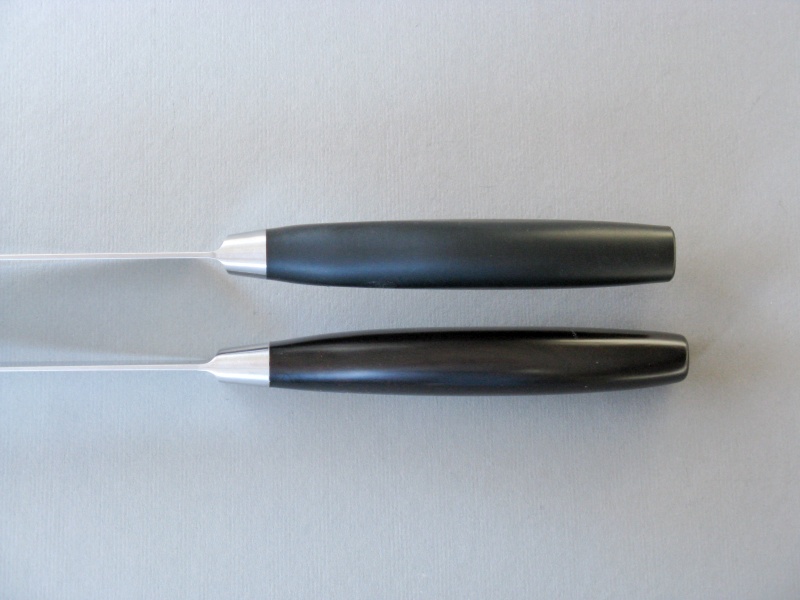
Top profile comparison
This is the equivalent top profile comparison.
So I'll just do a little aside here and explain that both the repaired knife and our similar knives are the Henckels Five-star models that were available "free" at Safeway if you bought enough food and collected enough little stamps (and for those remote aliens monitoring our wi-fi leakage, I'll clarify that Safeway is a vendor of organic matter that us Earthlings use to fuel our carbon-based bodies).
We also have an older set of Henckel Four-star knives. Now if a company has a "Four-star" product and later comes out with a "Five-star" product, the "Five-star" is unquestionably the superior product. There is no possibility for ambiguity here - that is how we do it on Earth.
We also have an older set of Henckel Four-star knives. Now if a company has a "Four-star" product and later comes out with a "Five-star" product, the "Five-star" is unquestionably the superior product. There is no possibility for ambiguity here - that is how we do it on Earth.
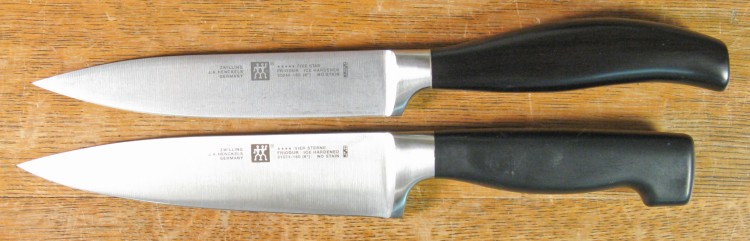
Five and Four Star knives
So here we have 6" chef knife examples of the Four-star on the bottom and the "superior" Five-star on the top. Aside from the nicer "swooshy" handle, apparently they have improved the Five-star by making the blade smaller.
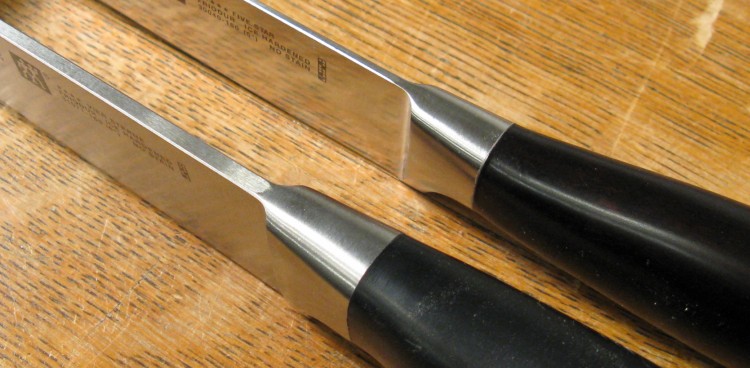
Four and Five star blade comparison
And here it is evident that the thinner, less substantial blade is the hallmark of the "superior" model.
Mind you, I actually like the thinner blade of the Five-star Santoku knife since it is easier to cut hard items such as root vegetables. However, one doubts that it was due to customer feedback ("The blade is too substantial - can't you make anything flimsier?") that drove the evolution of the Five-star.
Mind you, I actually like the thinner blade of the Five-star Santoku knife since it is easier to cut hard items such as root vegetables. However, one doubts that it was due to customer feedback ("The blade is too substantial - can't you make anything flimsier?") that drove the evolution of the Five-star.
One clue is that the model numbers of the Safeway-derived knives are not quite the same of those on the Zwilling web site. One suspects that these may be special tweaked-for-Safeway-so-they-can-afford-to-give-them-away-for-free models with perhaps a bit less ice-hardened steel.
Finished knife, again


