When we considered the out-front location for the new air conditioner, I was concerned about a couple issues; 1 - The look and 2 - the noise, which might bother passers-by or neighbours with open windows at night. For the "look" issue I decided that I would build a lattice to cover the unit. A lattice at the front of the house may still look a bit odd, but probably better than a large piece of HVAC equipment. For the noise issue, we opted for a quieter unit and hoped that would be sufficient. In fact it was - the unit is quiet enough that you can barely tell it is running from the sidewalk or the edges of the yard.
As for the actual construction, I stuck with a similar approach taken with previous lattice projects I had done. I sort of defaulted to giving the top the full-sinusoid-shape treatment like the South fence but in retrospect a milder curve may have been more appropriate for that location.
As for the actual construction, I stuck with a similar approach taken with previous lattice projects I had done. I sort of defaulted to giving the top the full-sinusoid-shape treatment like the South fence but in retrospect a milder curve may have been more appropriate for that location.
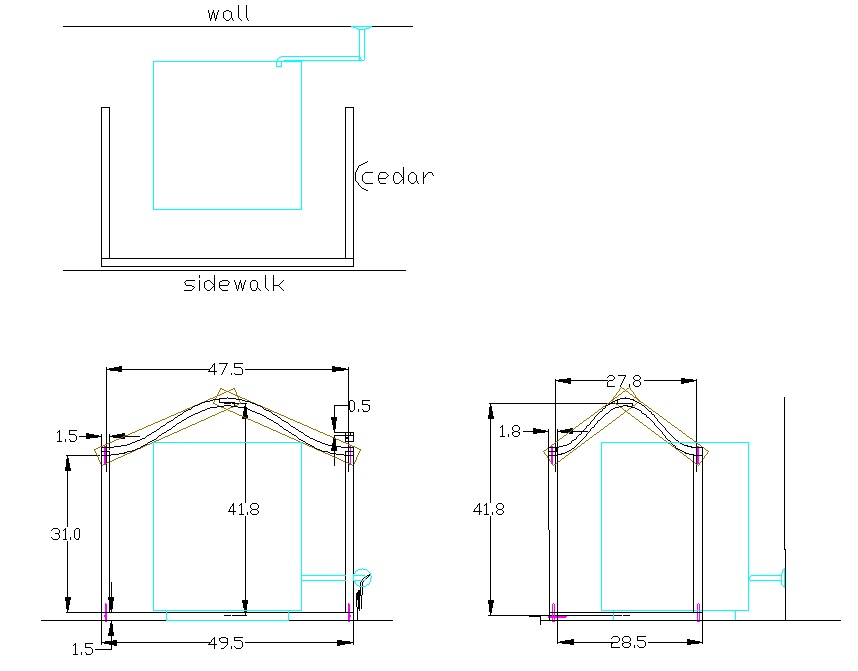
The plan, in God-Save-The-Queen Imperial Inch units
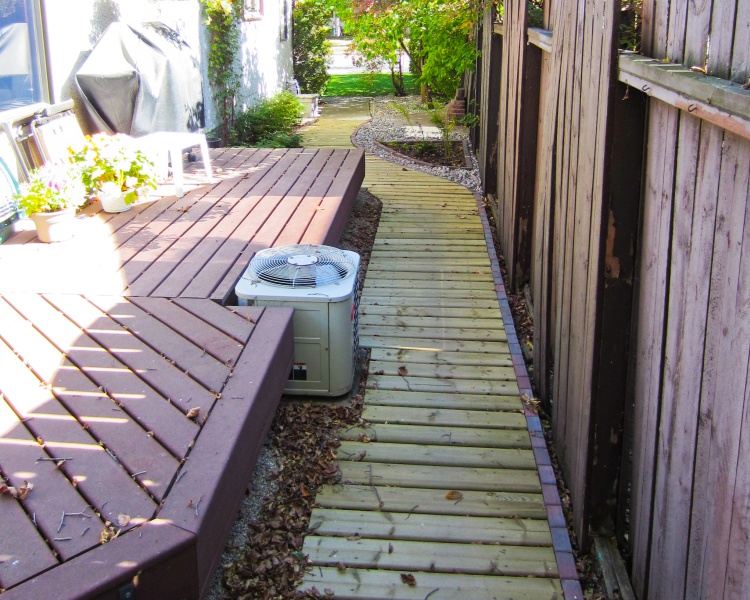
The old unit messing up the deck and path
We added the A/C soon after we moved into the house around 25 years ago. It was mounted on the South side of the house and when we later did some renovations including a new deck, it ended up in this compromise position where it was embedded in the deck so it only partially blocked the path.
I figured if we were going to get a new unit (which was necessarily going to be larger) we could at least pull this particular positioning thorn by getting the new one mounted at the front.
I figured if we were going to get a new unit (which was necessarily going to be larger) we could at least pull this particular positioning thorn by getting the new one mounted at the front.

Repaired deck - room for one more plant!
Fortunately we had one extra board of the long-obsolete composite decking material stored under the deck from when it was built 15 years ago, so I pulled it out and cleaned it off. After adding some treated wood substructure to the gap where the A/C used to be, the deck board was used to complete the top and side. Despite being embedded in gravel and mulch all this time, the color match was still pretty close.
Yes, this is a 15-year old deck. Our previous wooden deck needed to be scraped, sanded and stained almost every year. This one I've washed a couple times in 15 years. The extra cost of the composite was absolutely, totally worth it.
Yes, this is a 15-year old deck. Our previous wooden deck needed to be scraped, sanded and stained almost every year. This one I've washed a couple times in 15 years. The extra cost of the composite was absolutely, totally worth it.
Lattice
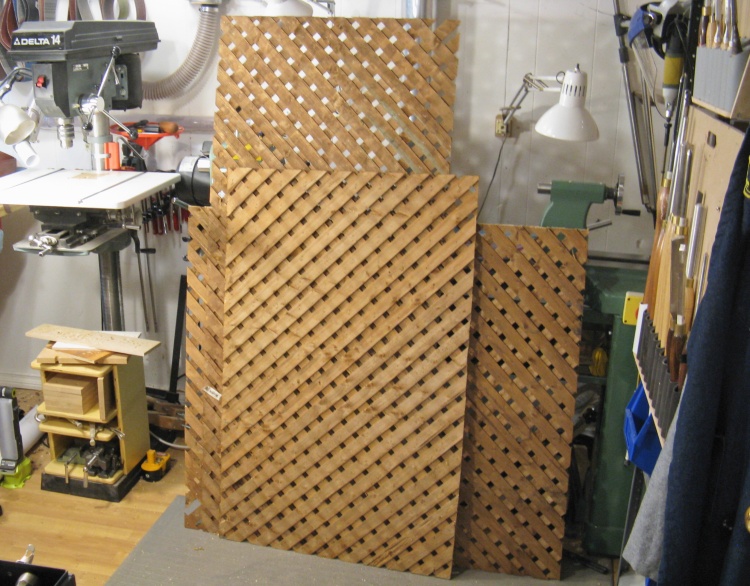
Three leftover pieces of lattice
After doing the plans for the lattice, I went to the shed to see what pieces I had leftover from the fence. There were three pieces, each just a bit larger than the three sizes I needed. Wohoo! The lattice gods were smiling down on me that day.
Here they are after hauling them down to the shop.
Here they are after hauling them down to the shop.
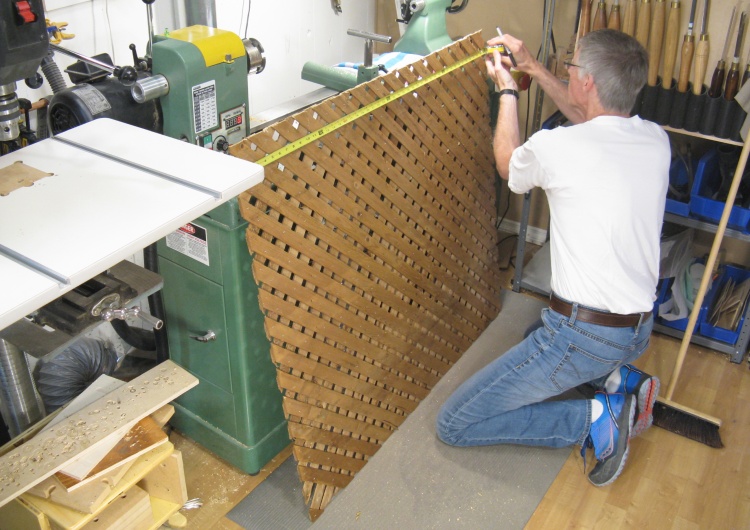
Marking the width
The top edges of the lattice pieces would eventually be cut with the appropriate sinusoidal shape so I just needed to cut them to the correct widths. Here I'm marking the larger piece for the front section.
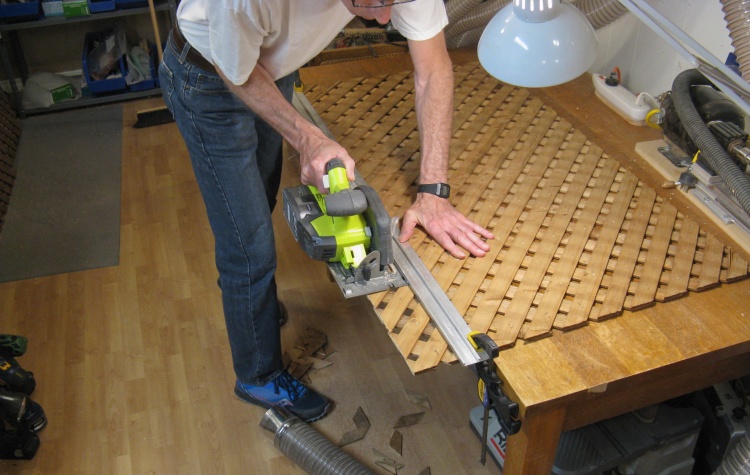
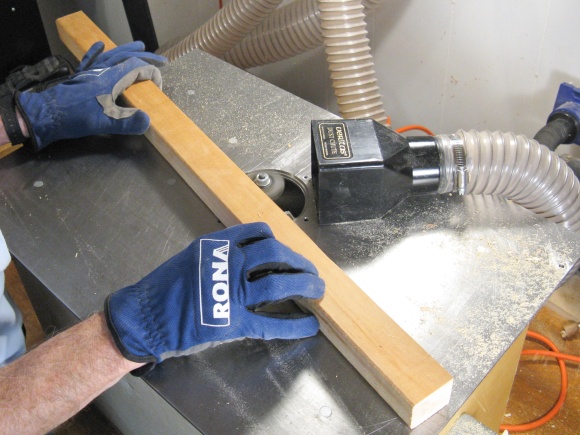
Trimming the width
The pieces were trimmed to the correct width using a circular saw guided by a clamped-on straightedge.

Bevelling the edges
It's often tough to guide the lattice into the frame slots so to aid that process I bevelled all the edges of the lattice using a rasp.
I'm holding the rasp oddly because it is actually bent due to some overly-enthusiastic use a few months ago. However new ones have been out of stock everywhere for months. Some weird COVID-related shortage? Who knows?
I'm holding the rasp oddly because it is actually bent due to some overly-enthusiastic use a few months ago. However new ones have been out of stock everywhere for months. Some weird COVID-related shortage? Who knows?
Frame Fabrication
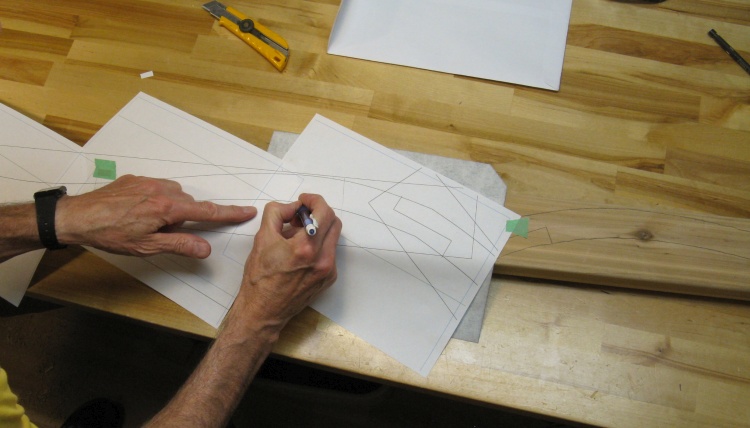
Tracing one of the top curves
I thought I'd start frame fabrication by making the curvey tops first. In this photo I'm tracing the pattern onto a cedar 2x4 using carbon paper.
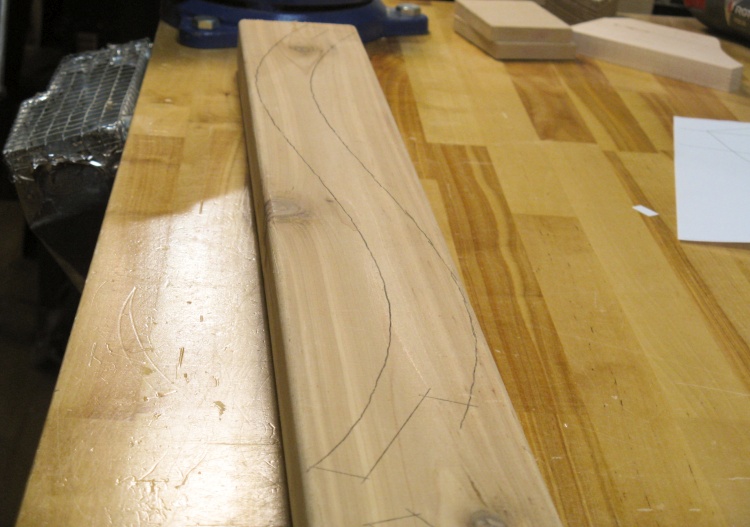
2x4 with curve
This shape is one-half of a top curve. I'll make two of these and glue them together in the middle to form the full curve.
I'm using a different technique to make the curves compared to what I did for the South fence. There I laminated boards edge-to-edge and then cut out the full shape from them. That's not really practical for the small number of curves I need here so I'm cutting the curves directly from 2x4s.
I'm using a different technique to make the curves compared to what I did for the South fence. There I laminated boards edge-to-edge and then cut out the full shape from them. That's not really practical for the small number of curves I need here so I'm cutting the curves directly from 2x4s.
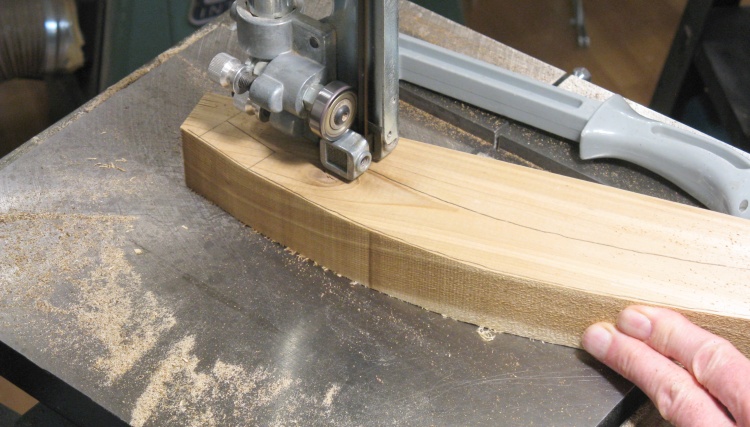
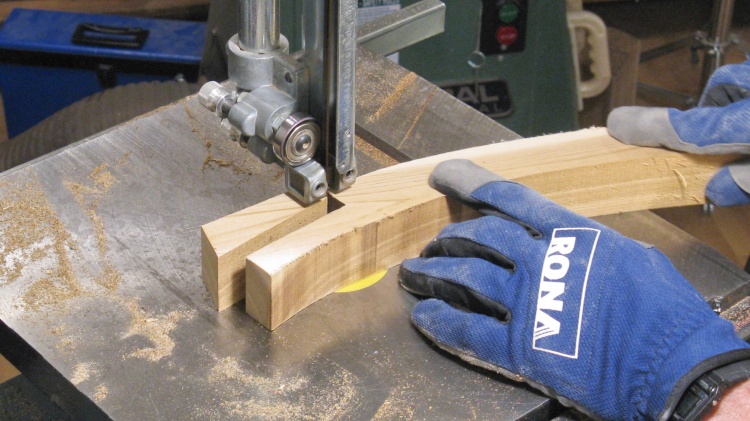
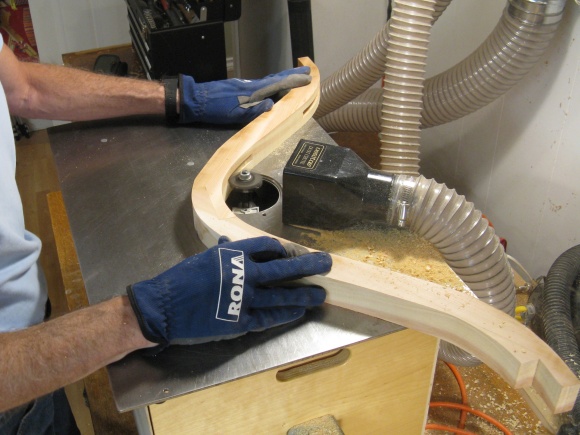
Cutting out one of the curves
Then of course it was over to the band saw to cut the curves just outside the lines.
Cutting a simple lap joint
The two half-curves will be joined with a simple lap joint in the middle and this photo shows one of those being cut.

Smoothing off the saw marks
I finished most of the shaping using the belt sander at this point since that's easier to do with these half-curve pieces. I left the joint areas to be done after the gluing.

Two-piece curves glued together
Then the three curves had their two halves glued together.
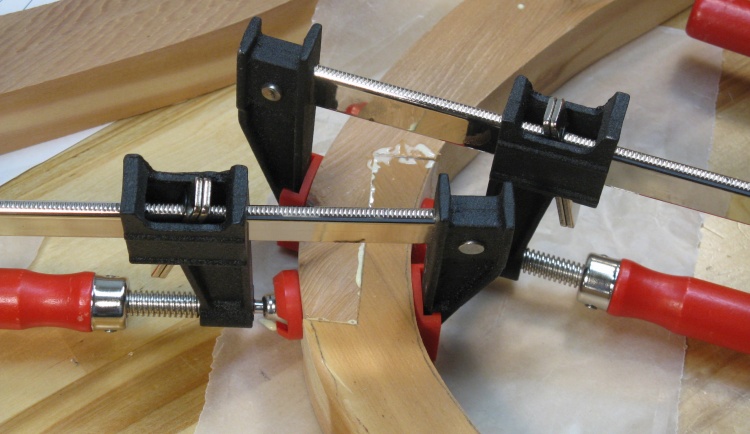
One of the mid-curve joints
This is one of the mid-curve joints which was made long enough to ensure a strong glue bond.
This was unfortunately verified by having one of the curves accidently fall of the bench and break into two pieces - but not at the joint!
It got glued back together with the rather obvious mental note to not leave them teetering precariously on the edge of the bench.
This was unfortunately verified by having one of the curves accidently fall of the bench and break into two pieces - but not at the joint!
It got glued back together with the rather obvious mental note to not leave them teetering precariously on the edge of the bench.
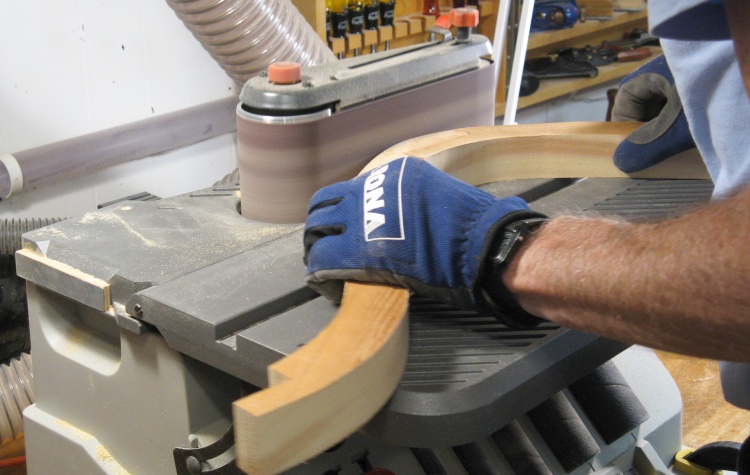
Finishing off the shaping
When the glue was dry, the shaping was completed on the full curves.
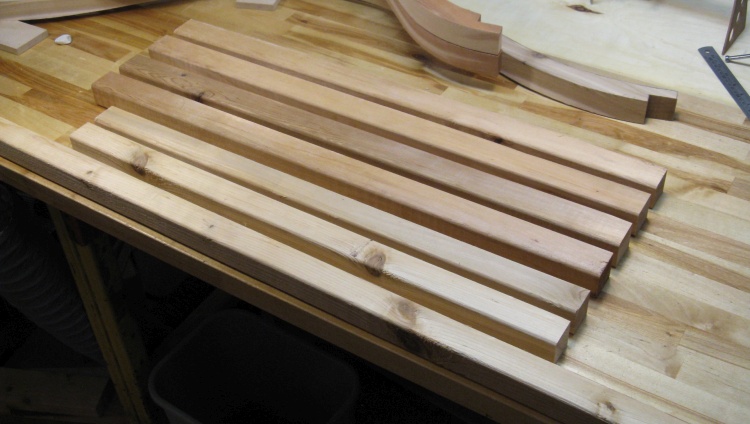
Straight pieces of the frame cut
Once the curves were done, the straight rail pieces were cut next. That included four corner posts and three bottom rails.
The next step was slotting all the rails. I used an adjustable-width router slotting bit to cut slots that were 1/2" deep into the inside sections of the rails. The slot was just a bit wider than the nominal 10mm thickness of the lattice.
Slotting a curve
...and a straight frame piece
Assembly
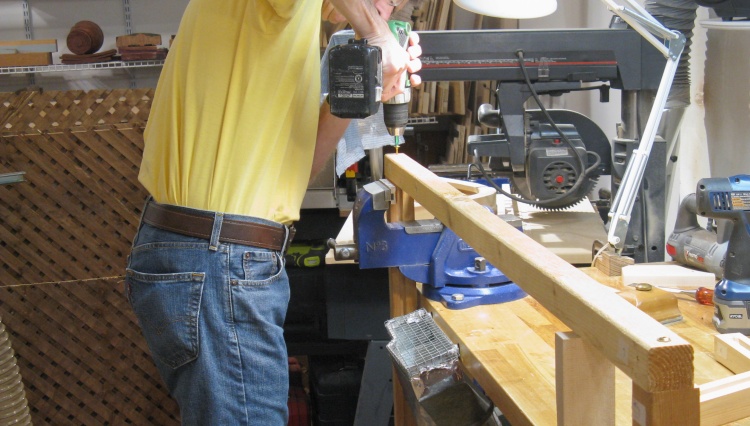
Screwing together the front section
I started assembly by building the frame for the front section. In this photo I'm attaching the bottom rail to one of the front corner posts.
I used #10 x 3-1/8" structural fasteners for the connections, pre-drilling to prevent splitting of the cedar.
I used #10 x 3-1/8" structural fasteners for the connections, pre-drilling to prevent splitting of the cedar.
Assembling the front panel
The lattice wasn't too enthusiastic about going into the rail slots but with a bit of corner trimming I eventually teased it into place.
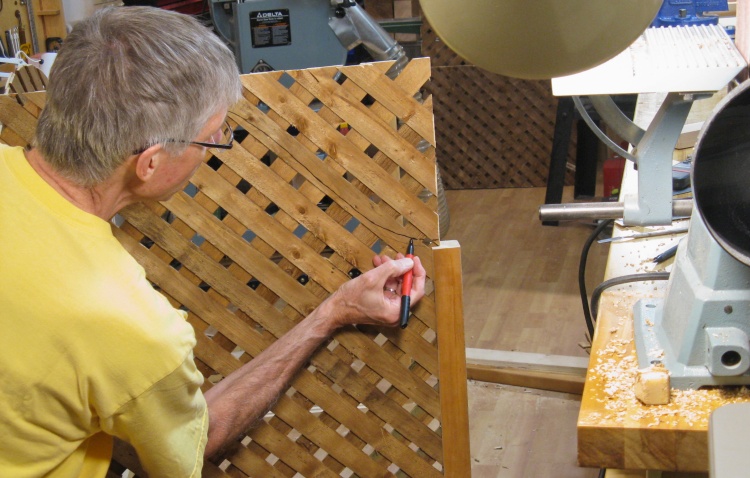
Marking one of the sides
Once the lattice was in the panel, I marked the inside profile of the curve onto it and then redrew the line 1/2" away to form a cut line.
I used a hand-held jig saw to cut to the line and then bevelled the edges with the bent rasp as before. This photo shows the cut line being drawn on one of the side panels.
I used a hand-held jig saw to cut to the line and then bevelled the edges with the bent rasp as before. This photo shows the cut line being drawn on one of the side panels.

Tacking the lattice to the frame
When the top curves were in place, I tacked the lattice with 1-1/4" bradf nails to the frame all the way around to stiffen the structure.
I left the front of the side panels untacked so they could be disassembled.
I left the front of the side panels untacked so they could be disassembled.
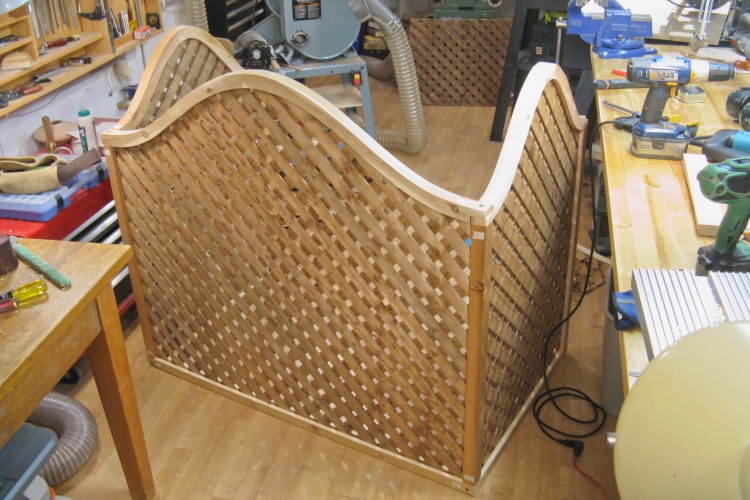
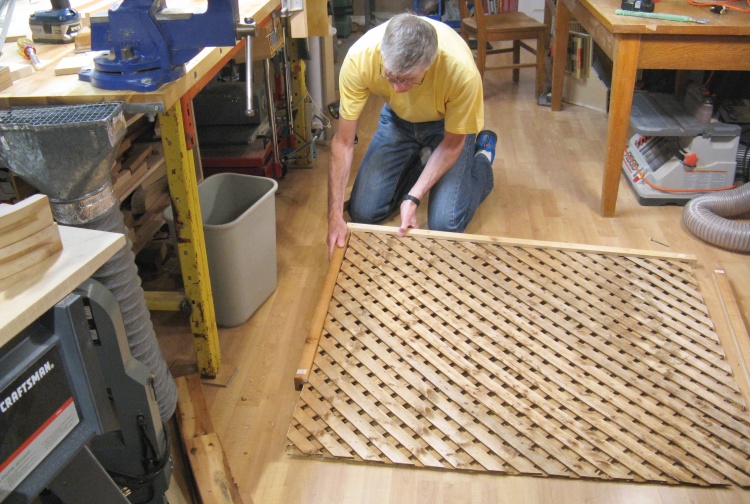
Completely assembled
This shows the fully-assembled lattice.
About then Sue came along and said she hoped it could be disassembled to carry it upstairs. I was able to confirm that in fact it could.
About then Sue came along and said she hoped it could be disassembled to carry it upstairs. I was able to confirm that in fact it could.
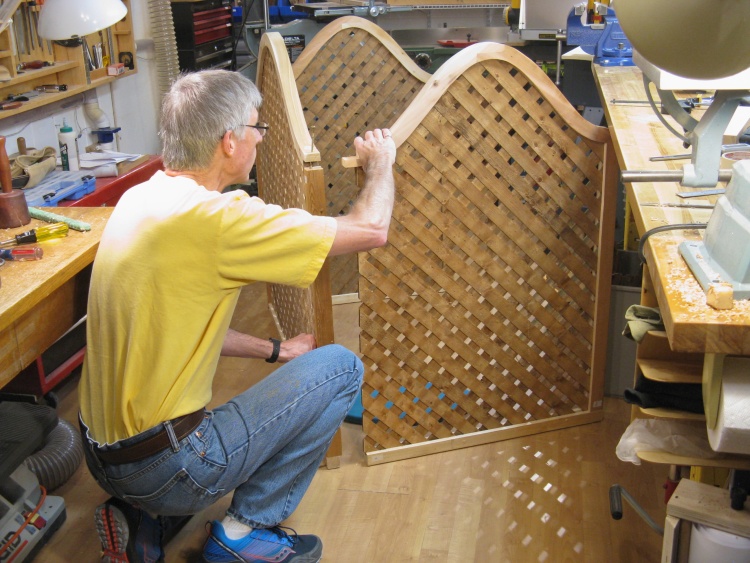
...and now disassembling
Removing a couple screws released each side and here I am pulling off the right panel.
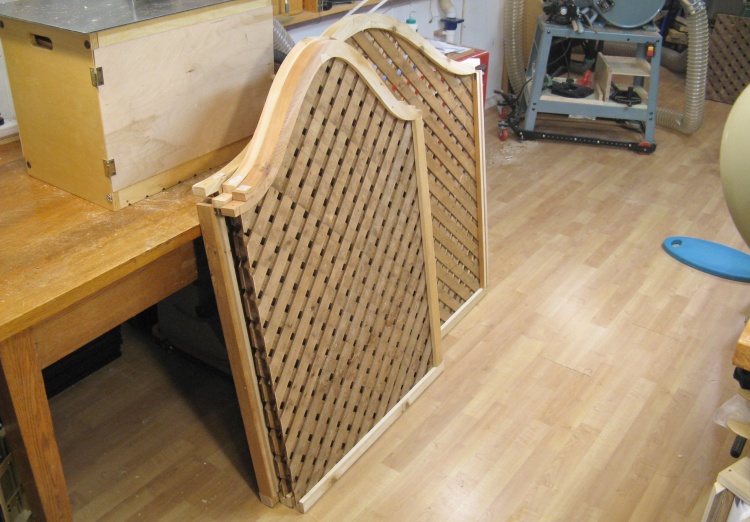
Stacked for moving
It was a bit more compact after being disassembled.
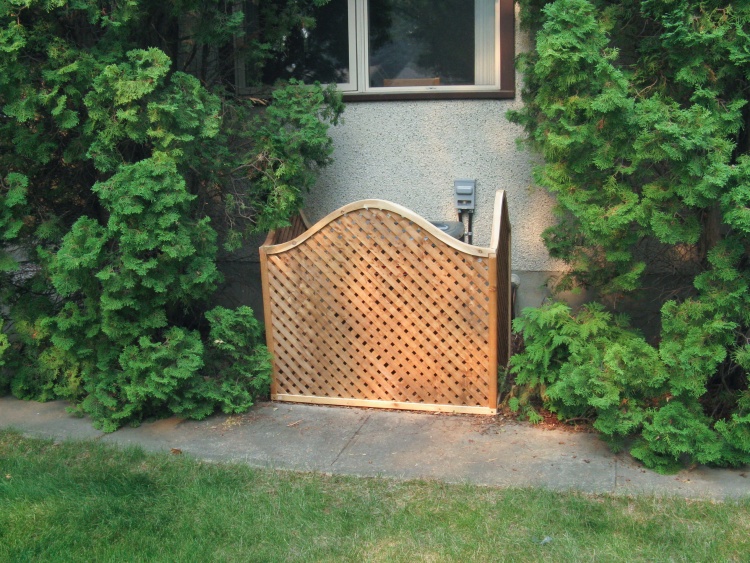
Assembled around the A/C
So then it was just a matter of carring it outside and putting the screws back in place.
Here it is positioned around the air conditioner on an orangey-lighted smokey day.
Here it is positioned around the air conditioner on an orangey-lighted smokey day.
The before and after photos below show the view from the city sidewalk.
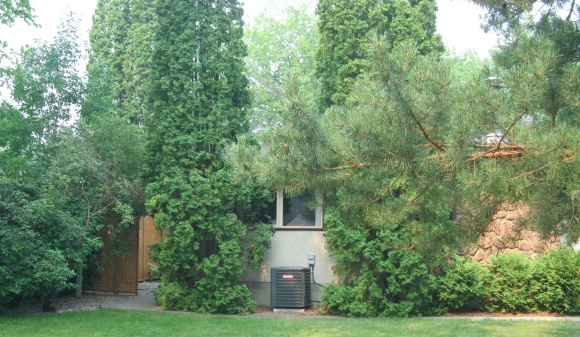
View from street - Before
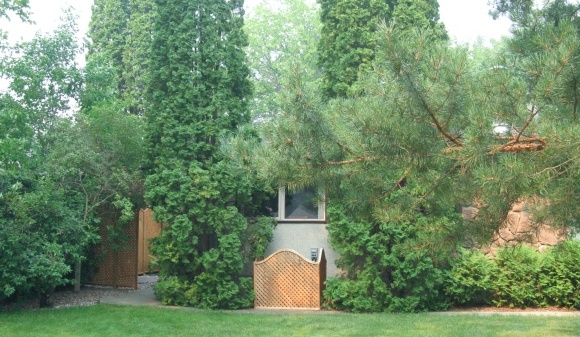
After


