For a woodworking project, this is about as simple as it gets but it still resulted in a nice-looking and practical device (that admittedly may get used only a few times a year). The original opener fit in the hand well but wasn't suited to a pen cup where everything else was substantially shorter and lighter. This new one uses a wider and shorter blade and a less-voluminous handle, the combination of which helped substantially with the balance. The opener was simple enough that I didn't even bother to work from a plan but just for completeness I made one after the fact.

The not-really-needed plan
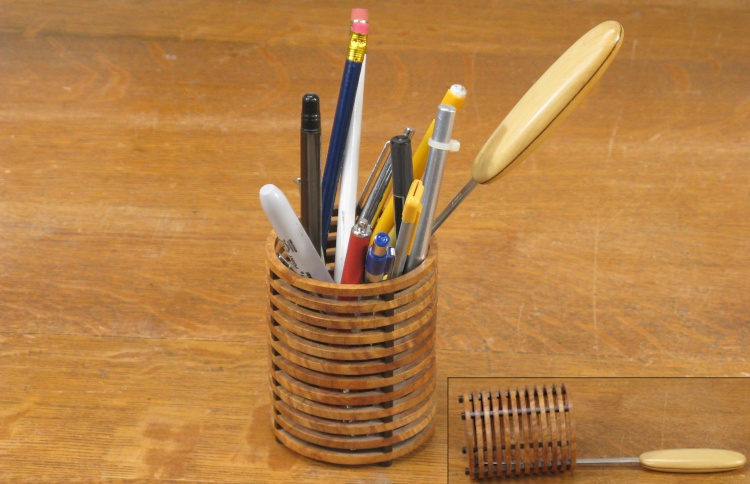
Cup & contents (and un-ballasted result)
For reference, this is the current pen cup and contents from my desk.
The contents provide sufficient ballast to keep everything upright but there's a definite tipping bias toward the opener. As confirmed by the un-ballasted shot.
The contents provide sufficient ballast to keep everything upright but there's a definite tipping bias toward the opener. As confirmed by the un-ballasted shot.
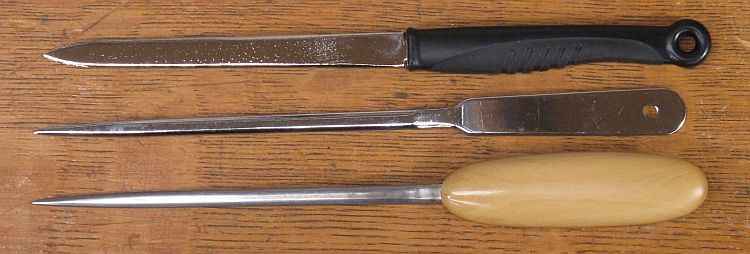
New blade, old blank and old opener
I picked up a new letter opener for its blade, shown here at the top.
Below it are a blank like the one used in the original opener and below that the original opener.
Below it are a blank like the one used in the original opener and below that the original opener.
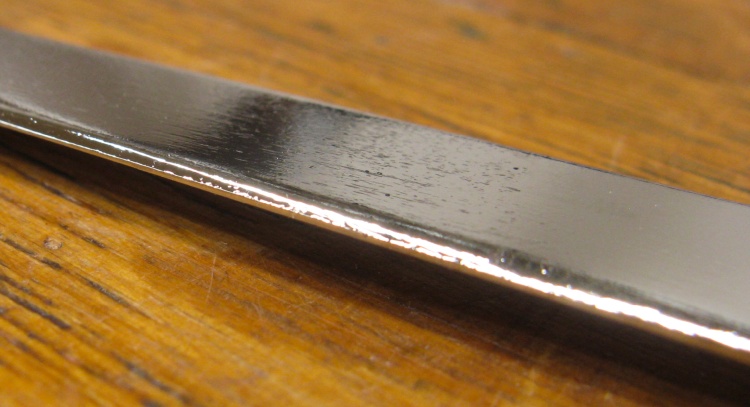
Shoddy stamping and plating on new blade
The new blade had a pretty cheesy finish; chrome with streaks and pits accompanied by a rough edge from stamping or poor polishing.
That was gonna need some work.
That was gonna need some work.

Plating becoming history
I started by removing the finish which also flattened the faces of the blade and smoothed the edges.
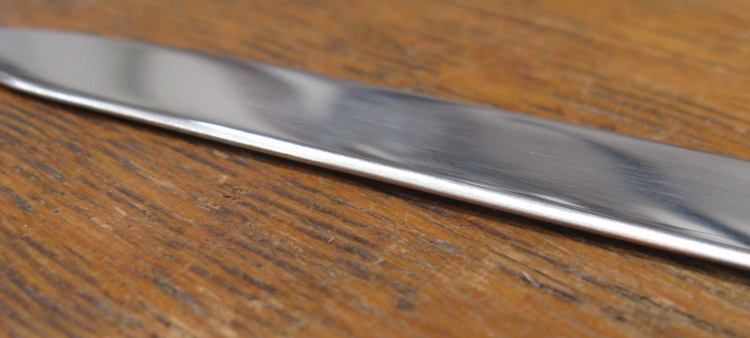
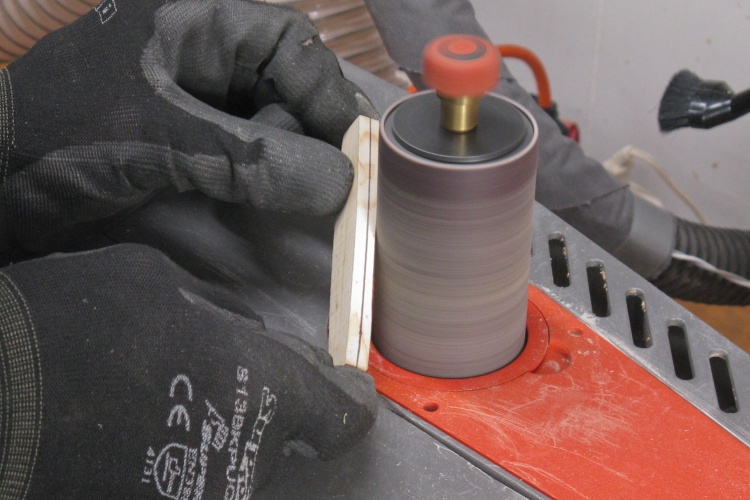
Sanding out the grinding marks
Then it was just a matter of moving in the direction of "shiny";
I sanded the face and edges starting with 220 grit and proceeded through 320, 400, 600 and finally 1200 grit, getting to a nice consistent matte look.
I sanded the face and edges starting with 220 grit and proceeded through 320, 400, 600 and finally 1200 grit, getting to a nice consistent matte look.
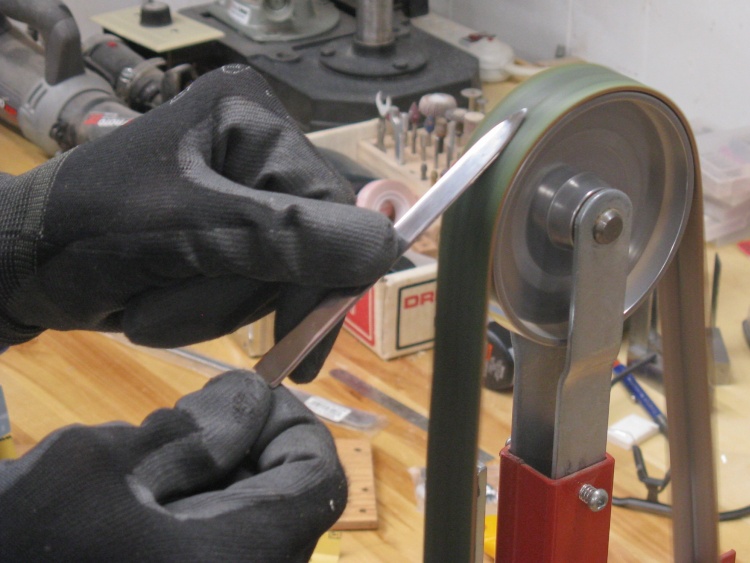
Polishing the blade
The final step was to hone using a fine abrasive rubbed on to the leather belt. The honing compound I used leaves scratches that average 0.5 microns - equivalent to about 50,000 grit.
Edges were left dull of course, but everything is smoother
It looked much more consistent when done.
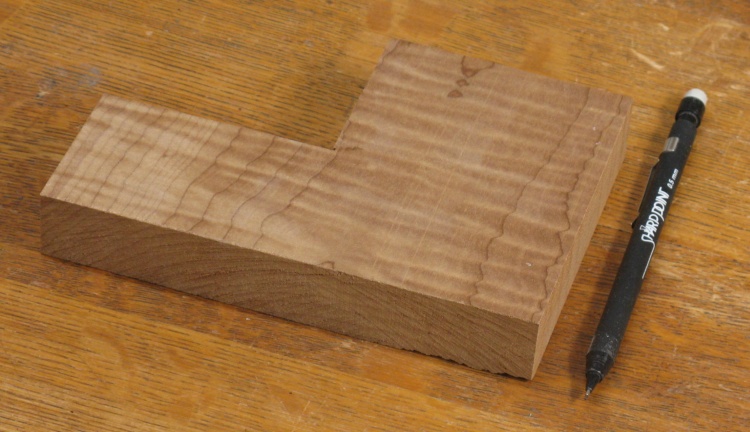
A little scrap of Roasted Curly Maple
OK then - the actual, like, woodworking part;
After looking around the shop I realized I still had some scraps of one of my favourite woods - Roasted Curly Maple. It wasn't a big piece but it was more than enough for a little handle.
After looking around the shop I realized I still had some scraps of one of my favourite woods - Roasted Curly Maple. It wasn't a big piece but it was more than enough for a little handle.
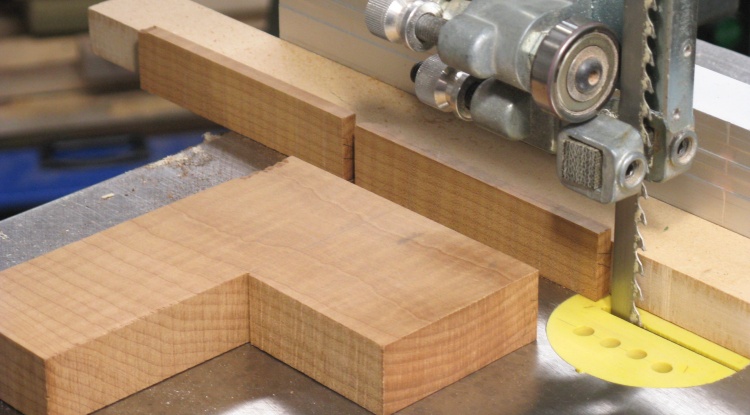
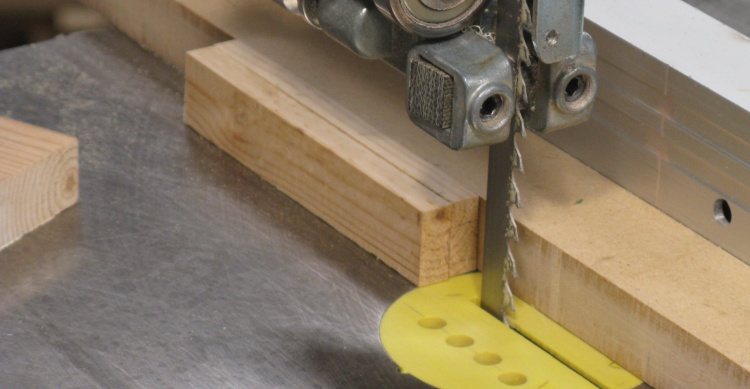
Cutting the two sides of the handle
A couple of thin slices is all I would need (barring serious screw-ups, of course).
Hold 'er Newt!
A couple handle-sized pieces of Spruce
Shaping the first prototype

A couple handle prototypes
At this point my lack of a detailed plan reared its ugly head, since I couldn't go much further without deciding on exactly what the handle would look like. Besides, I didn't have the veneer I planned to place between the two halves.
A couple handle-sized pieces of Spruce
I thought the best approach was to whip up a prototype or two so I started by cutting some nice soft wood into a couple of handle-sized pieces.
Shaping the first prototype
Then I set about sanding them into possible handle shapes.
The black line in the center represents what will be a layer of black veneer but in this case is just felt marker for a slightly more-realistic look to the handle.
The black line in the center represents what will be a layer of black veneer but in this case is just felt marker for a slightly more-realistic look to the handle.
A couple handle prototypes
The lower one was a big loser, but the upper one didn't look too bad; I'd use that as a model.
Armed with that knowledge, it was back to the real thing;
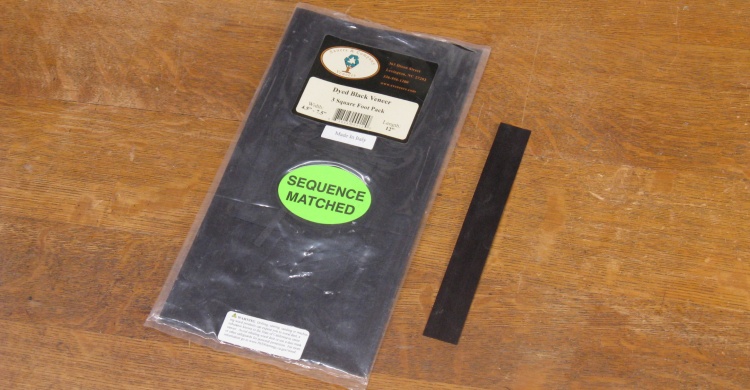
Gluing on the mid-handle veneer
The two sides of the handle would have a thin black layer between them and for that I used some dyed-black veneer, 0.02" thick.
I needed only a few square inches so buying a pack (3 sq. ft) seemed a bit wasteful and my one attempt at dying some other veneer...didn't end satisfactorily. Fortunately I was able to bum some off a buddy (Thanks Gary!).
I just needed 4 inches off that strip to the side.
I needed only a few square inches so buying a pack (3 sq. ft) seemed a bit wasteful and my one attempt at dying some other veneer...didn't end satisfactorily. Fortunately I was able to bum some off a buddy (Thanks Gary!).
I just needed 4 inches off that strip to the side.
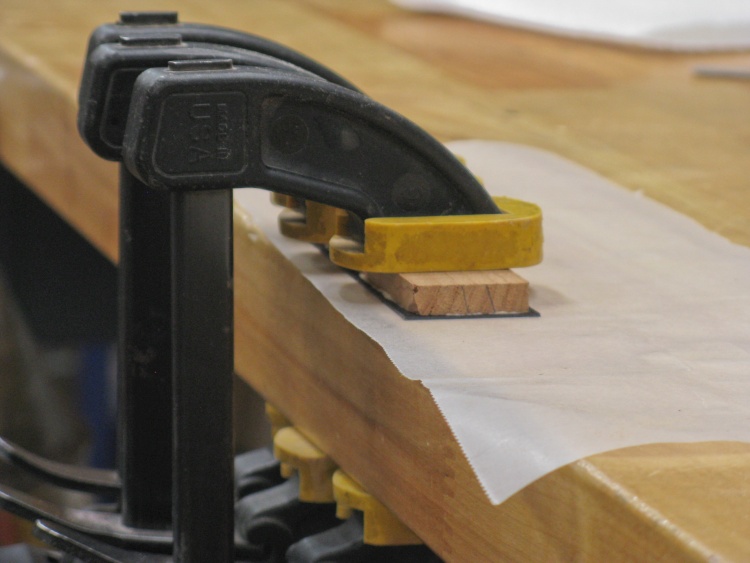
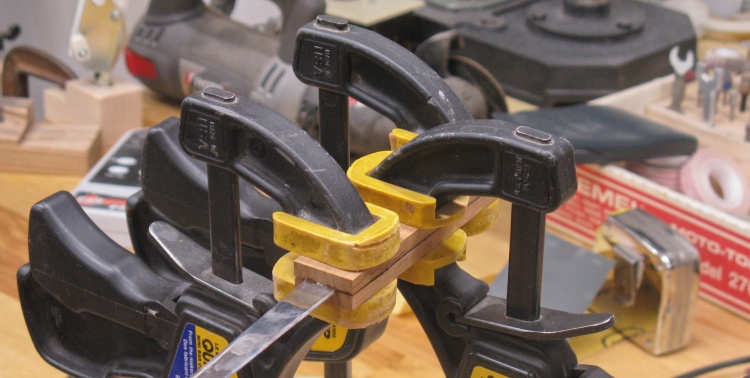
Gluing on the mid-handle veneer
One little strip of veneer, one handle side, some glue and some clamps made the subject of this photo.
Well, and some waxed paper so I didn't accidentally glue the handle to my bench.
Well, and some waxed paper so I didn't accidentally glue the handle to my bench.
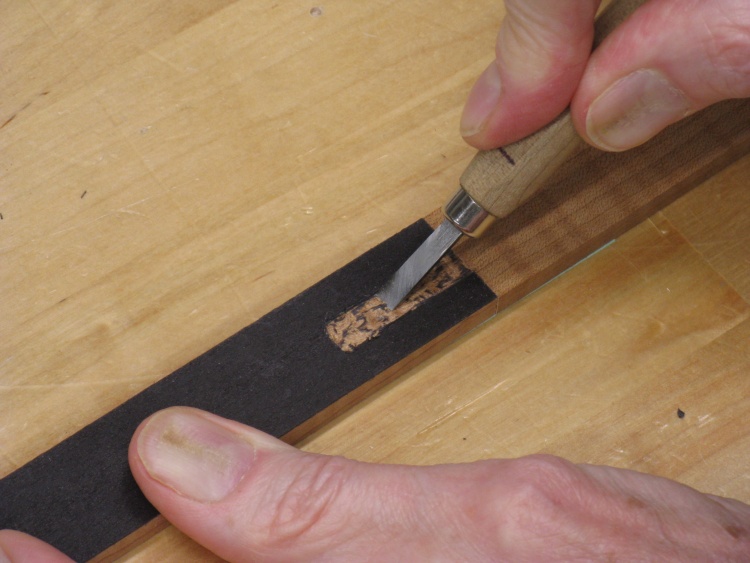
Making a notch for the blade
The blade had a stem for mounting and that needed to fit into a slot in the middle of the handle.
The slot was formed by making a groove on each handle side with a bit of small-chisel work, starting with the veneer-equipped side.
The slot was formed by making a groove on each handle side with a bit of small-chisel work, starting with the veneer-equipped side.
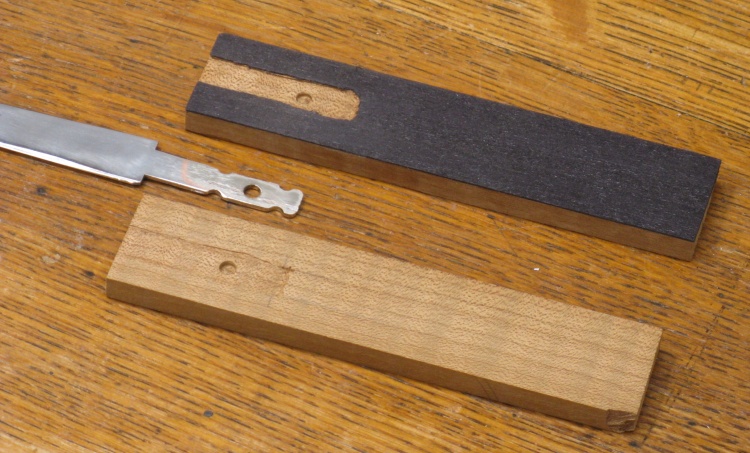
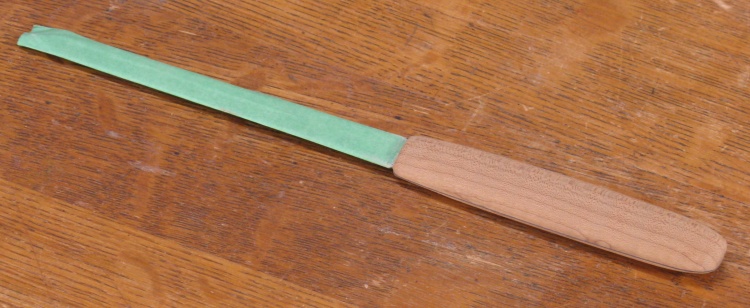
Ready to go together
Grooves formed and everything ready for assembly.
Gluing the handle and blade together
Your garden-variety 5-minute epoxy was used to anchor the blade and hold the handle sides together.
Ready for some shaping
The raw handle ready for some shaping.
Cutting off excess on 5 sides
I'd made the handle pieces a bit oversized (and, umm, mounted the blade a bit off-center) so I trimmed the four sides and the end to get closer to what I wanted the finished size to be.
Sanding an arc into the side
Then the handle was sanded into shape;
I first curved the sides to an arc drawn on the wood.
I first curved the sides to an arc drawn on the wood.
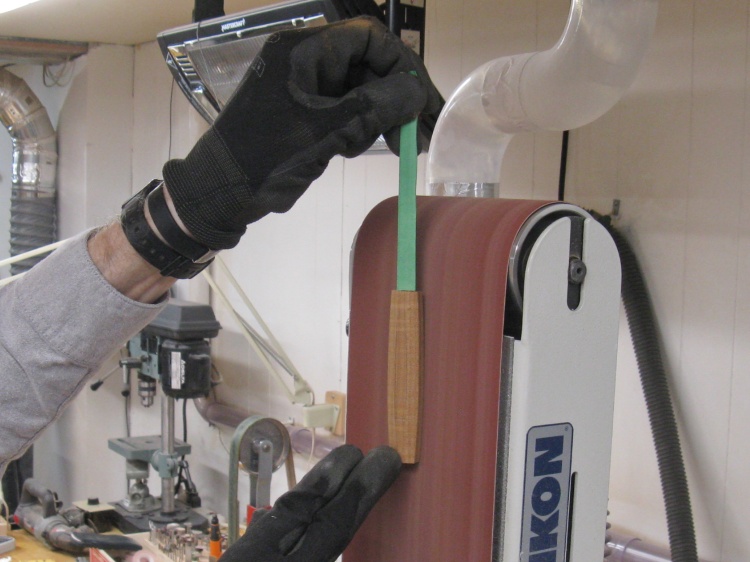
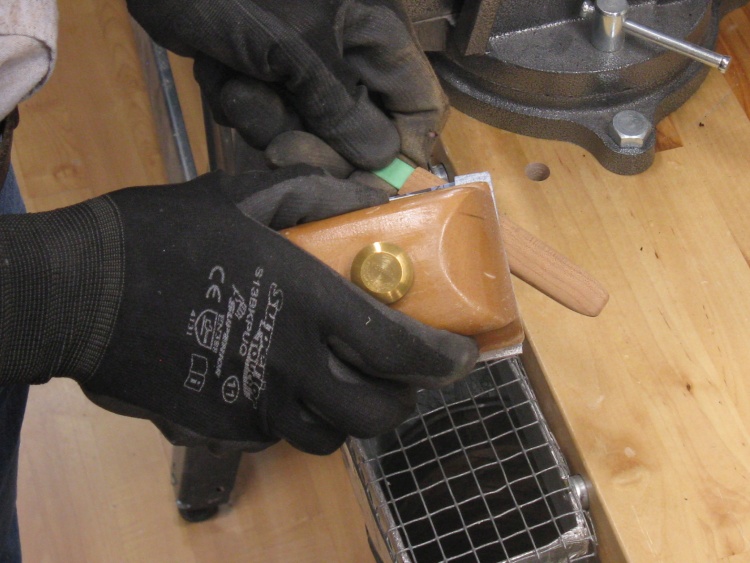
Rounding the corners
Most of the remainder of the sanding was done in this configuration; tapering the ends and then rounding off all the corners.
The blade was wrapped in a couple layers of masking tape to help protect it against scratches or accidental sander contact.
The blade was wrapped in a couple layers of masking tape to help protect it against scratches or accidental sander contact.
Smoothing out the profile
Once I was satisfied with the basic shape, I smoothed things off with hand sanding.
Handle shaping done
After sanding to 320 grit, the handle woodworking was done.
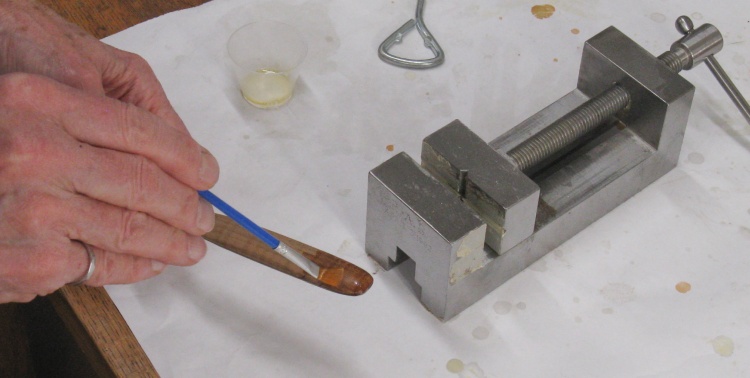
Starting the first coat of varnish
The handle was finished using three coats of Minwax Wipe-On Poly. Here the first coat is going on with a tiny brush.
BTW, The vise is there to hold the blade while the varnish on the handle is drying.
BTW, The vise is there to hold the blade while the varnish on the handle is drying.
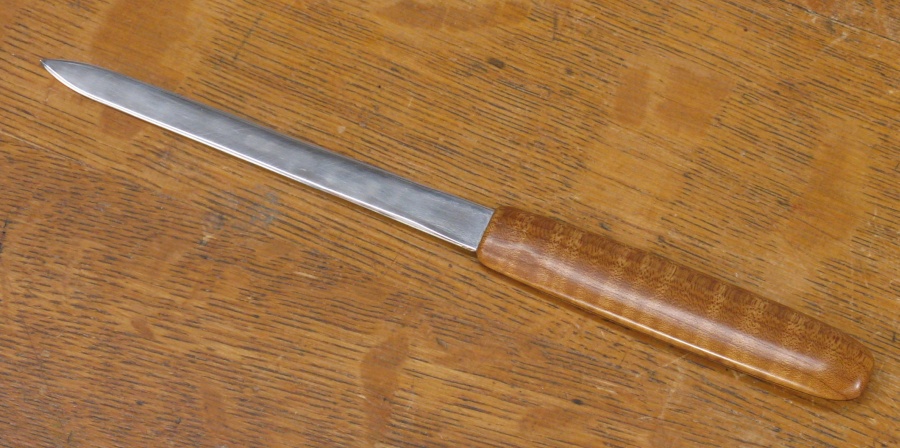
Done
And that was it - a mere 24-photo project.
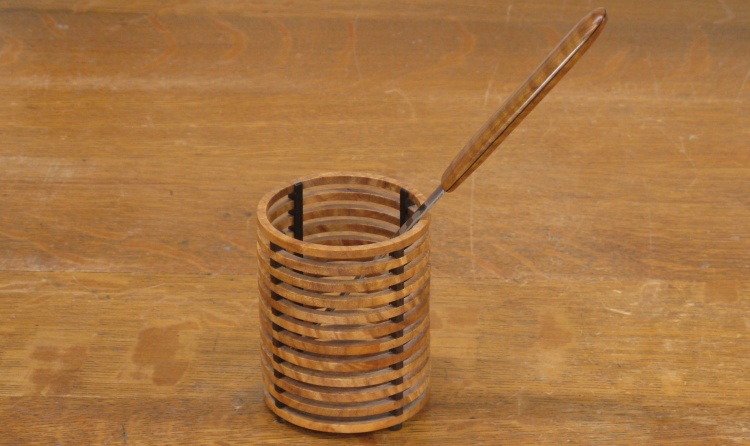
Balance test: Pass
But of course the raison d'être for the new opener was to avoid yanking over the pen cup.
And while it may never be in the cup on its own like this, this "corner case" test shows that superior balance was achieved.
And while it may never be in the cup on its own like this, this "corner case" test shows that superior balance was achieved.
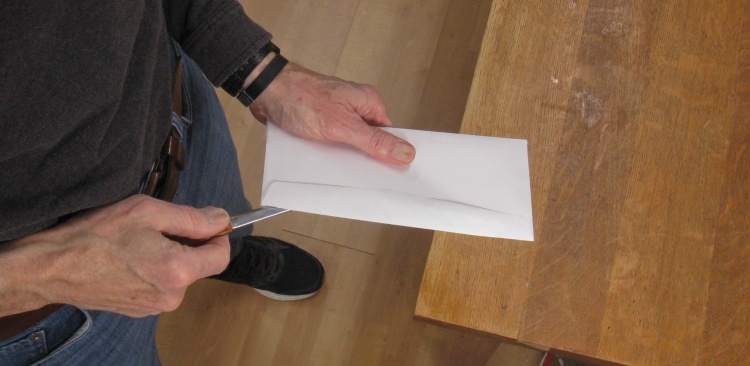
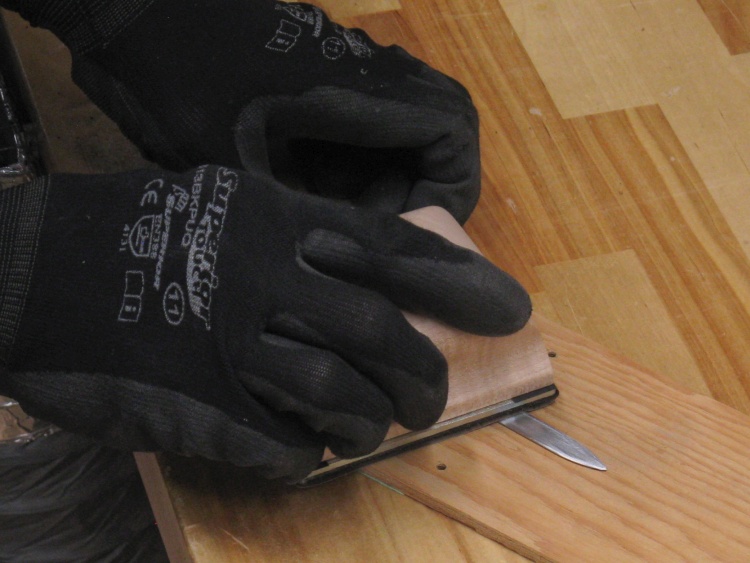
Operational test: Pass
And, lest we forget, this is supposed to be able to open letters too.
This gruelling test proved its opening facility, and that completed the text campaign.
This gruelling test proved its opening facility, and that completed the text campaign.


