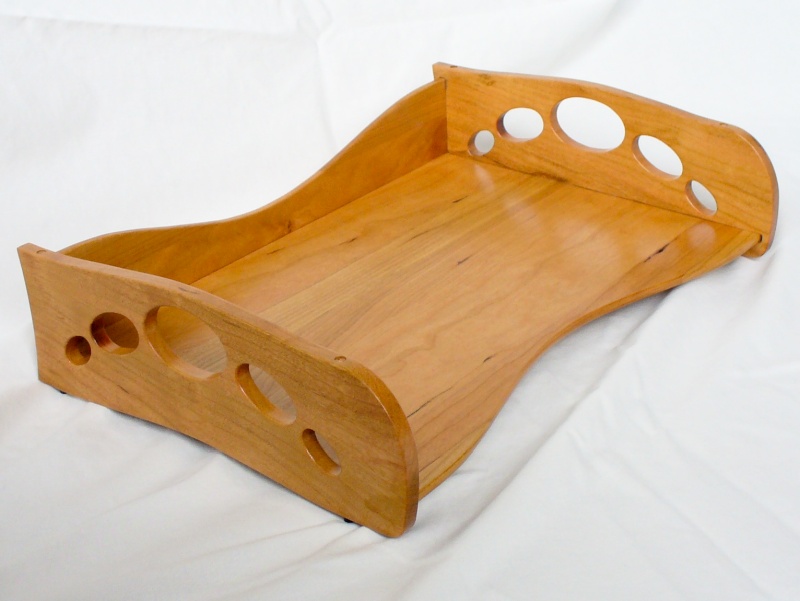
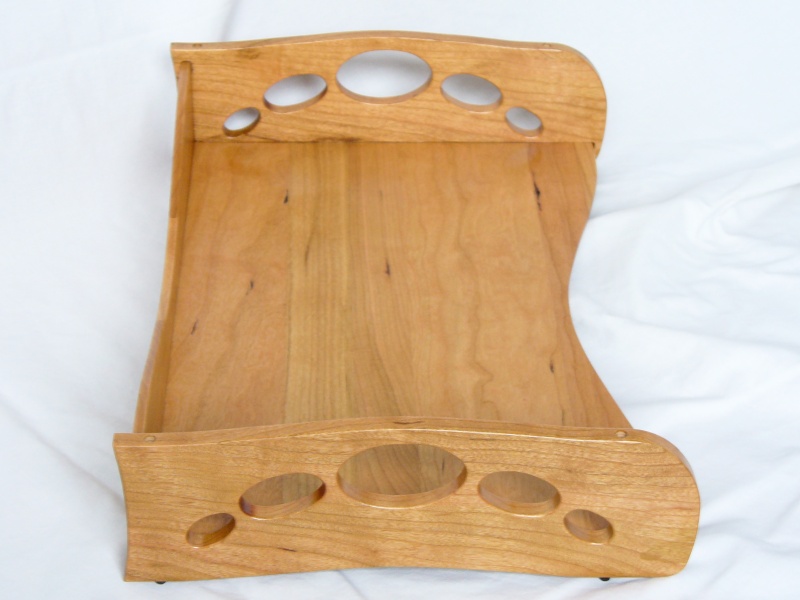
In another tragic case of
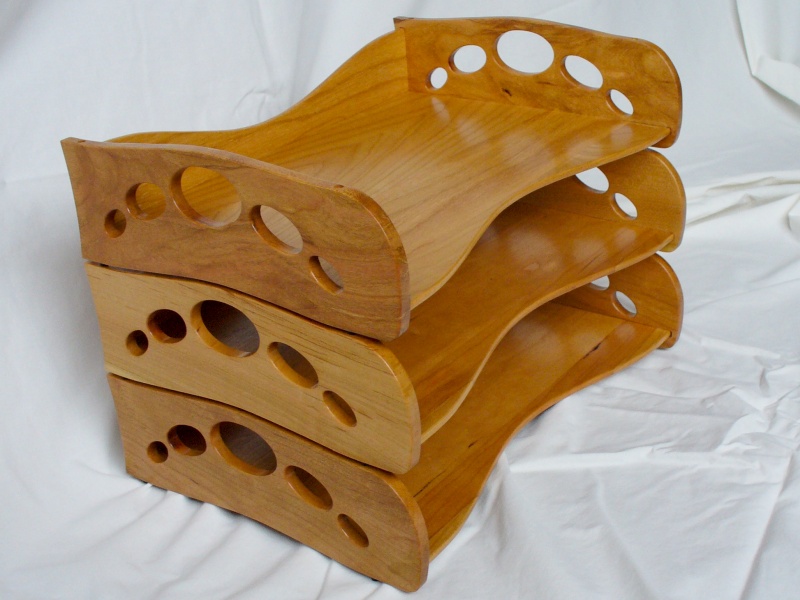
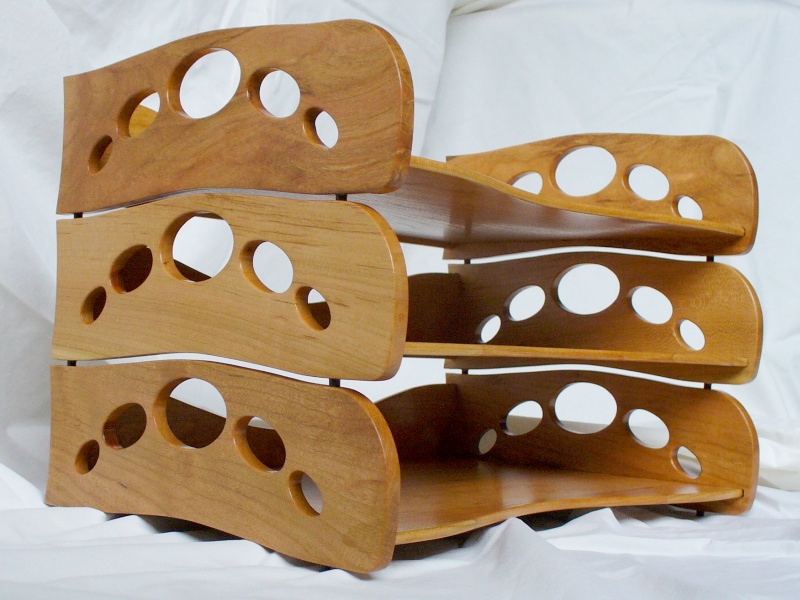
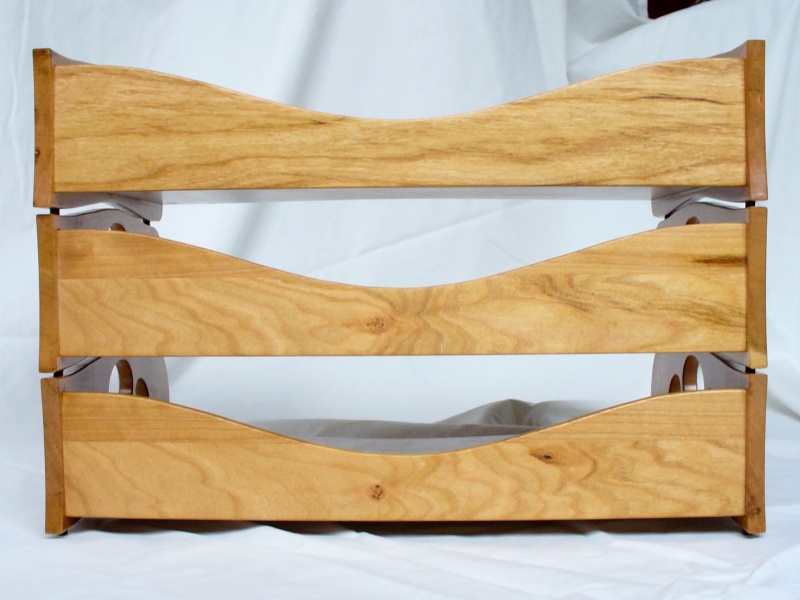
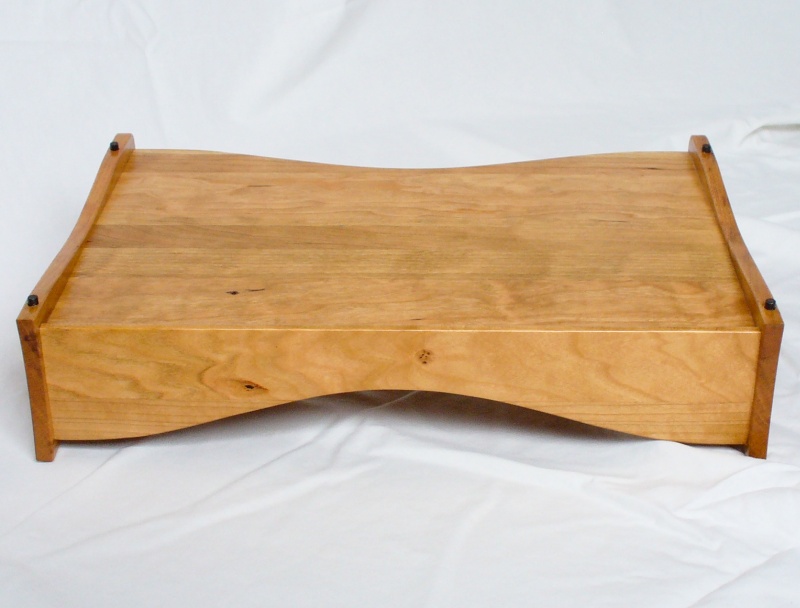
CFISIMI, I decided I needed to make some paper trays for my desk. I have a wooden desk (surprise!), although not actually made by myself, and my current yellow, beige and blue plastic trays just weren't the ideal complement to the Cherry desktop. At least my current trays, besides being cheesy and plastic, were actually a good size and style. However, I was unable to find many commercially-available trays in that configuration, much less ones that I thought looked nice. So after some fruitless searching, I decided to make my own. I made three identical trays that stack to hold my unsightly pile of papers. I used solid Cherry for the all the pieces except the feet. The feet are small African Blackwood pins that nest in holes in the tray below for stacking the trays together.
When making identical objects, it is useful to to be able to make all the pieces together, which is what I did for this project. I made the six sides together, thus ensuring a good match between them (and saving a bunch of time besides). I did the same thing with three backs and the three bases. An excellent way to do this is to stick the pieces together using thin double-sided tape. I'm not talking about the foam stuff, but rather the transparent tape that comes with plastic film used for window sealing. The tape can also be bought separately, but it is ideal in that it is only 0.0025 to 0.003" thick, has excellent adhesion, and usually can be removed cleanly. After getting the pieces to the required thickness, I stick them together with tape, using the minimum amount I think I can get away with. This because with too much tape, it may be impossible to get the pieces apart. I also avoid having tape anywhere I'm going to cut or drill the board, to avoid having the adhesive gum up the cutter.
When I'm done shaping the parts, I use a small stainless steel dental spatula that that tapers from maybe 0.01" at the end to .03" or so at the handle. I stick this between the pieces where the tape is located and try to push it through the tape to break the adhesion. It usually takes some prying and the help of at least one slot screwdriver to begin to separate the boards. After the pieces are separated, the tape can be peeled off and any remaining adhesive can usually be rolled off with a thumb. The tool used to separate the pieces is important. It should be thin at the end to make it easier to get between the pieces, and it needs to be wide enough and have a small enough taper to avoid denting the wood pieces. A regular slot screwdriver is probably not a good choice. If I didn't have the little spatula, I'd probably grind down a screwdriver or some other suitable sacrificial tool to make what I needed. I have also used the tape to temporarily hold on wood forms used to define a routing area (for example, routing the holes in the paper box).
The Wipe-On Poly finish that I used for the trays is a fairly foolproof product. It is a polyurethane varnish, but they have managed to strain out many of the drawbacks one normally associates with this type of finish. When
using a regular polyurethane varnish to finish a small piece such as this, there are three main problems: 1. The finish is fairly thick and as a result, it may not level out well so you are left with brush marks when the finish dries. In addition, 2. The finish is best applied with a brush. But for detailed parts with lots of corners and details, it becomes very difficult to do all the nooks and crannies without drips or the finish pooling in some low spot, and finally 3. One of the main polyurethane advantages is quick drying, but that can be a disadvantage when finishing a piece where all the surfaces are to be coated. You start on one surface, and when you have coated the rest of the part and get back around to the original surface, it has partly dried, meaning it is difficult to blend in the newly applied varnish. And brushing partly dried varnish can create a big mess. Of course you can coat part of it at a time, but then it takes twice as long and you need to try to blend in the two coats without an obvious double-thick area.
The wipe-on seems to get around these problems by using a thinner mix that does not require the use of a bristle brush (I usually use a foam brush with this). It is thin enough to level well and seems to have less of a problem with drying out before finishing the piece. It still dries in three hours (according to the can) so it is ready to recoat the next day, which is usually soon enough for me. And it is still susceptible to dripping, but drips or pools can usually be removed with a swipe of the foam brush without messing up the partly-dry finish. Of course, the actual film is thinner on each coat, so you wouldn't want to try get away with one coat. I usually use three, but those three are likely easier than two of a regular varnish. And, no they didn't pay me to rave about the product, but I'm not a big fan of finishing, so anything that makes that job easier or more successful has my vote. Could one accomplish the same thing by thinning a regular polyurethane varnish? Maybe, but most of them warn against thinning for unspecified reasons, so I tend to stick to the stuff I know will work.
| Material: | Cherry |
| Finish: | 3 coats Miniwax Wipe-on Poly, Clear Satin |
| Size: | 3.2" h x 9.2 d x 13.1" w |
| Done: | September 23, 2006 |