I'm not sure when we acquired the original pepper grinder other than it was many years ago, but the mechanism still works fine. It's pretty compact and fits in one of our spice drawers alongside the other spice jars so that was a feature I wanted to keep. For the design I basically just drew the old one and turned the central "innies" into "outies" to get the extra capacity. The replacement was turned from cherry to match the cupboards in the kitchen.

The plan
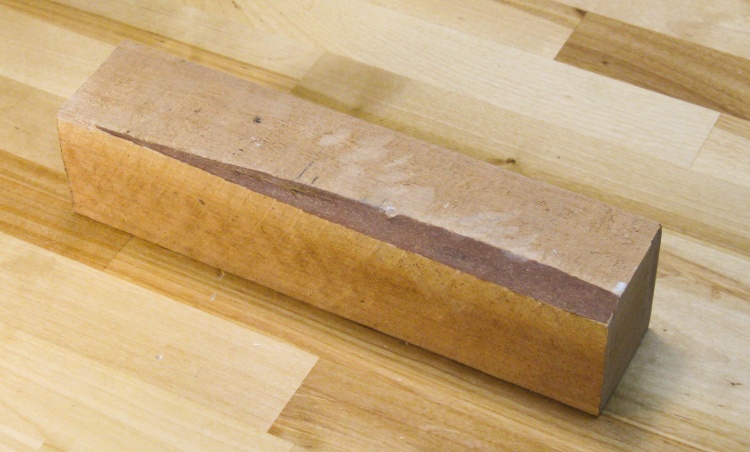
The raw materials
The pepper grinder was to be just under 2" in diameter and I had a few pieces of cherry that were almost big enough. I decided to use the slightly undersized wood and just make sure that I didn't waste any "diameterage".
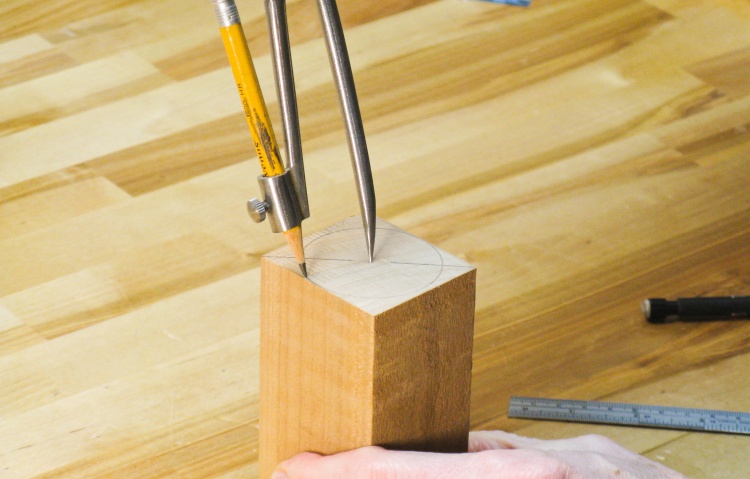
Carefully marking the center
If the wood is turned off-center then some diameter gets wasted when turning the piece. To avoid this particular peril, I found and marked the exact center on both ends with the aid of a compass.

First step: rounding
The wood was mounted to the lathe using a spur center whose point was carefully placed at the marked center. Then the wood was rounded until there were just tiny flat portions left.
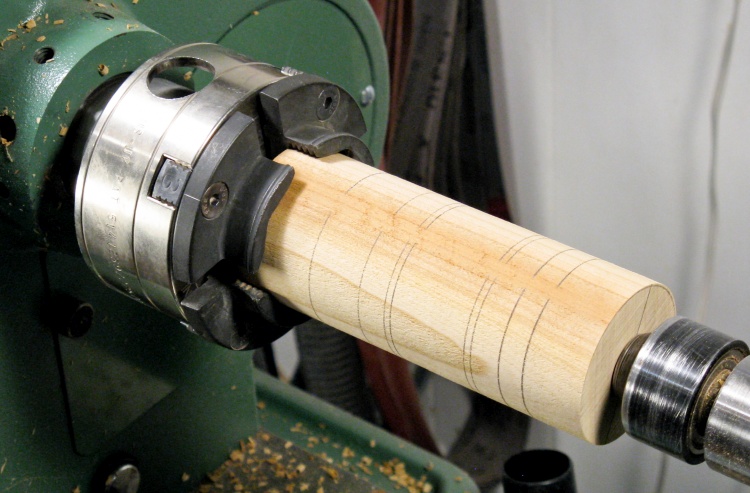
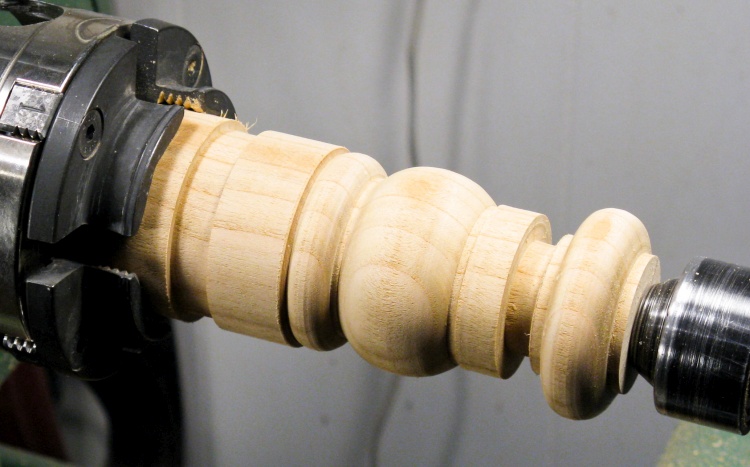
Turning features marked
The mounting was changed to the 4-jaw chuck and I drew lines on the wood to guide the turning of the features. The missing portions of the lines is the tiny flat portion left.
There was an identical flat section on the other side, meaning the centering was accurate and I got the maximum diameter possible out of the wood blank.
The old one was 1.970" diameter while the new one ended up at 1.963". I guess there's nothing to complain about there.
There was an identical flat section on the other side, meaning the centering was accurate and I got the maximum diameter possible out of the wood blank.
The old one was 1.970" diameter while the new one ended up at 1.963". I guess there's nothing to complain about there.
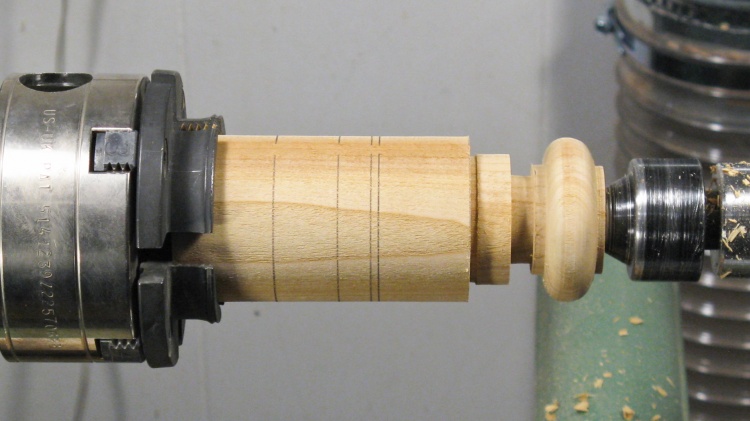
The top section was shaped first...
The eventually-to-be-separate top crank knob was turned first. It will be disconnected from the rest of the wood at the adjacent narrow section a bit later on.
...followed by the main body
Next was shaping of the main body.
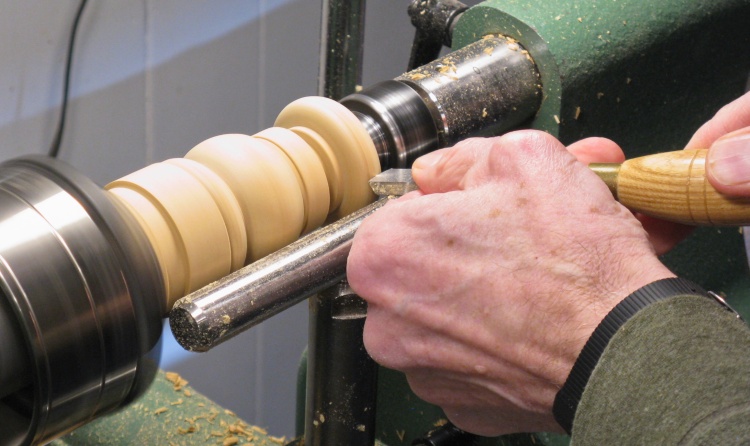
Final rounding step
A scraper was used for the final rounding to get rid of the flats spots while removing as little material as practical.
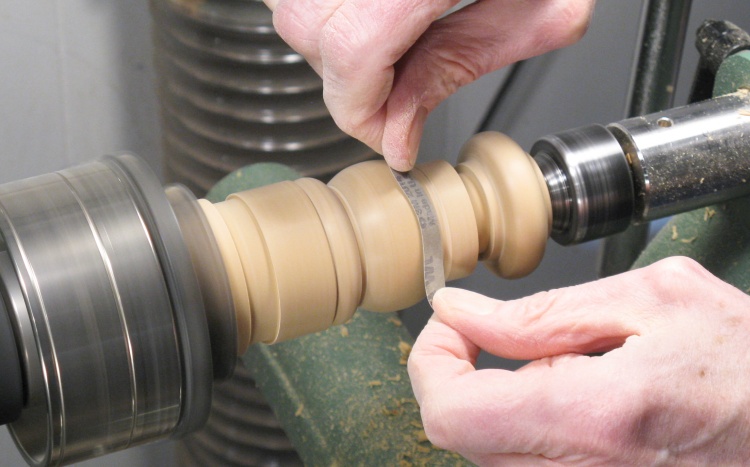
Sanding the outside
The outside was sanded to 600 grit using strips of sandpaper.
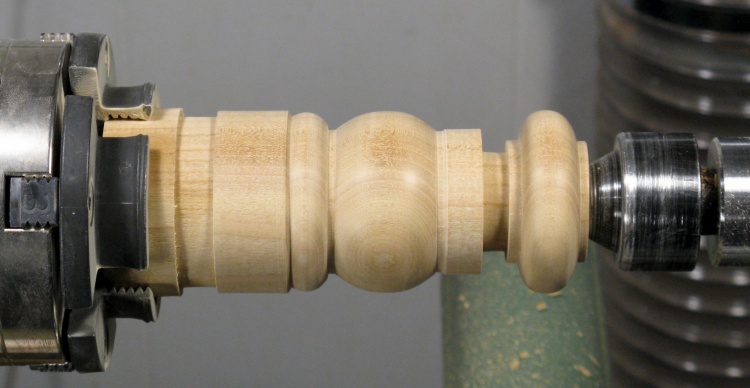
Outside is done
This shows the completed outside, with the extra-long base on the left and the still-connected knob on the right.
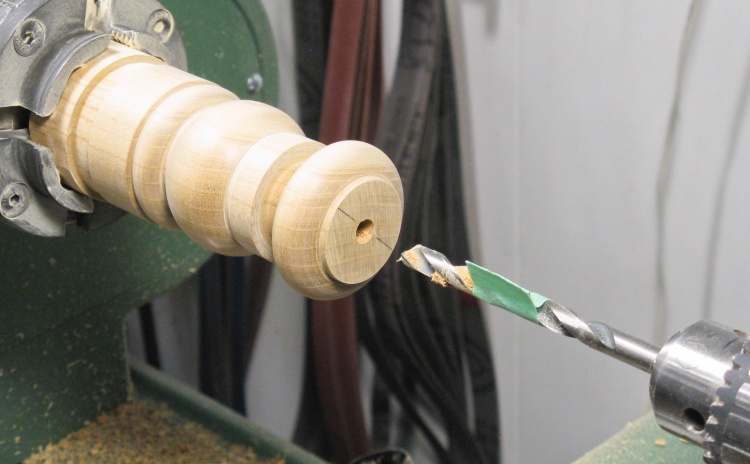
Drilling the top crank knob hole
The next step was the hollowing but first the knob needed to be drilled for the shaft of the grinder mechanism as shown here.
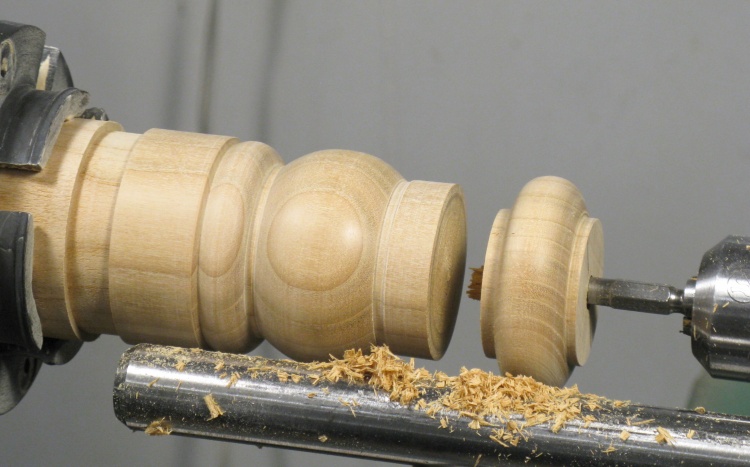
Crank knob cut off
Then with an undersized shaft to support the knob, it was cut away from the main body of the grinder.

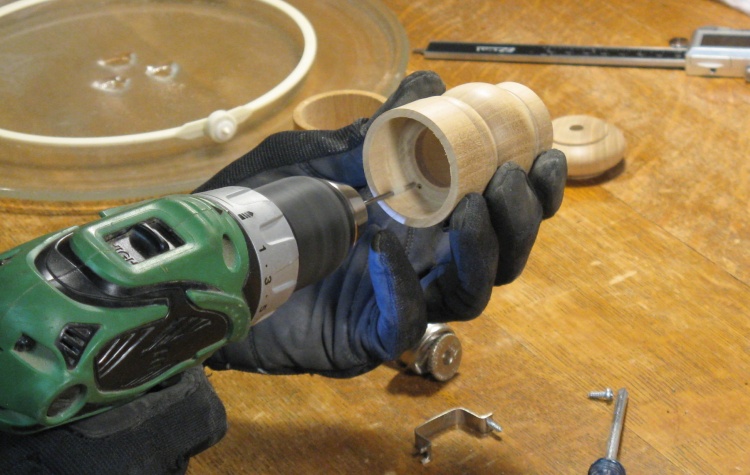
Initial 1" hole to start hollowing
In retrospect I should have hollowed the bottom before turning the outside, but since I failed to do that I had to pay for it here with extra steps.
I needed to flip the grinder body around to hollow the bottom but there was no good way to hold the top without marring it. So I drilled a 1" hole and planned to use a tight 1" dowel inserted into the hole to hold the top end.
I needed to flip the grinder body around to hollow the bottom but there was no good way to hold the top without marring it. So I drilled a 1" hole and planned to use a tight 1" dowel inserted into the hole to hold the top end.
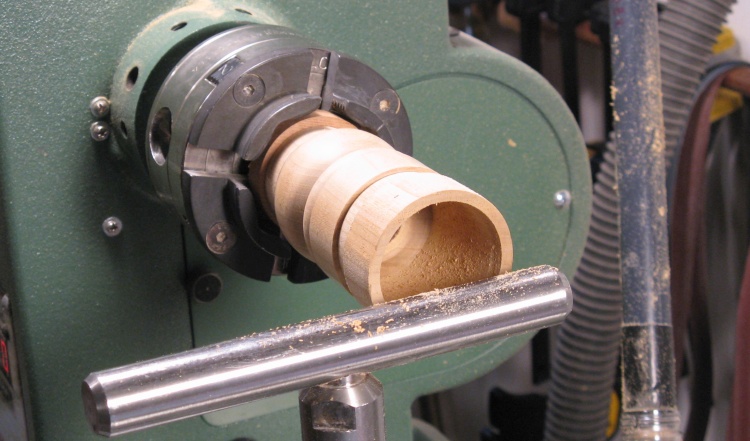
Bottom has been hollowed after being flipped around
So here the jaws are gripping the 1" dowel that is fitted into the hole I just drilled.
In this photo the bottom has already been hollowed out with the use of my hollowing tool and an appropriate scraper.
In this photo the bottom has already been hollowed out with the use of my hollowing tool and an appropriate scraper.
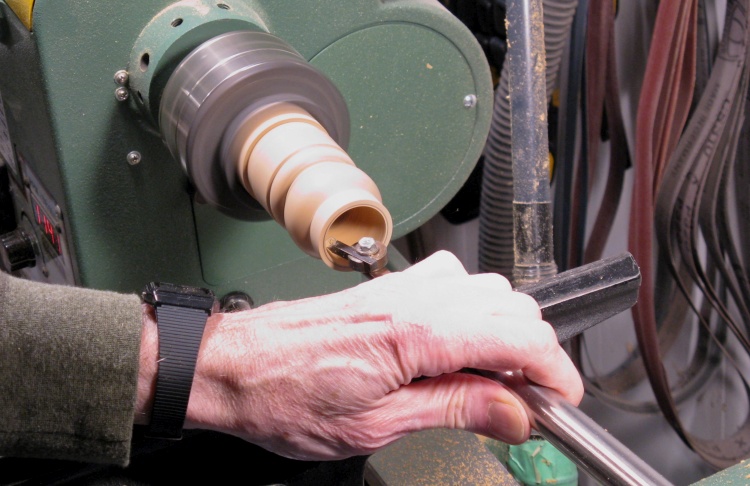
Flipped back around and completing the hollowing
Then I could flip the grinder body back around and put the extra-long bottom part back in the jaws to hollow the main body from the top. That was done using my hollowing tool as shown here.
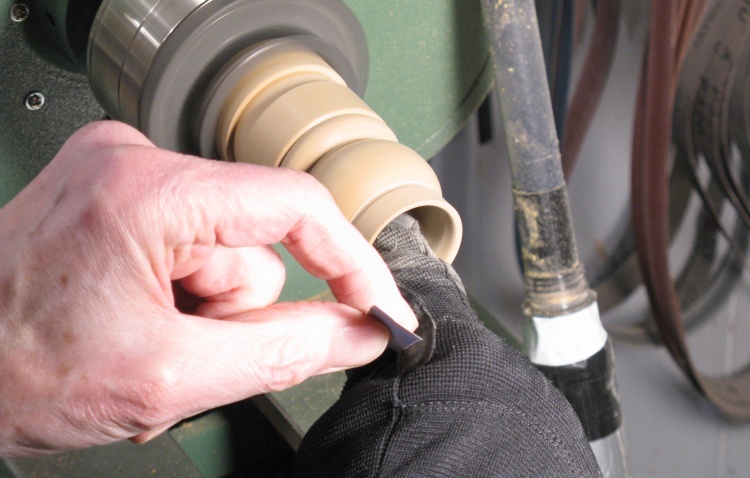
Sanding the inside
The inside space was tight but I managed to sand it by inserting a single gloved finger inside to hold the sandpaper.
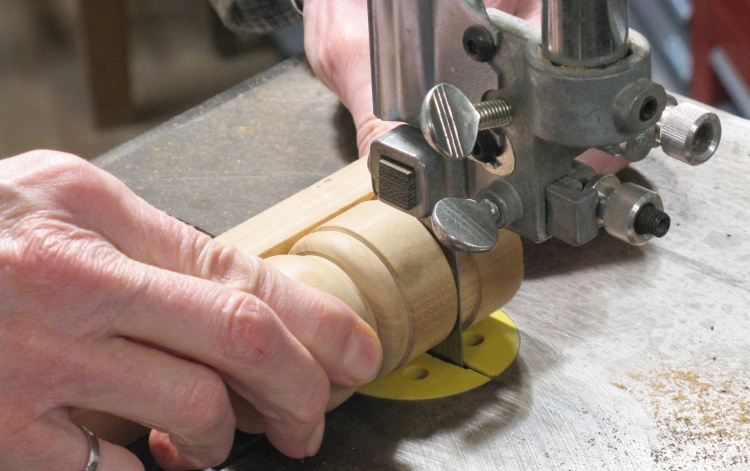
Trimming of extra material at the bottom
Then the grinder came off the lathe and I cut the excess length off the bottom, followed by sanding it smooth on the belt sander.

Off the lathe and ready for next step
And here is the body and top knob, almost done.
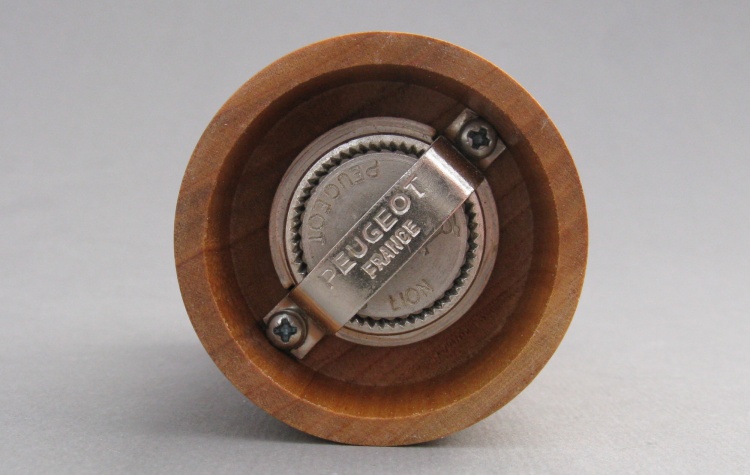
Puegeot? Don't they make cars?
This is the bottom view of the grinder mechanism. Interestingly, it was made by Puegeot, the French automotive company.
Puegeot automobiles are no longer sold in North America but back when I was a lad things were different. It's always been an obscure brand in Canada, but oddly enough my grandmother had a Puegeot (a 405 model if I recall correctly) in which she used to drive up from Regina to visit us.
And on the subject of obscure French brands, there was also a Renault dealer in Saskatoon and my father bought a new Renault 12 TL back in the day (sometime in the 70s). I think he was attracted to the novelty of the front-wheel drive which was a rarity back then.
It had a few quirks including the horn being on a steering wheel stalk on the left side. My dad was a tall guy so every time he got into the car his knee would hit the stalk and honk the horn. He eventually removed the end knob, cut the horn stalk shorter and reinstalled the knob. It also had a common point between the front seats for clipping the two seatbelts. It was a thick metal ring on an 18"-long flexible stalk midway between the seatbacks. That meant that whenever one of the front passengers bent forward, it would pull the stalk to their side and tighten the other passenger's seat belt. Some...interesting...French engineering. The steering (which was manual) had no stops so you would just crank it until it got too tight to turn. I remember our next car was the German-made Volkswagon Rabbit (which was brown so Dad had a "Chocolate Bunny" sticker made for the back), and it was a marvel of precision by comparison.
Which brings us to the joke which goes: Apparently the only difference between heaven and hell is what the nationalities do. In heaven, the French are the cooks, the English are the police and the Germans are the engineers. But in hell, the English are the cooks, the Germans are the police and the French are the engineers.
Drilling hardware mounting holes
But back to the pepper grinder;
The grinder mechanism had a section that mounted to the base (the actual grinder bits) and a reinforced hole for the top knob that fit over a pair of splines on the shaft. I drilled the screw holes for those.
The grinder mechanism had a section that mounted to the base (the actual grinder bits) and a reinforced hole for the top knob that fit over a pair of splines on the shaft. I drilled the screw holes for those.
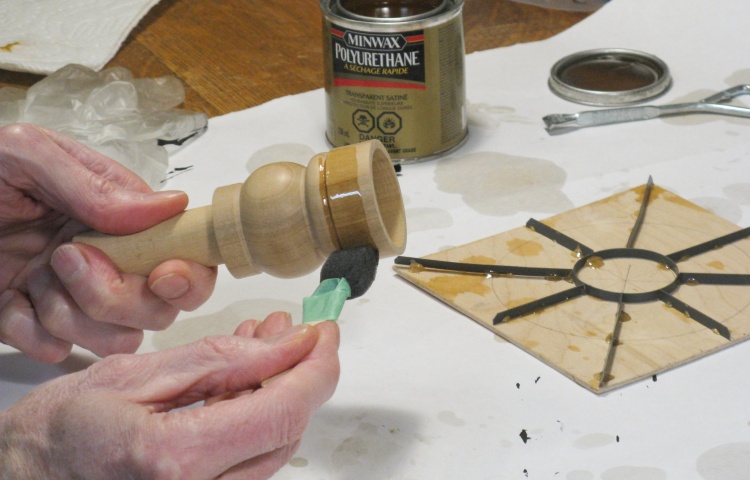
Applying the first coat of varnish
That was it for the woodworking, so then it was on to the finishing;
I used my standard three coats of Miniwax Fast-Dry Polyurethane Satin varnish, using #0000 steel wool between coats.
And I'll just state for the record that it is not. Fast-dry, that is. This varnish takes as long or longer to dry as any other I've tried. I typically wait for 24 hours before recoating.

First coat of varnish on
The cherry darkened up nicely with the finish on.
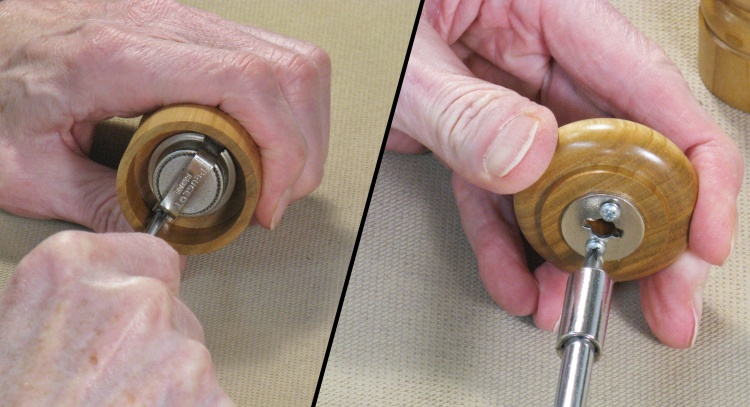
Installing the mechanism
Once the varnish had several days to dry, I moved the mechanism over to the new grinder.
The screws used a rather obscure head called Posidriv (no "e") and of all my dozens of bits I had only one short Posi driver. A Philips driver sort-of fits so I used that on the base where I needed the longer shaft.
I've almost never encountered a Pozi-headed screw outside work. But there was this mechanisim and a few weeks later the screw on some shelf supports and then the screws on a totally different shelf support I had bought. Good thing I'd ordered some Pozi drivers...
On the old grinder, the wire centers the shaft
The old unit also had a formed wire pressed into the wood that kept the shaft centered when the top knob was off for filling. I had increased the inside diameter on the new grinder so I needed a new version of this wire piece.
A bit of checking reveals that Puegeot still make pepper mills, even this model which is apparently the "Bistro", made of beechwood.
I've often wondered what the rather cheesy-looking wood was that's often used in unspecified "hardwood" items like a cheap TV table or this pepper grinder. Looks like it might be Beechwood.
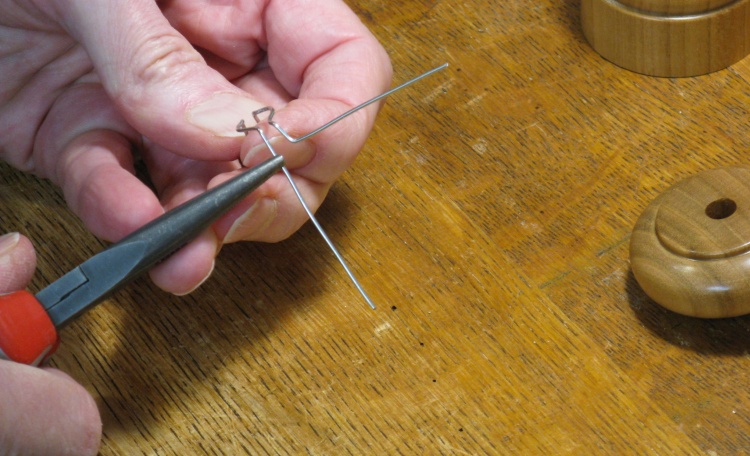
Bending up a new shaft holder
The new one was a bit trickier since the ends needed to be higher than the center part to fit correctly. But I was able to bend one up using some stainless steel wire.
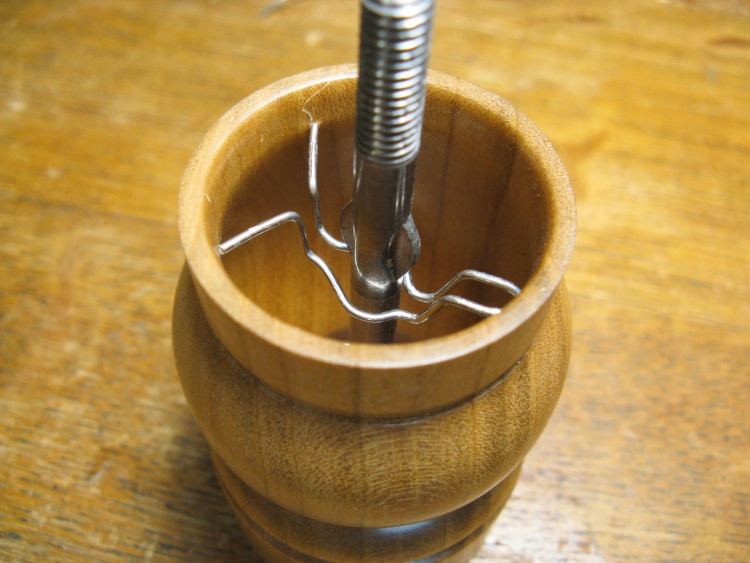
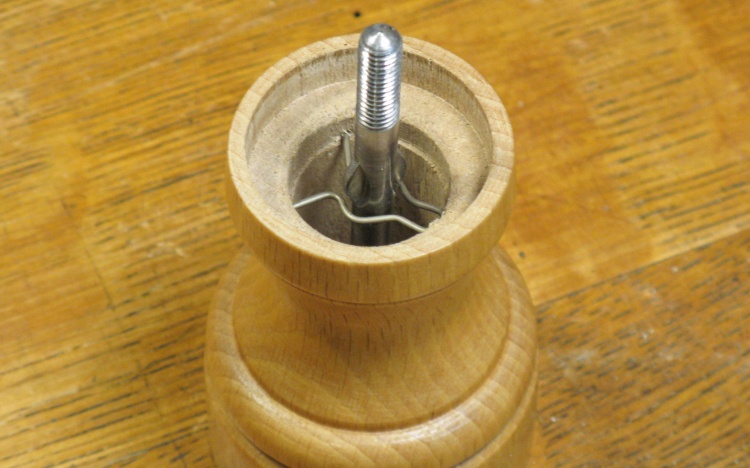
The new shaft holder in place
Here the new wire frame has been mounted into the grinder.
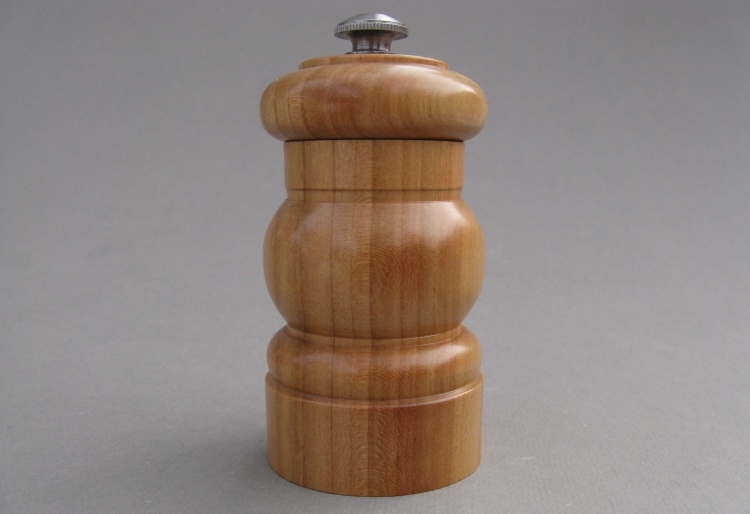
Done
And that was it. It just neeed to be filled with peppercorns and it was good to grind.
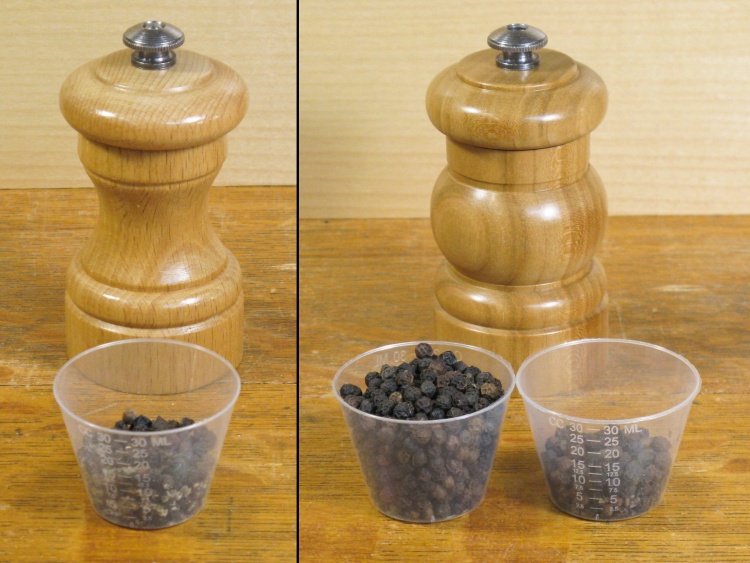
An old-to-new capacity comparison
And speaking of peppercorns, the impetus for the new one was to increase capacity so I needed to do a volume comparison to judge that achievement.
The old one held about 15 ml while the new one was about 45 ml. Success!
The old one held about 15 ml while the new one was about 45 ml. Success!


