I was reasonably happy with the design of the 2023 phone stands so I made these 2024 model-year stands to be identical. The construction processes were also largely unchanged although I did add some grippy feet to this batch to prevent the phone skating across the surface when the screen was touched.
I eventually had a dozen different types of wood and in most cases made two stands each. The list included Birch Plywood, Cherry, Figured Maple, Mahogany, Maple, Red Oak, Purpleheart, Tigerwood, Walnut, Wenge, Yellowheart and Zebrawood. These were all woods that were lying around the shop in a large-enough size and quantity to make at least two stands.
Having done this thrice before, I suppose I didn't really need more photos of phone stand construction but I seem to have a compulsion to photograph and publish them regardless. I'm sure one could check the DSM to find out what my problem is (Instagramania?) but there are a bunch of somewhat random shots here "for completeness". For those unsatisfied with the completeness of my compulsion then the 2023 stands have a page with more construction details here.

The "legacy" plans
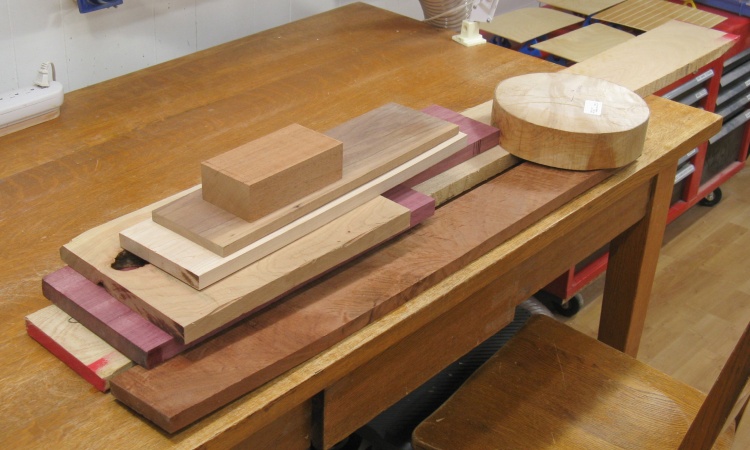
A big pile of variety
First thing to do was to collect a bunch of different wood types that I had around the shop.
I started with these eight species but ended up finding another four before I was done.
I started with these eight species but ended up finding another four before I was done.
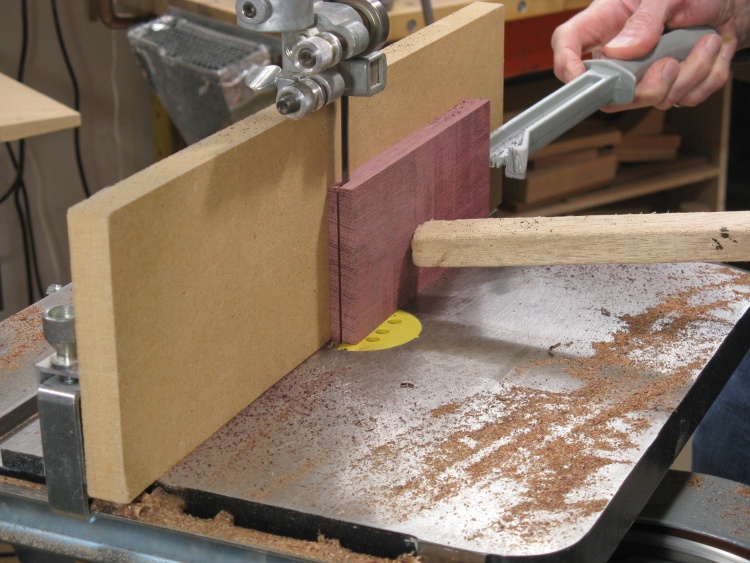
Everything starts out thin
After cutting the wood to length and width, slices were cut off to form either the back or to be split in two for the base and prop.
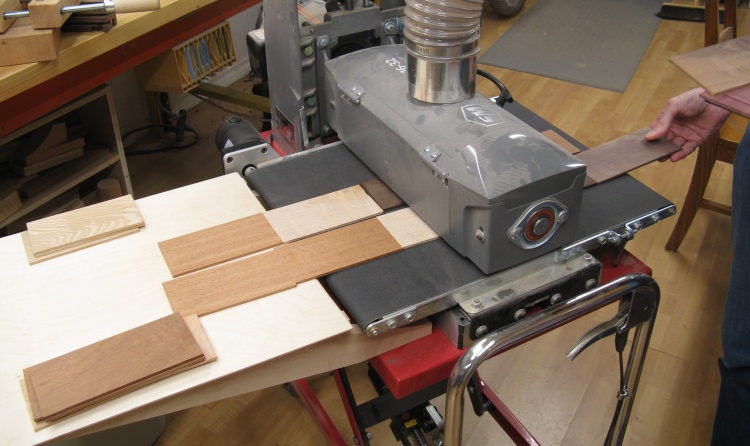
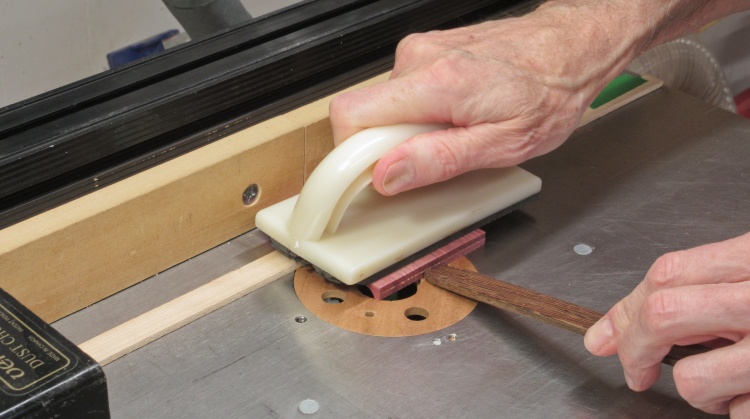
Sanding the base/prop pieces
I used either the planer or drum sander to set the final thickness of the pieces but in this shot I'm feeding all the ones destined to be split into bases and props through the sander.
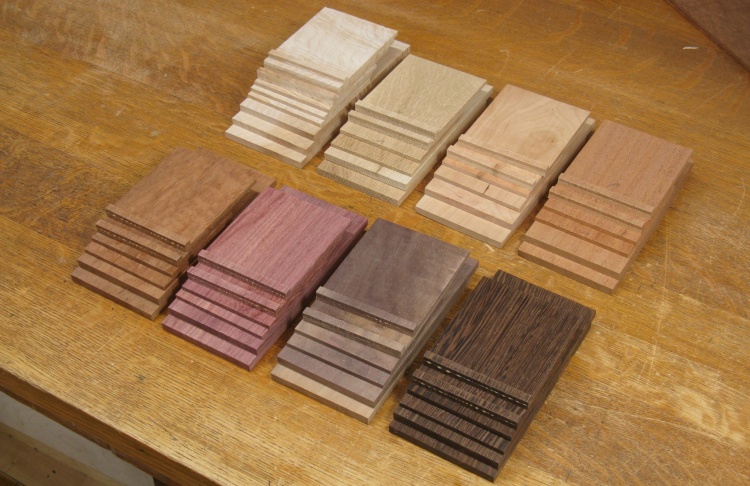
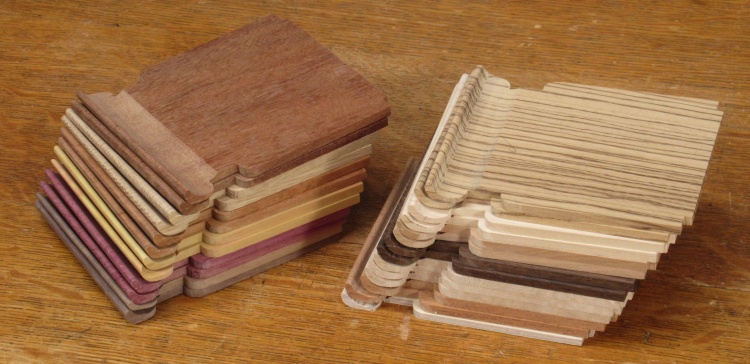
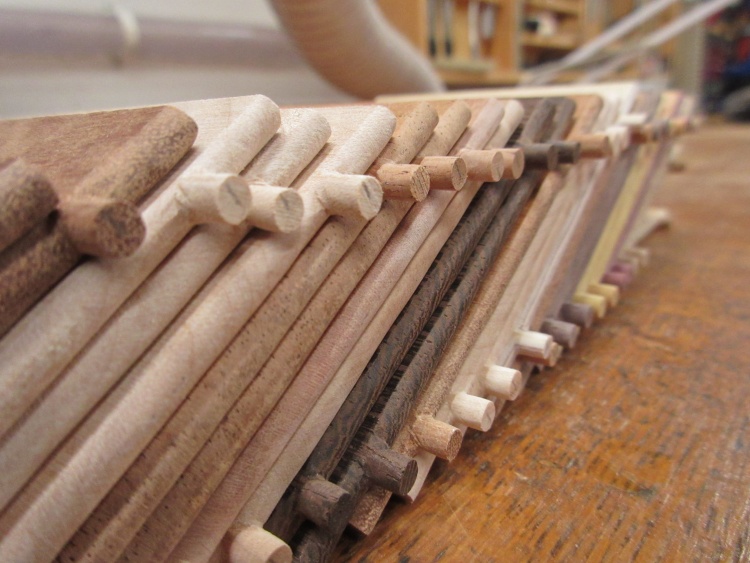
Backs, base and props for the first (counts) 17 stands
And after the cutting and sanding I had a collection of properly-sized pieces on which to start the shaping.
The bases also had a thin strip glued to their front edges to give enough thickness to make a lip to hold the bottom edge of the phone.
The bases also had a thin strip glued to their front edges to give enough thickness to make a lip to hold the bottom edge of the phone.

Routing out the backs
Each back piece was taped to a length of 2x4 for easier handling and then the exposed side was routed to form the hinge points.
The routed surface was hand-sanded flat and the square hinge points were rounded off and then sanded smooth as well.
The routed surface was hand-sanded flat and the square hinge points were rounded off and then sanded smooth as well.
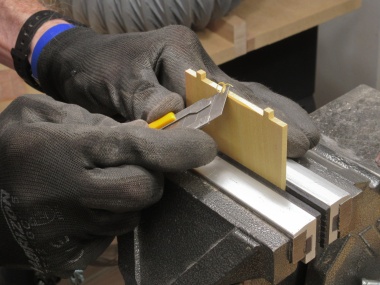
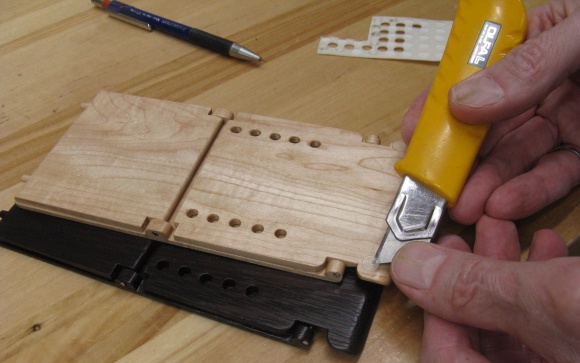
Notching the corners of the bases
In this photo I'm notching out the corners of the bases so they clear the hinge points when the stand is folded.
Shaping the phone holder section of the base
The double-thickness front of each of the bases was shaped into a phone-holding curve with multiple passed over the router bit, one of which is seen here.
The ridged surface resulting from this operation was then hand-sanded into smoothness.
The ridged surface resulting from this operation was then hand-sanded into smoothness.

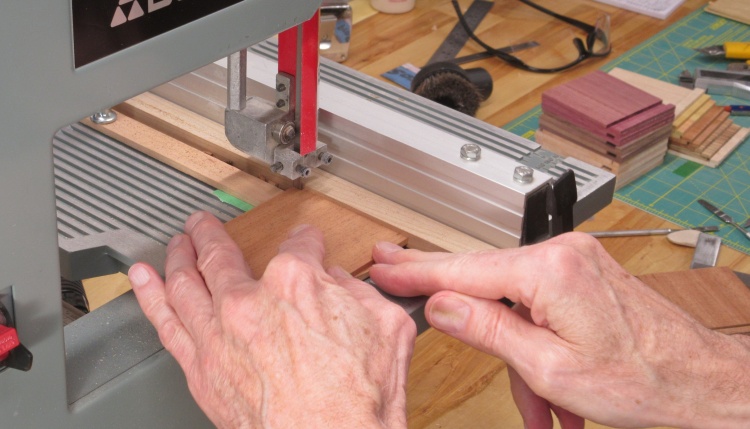
Shaping bases with fancy 3-wood stop
After the routing and sanding, the bases were further shaped by cutting a clearance for the lower hinge.
After doing some disappointing tests cutting to a specific depth with the bandsaw, I eventually made an adjustable stop to aid in the process, seen here clamped to the table.
After doing some disappointing tests cutting to a specific depth with the bandsaw, I eventually made an adjustable stop to aid in the process, seen here clamped to the table.
All 26 bases ready for the next step
By this point I've added the other four types of wood and in these piles are bases for all 26 stands.
These still need a bit more work, particularly drilling the holes to support the prop.
These still need a bit more work, particularly drilling the holes to support the prop.
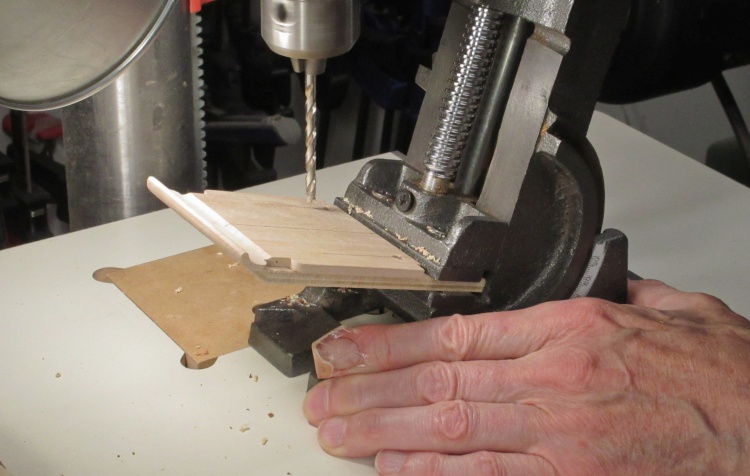
Drilling prop holes
Each pair of holes in the base were drilled at the appropriate angle to corespond to the angle of the prop. A variable-angle drill press vise helped with that operation.
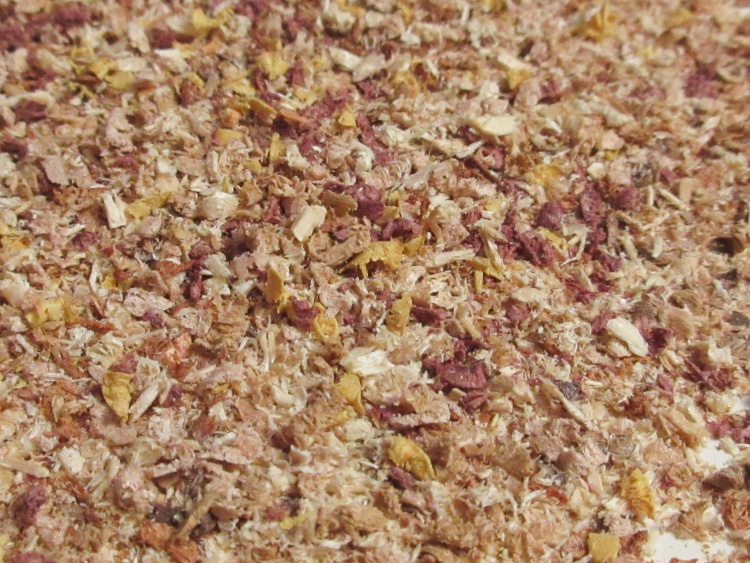
An interesting mixture of drilling sawdust
Drilled-out remnants from a number of wood species.
Being flat, the prop was the simplest of the three pieces that comprise the stand. It just needed some corner notches, rounded ends and the support pins. Below are a few shots of rounding the lower edge and the pins that engage with the holes in the base.
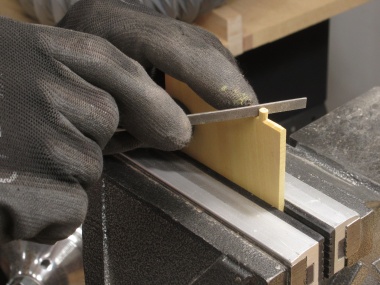
Bevelling prop base
Rounding off the pins
Sanding to round everything off
Big pile of props almost done
Gratuitous photo of the prop pieces after shaping.
They still need some work to round off the ends of the pins but that will occur during a final sanding round.
They still need some work to round off the ends of the pins but that will occur during a final sanding round.
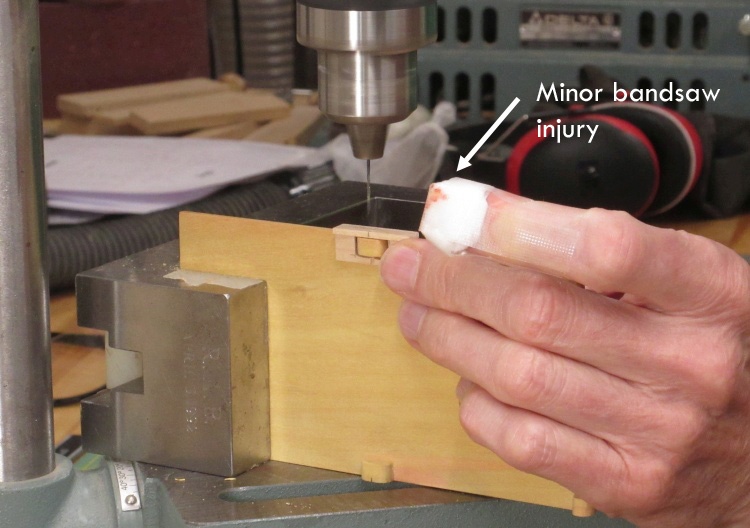
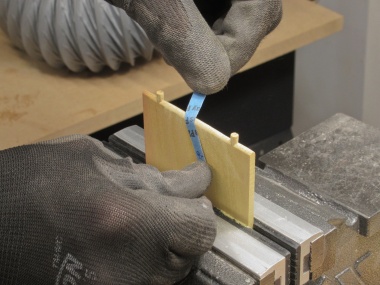
Drilling hinge holes with a tiny jig
The trickiest job was drilling the (0.040" diameter) hinge holes since it needed to be done very accurately to have the stand fold up correctly.
Here I'm using a small jig made from popsicle sticks to help align the hole position on the Yellowheart back.
I managed to injure my finger on the bandsaw a couple days previously so here it is being held out of harm's (and pain's) way.
Here I'm using a small jig made from popsicle sticks to help align the hole position on the Yellowheart back.
I managed to injure my finger on the bandsaw a couple days previously so here it is being held out of harm's (and pain's) way.
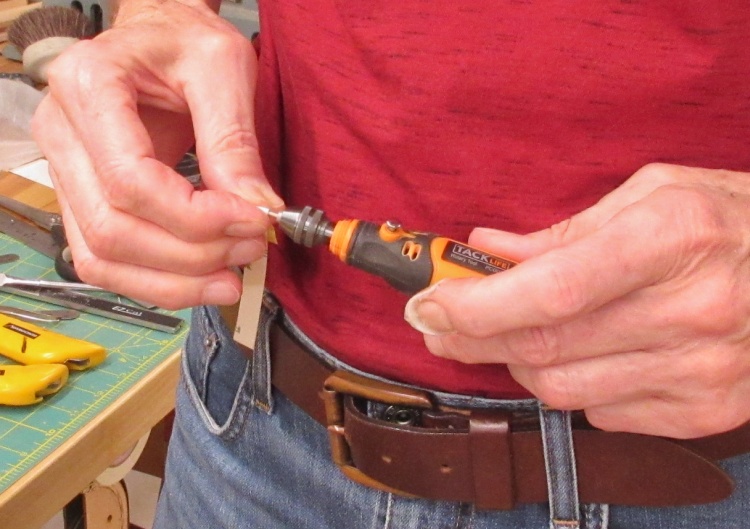
Making a tiny dowel to plug an inaccurately-drilled hole
Unfortunately the position of a few of the hinge holes failed to achieve perfection. In those cases the hole needed to be filled and redrilled but to fill them I needed tiny dowels of exactly 0.040" diameter.
Fortunately I had developed a technique in a previous project that let me make those (consisting of sanding a spinning square post). This shot shows one of the dowels being spun in the miniature rotary tool while I hold the sandpaper that is rounding it off.
Fortunately I had developed a technique in a previous project that let me make those (consisting of sanding a spinning square post). This shot shows one of the dowels being spun in the miniature rotary tool while I hold the sandpaper that is rounding it off.
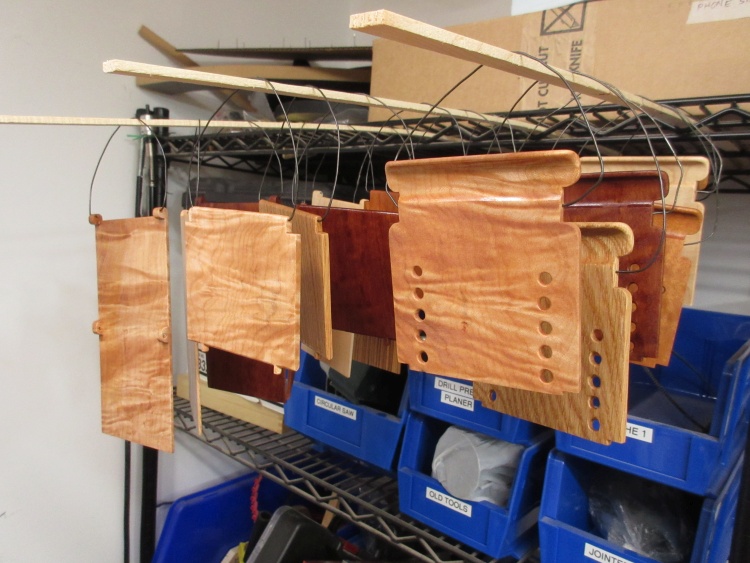
Varnished pieces hung up by exhaust fan
Once all the woodworking and final sanding was done I started on the finishing, employing my usual polyurethane varnish.
For handling, the pieces were given loops of stiff wire that fit into the hinge holes. As seen here the drying pieces were positioned close to the ceiling exhaust fan in the shop to more-efficiently remove varnish fumes.
I did the finishing in batches of six holders at a time, making sure they were all different woods. That made it easy to tell which base and prop went with which back.
Finishing and assembly done on first batch of six holders
The stands received either 2 or 3 coats of varnish (depending on how the finish was looking) with the usual steel-wool roughening treatment between coats.
This photo shows the first set of six holders after 3 coats of varnish and final assembly consisting of putting the half-inch "cigar box nails" in place as the hinges.
This photo shows the first set of six holders after 3 coats of varnish and final assembly consisting of putting the half-inch "cigar box nails" in place as the hinges.
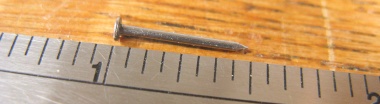
A hinge nail
The final step was to add grippy feet but I wanted them to be pretty thin. Even small dome bumpers are as thick as the base of the stand so I used the thinner web between the bumpers, cut out using a classic hole punch.
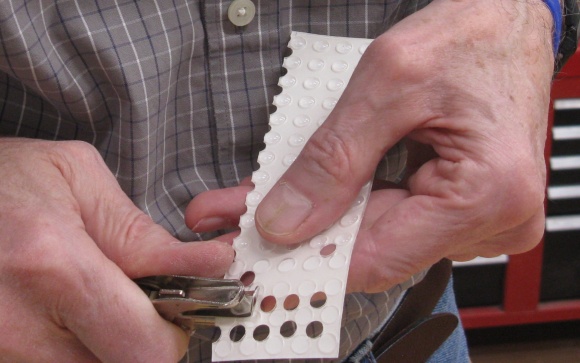
Punching out some thin feet
...and stickin' 'em on
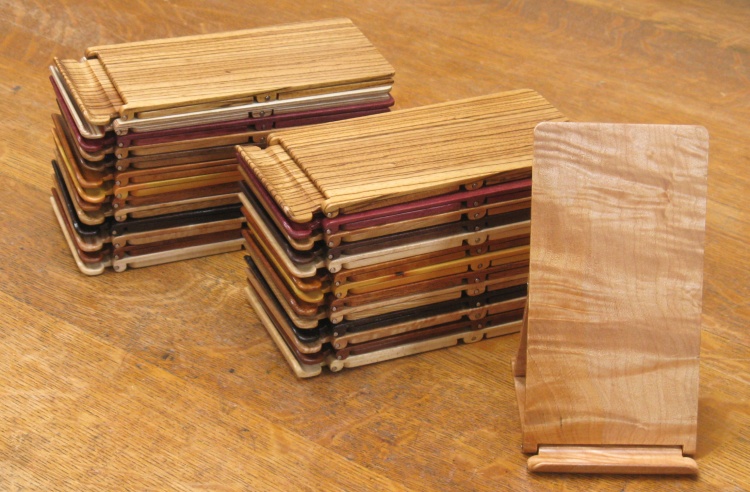
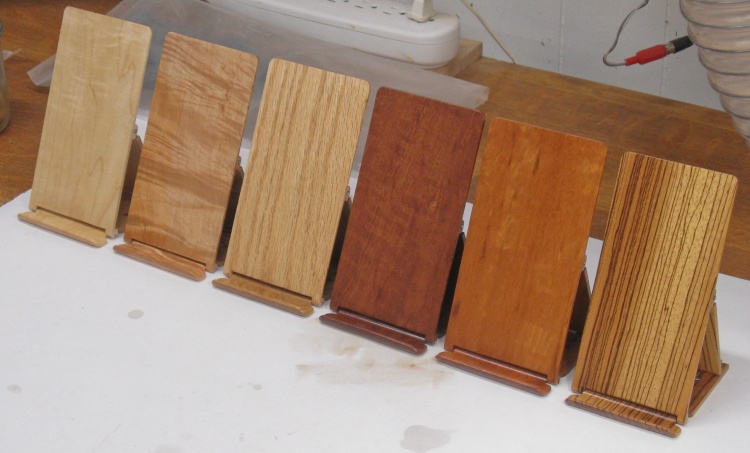
The complete collection
The complete collection in a couple piles.
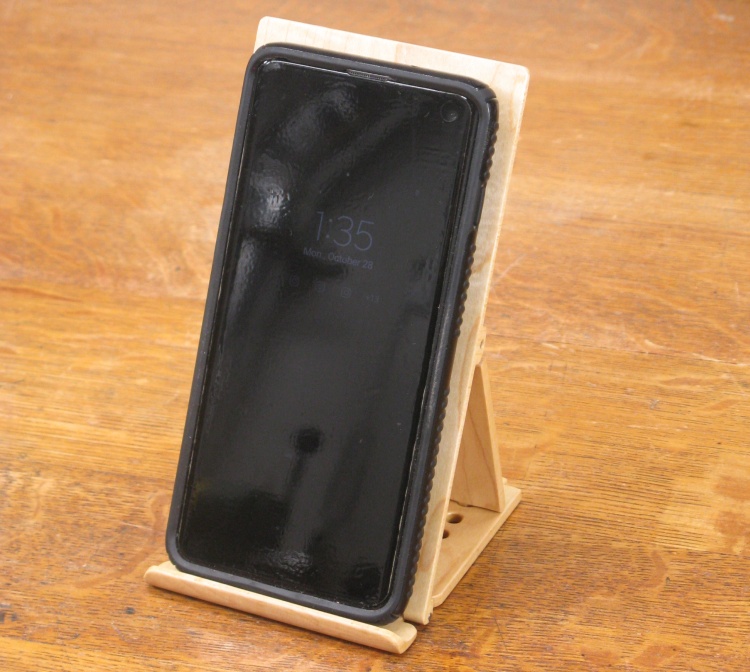
The Maple stand loaded up
The stand in action.
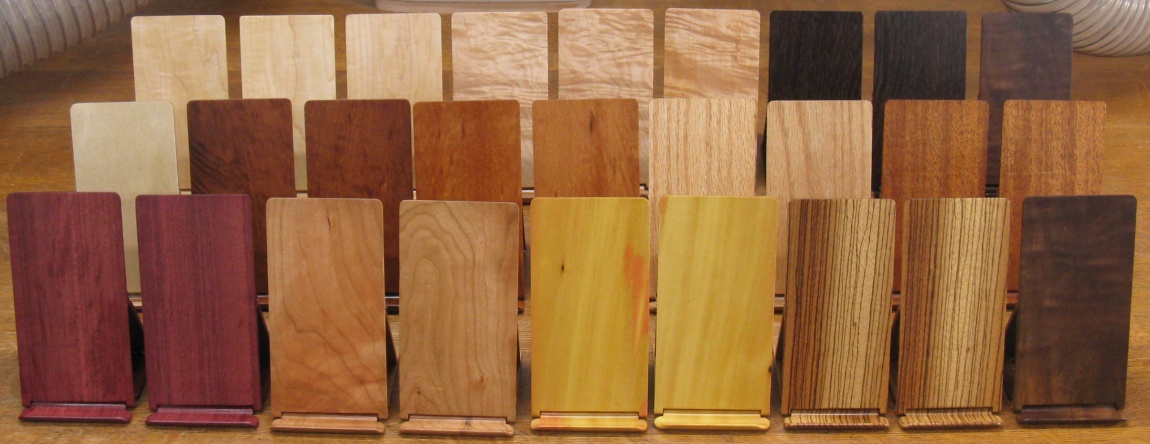
A woodier view of the collection


