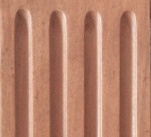
The designs of my previous plant stands were picked based on what I found appealing but I thought I should solicit Sue's opinion for at least this last one. When presented with photos of a diverse selection of stands, she picked a design with a tree motif. The stand in the example photo was fairly extensive, having spaces for half a dozen plants. This one however was going to have to fit into a limited space so I got out the metaphorical pruners and trimmed it down to a 3-plant version, just retaining the sort of roundy-branchy-tree kind of aesthetic.
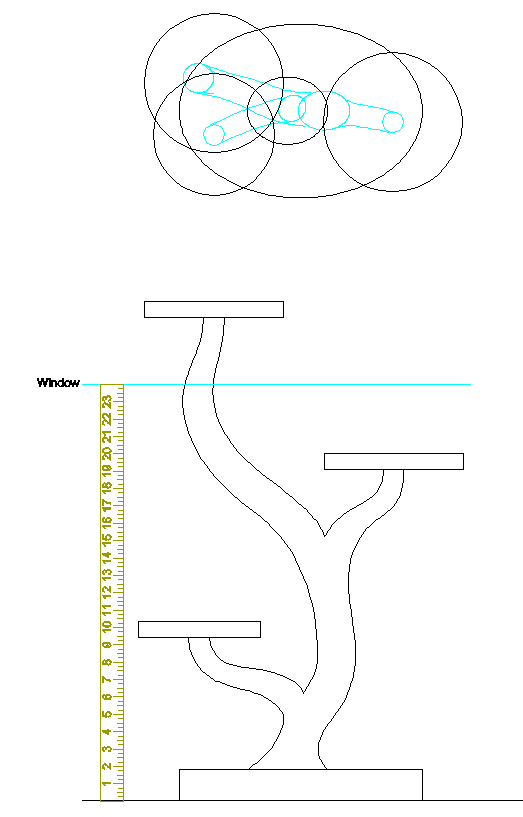
Roundy-branchy-tree 3-pot design
Tree Fabrication
It would have been nice if I had come across the perfectly-shaped tree branch of the correct size that was properly dried and made from a nice-looking wood. Oddly, that didn't happen so it meant that I was going to need to "DIY"; at least that gave me some choices. I thought a lighter-colored tree would look best so I opted to make it from Cherry. In terms of construction, the tree shape was going to have joints however it was made so I decided to take an straightforward approach and laminate a number of thinnish layers and do post-lamination shaping.
Sticking the plan together
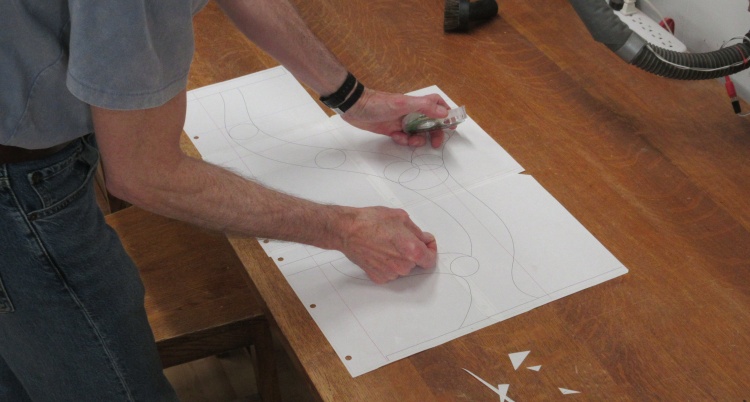
I was going to need a full-sized plan for this one but having only a normal-sized printer meant that I needed to print out five sheets and tape them together.
Here I'm wielding the Scotch Magic Tape. After using Magic tape, any other "cello tape" feels cheesy by comparison. Now it's gotta have that green tartan label or it's just not right. You've ruined me, 3M!
Here I'm wielding the Scotch Magic Tape. After using Magic tape, any other "cello tape" feels cheesy by comparison. Now it's gotta have that green tartan label or it's just not right. You've ruined me, 3M!
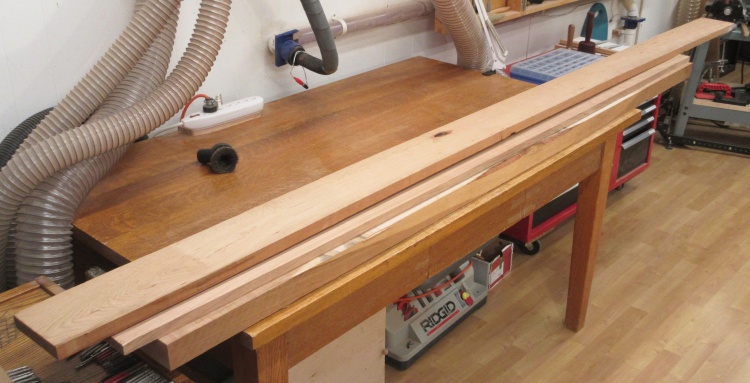
More Cherry than I'll need
A trip to Windsor Plywood ensued.
I'd made the usual "cut list" but it is at best a rough guide since the amount of wood to get varies with available board width, thickness and length. Since I was running short of Cherry in the shop I opted to just get extra which also eliminates the complex figurin' necessary buy the "exact" amount.
Where "exact" usually translates to "another trip for more wood later".
I'd made the usual "cut list" but it is at best a rough guide since the amount of wood to get varies with available board width, thickness and length. Since I was running short of Cherry in the shop I opted to just get extra which also eliminates the complex figurin' necessary buy the "exact" amount.
Where "exact" usually translates to "another trip for more wood later".
To reduce complexity I eventually decided to use a single width of board. They would be cut to appropriate lengths and laminated side-to-side and in layers. I commenced the usual cut-to-size procedures;
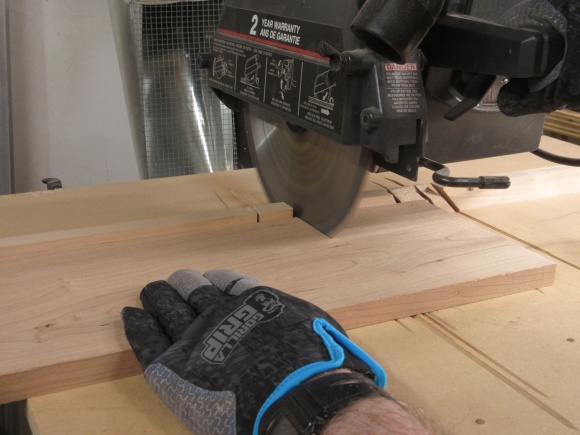
Crosscut!
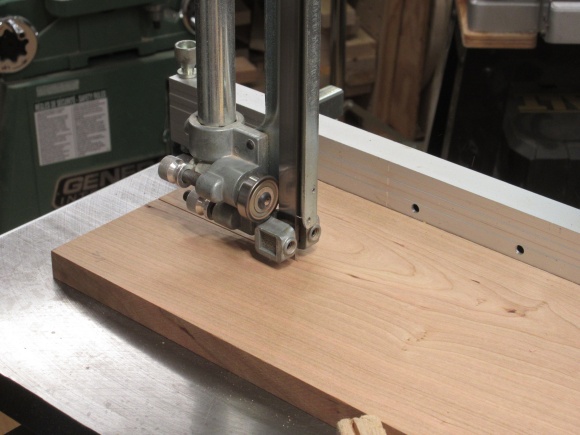
Rip!
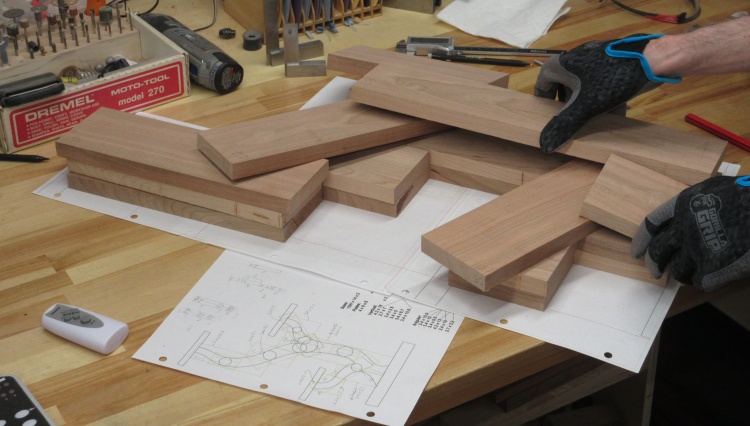
Arranging pieces to build up the thickness
As I cut the pieces to appropriate lengths, I stacked them up on the paper plan as a validation of their correctness.
I was a bit worried about the strength of the branches with the wood grain all in the same (vertical) direction. To compensate I had originally thought to add some along-the-branch angled pieces as can be seen here messing up my neat stacks of wood.
I was a bit worried about the strength of the branches with the wood grain all in the same (vertical) direction. To compensate I had originally thought to add some along-the-branch angled pieces as can be seen here messing up my neat stacks of wood.
Wood Strength
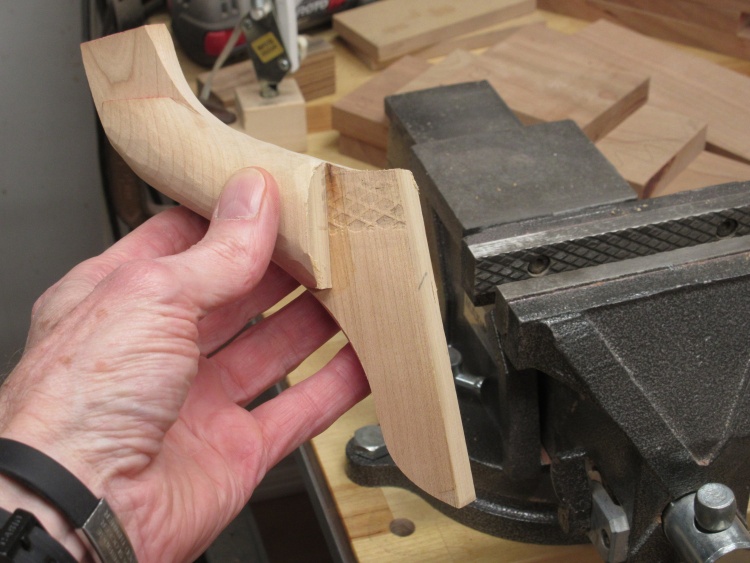
A vertical-grain test piece
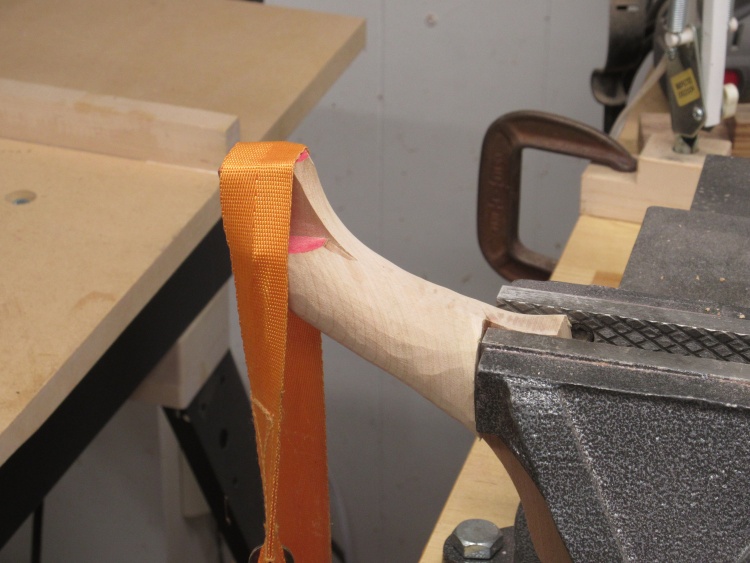
Adding a vertical load
Those angled pieces were going to be a big pain. I'd have to figure out where to make the joints, whether they needed any joint support, etc. It would be way easier to just have all the wood grain in the same direction - but would it be strong enough? And how strong is strong enough? Well, I figured I'd better test it - to the lab Igor!
A vertical-grain test piece
I carefully crafted this fine example of precision woodworking, ensuring it had the correct vertical grain with a shape and cross-section the same as the smallest branch. Then I'd see how much force it could take before breaking.
Adding a vertical load
The test article was clamped tightly in the bench vise and I added a strap and slowly increased the amount of weight on the strap, using a bizarre measuring technique involving a bathroom scale, a board, my foot and lots of slapstick comedy.
After a few tries I eventually reached a vertical force equivalent to one Russ without it breaking. That's equivalent to an alarming [REDACTED] lbs so I could be fairly confident that it could handle even a well-watered house plant.
After a few tries I eventually reached a vertical force equivalent to one Russ without it breaking. That's equivalent to an alarming [REDACTED] lbs so I could be fairly confident that it could handle even a well-watered house plant.
Excellent - that means I can get rid of the annoying angled planks!
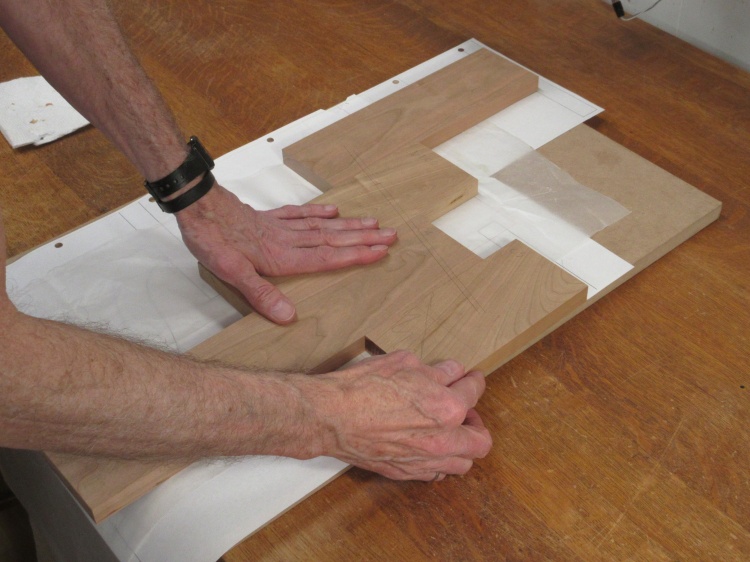
Arranging the first layer
So after the strength validation of an orderly arrangement of wood, I started on the first layer. It would be assembled on the plan to make sure the pieces were correctly aligned.
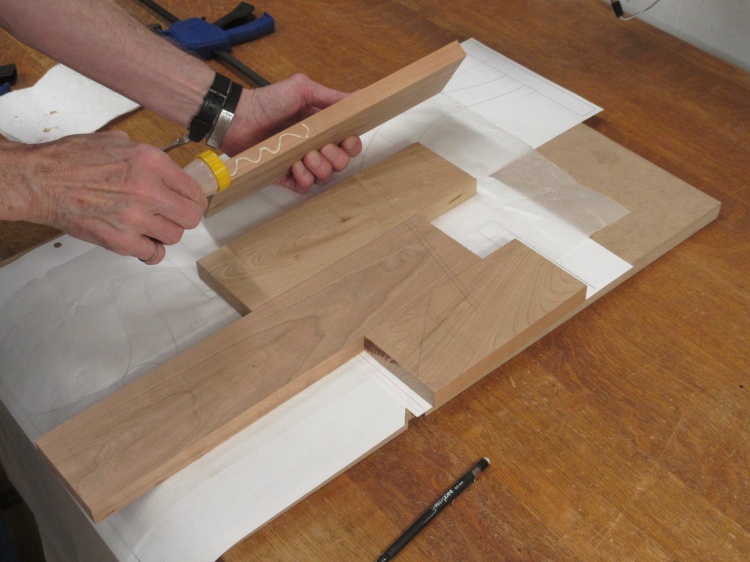
Starting on the gluing
These would all just be edge-glued. The edges had gone through the jointer to ensure they were all straight, flat and square for good board-to-board mating.
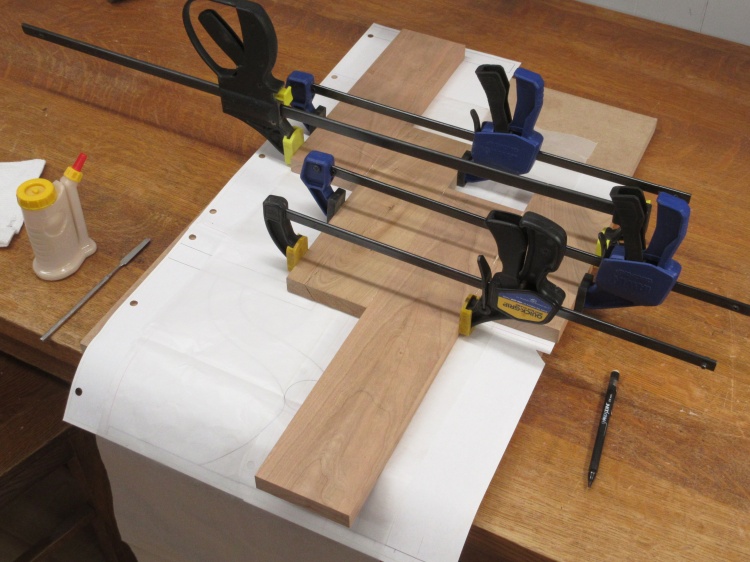
First layer clamped
I call this image "Layer One Clamped" and it is no doubt destined to become a masterpiece, long after my passing.
I'll note that there was waxed paper positioned underneath the wood to prevent it sticking to the paper plan and staining the legacy of the future masterpiece.
I'll note that there was waxed paper positioned underneath the wood to prevent it sticking to the paper plan and staining the legacy of the future masterpiece.
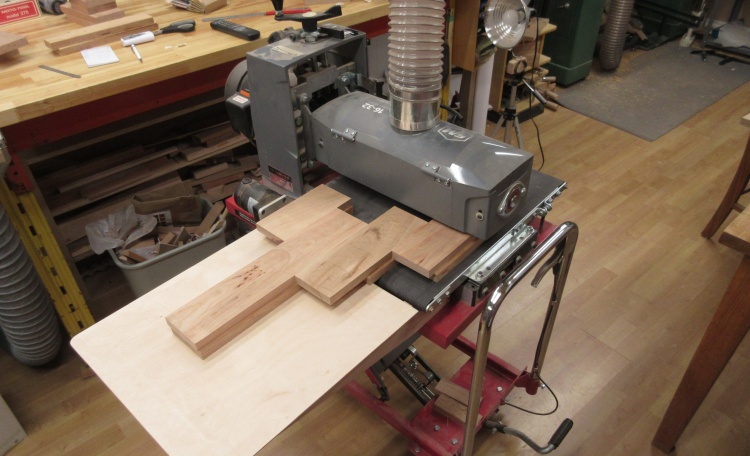
Smoothing off the second layer
To ensure successive layers would sit perfectly flat, I ran the assembly through the drum sander to even out the top surface and prep it for the next layer. This shot shows the tree - already built up to 2-layers - getting smoothed.
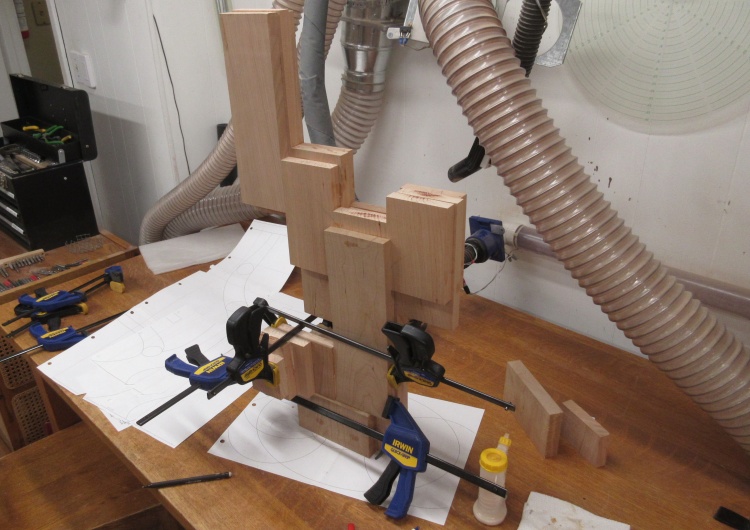
Adding some lower branch pieces
The main body was mostly three layers of wood and in this shot I'm adding some additional layers for the lower branch since it needs to come out at a bit of an angle.
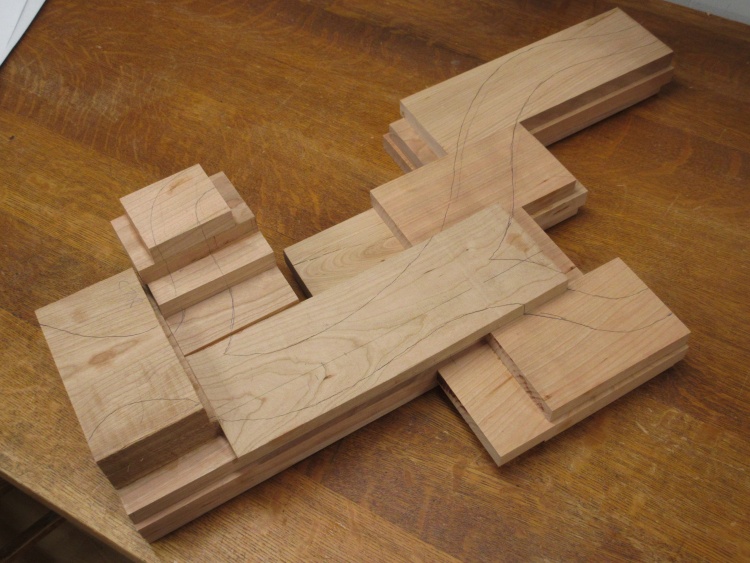
Most wood in place and marked with the profile
In this shot almost all the wood is in place and the outline has been traced onto the surface.
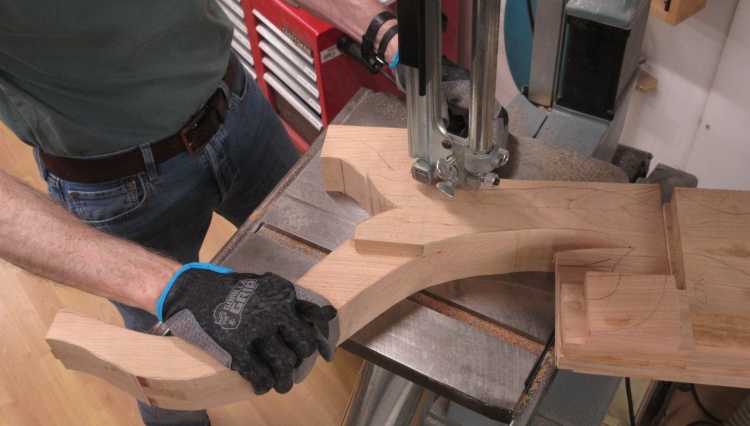
Cutting to the outline
Then it was over to the band saw to cut along the profile line.
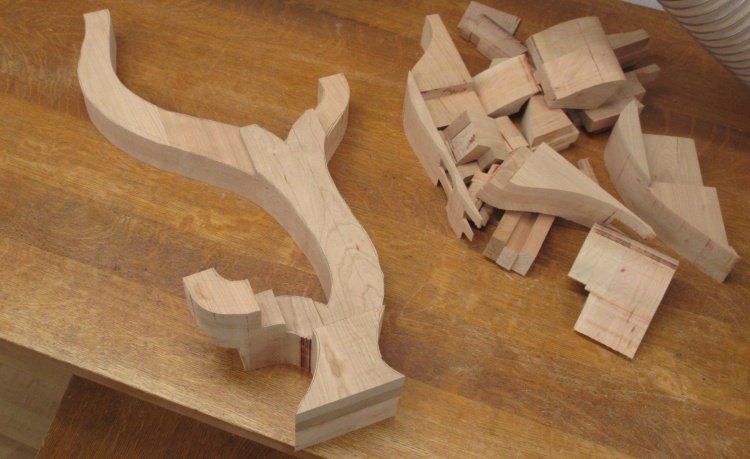
Tree outline and leftovers
That's the tree outline and the associated cut-offs, with the latter heading for the garbage bin. And I wonder why my shop garbage bin always seems to be full.
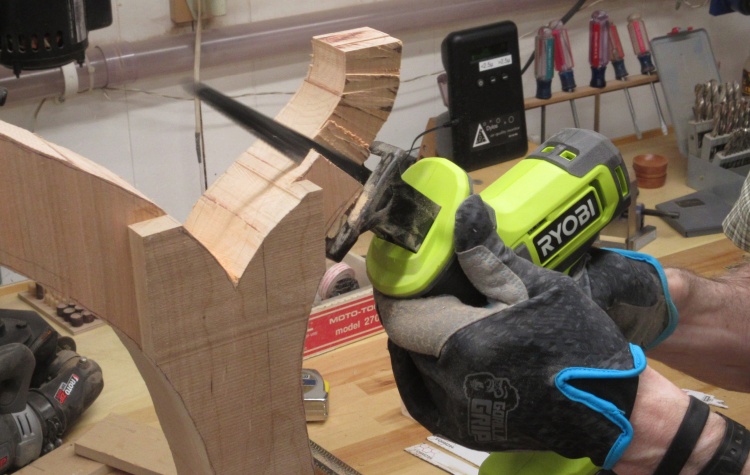
Starting to trim the other dimension
There was of course still substantially more wood than would ultimately be needed for round branches so the excess needed to be removed. I thought that sawing off the excess would be the least-sawdusty way to achieve that.
Here I'm using a small cordless pruning saw that turned out to be just right for this job.
Here I'm using a small cordless pruning saw that turned out to be just right for this job.
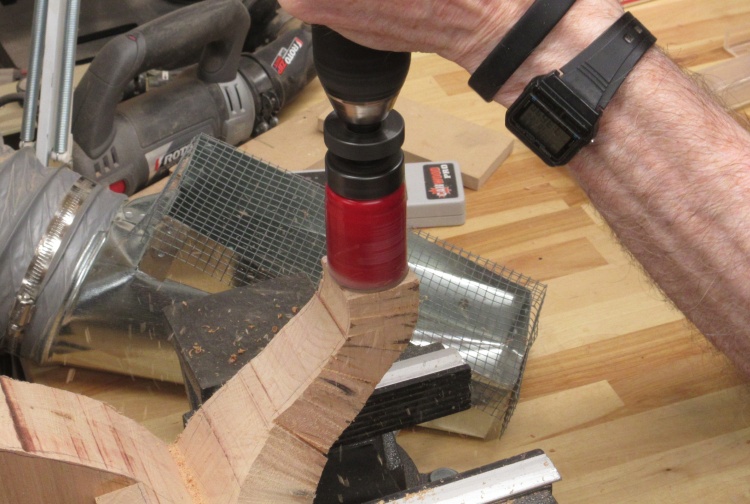
Cutting round branch ends
The ends of the three branches each support their own "plate" and the intent was to insert the branch ends into circular mortises (AKA holes) in the bottom of the plates. But for that to be successful I was going to need nice round tenons on the branch ends.
My solution was to use a hole saw to form round tenons which while not perfect would still probably be better (and definitely way faster) than I could do by hand.
My solution was to use a hole saw to form round tenons which while not perfect would still probably be better (and definitely way faster) than I could do by hand.
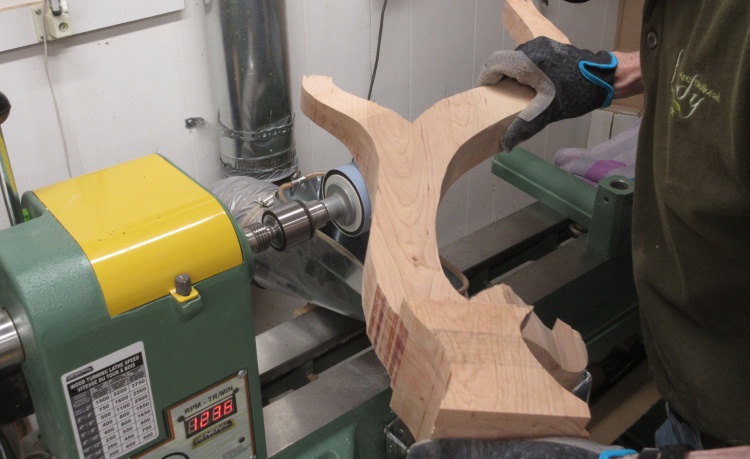
Smoothing with a big drum
The reciprocating saw produced a pretty crude surface (OK, OK - I produced a pretty crude surface using the reciprocating saw. But a saw whose blade can waggle a quarter-inch side-to-side can hardly be considered a precision tool. Just sayin').
Anyhoo, the rough surfaces were smoothed off with a largish drum sander mounted to the lathe.
Anyhoo, the rough surfaces were smoothed off with a largish drum sander mounted to the lathe.
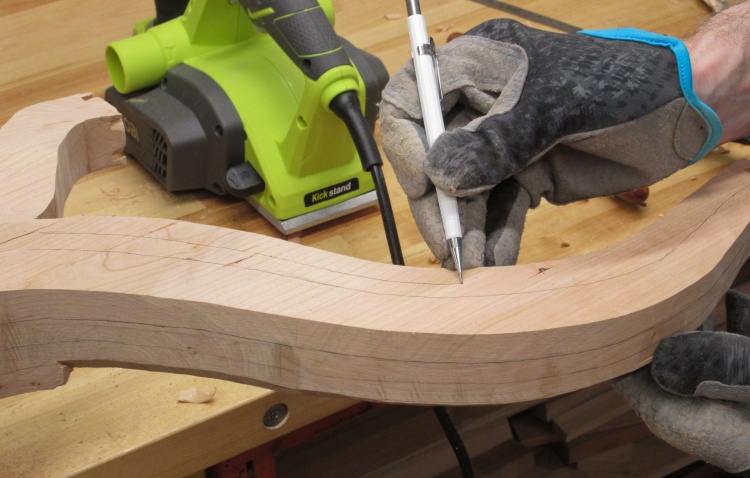
Marking for bevels
Once the form was sized and smoothed, it needed to get round. The usual method is to cut 45° bevels on the four corners and then 22.5° bevels on the resulting 8 corners. At that point it's usually within sanding distance of round.
In this shot the center of the side is already marked and I'm pencilling on lines to guide the edge of the first bevel. This line needs to be at 29.3% of the width of the side, or about 7/12 (or "a bit over half-ish") of the distance from the corner to the half-way line.
As you can see, I'm doing this by eye, so absolute precision is not job 1.
In this shot the center of the side is already marked and I'm pencilling on lines to guide the edge of the first bevel. This line needs to be at 29.3% of the width of the side, or about 7/12 (or "a bit over half-ish") of the distance from the corner to the half-way line.
As you can see, I'm doing this by eye, so absolute precision is not job 1.
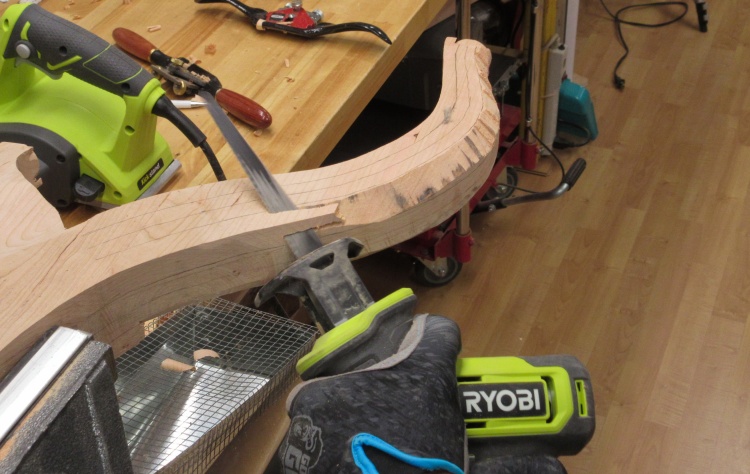
Cutting a bevel
...because this saw laughs at precision.
This is a "sense of humour" that is unfortunately all too common among Ryobi tools.
This is a "sense of humour" that is unfortunately all too common among Ryobi tools.
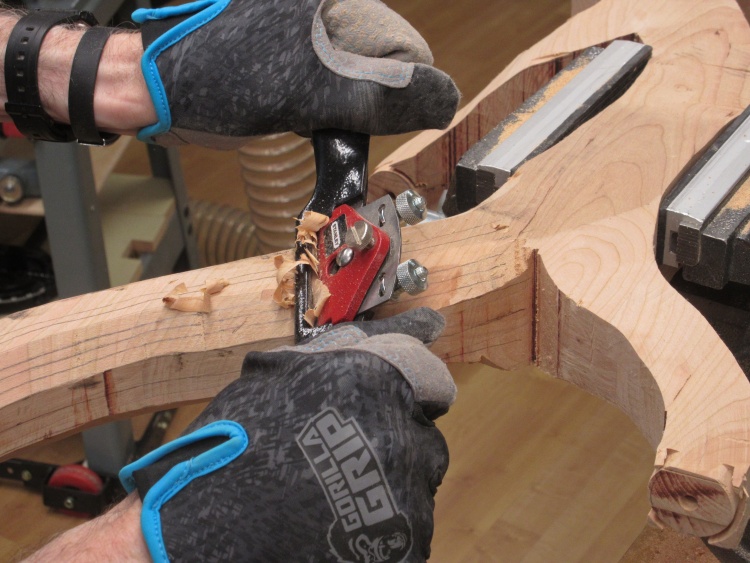
Cleaning up a bevel
I cut off the bulk of the bevel using the saw, trying to steer clear of the cut line. Then I could use something like this spoke shave to clean up the surface.
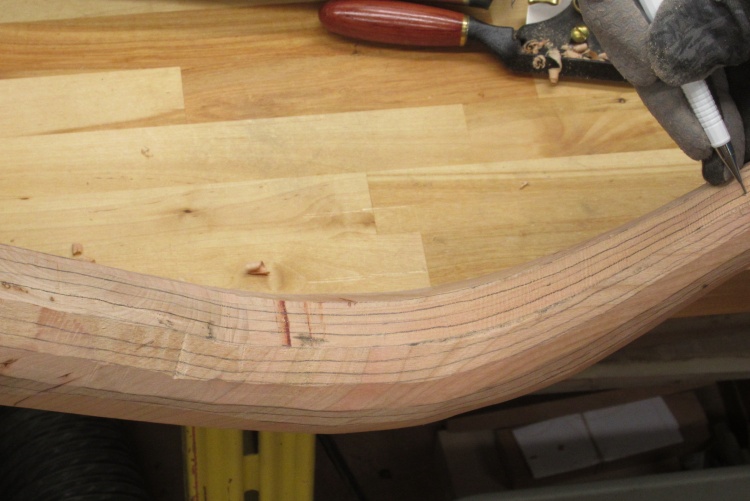
Marked for next level of bevel
Once the 45s were cut, I again sketched in center lines and 7/12 lines on the eight surfaces and proceeded to cut the 22.5° angles to make the branches 16-sided.
The bottom of the tree form is flared out which results in very thin sections of wood at the edges. Those would be pretty fragile since the grain is vertical. To prevent chipping those off I decided to add a thin cross-grain sheet to the bottom for reinforcement. The sheet was made by cutting a thin slice of Cherry on the band saw which was then smoothed using the drum sander.
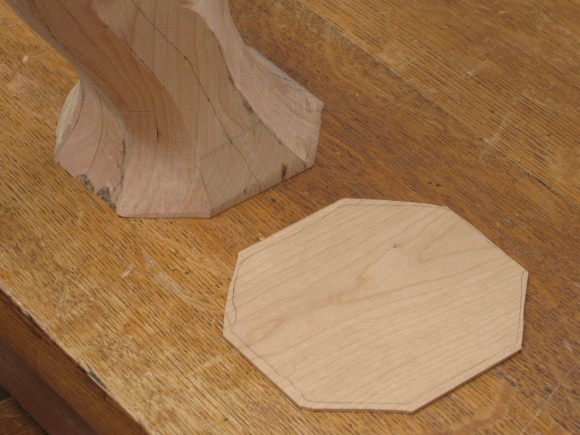
A thin bottom-reinforcing sheet
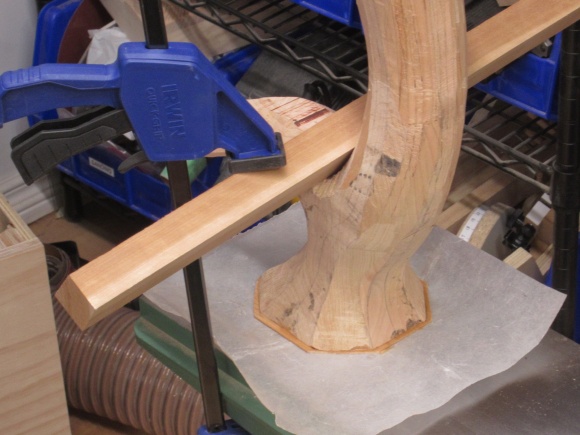
Gluing the sheet in place
Then it was back to the rounding. I used a variety of techniques from strip sanding (not very effective) to drum sanding (OK but left a coarse surface that needed strip sanding), mini belt sander (worked surprisingly well) and finally hand sanding (slow but inevitable).
When done, everything was rounded and smooth and that pretty much finished off the tree part.
When done, everything was rounded and smooth and that pretty much finished off the tree part.
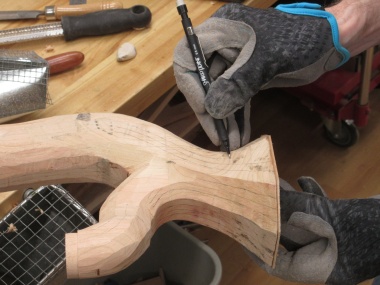
Marking bevel guides on the bottom
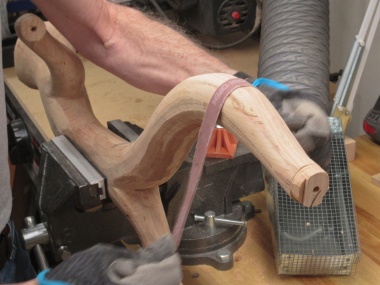
Strip sanding to round corners off
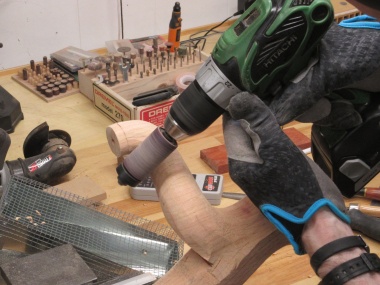
Some drum sanding
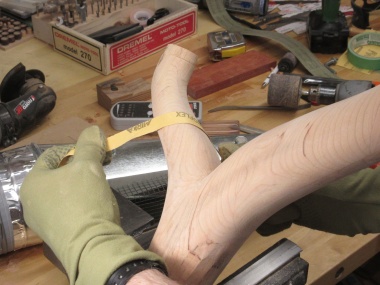
Some finer strip sanding
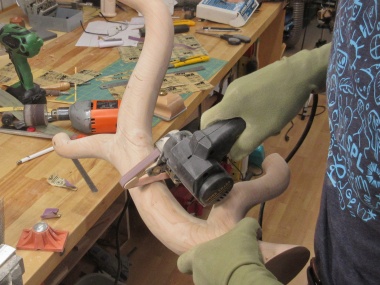
Mini belt sander worked well
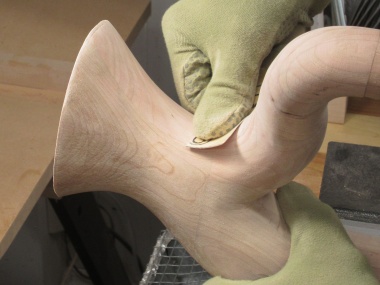
Can't avoid the hand sanding
Non-Tree Bits
The plant stand taxonomy consists of:
1. Tree
2. Non-tree bits.
The latter further breaks down into plant plates and a base. Here we commence with the plant plates.
1. Tree
2. Non-tree bits.
The latter further breaks down into plant plates and a base. Here we commence with the plant plates.
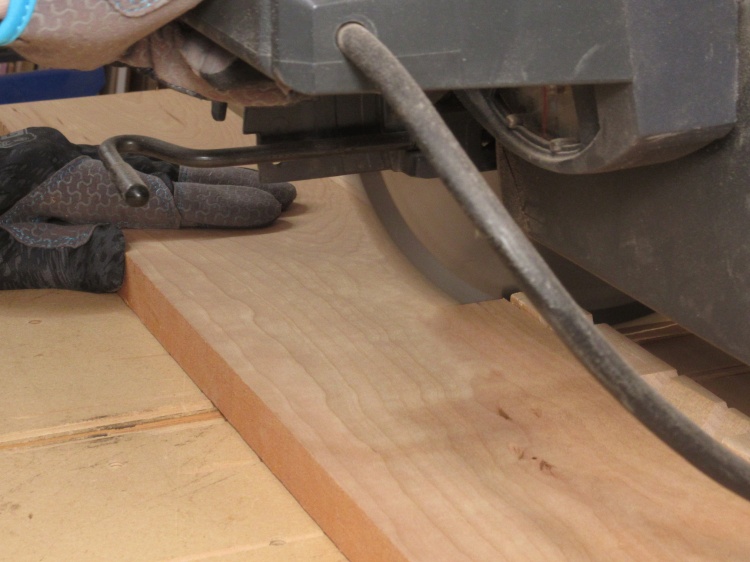
Chopping up wood for the plates
The plates will be about 9" wide so I'll need to laminate a couple pieces of my narrower plank side-by-side to achieve that width.
Here I'm cutting up a plank into just-over-9" lengths.
Here I'm cutting up a plank into just-over-9" lengths.
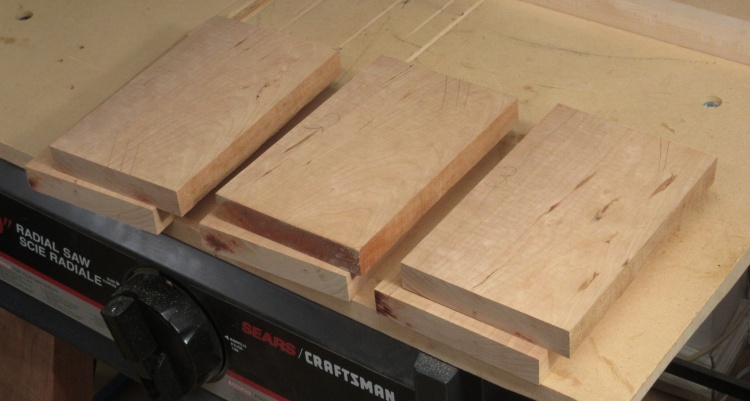
Three pairs of planks for plant plate panels
This shows the three sets of wood to be laminated. They will be wider than needed but fortunately I know exactly how to fix that.
One face and edge of each plank was jointed to get them flat and square and then the pairs were glued and clamped.
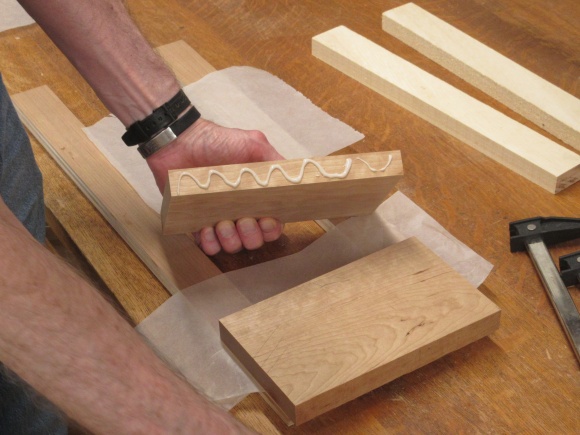
Making a single-wide into a double-wide
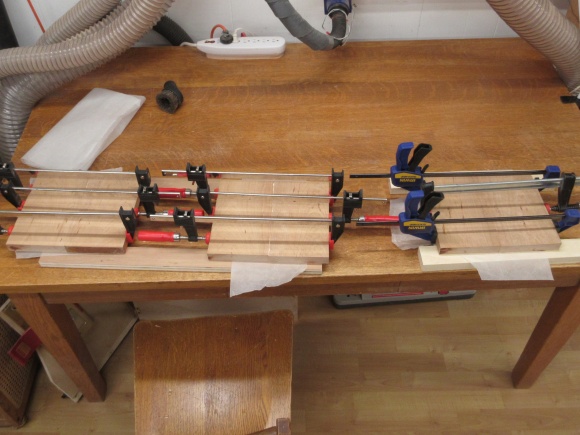
And making sure they stay that way
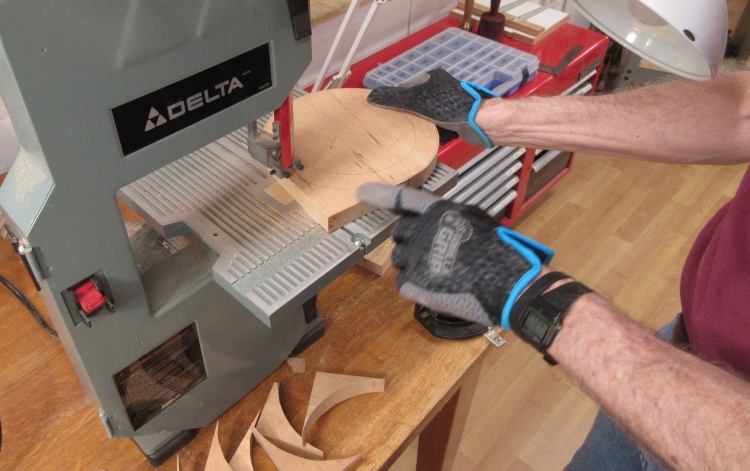
Cutting a rough circle from the combined pieces
The small band saw was used to cut circles out of the 2-piece assemblies. I had first marked a center, the outside diameter and a guide circle for positioning the faceplate that will be used for turning.
I had decided that the plant-holding plates would have rims on the top side which meant they needed to be shaped on the lathe. I used double-sided tape to hold the circular blanks to a wood-lined faceplate.
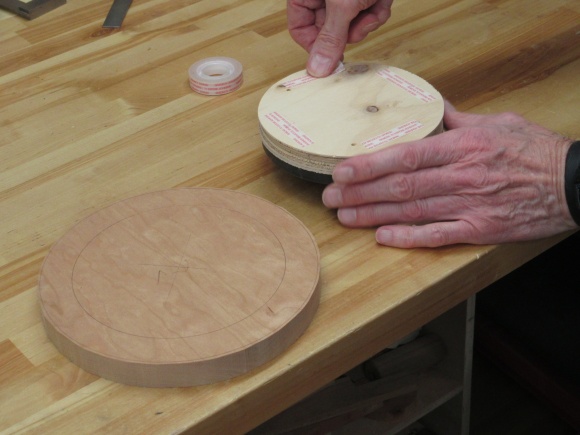
Prepping double-sided tape
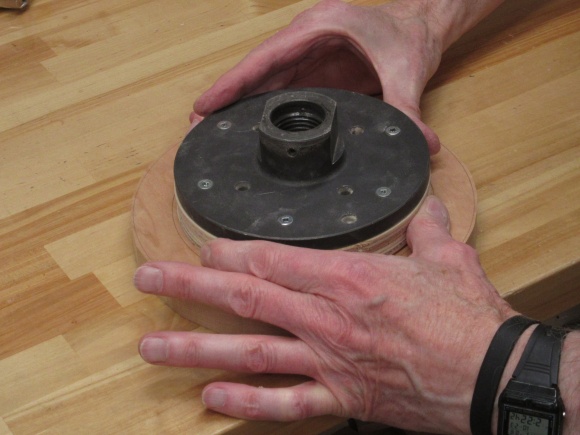
Positioning faceplate in the center
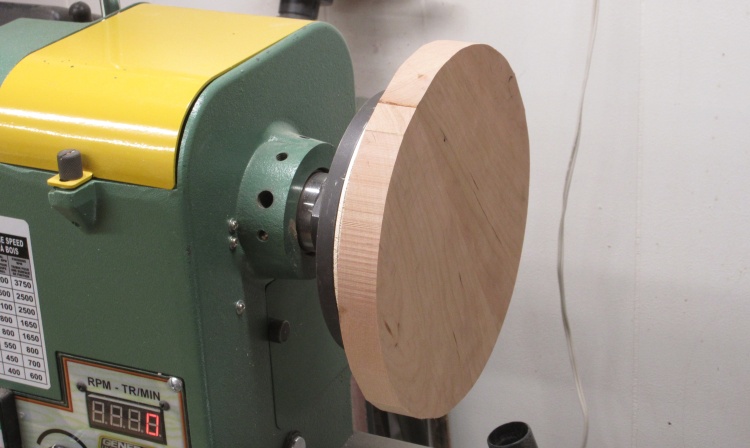
The first of the plate blanks mounted to the lathe
Blank mounted to the lathe.
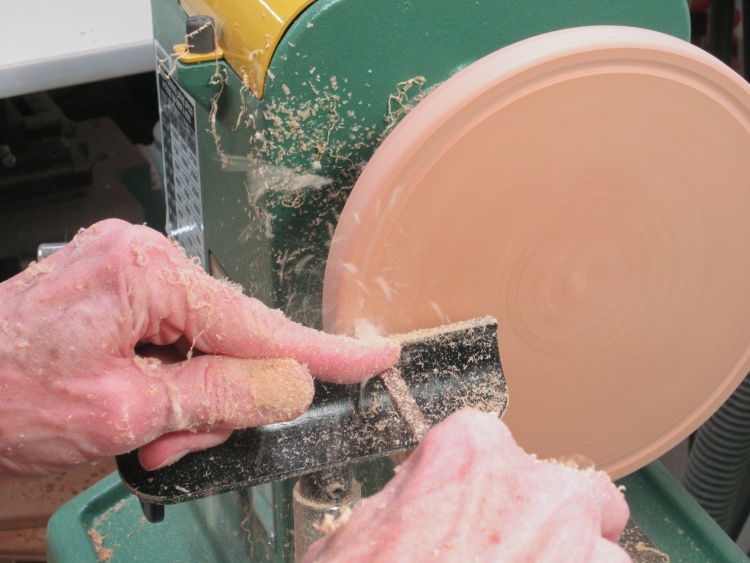
Starting the inside cutaway
I started by rounding the perimeter of the plate and getting it down to the correct diameter, then curving the side a bit.
The next step is shown here where I cut away the center to leave a rim around the edge. I started with this round-ended scraper to form the rim-to-base curve.
The next step is shown here where I cut away the center to leave a rim around the edge. I started with this round-ended scraper to form the rim-to-base curve.
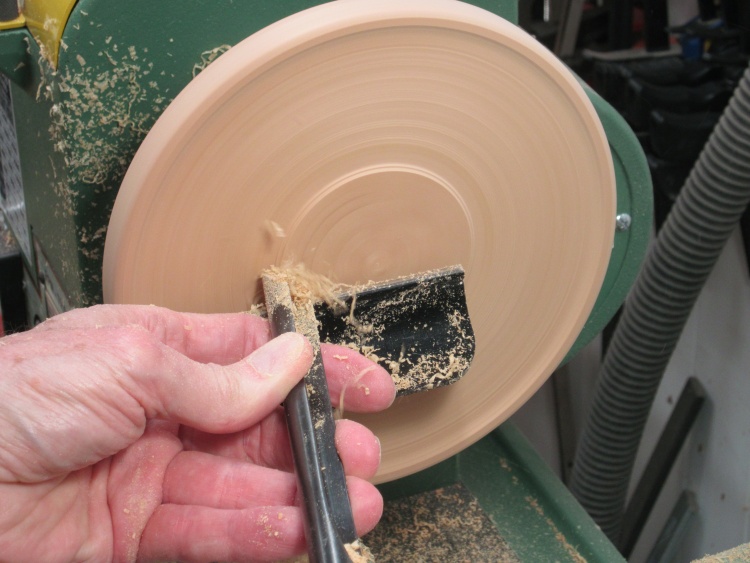
A bowl gouge was used for the main material removal
The inner area was cut away in several passes of the bowl gouge to about 0.18" deep.
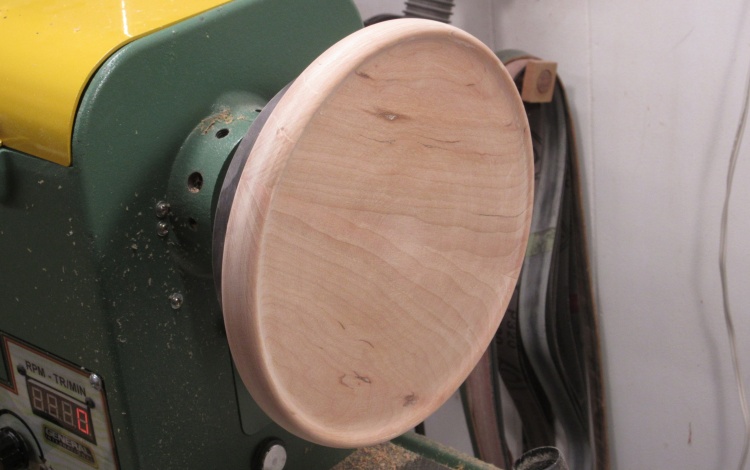
This stage of plate turning done
The inner surface was sanded to smooth things off with this shot showing the plate after sanding.
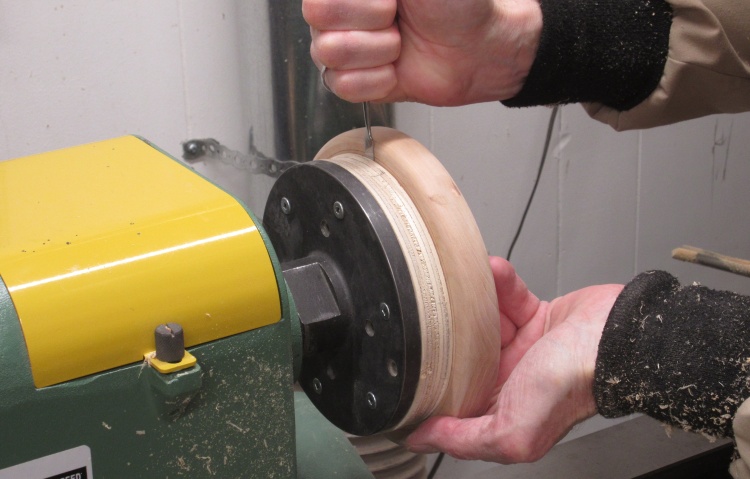
Prying the plate off the faceplate
I have a small stainless steel spatula that I use to pry apart taped-together pieces. The tape is quite thin so it takes only a little movement (but lots of force) to break the adhesion.
That little spatula is one piece out of a set of dental equipment sold by Lee Valley Tools in the distant past for woodworking use. I use it surprisingly often and it will be a sad day when I accidentally bend it too far when using it to pry something. I've got others but they're just not the same. If you are familiar with Lee Valley tools, you will know that one of their weaknesses is a tendency to discontinue products (presumably to keep their inventory from approaching infinity) and of course they no longer sell these.
Discontinuing products is an issue with a lot of vendors and manufacturers although when I was working, one of my favourite manufacturers (MiniCircuits, a manufacturer of electronic components) would introduce dozens of new products every year and never discontinue anything - you could still buy a 50-year-old part. Their web site currently says they have 10,000 active products. Gotta admire a company like that.
Discontinuing products is an issue with a lot of vendors and manufacturers although when I was working, one of my favourite manufacturers (MiniCircuits, a manufacturer of electronic components) would introduce dozens of new products every year and never discontinue anything - you could still buy a 50-year-old part. Their web site currently says they have 10,000 active products. Gotta admire a company like that.
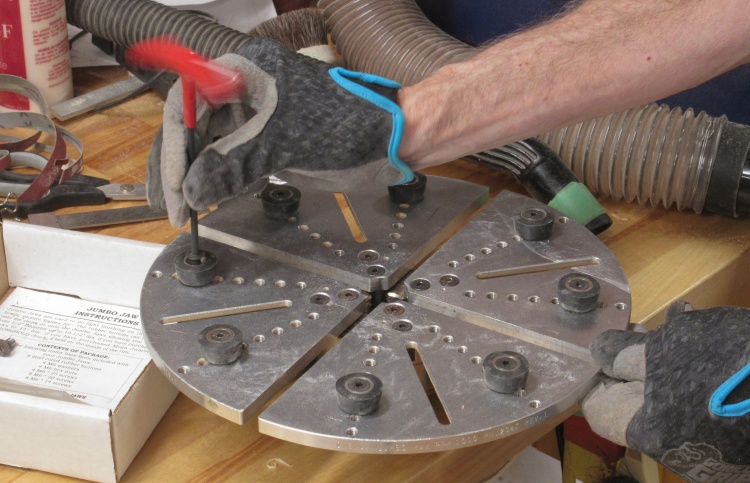
Configuring a large squeezy faceplate
The plates were going to need a bottom-side hole for mounting so they needed to go back on the lathe. With the indented top, it wasn't practical to use tape to hold them so I used a large faceplate. This one has rubber buttons that will squeeze the outside edge of the plate.
In this shot I'm positioning the buttons to match the diameter of the first plate.
In this shot I'm positioning the buttons to match the diameter of the first plate.
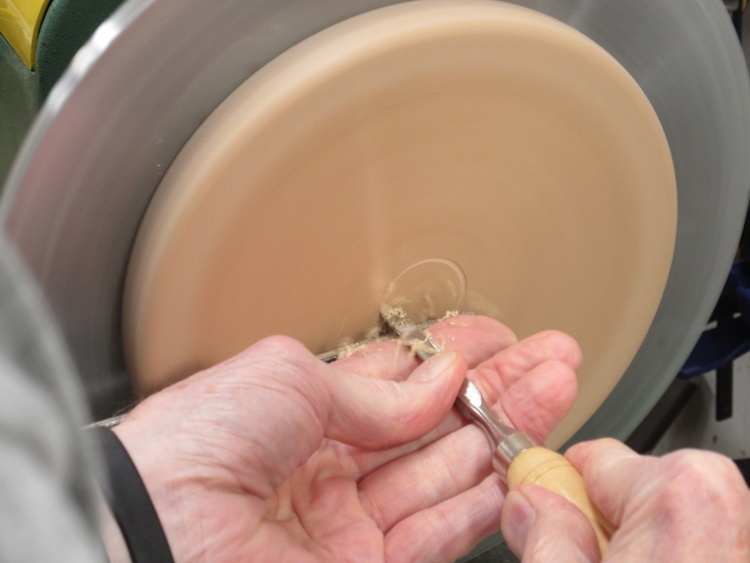
Turning the mortise hole in a plate bottom
In this photo I'm starting to cut the center hole using an angled scraper.
The buttons holding the plate are blurred into invisibility in this shot.
That was it for the plates. Next up: Base.
The buttons holding the plate are blurred into invisibility in this shot.
That was it for the plates. Next up: Base.
The base was about 10" x 14" and like the plates needed a couple planks laminated side-by-side to achieve the width. It was cut into an elliptical shape but I thought it would look too plain as just a flat piece. I decided to taper the top down from where the tree mounted, primarily using a power plane followed by sanding. This mostly-mute photo group follows the construction.
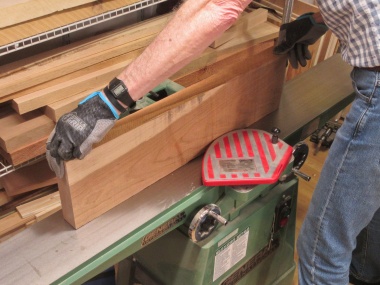
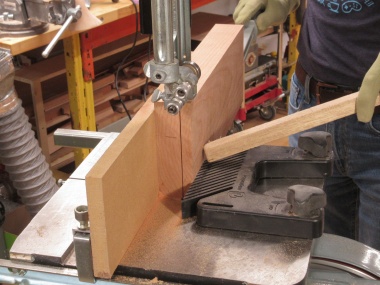
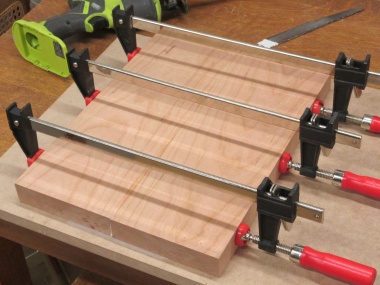
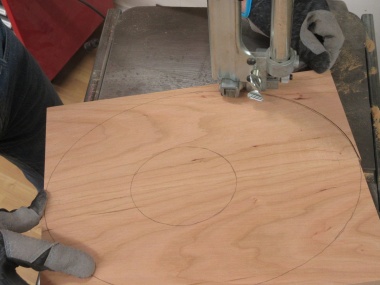
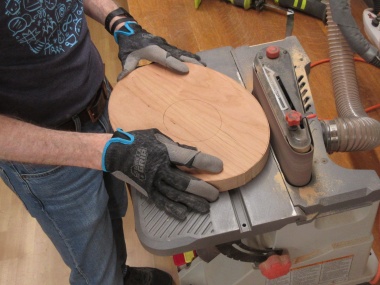
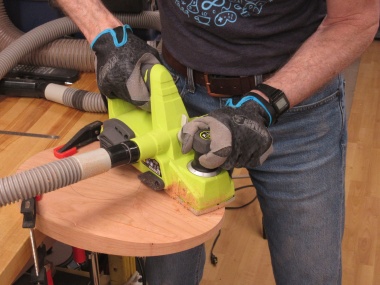
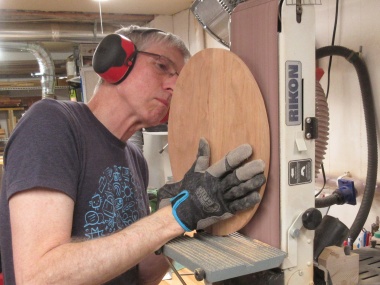
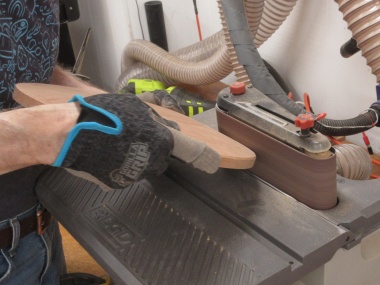
Makin' a base
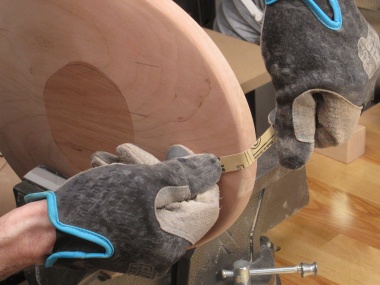
Pro Tip: When using an electric planer, don't forget to turn on the dust collection system before you start or you may end up with massive amounts of static-charged fine shavings clinging to all surfaces regardless of orientation and then it could take a significant amount of vacuuming time to remove it from workbench, clothing, floor, walls, shoes, etc., etc. Theoretically.
Assembly
The tree and non-tree bits were done so it was time to put them all together.
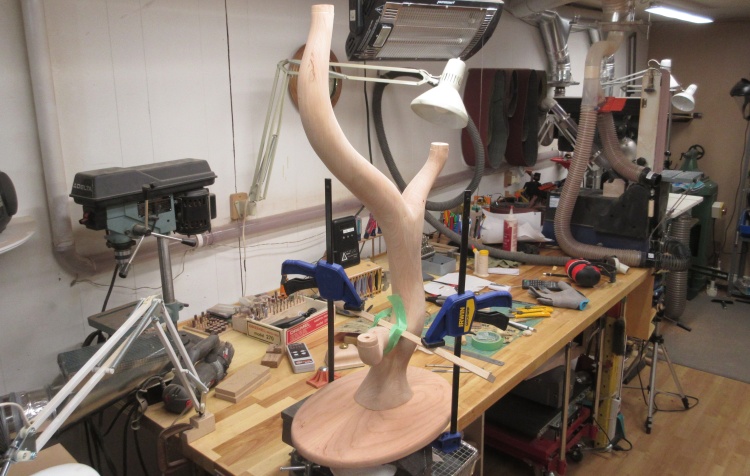
Tree part being glued to the base part
Assembly was started by adding the tree to the center flat section of the base. In addition to glue, a couple of dowels extended through the base into the bottom of the tree to provide additional strength.
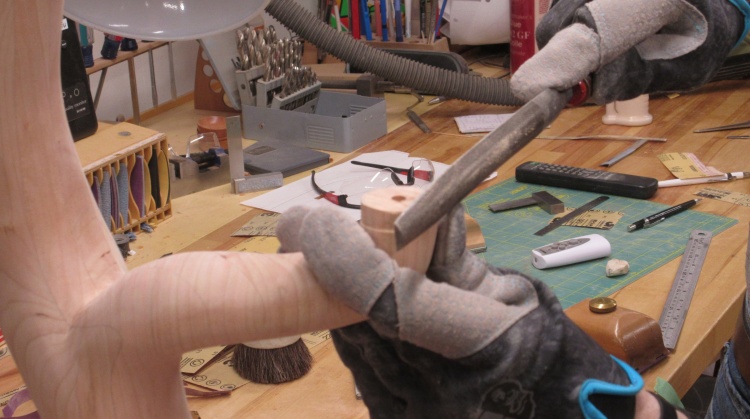
Tuning up a tenon
The next step was to add the plates. Given the rather crude cutting of the tenons by the hole saw, they needed a bit of trimming for a good fit. Here one is getting a bit of file attention.
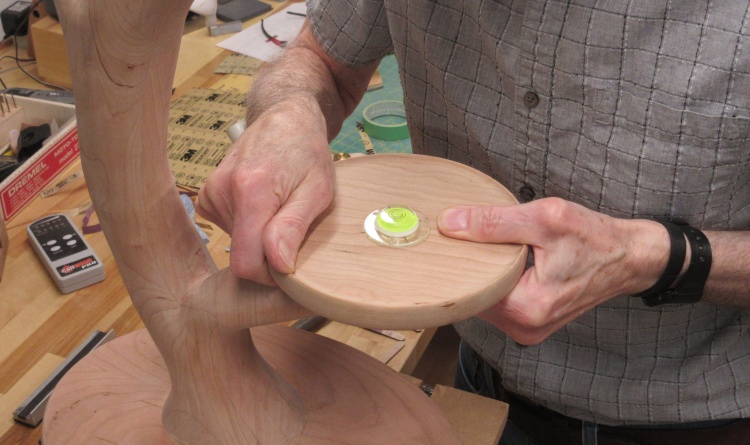
Gluing in the first plant plate
I began by making sure the surface supporting the plant stand was very close to horizontal in all directions. The plates were then glued on with the aid of a bulls-eye bubble guide to make sure everything was level.
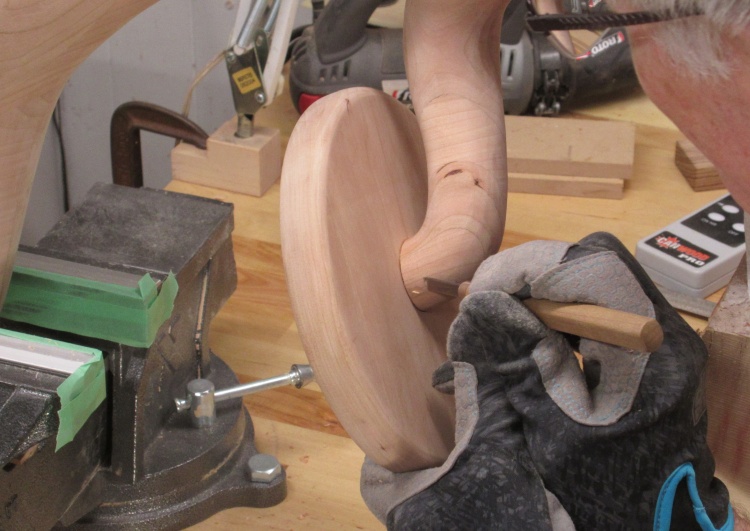
Cleaning up the branch ends
The branches were all a bit larger than the tenons so I got out a small chisel and trimmed the branches down to be flush with the tenons for a cleaner look. That was followed by some sanding, of course.
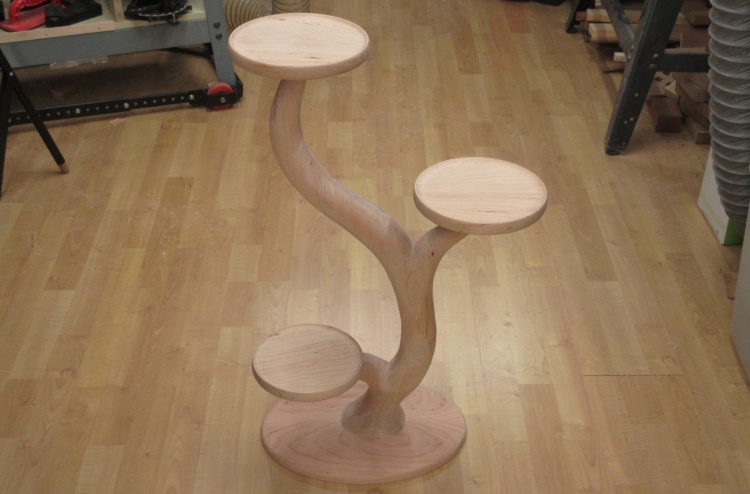
Woodworking done
And that was it for the woodworking.
This is the completed plant stand, now ready for some finish.
This is the completed plant stand, now ready for some finish.
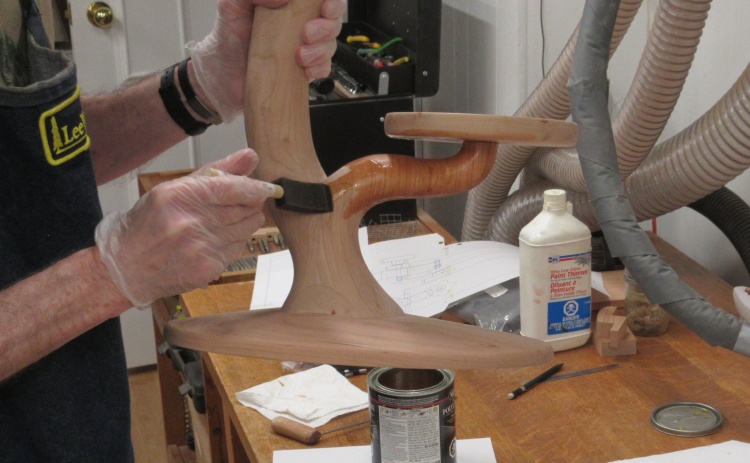
Starting on the varnishing
It was time to get the varnish out. I used my usual Minwax Fast-Dry Polyurethane varnish.
This particular can - despite being only a few months old - has started to thicken. It got a dose of thinner from the bottle in the background but that didn't help too much. It went on OK-ish but I bought a new can for the next two coats.
This particular can - despite being only a few months old - has started to thicken. It got a dose of thinner from the bottle in the background but that didn't help too much. It went on OK-ish but I bought a new can for the next two coats.
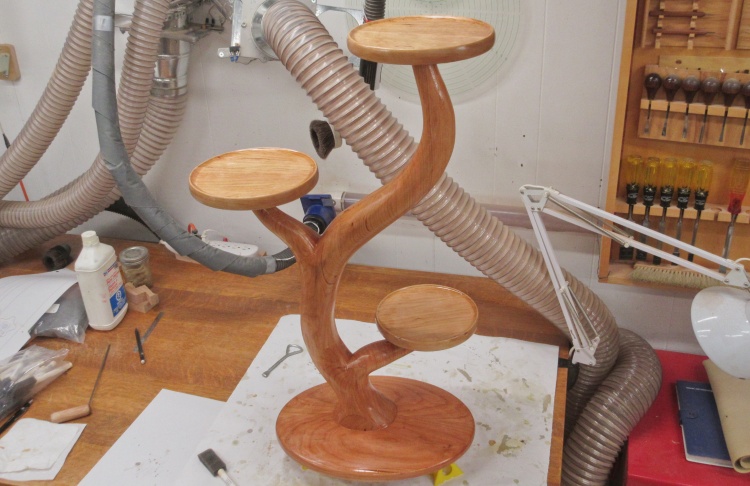
First coat drying
Here the first coat is in place and still wet, revealing something closer to the final colour.
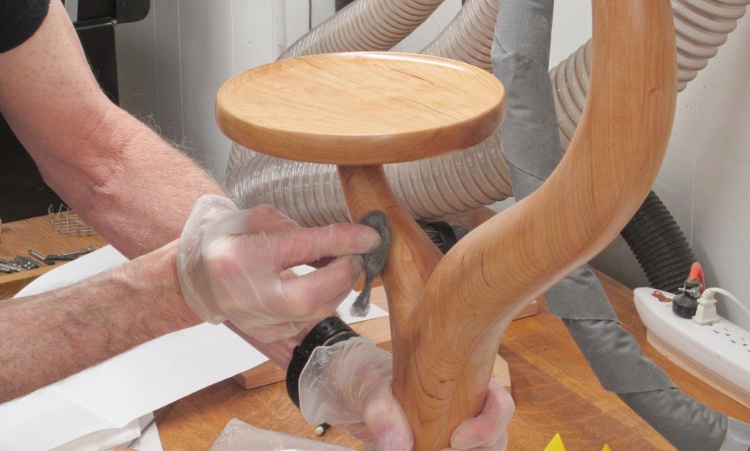
The usual between-coats roughening
Of course between coats, polyurethane varnish needs to be roughened up, typically with steel wool or sandpaper.
I used #0000 steel wool for the plant stand, then vacuumed it off and wiped with a tack cloth to remove residue before applying the next of three coats.
I used #0000 steel wool for the plant stand, then vacuumed it off and wiped with a tack cloth to remove residue before applying the next of three coats.
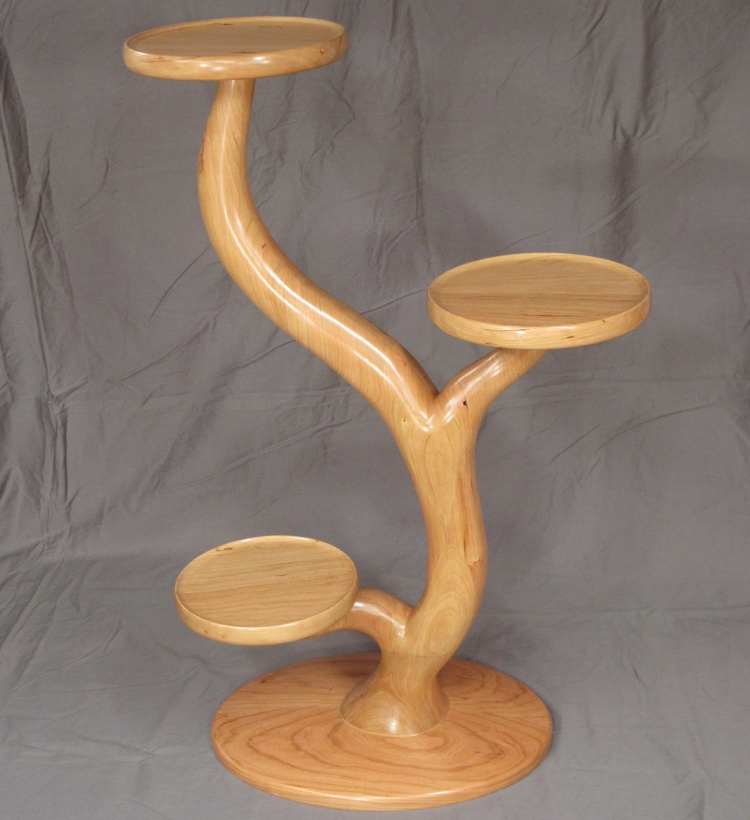
Done