I thought there might be something like this scoop out there already but I came up empty when I did an on-line search. Of course sometimes it's a matter of finding that elusive exact-right search term and then all of a sudden they are everywhere. If that term exists for this then I didn't stumble upon it so I'll just go and assume it's too specific for any company to produce. Besides, it's always more satisfying to make something [believed to be] unique than just a custom version of some item hanging in a blister pack at London Drugs for $8.95.
I made a few concept sketches of handle-less versions of the scoop but they would have been a bit awkward to use as compared to a handled version, so after confirming that the somewhat ungainly thing could be stored in the appropriate utensil drawer, I settled on using a handle.
I made a few concept sketches of handle-less versions of the scoop but they would have been a bit awkward to use as compared to a handled version, so after confirming that the somewhat ungainly thing could be stored in the appropriate utensil drawer, I settled on using a handle.
A very approximate starting point
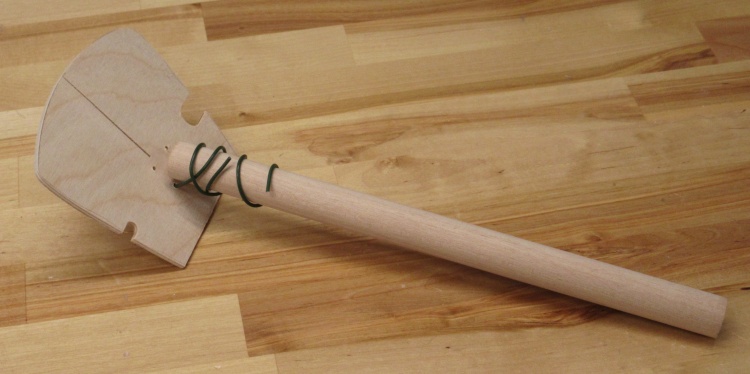
An angle-checking prototype
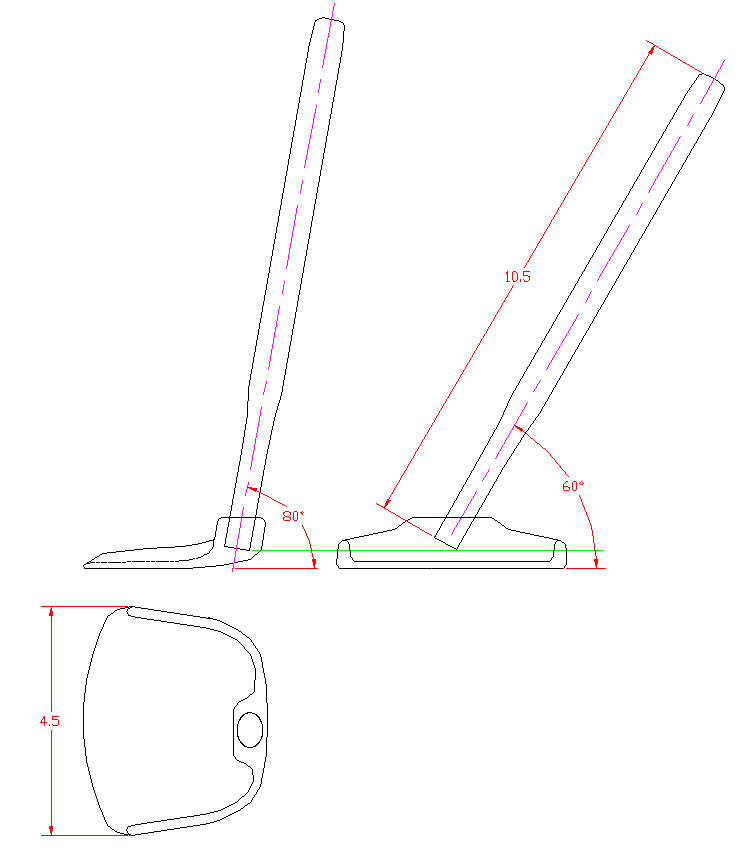
After deciding on the handled version of the scoop, I needed to figure out whether it was practical to use and what the best geometry would be.
I employed a well-used a scrap of 1/8" plywood cut to an appropriate shape and equipped with a crudely-wound stiff wire that I could bend to set the angle of the handle.
I employed a well-used a scrap of 1/8" plywood cut to an appropriate shape and equipped with a crudely-wound stiff wire that I could bend to set the angle of the handle.
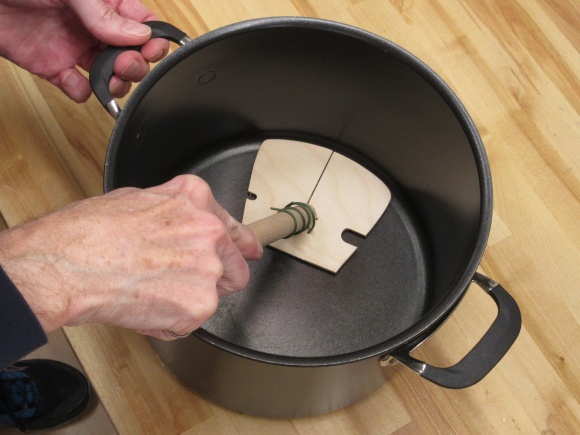
Then I tried out the "angle" prototype on a candidate pot. There needed to be enough room for hands and to lift out the scoop without the contents falling off. The angled approach seemed the best choice.
Straight-on, or..

Angled?
Starting on a more fleshed-out prototype
I didn't have a very detailed plan for the scoop and I wanted to check how it would look once it had a third dimension. That meant another prototype, this one hopefully closer to the final design.
I glued a couple pieces of construction 2x4 together to get a wide-enough piece with the correct grain direction and started to cut it up.
I glued a couple pieces of construction 2x4 together to get a wide-enough piece with the correct grain direction and started to cut it up.
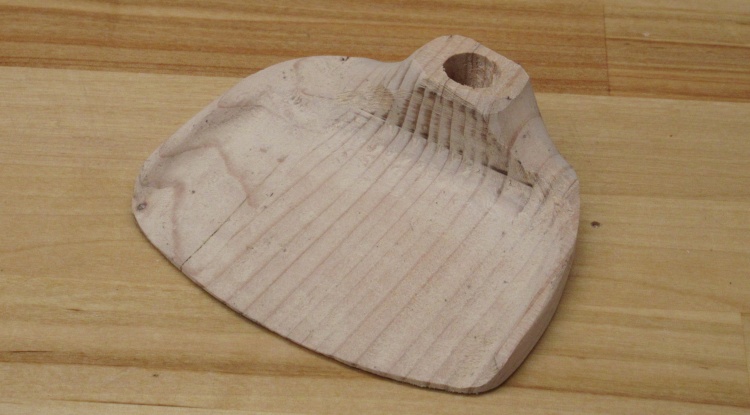
The second proto with the proper handle angle
I set up the drill press to drill the handle hole to match the angle of the held-on-with-a-wire prototype, which was 10° backwards and 30° to the side.
With a 1/2"-diameter dowel for a handle stuck into the scoop blank, it looked like this.
With a 1/2"-diameter dowel for a handle stuck into the scoop blank, it looked like this.
Starting on the hollowing
I wanted to check the profile of the scoop so it needed to be hollowed. That was mostly done with this scorp which was perfect for cutting strips out of the soft spruce.
Yah, that shape looks like it'll work OK
After some more hollowing followed by sanding, the scoop looked reasonable. The handle section could use more work but it didn't seem important to go any further with this prototype.
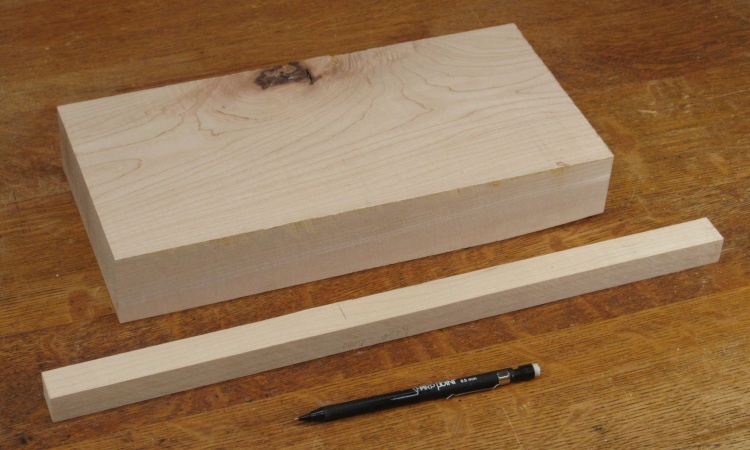
Some maple for the real scoop
OK then - on with the real thing.
I decided to go with maple for the scoop so I grabbed a couple pieces that were wide enough for the scoop and long enough for the handle.
I decided to go with maple for the scoop so I grabbed a couple pieces that were wide enough for the scoop and long enough for the handle.
I did the standard cut-to-size things on the scoop section;
Cutting to proper thickness
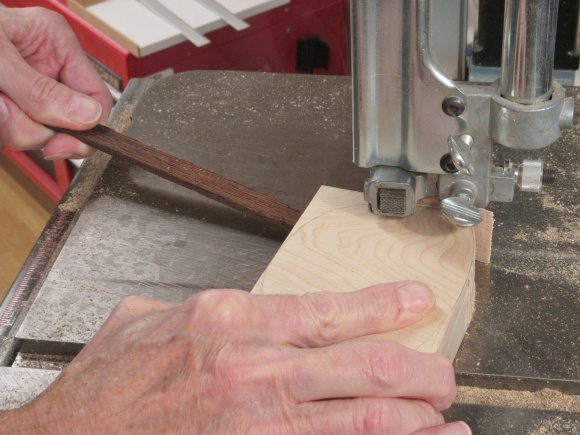
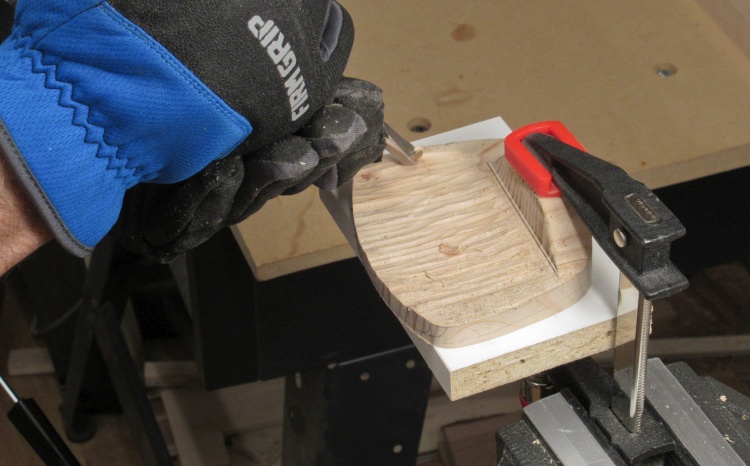
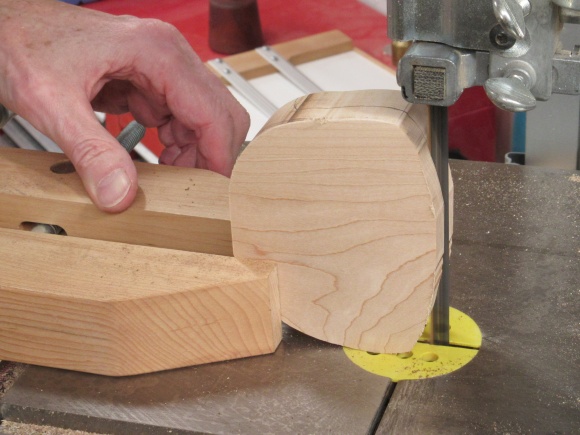
Trimming to outline
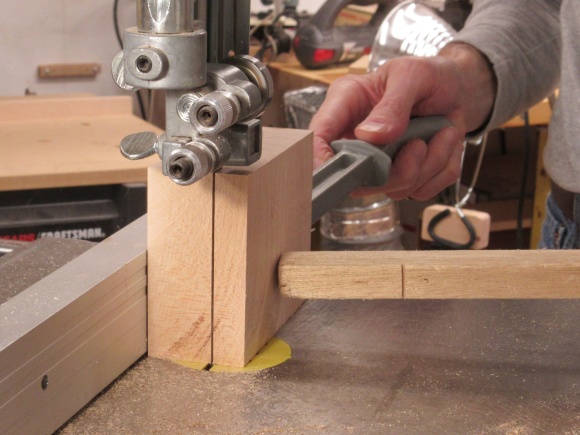
Cutting out the handle portion

Smoothing off the profile
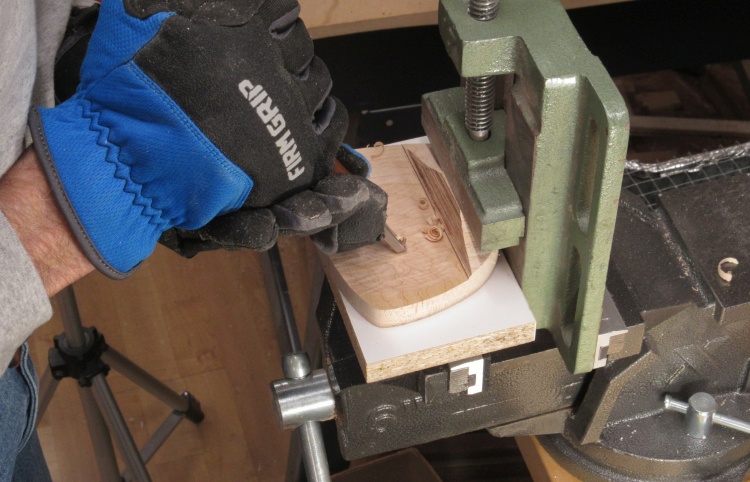
Drilling compound angle for handle
The "10° back and 30° over" angle for the handle hole was drilled with a rather crude makeshift setup on the drill press as can be verified here.
Starting on the hollowing with a scorp
Once again I started with the scorp for hollowing.
However a few minutes of that showed that it was going to be pretty tough sledding - maple being rather harder than the spruce of the prototype.
However a few minutes of that showed that it was going to be pretty tough sledding - maple being rather harder than the spruce of the prototype.
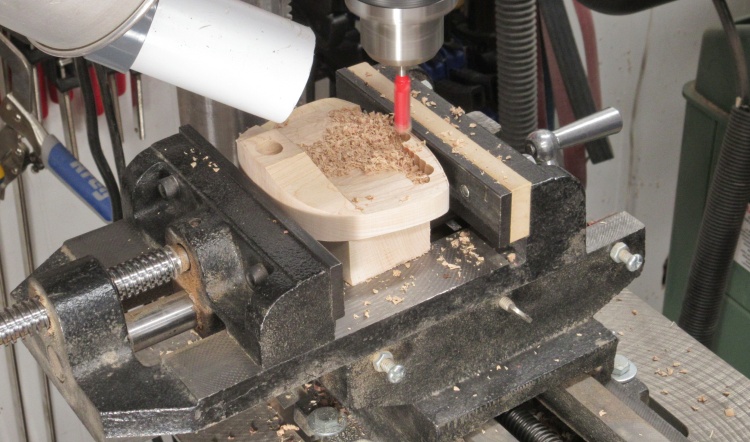
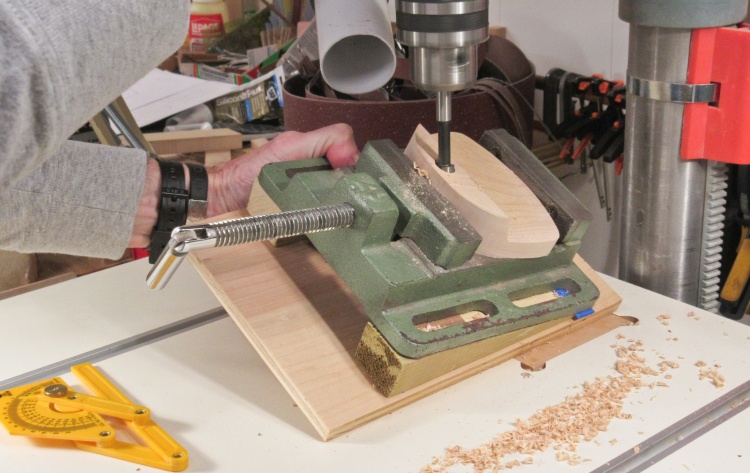
Getting a bit more aggressive on the hollowing
So then it was back to the drill press, this time set up for milling with a 3/8" router bit. The scoop was held in the cross vise, allowing me to move it in nice X and Y directions under the bit.
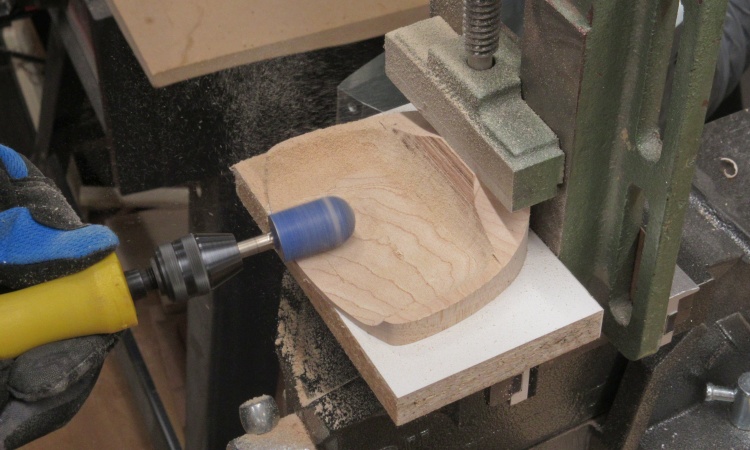
Smoothing the surface
The drill press milling operation left the cut-out section stepped from thin near the front to thicker near the back. This of course left a very irregular surface so it was smoothed using a rotary rasp.

Sanding to remove scratch marks
After some more rotary shaping with finer and smaller bits, the surfaces were sanded by hand to remove any remaining scratch marks.
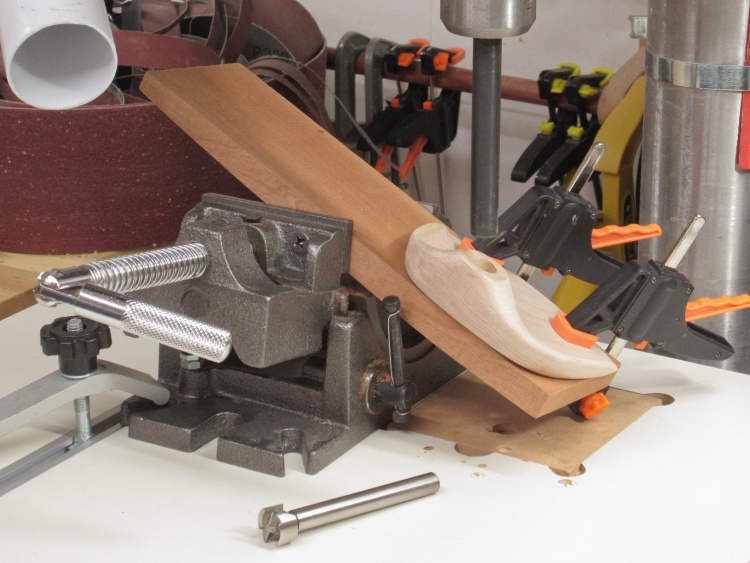
Setting up drill press for proper handle angle again
I decided the best handle-attachment approach was to have a handle flange sitting flat on the scoop. For that I needed a flat section at the hole angle - something that would have been easier to do when I drilled the hole.
But instead I set up the drill press again using a slightly less jury-rigged angle setting to first align the hole with the drill axis. Here I have a rod in the drill press that goes straight into the hole to verify alignment.
But instead I set up the drill press again using a slightly less jury-rigged angle setting to first align the hole with the drill axis. Here I have a rod in the drill press that goes straight into the hole to verify alignment.

Drilling a handle counterbore
Then with the alignment theoretically correct, I swapped the rod for a bit and drilled a flat area.
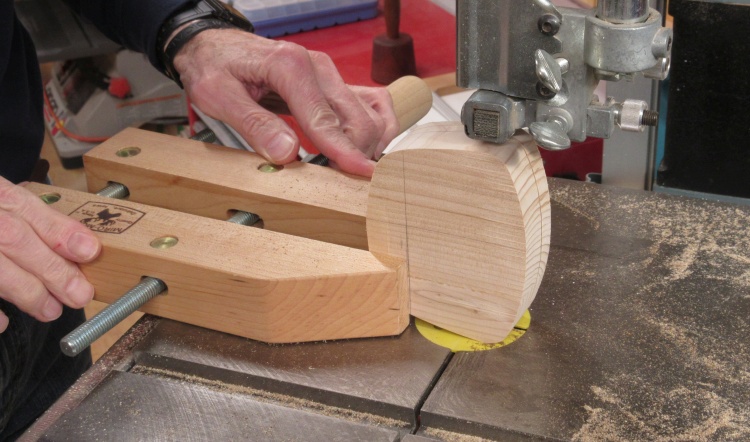
Rounding off the handle
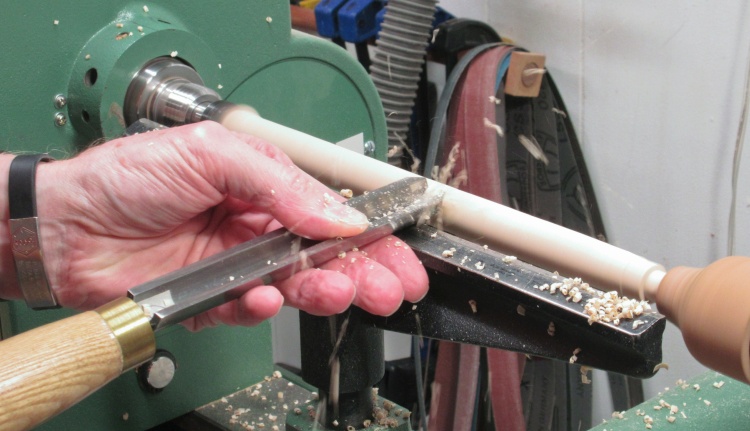
Then it was on to fabricating the handle. It was a pretty simple turning of the original square maple piece to have a 1/2" end to fit into the hole, a flange to sit against the scoop and a slightly shaped length.
In this shot the end is already turned to size and I'm finishing the rounding off of the square profile.
In this shot the end is already turned to size and I'm finishing the rounding off of the square profile.
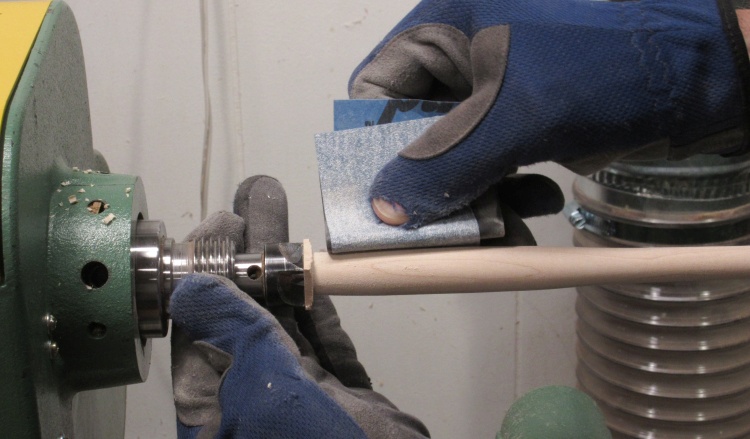
Hand-sanding after the shaping
In this shot I'm finishing up the sanding of the surface.
The handle was left a bit long and after it is off the lathe I'll remove those square corners and round off the top end of the handle using the belt sander.
The handle was left a bit long and after it is off the lathe I'll remove those square corners and round off the top end of the handle using the belt sander.

Handle's done
And that's it for the handle.

Handle glued in
Next was gluing the handle into the scoop. I had done a bit more shaping of the scoop neck to expose the flat area that had been drilled.
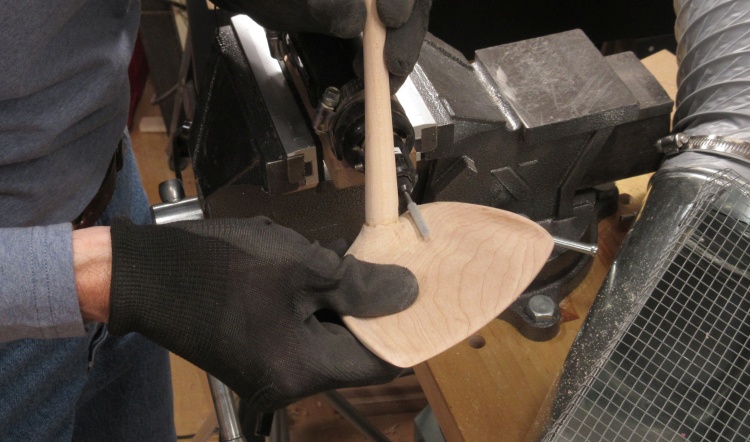
Fairing the handle joint
And finally the neck of the scoop was blended into the handle around the glue joint. I followed this rotary-tool work with hand sanding to smooth everything off.
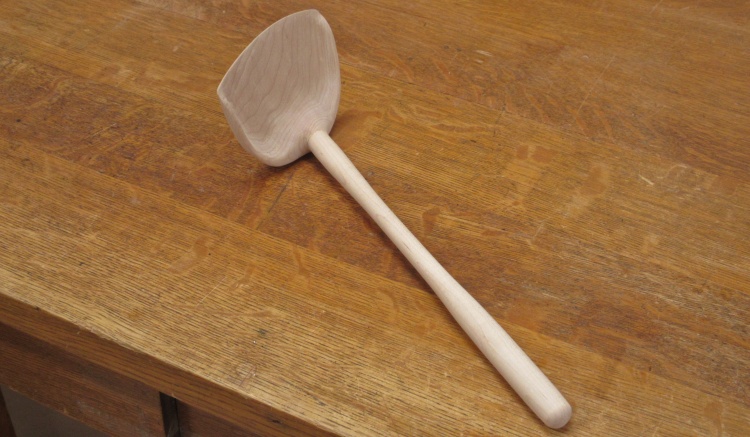
Woodworking done!
And that was it for the woodworking.
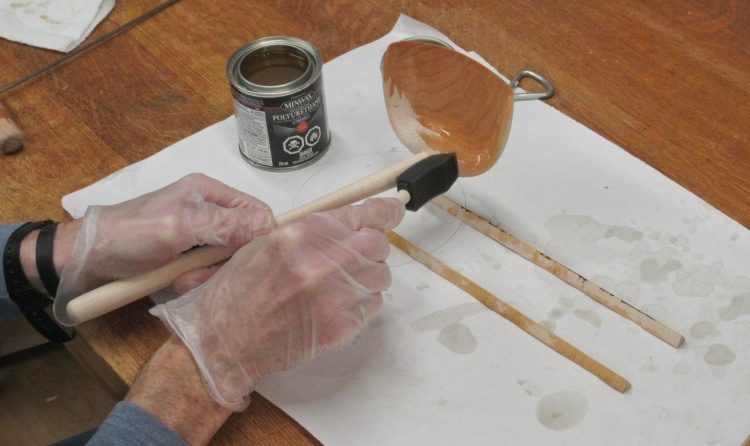
Starting in on the varnish
I used my standard approach of three coats of Fast-Dry Polyurethane for the finish. In this shot the first coat is going on with a foam brush.
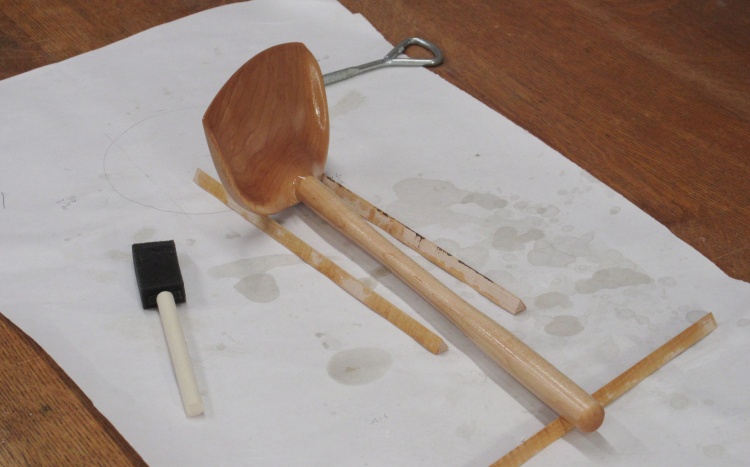
First coat of varnish, still wet
After the scoop finish was dry, I sanded with #0000 steel wool and recoated. Then when dry again, repeated for the third coat.
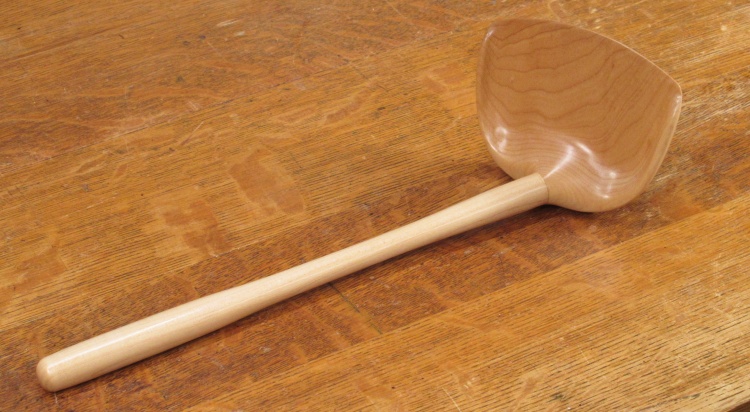
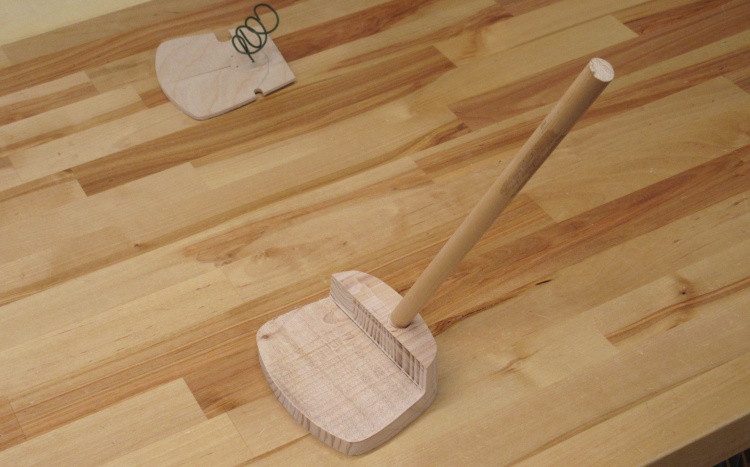
Done and lying in its natural rest position
And that was it. I didn't bother adding initials or year since this is kind of a minor piece.
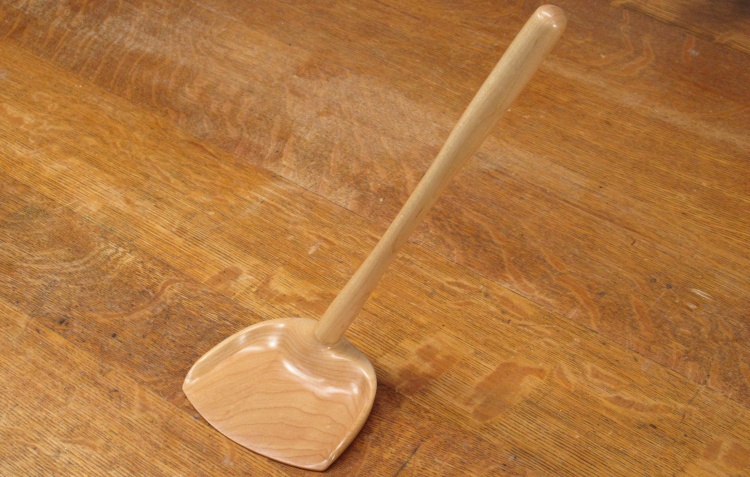
Done and stood up for graduation photo
The scoop doesn't actually balance on the base but a bit of masking tape on the bottom is enough to enable this "standing" photo.


