I was rather annoyed with the suppliers of mobility equipment since the costs seems to be out of line. I'm not sure if this is due to a "stick-it-to-the-customer" approach like overpriced hearing aids or whether the costs are somehow rationally justified but I'm going with the stick-it-to-the-customer one. I guess if you have other options you don't need to buy things from them so fortunately we didn't need a wheelchair (tricky to build out of dimensional lumber) but only a ramp which is definitely on the DIY list.
I of course looked up the requirements for wheelchair ramps (e.g National Building Code of Canada) but decided it wasn't worth trying to meet it exactly for something used infrequently by one person and always with a "driver". Specifically we decided to forego the handrails and needed a higher than recommended slope to fit in the available area.
I looked at other options like shorter metal ramps connected with wooden structures but that would have cost two to four times as much and I wasn't sure about the quality of the ramps without seeing them (and no-one had local stock).
So wood it was. We ended up with a pair of ramps, one 10' in length going from the step to a flat landing and another 8' in length at a right angle bridging the remaining height to the surface of the driveway. The slope was reduced from the metal ramp's 2.4 inch/ft down to 1.5 inch/ft. The building code recommends 1 inch/ft but that is partly to allow people in conventional wheelchairs to wheel themselves up the slope - not an issue in this case.
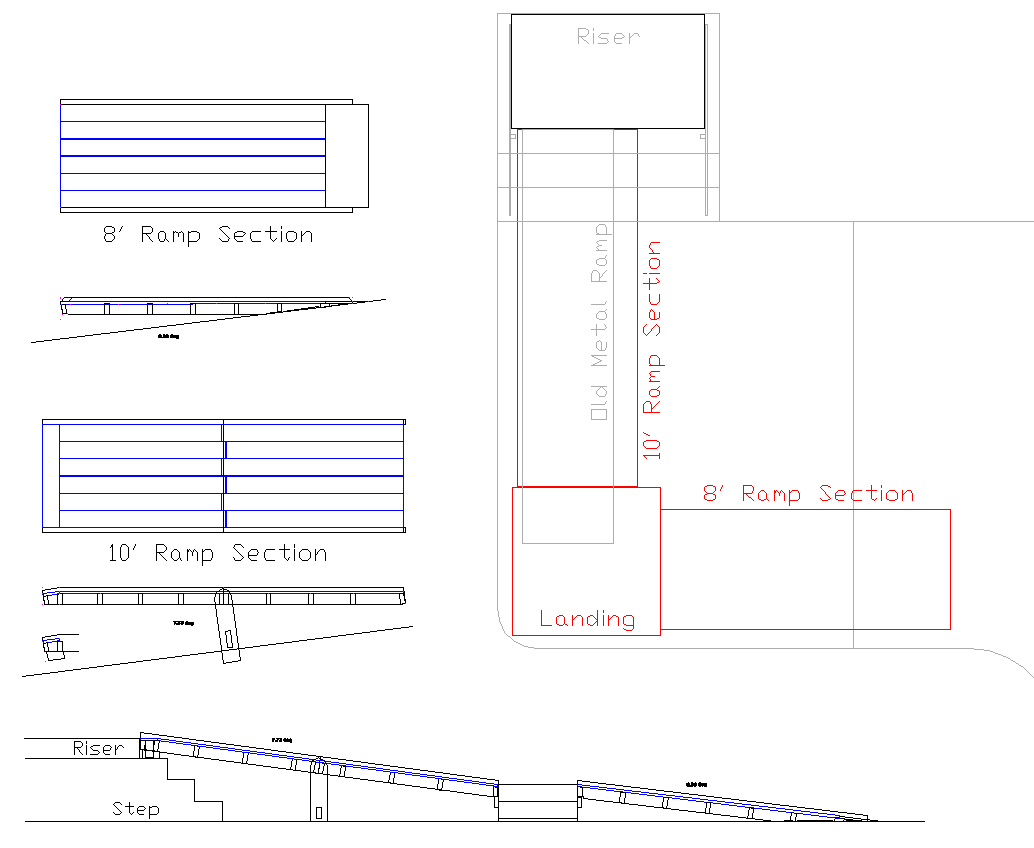
The overview
But before the ramp came the riser. Just having a ramp to the top of the step isn't too useful since the door frame is another 6" above the top of the step. The solution to that was to bring the top of the step up to be even with the bottom of the door frame. That was done with a 6.5"-high platform that I called the riser. It would just sit on top of the concrete step and act like one more level.
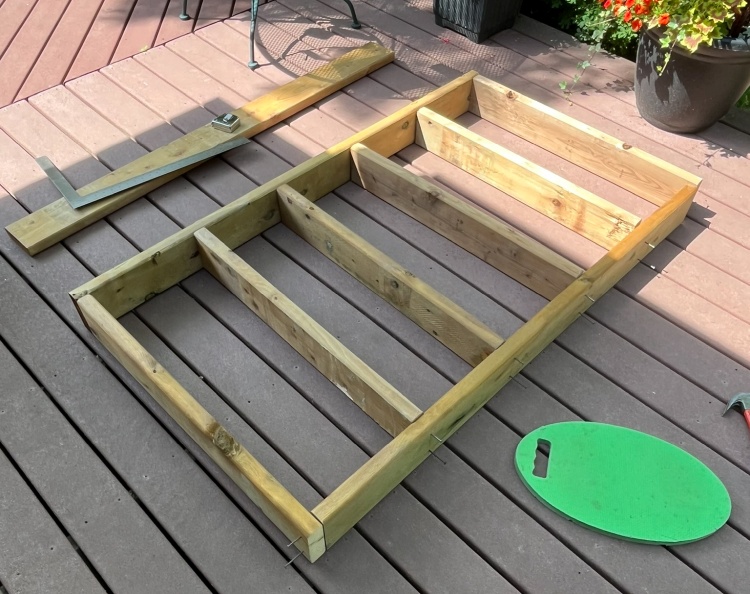
The riser frame on a warm day
The riser took shape back in the sunny days of July when working on the deck was a feasible thing to do.
Here the riser frame is almost done. I'll add that extra 2x6 to the front for a firmer connection to the ramp.
Here the riser frame is almost done. I'll add that extra 2x6 to the front for a firmer connection to the ramp.
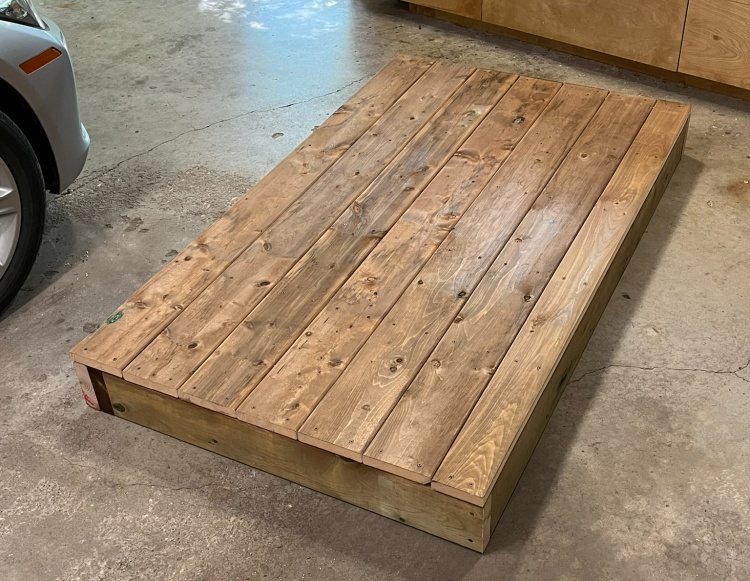
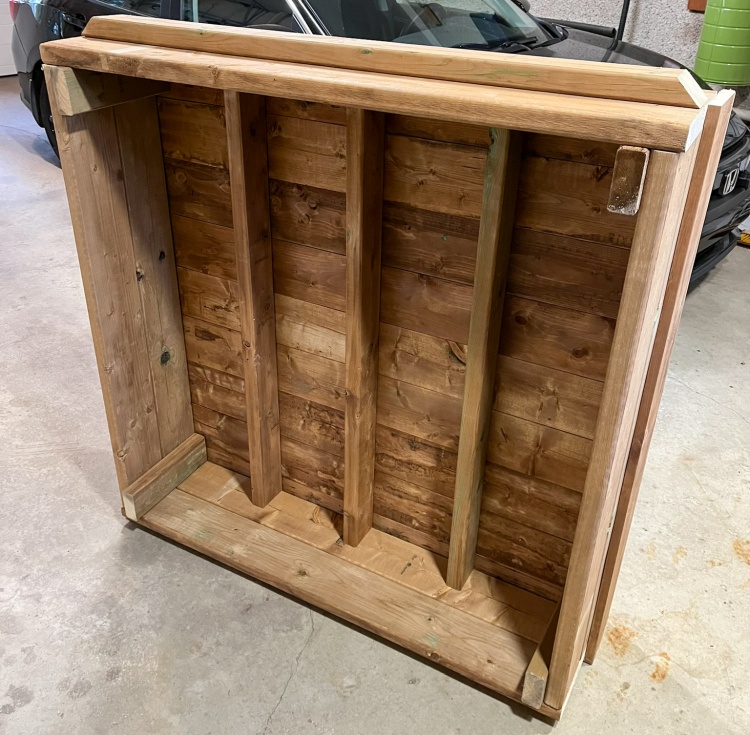
The riser assembled
The last bit to finish it up was screwing down the top. I used 5/4x6" deck boards since it turned out that the height of a 2x6 plus a 5/4" deck board was pretty much perfect for the height we needed.
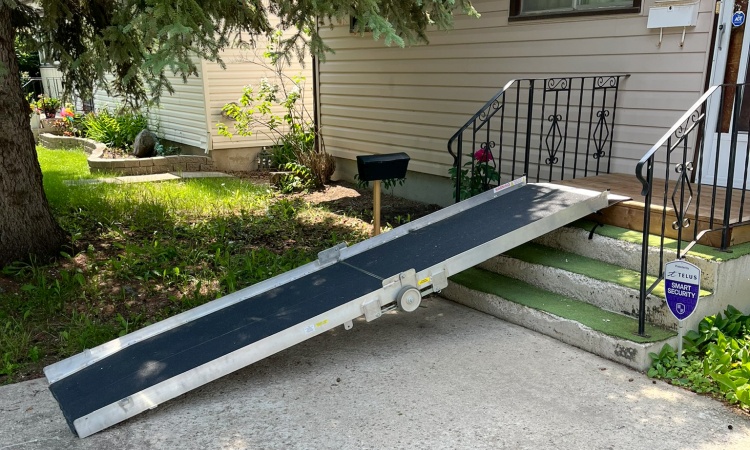
The riser and original metal ramp in place
I recruited a buddy (thanks Gary!) and we threw the riser in the trunk of the car. At our destination we wrestled it into place and screwed the ramp to the front edge.
The front door would still open, so that was a win!
The front door would still open, so that was a win!
So much for the summer flashback. Using the metal ramp a few times wasn't too comfortable due to the slope so the need for the wooden one was born. I timed it rather poorly since winter hit just after I started with the better part of a foot of snow falling in a couple days. Fortunately we have an overhead furnace in the garage so I was able to activate that and work in a large space with relative comfort.
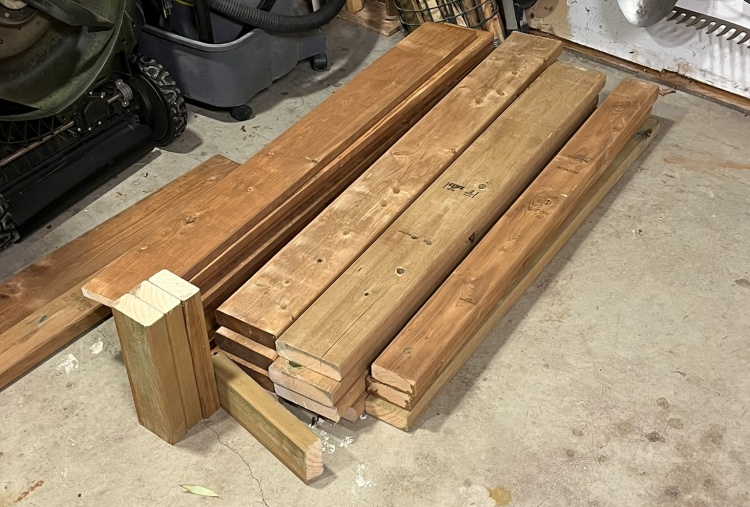
Lumber already cut up for landing
We started by getting a load of wood for the landing. Here it sits in a corner of the garage, already cut up and ready to start assembly.
The ramp uses brown pressure-treated wood for all the pieces except the very bottom of the ramp. The brown wood looks reasonably nice from a distance although if left unfinished it will start to change after 5 or so years to ugly grey (or "silver" according to the manufacturer).
The ramp uses brown pressure-treated wood for all the pieces except the very bottom of the ramp. The brown wood looks reasonably nice from a distance although if left unfinished it will start to change after 5 or so years to ugly grey (or "silver" according to the manufacturer).
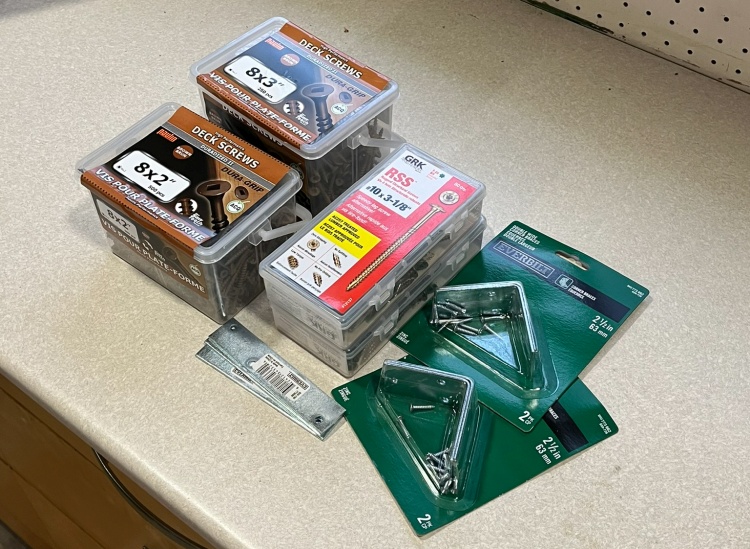
A respectable pile of hardware
I initially did a test that showed a rail-to-joist connection with a single deck screw was strong enough to support my entire weight. I had thought to use three screws at each end of a joist so that would have been more than adequate for strength. However like picking up and eating a candy that dropped on the floor, the practice is frowned upon. To avoid frowns I used #10 structural screws for any load-bearing connections and 2" and 3" deck screws for less-critical connections.
Those three types of screws along with a couple varieties of brackets comprised all the hardware the ramp would need.
Those three types of screws along with a couple varieties of brackets comprised all the hardware the ramp would need.
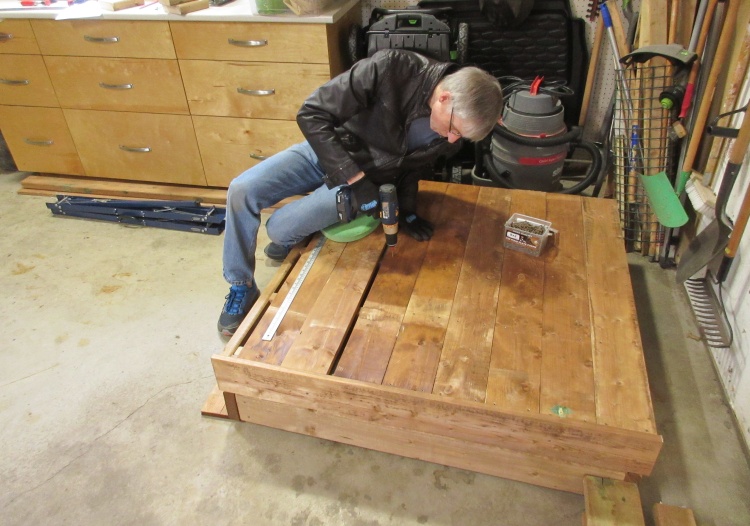
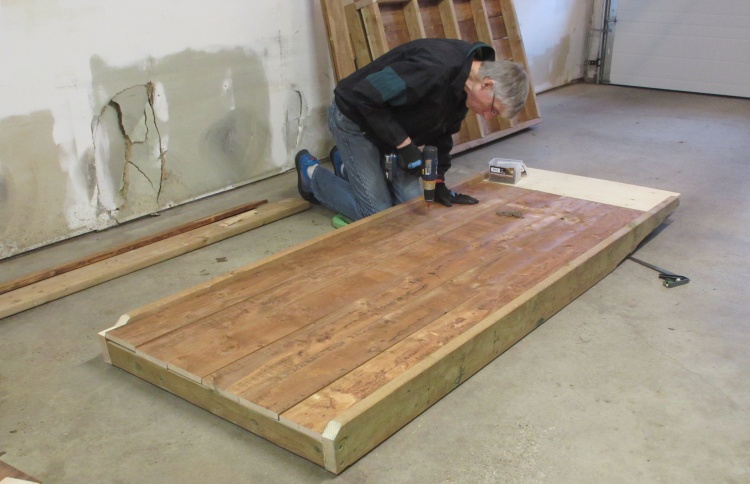
Attaching the deck boards
The landing was pretty simple and came together in a few hours. In this photo it is about 90% done as I screw down the last deck boards. I used 1x6 fence boards for the decking but they were more than strong enough in this application.
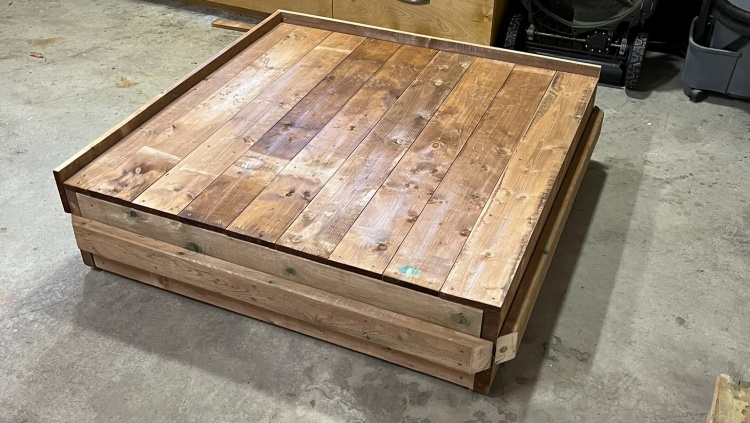
Landing complete
Here the landing is complete. The two ramps will rest on the 2x4s attached to the near sides. Then on the other two sides, short walls prevent rolling off the outside edges.
The underside, showing the simple structure
The underside shot shows the landing construction. I placed the 2x4 joists on 12" centers to minimize deflection.
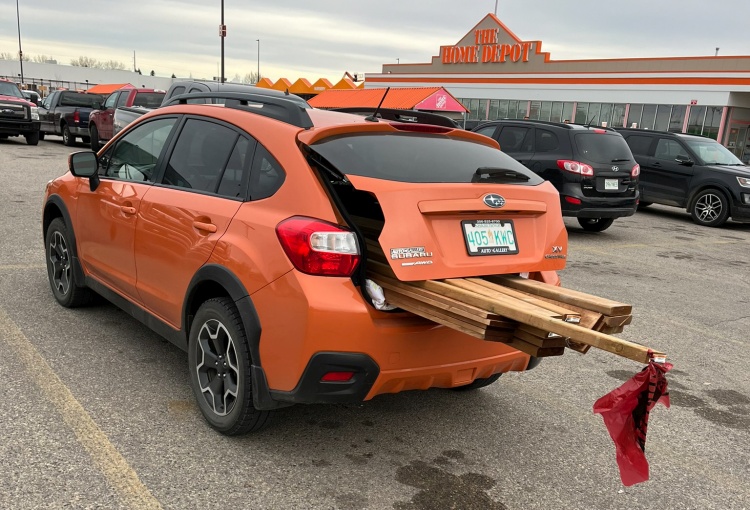
The Crosstrek loaded with wood for the ramps
A second load of wood was needed for the two ramps. We took Sue's Crosstrek and loaded 'er up at Home Depot.
I cut the fancy angles in the shop
The ends of the 2x6 rails needed to be cut at the appropriate angle (around 7°) and they had a few other shaping cuts so I did that in the shop.
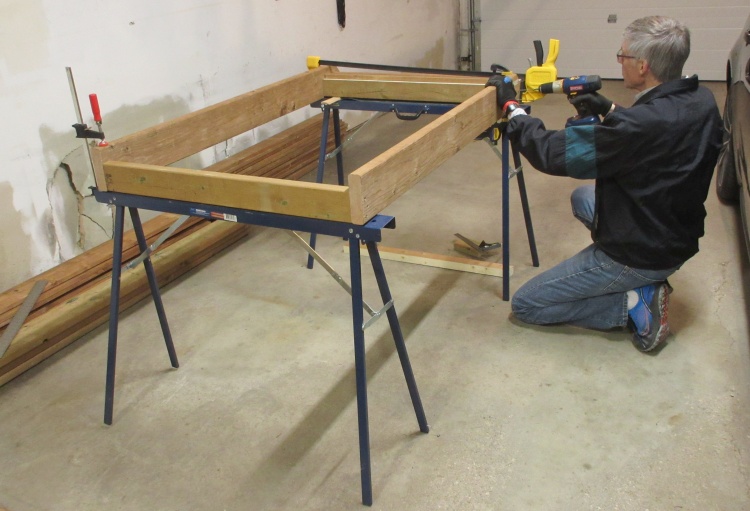
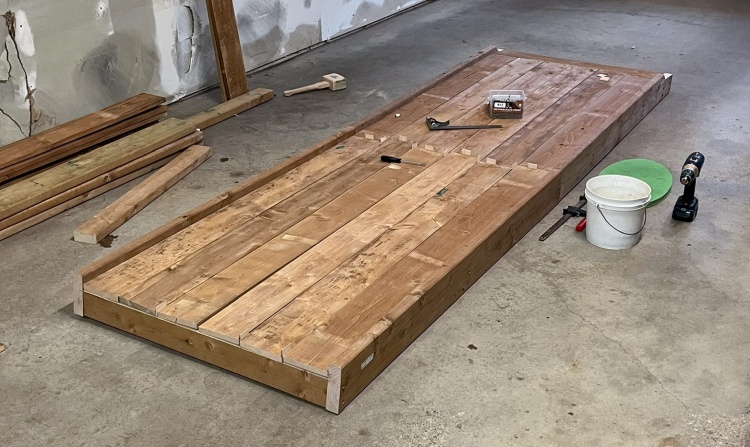
Starting assembly of a 5' section
Then it was back out to the garage for assembly. I used some portable metal sawhorses to get the work surface off the floor to started by installing the end joists.
The 10' section of ramp was made in two 5' sections - the first of them shown here - to make it easier to transport and less susceptible to bent and/or warped lumber.
The 10' section of ramp was made in two 5' sections - the first of them shown here - to make it easier to transport and less susceptible to bent and/or warped lumber.
The two 5' sections, almost done
A few days later, both 5' sections were done.
In the middle, I overlapped alternate deck boards about 3/4" as an alignment aid. In this photo you can see the wood shims used to consistently space the boards. The deck boards of the nearer ramp piece are positioned and ready to screw in place.
In the middle, I overlapped alternate deck boards about 3/4" as an alignment aid. In this photo you can see the wood shims used to consistently space the boards. The deck boards of the nearer ramp piece are positioned and ready to screw in place.
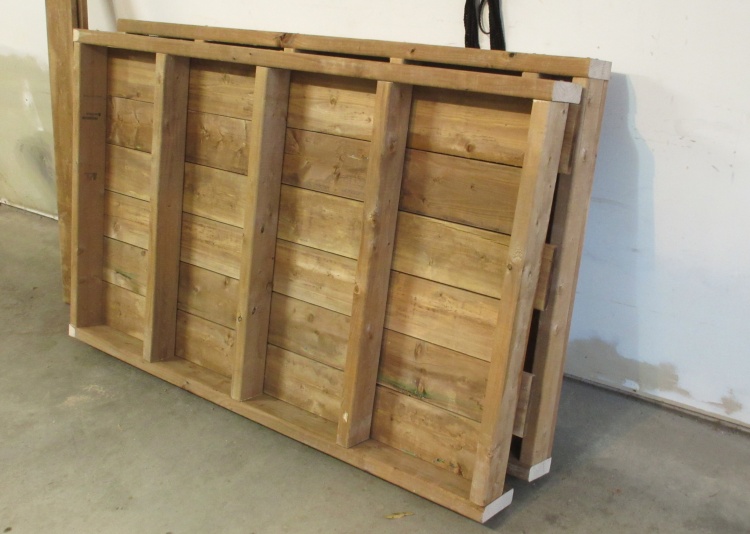
The ramp underside
The structure of the 5' ramps.
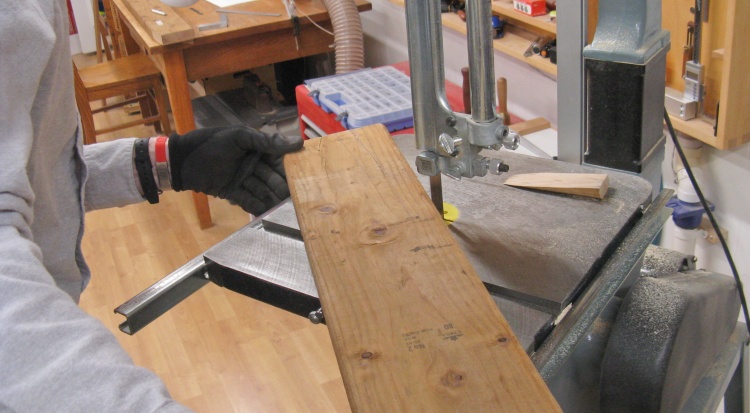
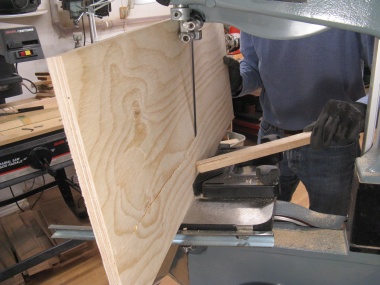
The last piece that needed to be built was the 8' ramp section and I calculated that it shouldn't be too heavy as a single piece. One tricky bit was how to make the very bottom since I wanted a very low step and it wouldn't really work just tapering the deck boards. I decided to use 3/4" plywood for the bottom 12" of the ramp and these photos show me preparing it.
The width and angle of the board to be tapered ended up interfering with the bandsaw. However it was close so I ended up removing some blade guards and locking screws and then it just barely made it.
The width and angle of the board to be tapered ended up interfering with the bandsaw. However it was close so I ended up removing some blade guards and locking screws and then it just barely made it.

Chopping a piece of plywood
Making a 7° slope on one edge
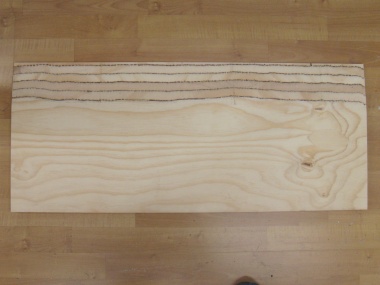
Imperfect but good-enough slope
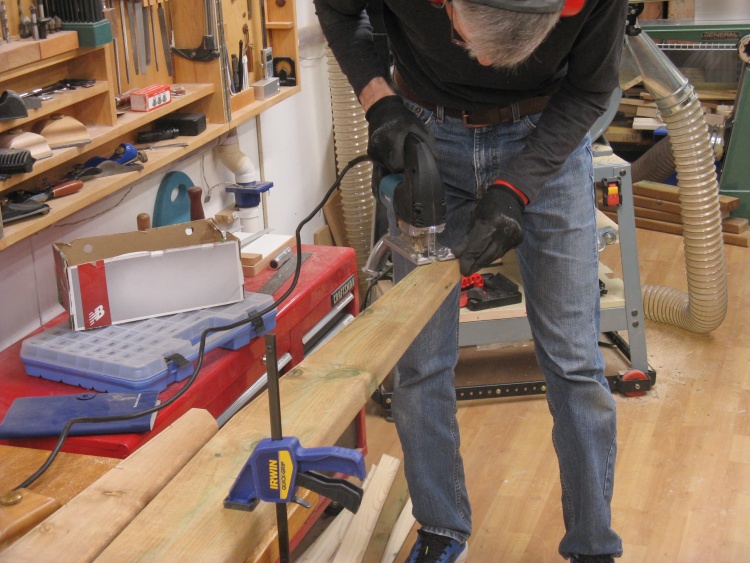
Doing some detail cuts on the 8' ramp rails
Again the detail cuts on the rails were made in the shop. This is the tapered end of one of the rails and I'm cutting some reliefs on the bottom to make it less likely to be hung up on a concrete imperfection. And believe me when I say that the concrete where this is going is imperfect.
Attaching the deck boards to the 8' ramp
Then it was back out to the garage.
And same drill as last time; attach end joists on the sawhorses making sure everything is square, then onto the floor to attach the rest of the joists and finally screwing down deck boards as shown in this photo.
And same drill as last time; attach end joists on the sawhorses making sure everything is square, then onto the floor to attach the rest of the joists and finally screwing down deck boards as shown in this photo.
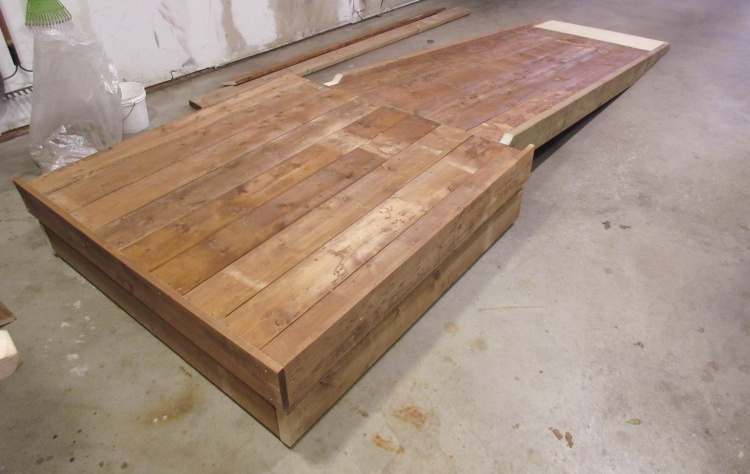
The 8' ramp in place on the landing
This shot shows how the 8' ramp will fit on to the landing.

Adding a coat of paint
The last detail was to paint the deck of the ramp in order to increase the surface traction. You can get specific traction paints but they were more rubbery than gritty, and gritty is what you want for a ramp. I did a few tests and ended up with a sand-in-paint solution.
The first step was to put on a reasonably heavy coat of paint. I just used a brown exterior latex.
The first step was to put on a reasonably heavy coat of paint. I just used a brown exterior latex.
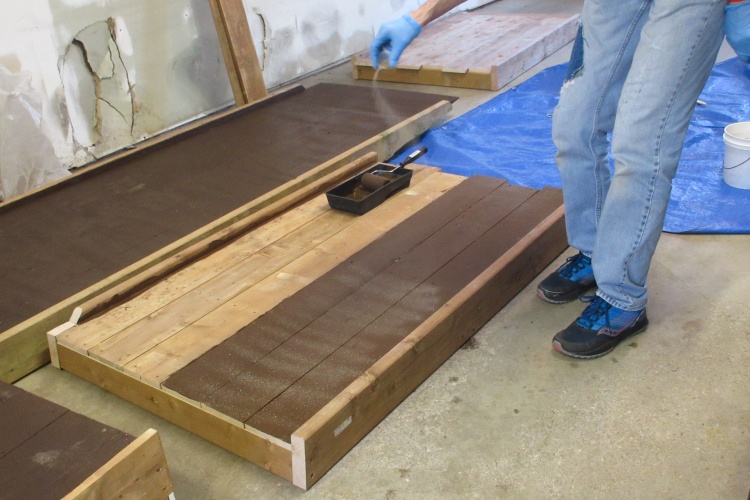
Sprinkling on some sand
The next step was to spread sand on the surface. I used about 25 ml for about 8 square feet and just sprinkled it on from a small container as seen here.

Adding a bit more paint to glue down the sand
Then I added a bit more paint and re-rolled it to essentially glue down the sand.
I also considered mixing the sand with the paint but this technique can guarantee a more-even coverage.
I also considered mixing the sand with the paint but this technique can guarantee a more-even coverage.
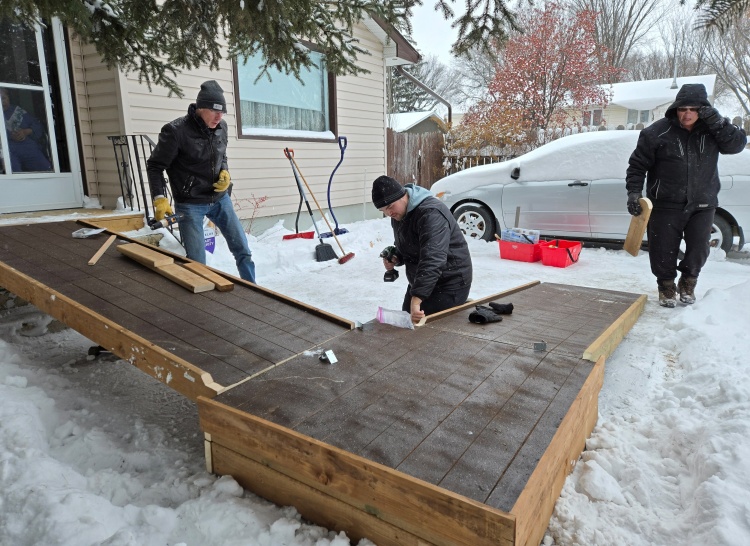
All the pieces in place (and three frozen-looking people)
And then it was installation day. I recruited my brother-in-law-with-a-truck-and-a-helpful-nephew to help with the install. We loaded up the truck, transported to the work site and then got to work putting things together.
In this photo we have everything in place and just need to add the mid-span legs and the mounting brackets.
And yes, it was cold that day.
In this photo we have everything in place and just need to add the mid-span legs and the mounting brackets.
And yes, it was cold that day.
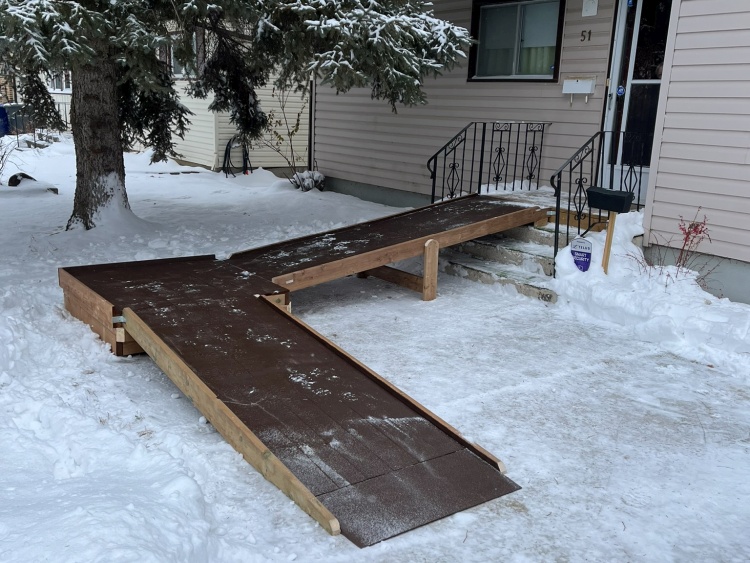
The ramp in place
In less than an hour we had it all together.
The inaugural use a couple week later was a success, with the lower slope and wider deck being a boon.
Although the Spruce tree is going to need some trimming to avoid a face-full of needles on the way past.
The inaugural use a couple week later was a success, with the lower slope and wider deck being a boon.
Although the Spruce tree is going to need some trimming to avoid a face-full of needles on the way past.


