I had a decent little pile of 2x4 pieces each about a foot long left over from shed building and I thought it would be nice to be able to use them for something other than increasing the height of the landfill. Incorporating them into an exercising step seemed like a good application.
I went with a setup that allowed the step height to be set to between 8 and 11 inches in 1-inch increments. That not only makes the step more versatile, but used up more scraps of wood.
I went with a setup that allowed the step height to be set to between 8 and 11 inches in 1-inch increments. That not only makes the step more versatile, but used up more scraps of wood.

Plans 'n 3D Views
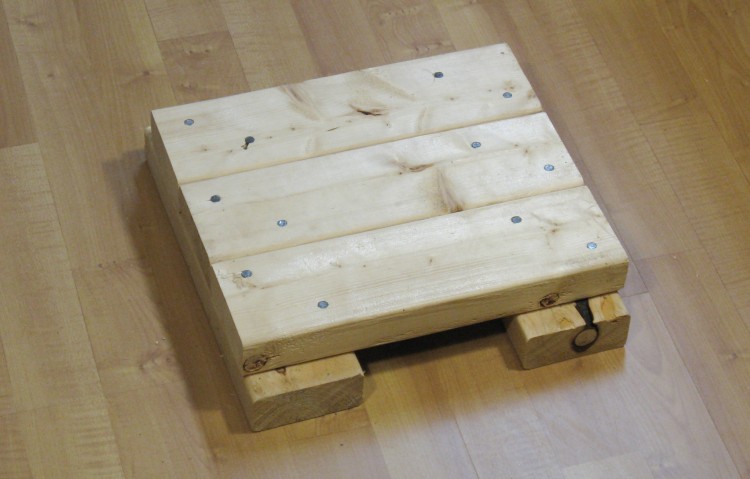
The original lift
This was the original little lift that was hammered together one sunny afternoon. After this photo I got out the wrecking bar and levered it apart so the 2x4s could be incorporated into the new & improved step.
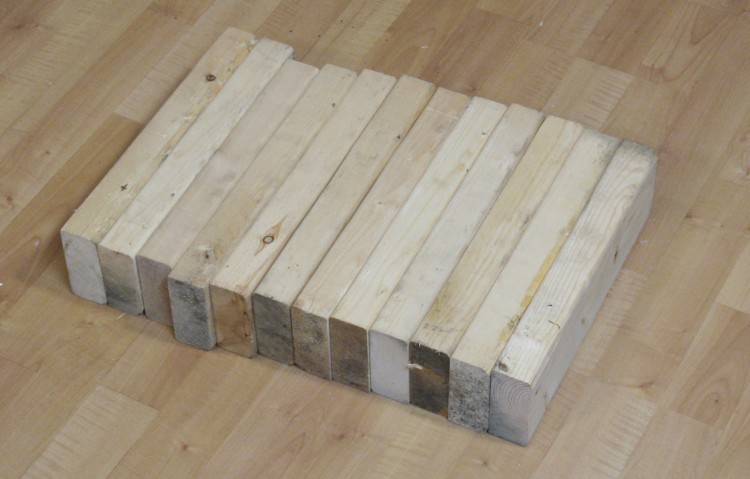
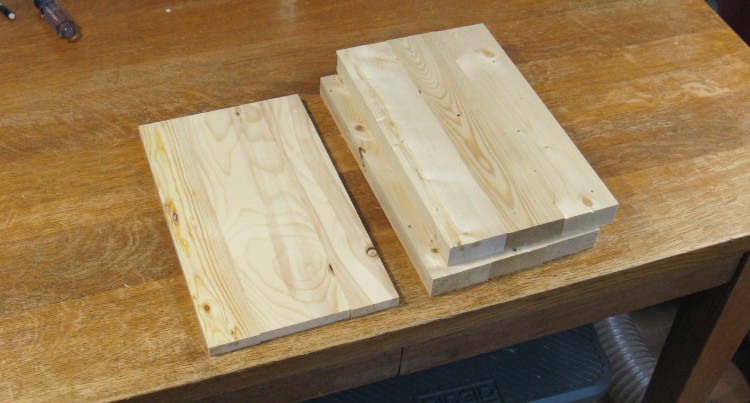
The pile of scraps
I started with a pile of scraps, most of which are about a foot long and a bit dirty from sitting outside for a month or two. I brushed them off but the ends still have a bit of embedded soil.
I used 18 pieces in all; the dozen shown here, the five from the original lift and one more from my scrap pile.
I think these foot-long pieces were mostly the result of cutting down the 92-5/8" studs to the 80-1/4" length I needed for the height of the shed.
I used 18 pieces in all; the dozen shown here, the five from the original lift and one more from my scrap pile.
I think these foot-long pieces were mostly the result of cutting down the 92-5/8" studs to the 80-1/4" length I needed for the height of the shed.
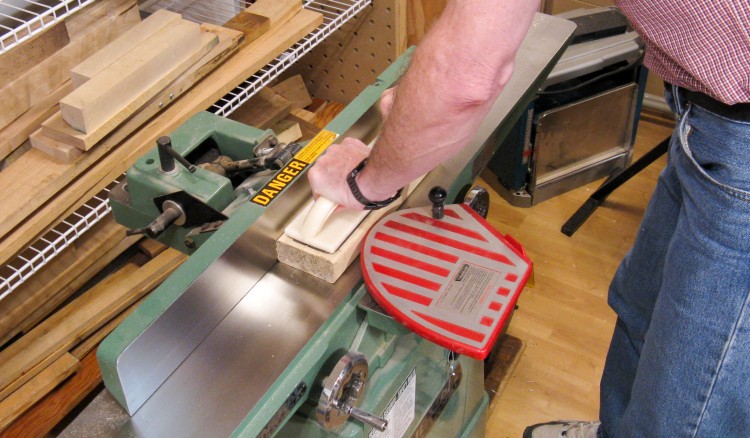
Making one face flat
My plan called for the pieces to be reduced to 1" thickness, which also let me get rid of the rounded corners. The first step was using the jointer to flatten one side.

Cutting down to 1" thick
The flat side was placed against the fence to cut the wood to a 1" thickness on the bandsaw. Then it was back to the jointer to clean up the edges so they would be ready to glue edge-to-edge.
Admittedly the cut-offs (and eventually the sawdust) would go to the landfill but I managed to exceed the city-targeted 70% diversion by 2020 plan. And 2 years early!
Admittedly the cut-offs (and eventually the sawdust) would go to the landfill but I managed to exceed the city-targeted 70% diversion by 2020 plan. And 2 years early!
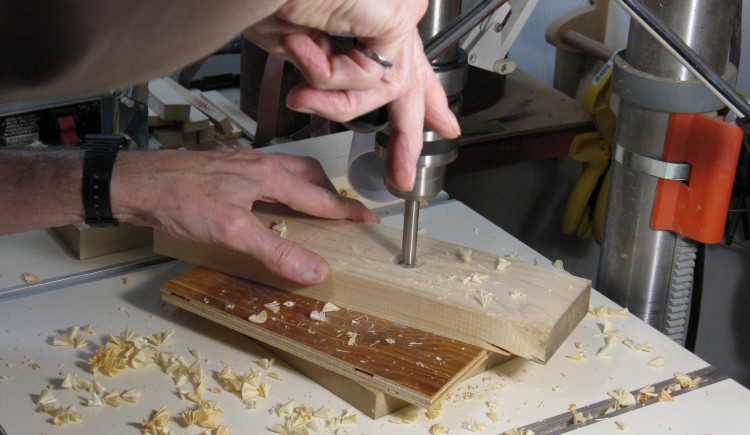
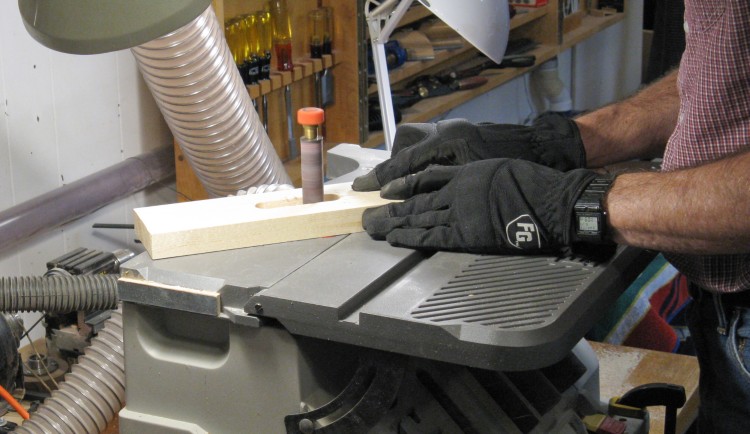
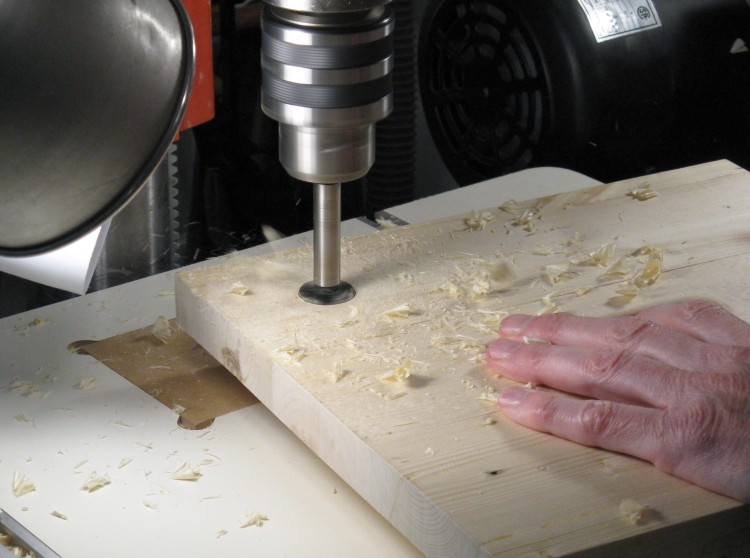
Drilling for the handle hole
There are three pieces to be made; the base and two "lifts". They will all have hand holes (or more specifically, slots) to make them easier to pick up.
I started out by forming the slots in the three center pieces. This photo shows the drilling of one end of the slot. The other end will also be drilled and then the wood between them will be removed using a jigsaw.
I started out by forming the slots in the three center pieces. This photo shows the drilling of one end of the slot. The other end will also be drilled and then the wood between them will be removed using a jigsaw.
Sanding the handle hole
After the slot was formed, it was smoothed out on the spindle sander.
You can tell that this is early in the "woodworking season", since I still have some tan on my arms. They'll be pretty pasty again by the time spring rolls around.
You can tell that this is early in the "woodworking season", since I still have some tan on my arms. They'll be pretty pasty again by the time spring rolls around.
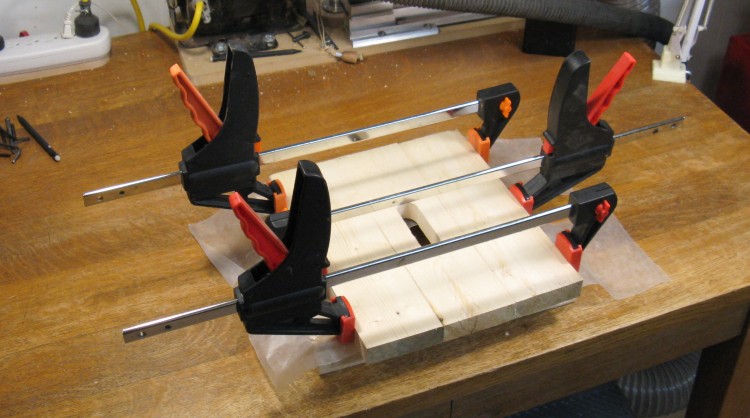
Gluing together the top of the base
One of the handle-slotted pieces along with two normal pieces were laminated together to form a top, of which three were made. This particular one is for the base, and it later had some additional narrow slats added since it needed to be a bit wider than the two lifts.
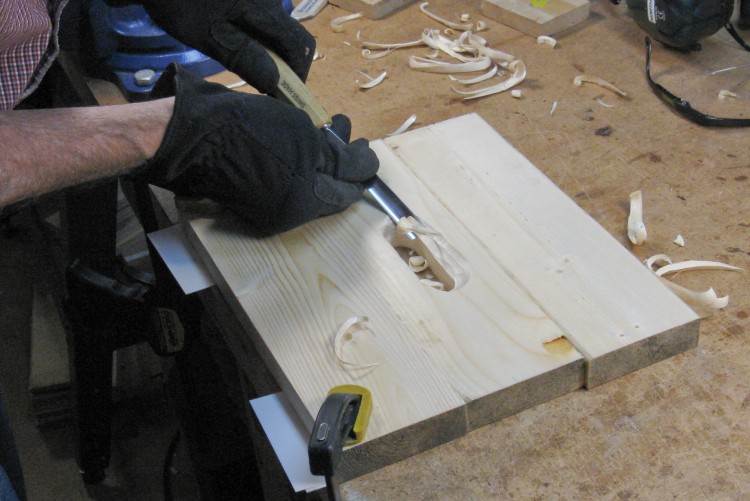
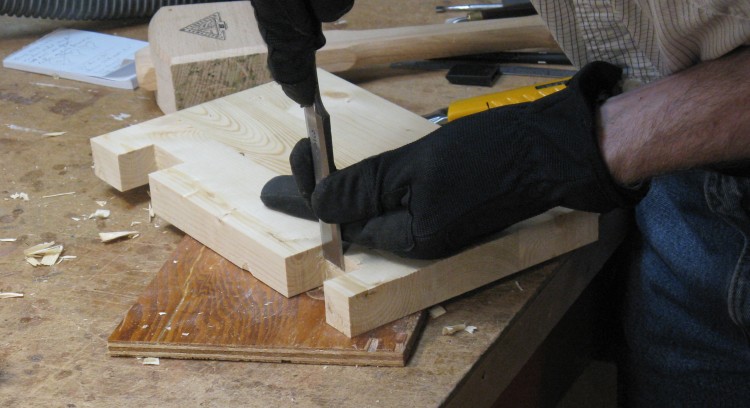
Carving the bottom to make the handle area thinner
The tops were about an inch thick so to make them easier to grab, the bottom sides were thinned near the slot with a bit of manual chiseling.
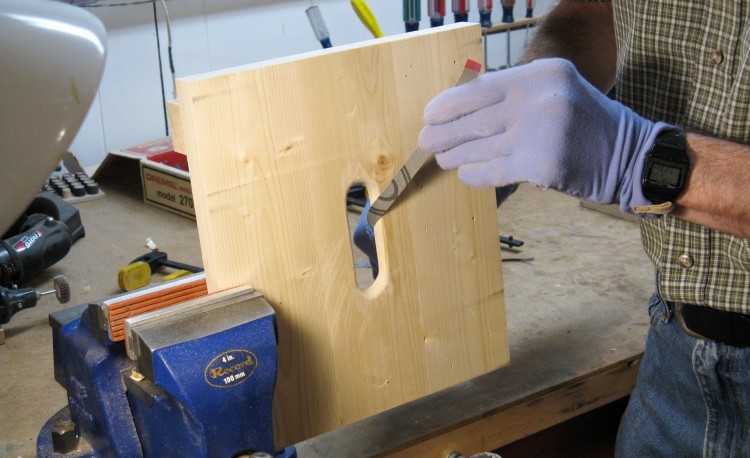
Rounding the handle hole with sandpaper strips
The top and bottom edges of the slot were rounded to make them a bit more hand-friendly and then roughly sanded to smooth things out a bit.
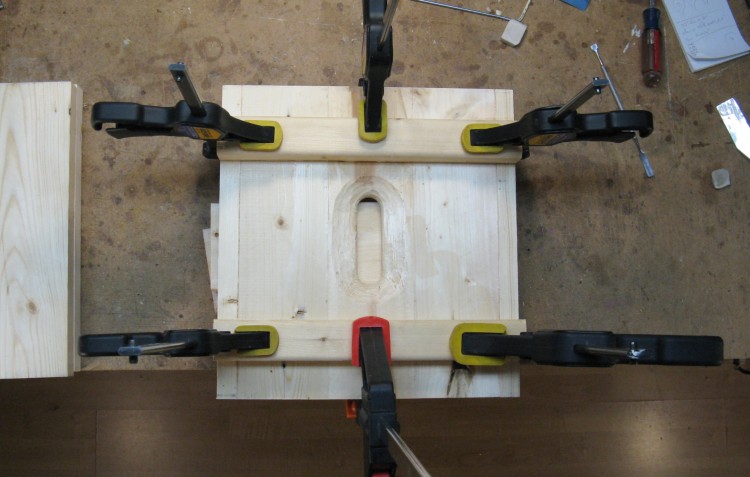
Gluing strengthening supports to the base top
With 1"-thick wood, the 1" lift was fine as it was but the 2" lift needed another inch added. This was done with a couple cross pieces of 1" thickness. The same was done to the top of the base just for reinforcement, and it is the base that is shown being glued in this shot.
Drilling for alignment pegs
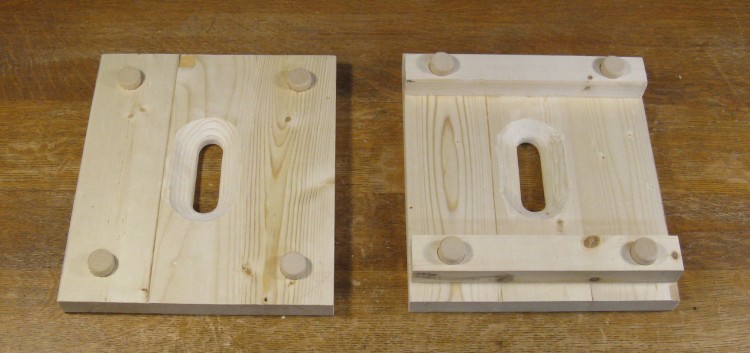
To keep the lifts from shifting when stacked up, a set of four pegs would fit into four corresponding holes. The pegs are made from dowels of one inch diameter which match to 1" holes. I wanted to be able to stack the lifts in either order, so both of the lifts get pegs on the bottom and holes in the top.
This photo shows a hole being drilled in the 1" lift. To allow room for imperfect peg positioning, the hole diameters were later expanded by about 1/16" using a sanding drum.
This photo shows a hole being drilled in the 1" lift. To allow room for imperfect peg positioning, the hole diameters were later expanded by about 1/16" using a sanding drum.
The two lifts (upside-down) assembled with alignment pegs
The pegs can be seen on the bottoms of the two lifts in this shot.
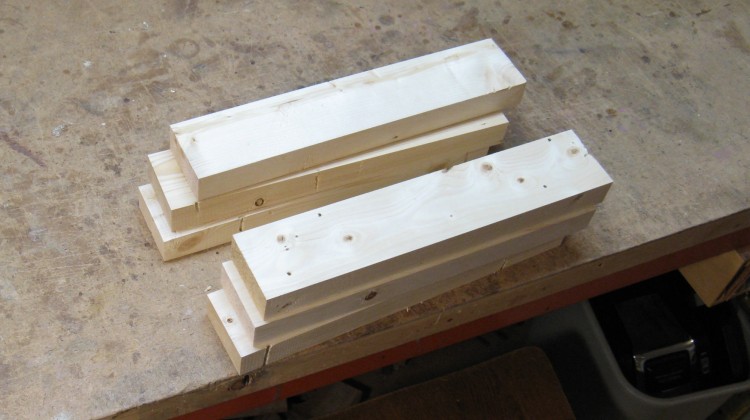
Some more 2x4s trimmed to form the sides
The three tops are complete at this point, so that leaves the construction of the rest of the base.
The sides needed to be a bit taller than two of the 2x4s so three narrowed pieces were made for each of the sides.
The sides needed to be a bit taller than two of the 2x4s so three narrowed pieces were made for each of the sides.
Gluing one of the sides
Those were laminated together to form the vertical sides of the base.
The sides and the back ready
The same process was used for the back of the base, except the wood was made only 1/2" thick as compared to the 1" for the sides and tops. Here the sides and back are ready for further modifications.
Trimming the sides to fit under the base supports
The sides needed to be contoured to fit around the supports for the top, so the bandsaw and chisel were used to form appropriately-sized notches.
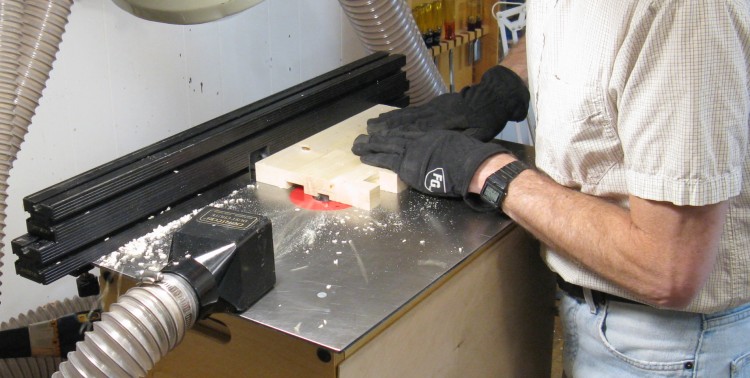
Routing the storage slots into the sides
The sides also needed slots that would be used to store the two lifts, so these were formed on the router table using a 3/4" bit.
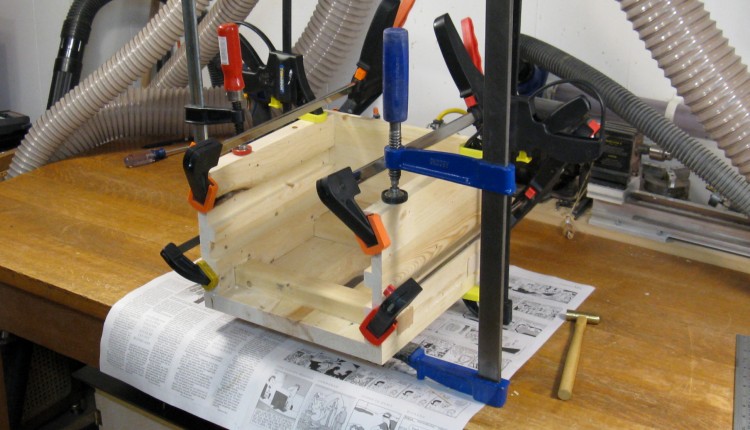
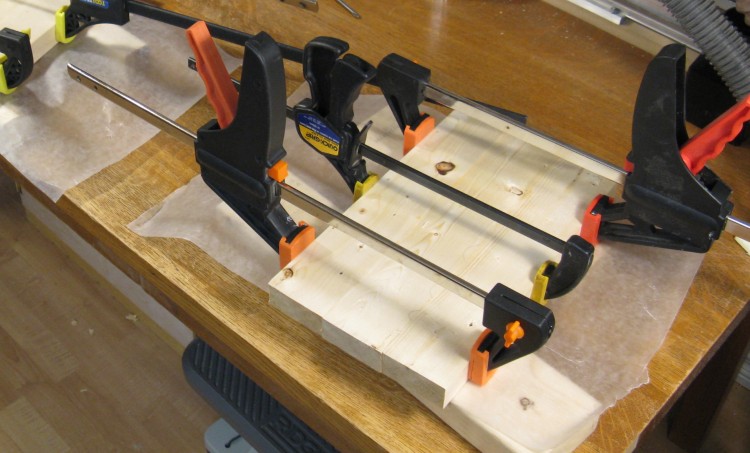
Gluing the base together
Then with the sides and back trimmed to length, the base could be glued together as shown here.
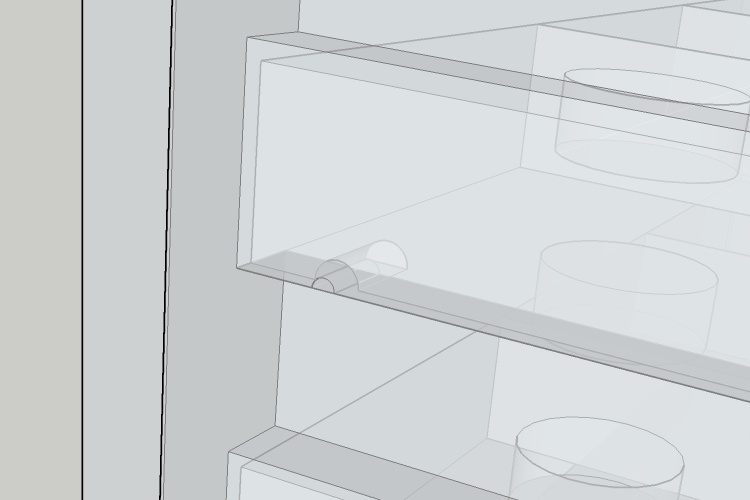
Transparent view of detents
That was all the assembly except for a minor bit of work adding some detents so the lifts would "click" into place for storage.
Since that's tough to photograph, here's how it looks in the 3D model. This is an "X-ray" view from the outside with half-dowels on the base and matching notches on the lifts to form the detents.
Since that's tough to photograph, here's how it looks in the 3D model. This is an "X-ray" view from the outside with half-dowels on the base and matching notches on the lifts to form the detents.
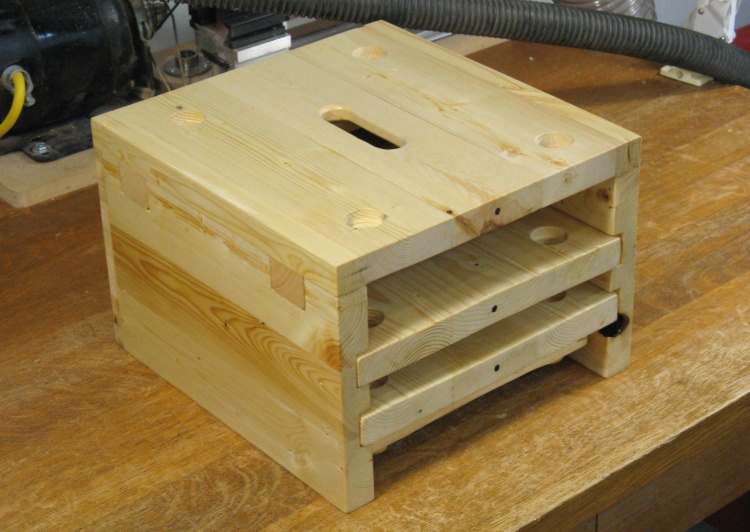
Varnished and ready to go
Lastly I drew guide dots on the edges so the lifts get installed the right way and then all the pieces were given a couple coats of varnish.


