I noticed the photo below while searching for something else entirely and saved it for later "inspiration". I later came across a variety of turned trees although I liked the style of the ones below the best. An image search after I had made the trees revealed that they were the work of Dennis Liggett, a talented woodworker. Well, that's good - if you are going to copy be inspired by something, it might as well be from someone with lots of talent.
I had a few Spruce branches of about the right size to use for the trees but they were mostly rather oval in cross-section, making for a somewhat wonky lower "branch" that would have variable amounts of bark. I ended up with one OK Spruce tree but needed to use other less-Christmasy trees like Birch and Ornamental Crabapple to complete the set of three. After that set was done and given away a couple other people thought the trees looked intriguing so I decided to make a few more sets. I definitely made a dent in the branches I'd stored over the last 20 years.
I had a few Spruce branches of about the right size to use for the trees but they were mostly rather oval in cross-section, making for a somewhat wonky lower "branch" that would have variable amounts of bark. I ended up with one OK Spruce tree but needed to use other less-Christmasy trees like Birch and Ornamental Crabapple to complete the set of three. After that set was done and given away a couple other people thought the trees looked intriguing so I decided to make a few more sets. I definitely made a dent in the branches I'd stored over the last 20 years.
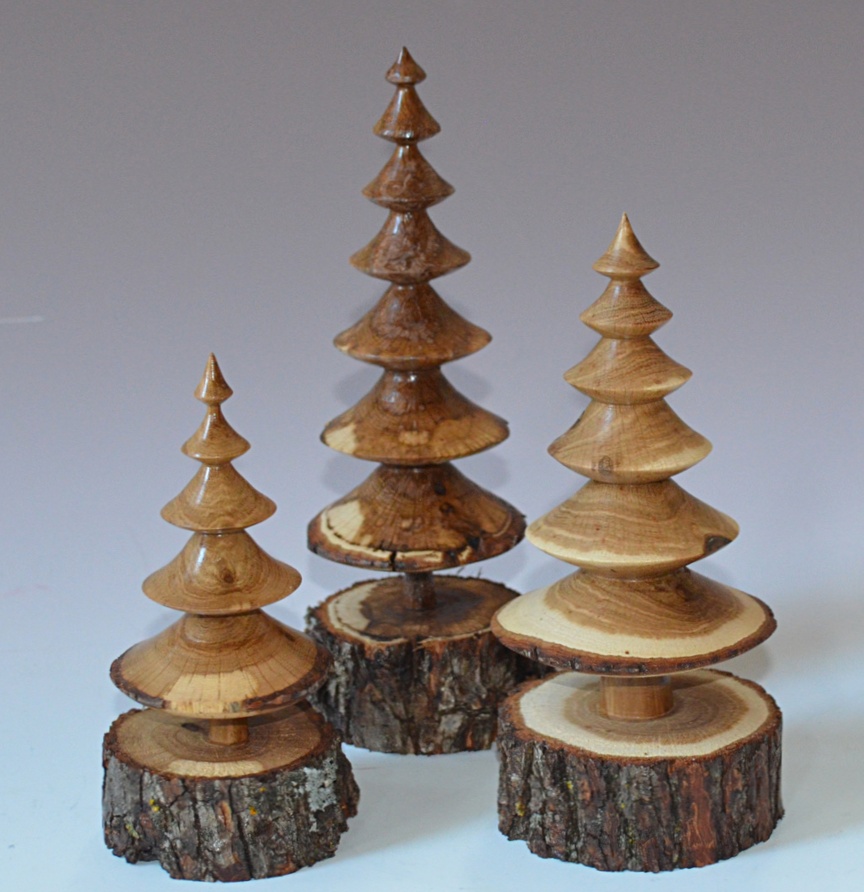
The "plan" (unwitting compliments of woodworker Dennis Liggett)
A little section off a Blue Spruce in the back yard
Each tree started out as a short section of branch. This is one of the larger ones at upwards of 2" in diameter, from a pruned-off piece of Blue Spruce from the back yard.
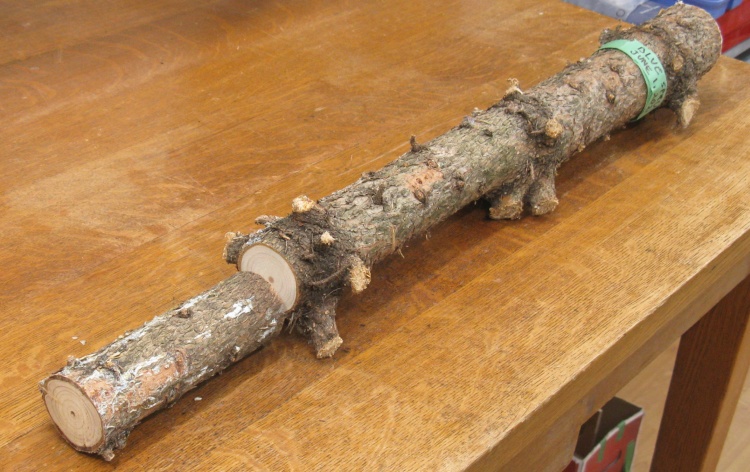
By the way, the backyard tree was supposed to be a "dwarf" Blue Spruce but as it approached 8' in height, I decided that it needed a little "guidance". Hence the 3-foot trunk section.
By the way, the backyard tree was supposed to be a "dwarf" Blue Spruce but as it approached 8' in height, I decided that it needed a little "guidance". Hence the 3-foot trunk section.
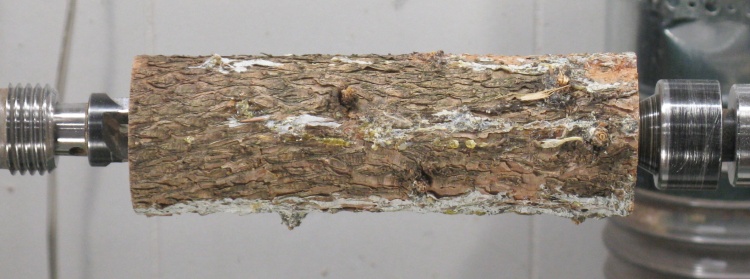
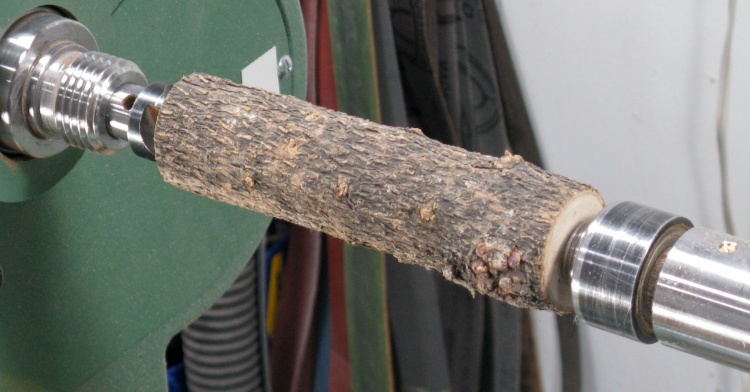
Mounted on the lathe
The first step was to mount the branch piece on the lathe using a spur center which allows access the end.
(No, I don't know what the white stuff is - guano maybe? - but as the next photo shows, it didn't really matter).
(No, I don't know what the white stuff is - guano maybe? - but as the next photo shows, it didn't really matter).
A bit too much torque on the thin part
Unfortunately a bit too much force when turning the small end resulted in it twisting off (partly due to weak center wood as well). The turned surface isn't too clean either so this one went into the reject pile.
Another stab at it with a thinner branch
I found another decently-round Spruce branch of a bit smaller diameter and got to work on that one.
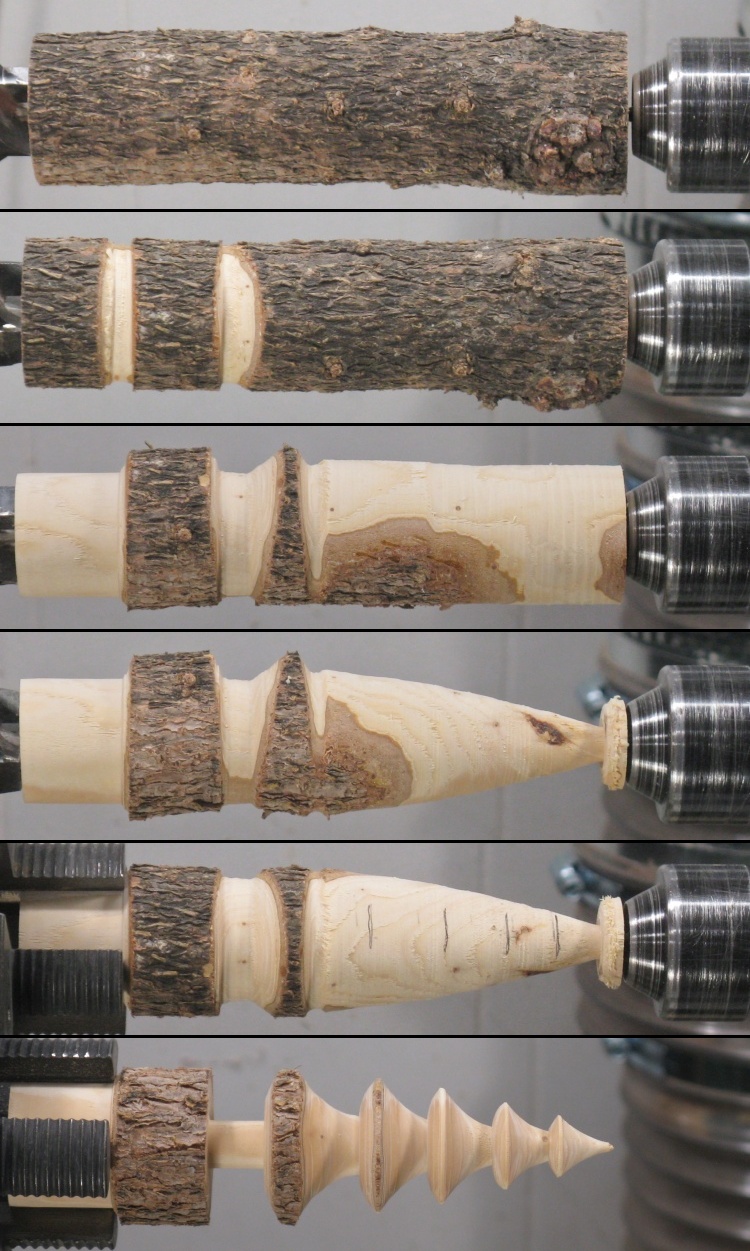
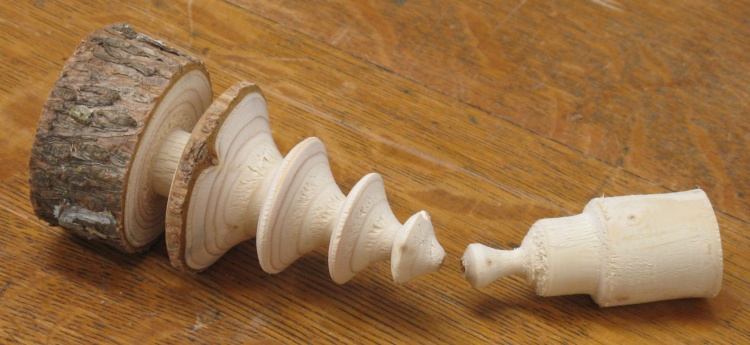
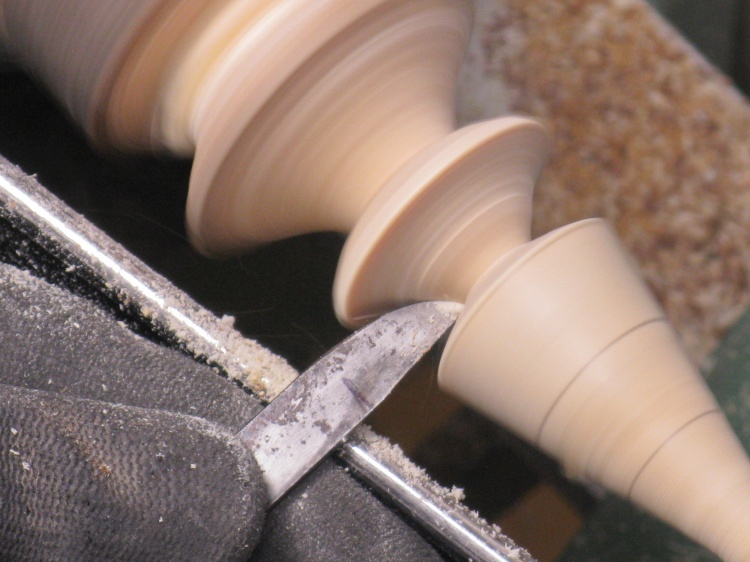
The turning progression
This composite shows some turning stages, starting with "branch on lathe".
First I defined the base section by making cuts above and below it.
Next was to clear off a bottom tenon to later be held in the multi-jaw chuck, and then define the lowest branch - the one with some bark on it.
Then the general conical tree shape was cut from that lowest branch to the top.
Here I've marked the location of the other branches in pencil.
And finally the shape is turned (ok, I could maybe have used a few intermediate photos).
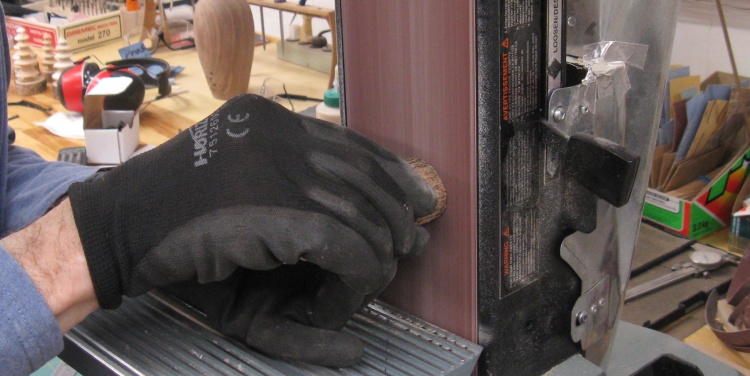
Smoothing off the bottom
Once the tree is cut off the bottom tenon, the bottom is smoothed on the belt sander.
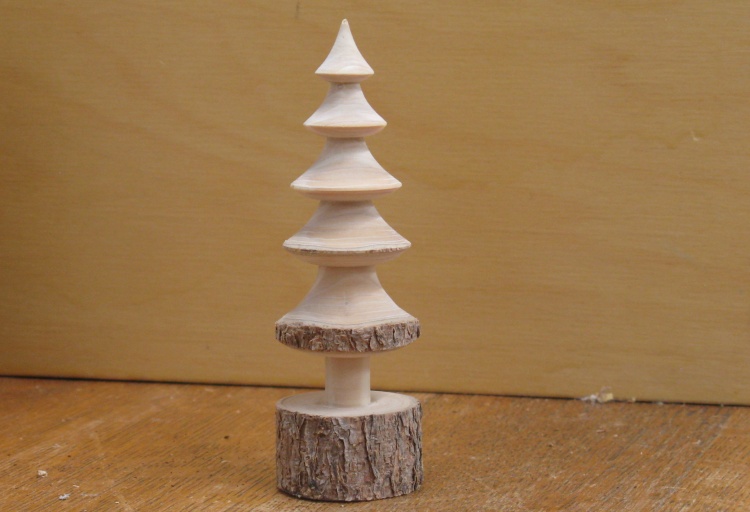
The resulting Spruce-wood tree
The completed tree.
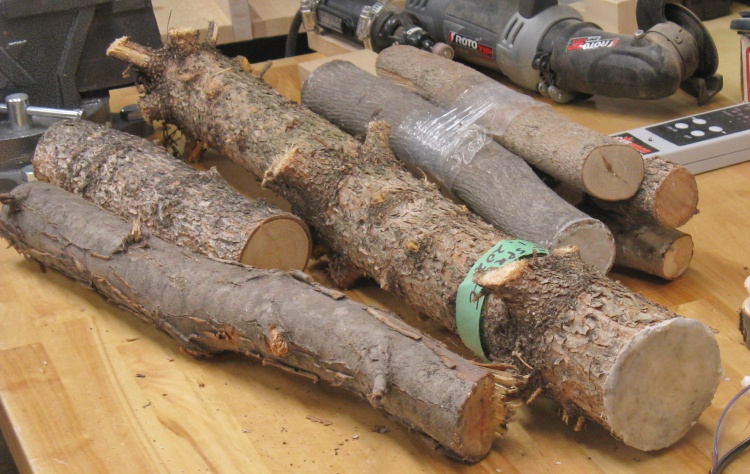
The pile of saved branches
This was the pile of branches that was the source of the Christmas tree wood.
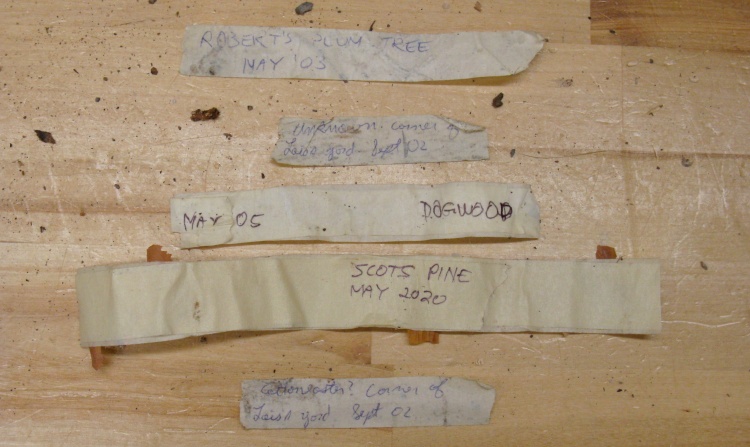
Some branch labels showing variety
The branches were generally labelled when they were saved and here is a selection of some of the labels, spanning over 20 years.

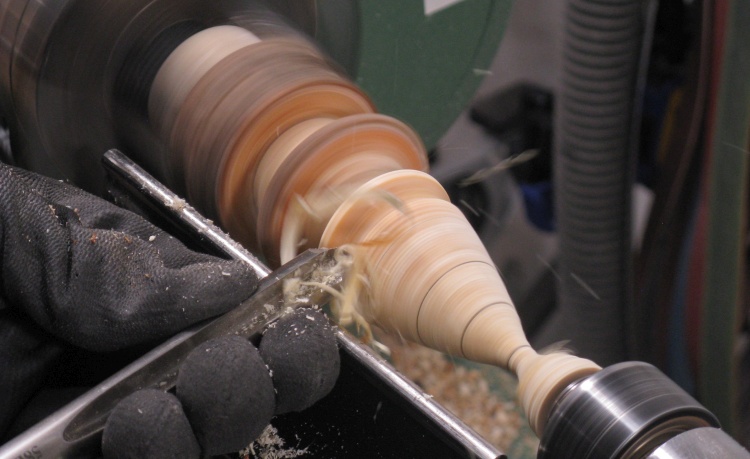
Turning a fresh Spruce branch
With the dearth of nice round branches in my stash I resorted to removing an inconspicuous branch from one of the Spruce trees in the back yard. I chopped off a piece and started turning that.
I'm always surprised how wet green wood is the few times I've turned it, but it sure cuts nicely. The photo shows a long even cut coming off the roughing gouge.
I'm always surprised how wet green wood is the few times I've turned it, but it sure cuts nicely. The photo shows a long even cut coming off the roughing gouge.
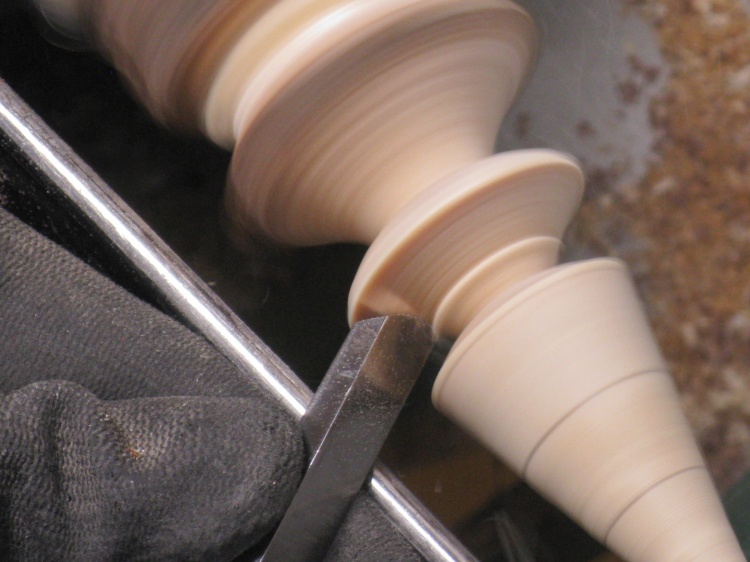
Shaping the "branches"
I continued the turning using my normal techniques. Here the deep bowl gouge is used to remove most of the wood between branches.
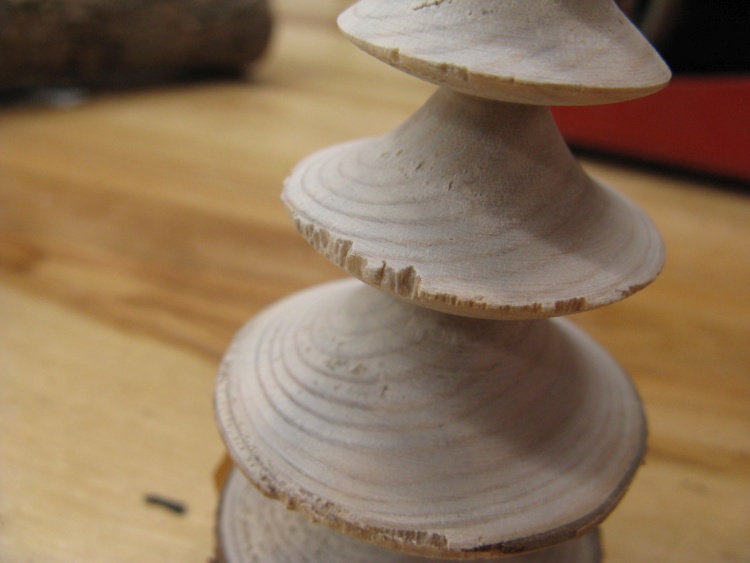
That one didn't work out too well
Unfortunately due to the greenness or some other characteristic of the branch, it didn't work out well. There were multiple chips on the branch edges and numerous tears in the cut surface.
Another one for the reject pile.
Another one for the reject pile.
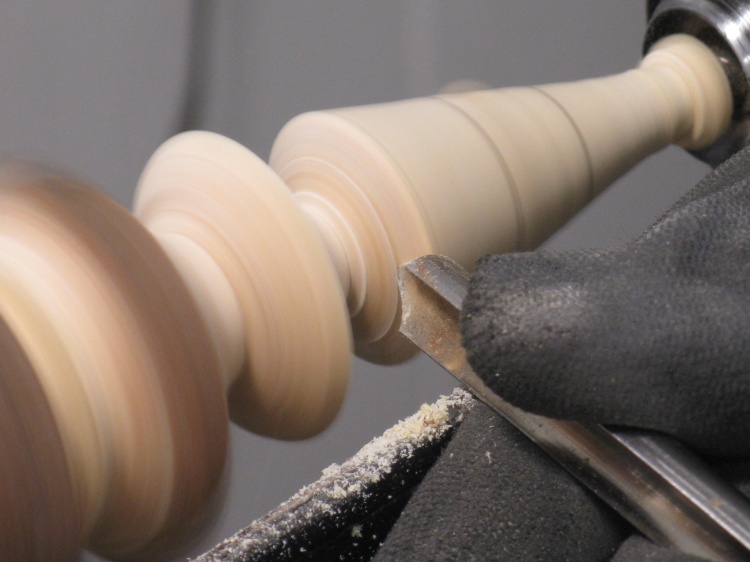
Using custom-shaped scraper
My technique evolved as I made more trees, somewhat complicated by the fact that every new branch reacted differently to the tools depending on grain type, moisture level, hardness, etc.
However I usually used the bowl gouge shown a couple photos above for clearing out between branches and this scimitar-shaped scraper for the inside corner.
Unfortunately both usually resulted in a surface with some tear-out evident. I needed different techniques to prevent or fix that.
However I usually used the bowl gouge shown a couple photos above for clearing out between branches and this scimitar-shaped scraper for the inside corner.
Unfortunately both usually resulted in a surface with some tear-out evident. I needed different techniques to prevent or fix that.

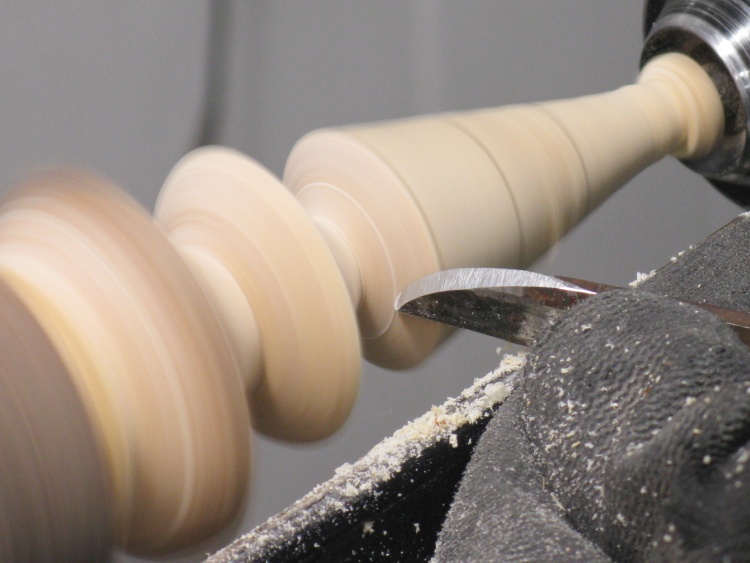
A small gouge sometimes works well
For some branches, using a gouge like this to cut the face resulted in a smooth surface, but not always.
A scraper used for shear scraping
If there was a rule book for wood-turning, I'd get a penalty for "Illegal use of tool" for holding a scraper on it's side like this.
While I haven't seen this specific technique used or recommended, it performs a shear scrape (a very low-angle scraping) and almost always resulted in a smooth surface free of tear-out. However it's a bit difficult to control on a tight curve like this one.
While I haven't seen this specific technique used or recommended, it performs a shear scrape (a very low-angle scraping) and almost always resulted in a smooth surface free of tear-out. However it's a bit difficult to control on a tight curve like this one.
Fingernail gouge for end work
The convex curve of the branch undersides could be cut with the fingernail gouge which reliably gave a good surface.
Mis-using the scraper for end work
The surfaces of those convex curves could also be smoothed by mis-using the scimitar-shaped scraper like this, at the risk of drawing another penalty.
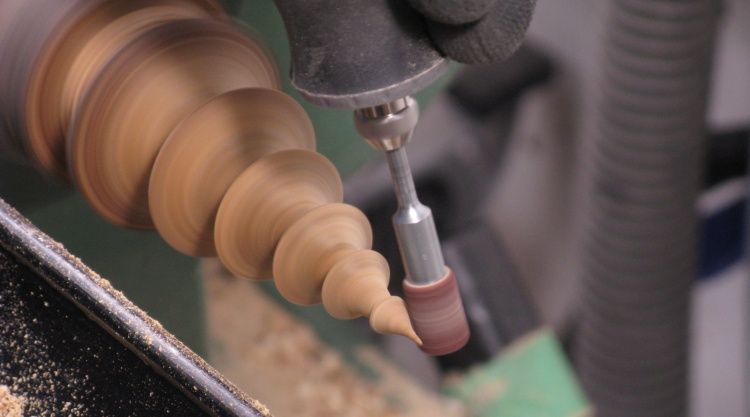
Pointing the very top with a sander
The tip was too small and too weak to use conventional turning tools so I usually resorted to sanding the final bit into shape.

The above random selection of photos is hardly a tree-turning tutorial so here I've edited the 35-minute process down to a bit under 5 minutes by running at 5-times speed, changing it from boring to an engagingly frantic operation.
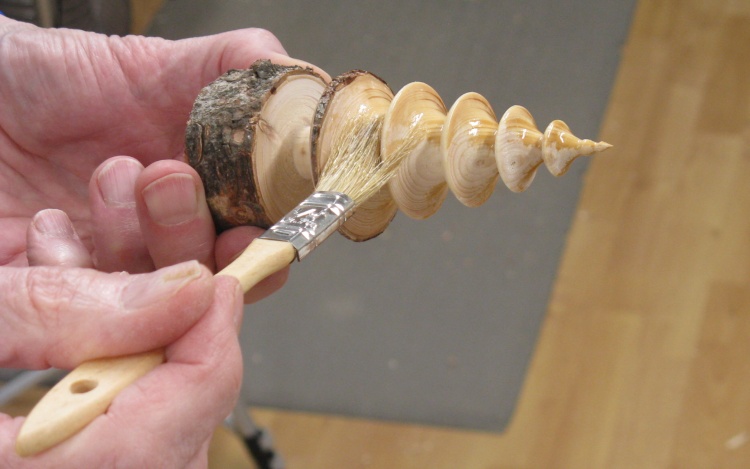
Adding the finish
The initial set of three trees was finished with Osmo hard-wax oil which was quite an easy finish to use. I added three coats with a day or so of drying in between.
The first set of 3 with finish on
I avoided finish on the bark parts since it makes them look a bit unnatural. Here the three trees are drying after the first coat.
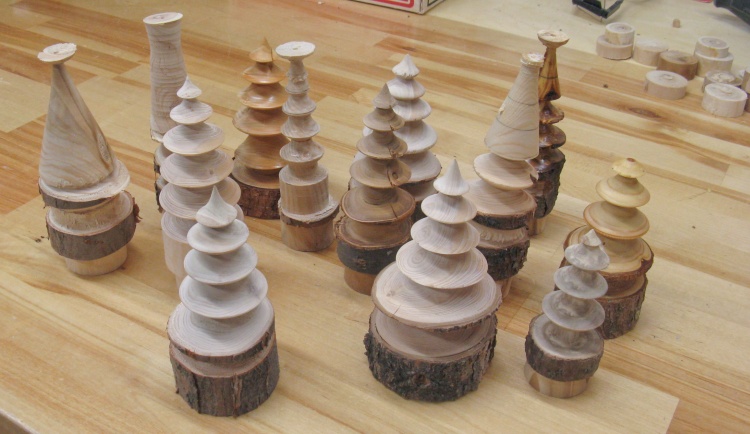
The expanded selection before finishing
After the first set of three successful trees I made another five sets, shown here before finishing.
The Forest of Rejected Trees
Various problems and errors (very few of the latter, of course) resulted in some attempts joining the ranks of the Forest of Rejected Trees.
I managed to salvage two or three failed attempts with some rework/repair to knock the number down to what is seen here, but most were there to stay.
I managed to salvage two or three failed attempts with some rework/repair to knock the number down to what is seen here, but most were there to stay.
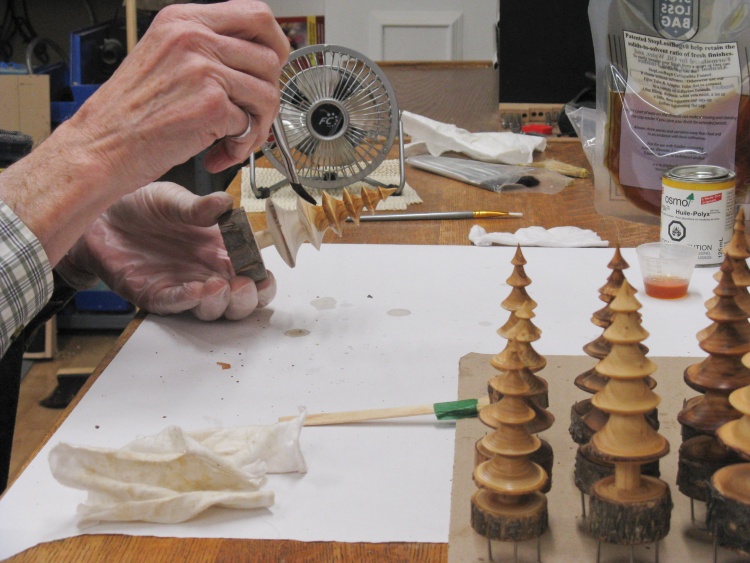
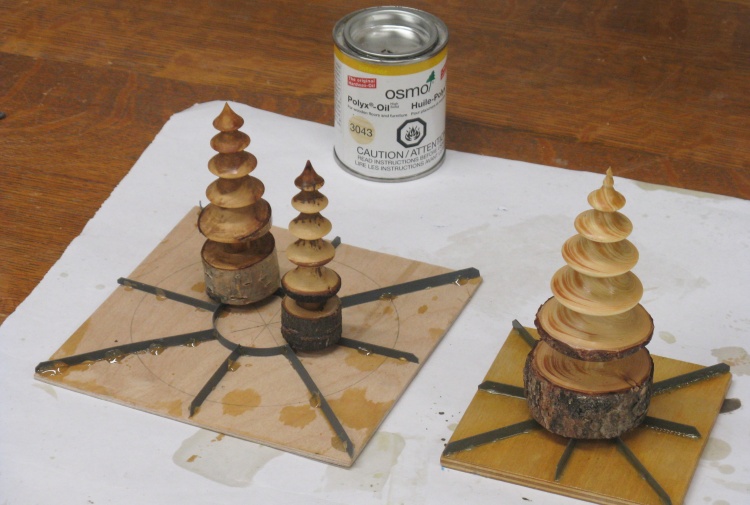
Finishing the second batch
The Osmo finish used on the first set was a bit shinier than I wanted so I did some tests to evaluate other finishes.
Based on those tests I ended up using Danish Oil on the rest and in this shot the first of two coats is being applied to one of the expanded cohort.
Based on those tests I ended up using Danish Oil on the rest and in this shot the first of two coats is being applied to one of the expanded cohort.
The screw-on top on my tin of Danish Oil tended to get glued on and I'd often have to use gas pliers to get it off. Over the years it got mangled enough from the pliers that it wouldn't properly screw on any more and the inside seal had been replaced a couple times already. As close as I can determine, I've had this one can of Danish Oil for over 25 years so I thought I should maybe just buy a replacement. Of course I tried to find the same thing as a replacement but some on-line searching revealed that this Deft brand is superior to what can be bought these days but is no longer sold due to VOC restrictions. Well, it's pretty smelly but that's what they make exhaust fans for. Rather than switch to an inferior finish I decanted the remaining finish into a "Stop-Loss" bag, made to save finishes. That's the plastic bag in the background of the above shot. If the finish lasts another 25 years it'll probably outlast me.
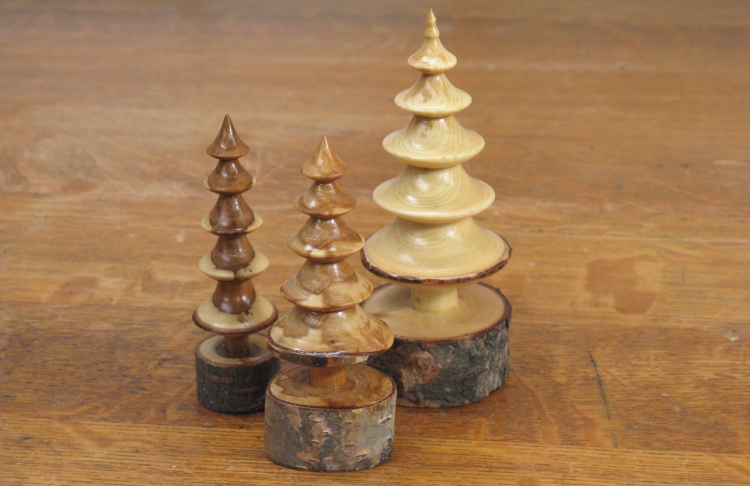
The first set done
This shows the first set of three trees, completed.
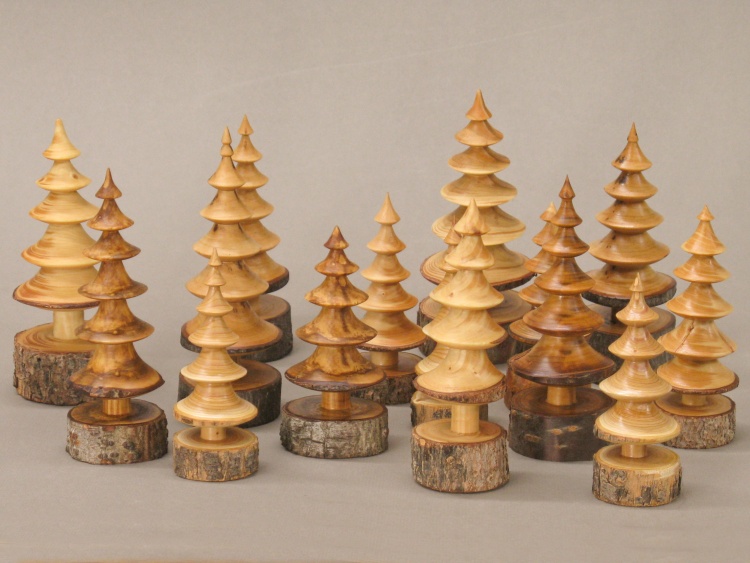
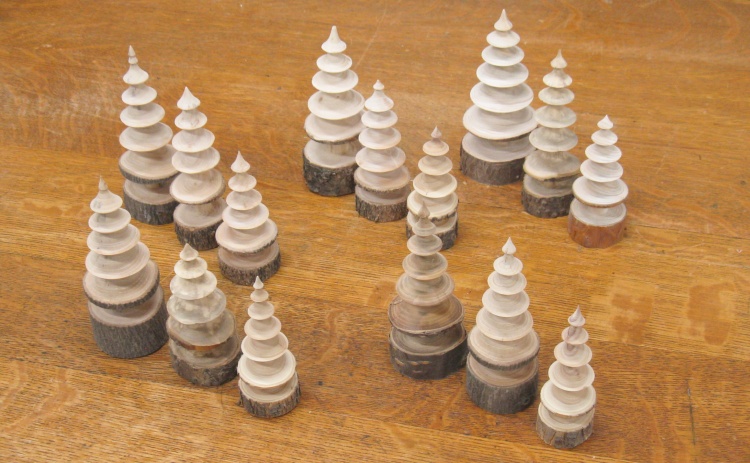
The rest of the trees done
And here is the second batch of trees (with the less-shiny finish). There are 15 trees in this group, enough for 5 little 3-tree sets.


