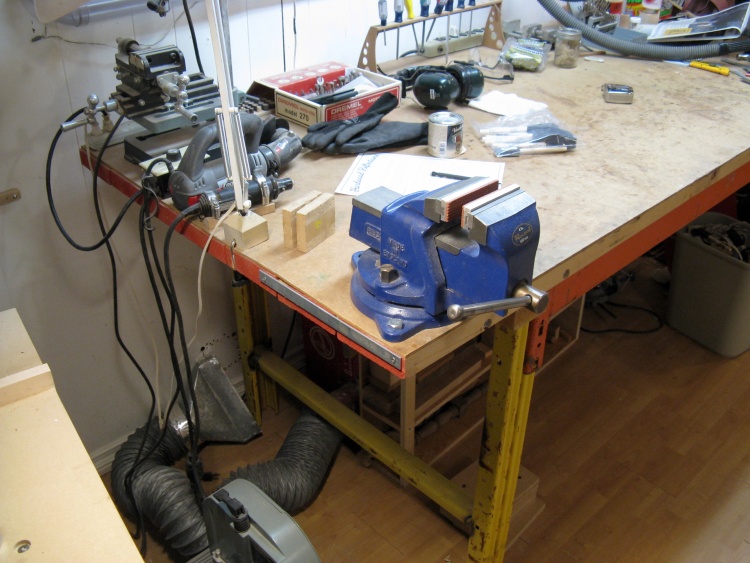
In the basement shop is a large workbench which is used for pretty much everything including woodworking, plus a smaller solid oak table primarily for woodworking. I'd like to have an "official" woodworking bench with the proper vises, dog holes, etc., but I couldn't give up my big bench since it is too darned handy, and the size and height of my table has been pretty useful too. Since those are "keepers" and I don't have anything like enough room for a third bench, I decided just to replace the aging top on my main bench to be more woodworking-y. The current top has worked well for 30 years, but the surface is flaking off and isn't particularly flat, so it seemed like a reasonable candidate for replacement with something nicer.

OMG! - No plan!
The edge of the old bench
In this photo you can see the edge of the old benchtop, showing the red ends of the 2x6s with the hardboard on top. A few 2x4s on the bottom with a bevy of screws kept it all together. The surface of the top wasn't particularly flat or straight so there was definitely room for improvement.
The finely-crafted metal structure is visible below, complete with paint-burned areas from the crude welds holding it together.
The finely-crafted metal structure is visible below, complete with paint-burned areas from the crude welds holding it together.

Excavating for the new top
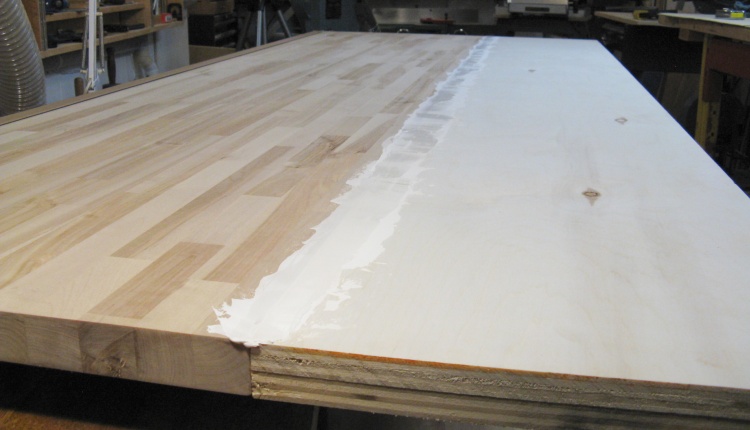
I ordered a section of laminated birch countertop for the front section of the top. It was 1-1/2" thick and a bit longer than I needed but only 24" deep. When that came in, we went to pick it up. After loading it into the vehicle, I thought we'd better check to ensure that what was in the packaging was what we actually ordered (yes, we had dealt with Home Depot before).
However it was so well packed that it took several minutes to tear off the double-thick cardboard, get through the corner press-board material, then the plastic, and finally some wooden edge protection. I had a jacknife, but I was being careful not to score the wood inside. When we finally got in I was relieved to see that it looked just like it should.
However it was so well packed that it took several minutes to tear off the double-thick cardboard, get through the corner press-board material, then the plastic, and finally some wooden edge protection. I had a jacknife, but I was being careful not to score the wood inside. When we finally got in I was relieved to see that it looked just like it should.
Laminating plywood for rear half
For the back part of the new top I wanted some tougher plywood so that the hardness would be closer to the laminated section. Home Depot had some 3/4" plywood made of Aspen which I hadn't seen before but sounded like a good Saskatchewan product (though I suspect it comes from elsewhere).
I bought a sheet of that and had them do a cut the long way so it would fit in the vehicle. Here I've cut a second piece of the same size and glued them together to form the rear portion of the bench top.
I bought a sheet of that and had them do a cut the long way so it would fit in the vehicle. Here I've cut a second piece of the same size and glued them together to form the rear portion of the bench top.
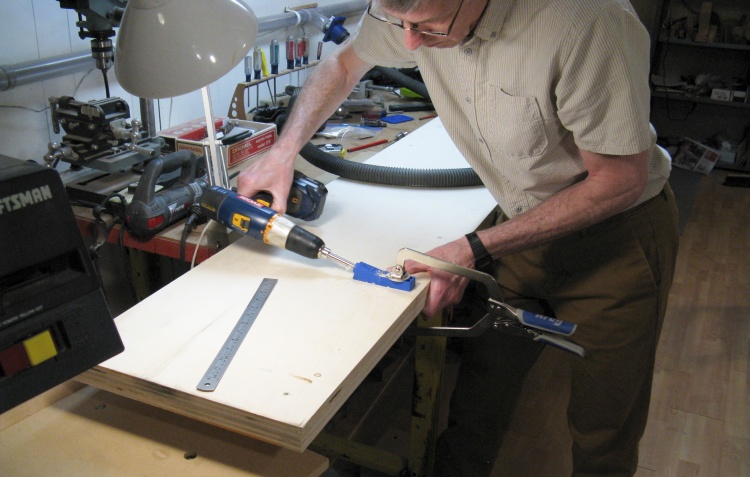
Drilling pocket holes
The plan was to glue and screw the plywood portion to the laminated portion. Here I'm using the blue jig to drill pocket holes in the plywood so I can drive screws in at an angle.
By the way, the aspen plywood wasn't very nice to work with; it was very prone to slivers and pieces breaking off the edge. I also later noticed with a small piece that the glue between the layers had voids, so this isn't something I'd be too enthusiastic in using again. Fortunately it worked fine for the bench top.
By the way, the aspen plywood wasn't very nice to work with; it was very prone to slivers and pieces breaking off the edge. I also later noticed with a small piece that the glue between the layers had voids, so this isn't something I'd be too enthusiastic in using again. Fortunately it worked fine for the bench top.
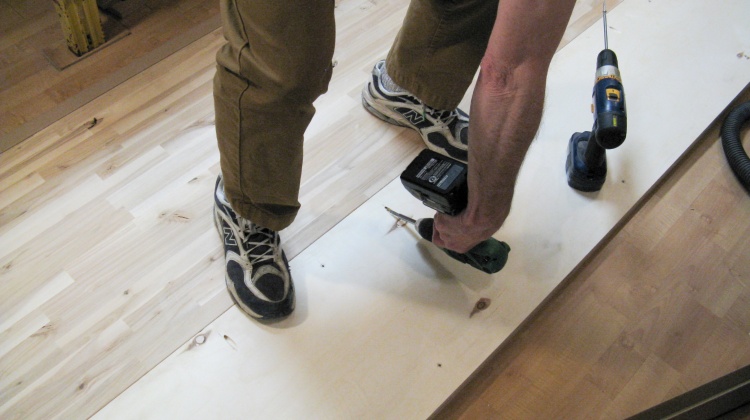
First attempt to attach top pieces
My first attempt to attach the pieces involved me standing on the joint as I inserted the screws. My reasoning was that the top side of the two pieces would be flush since I was standing on them, pushing them into the floor.
Yah, that didn't work. The angled screws pulled the pieces out of alignment with more force than my puny 165 pounds generated.
Yah, that didn't work. The angled screws pulled the pieces out of alignment with more force than my puny 165 pounds generated.

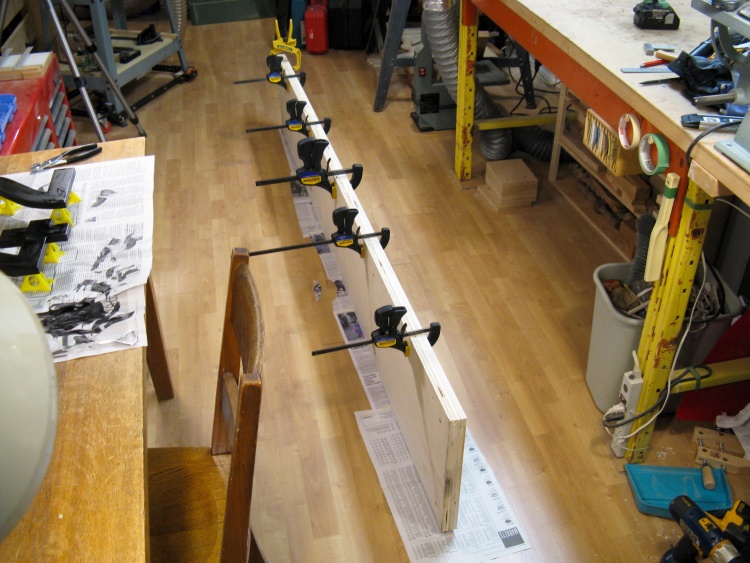
Big clampy thing to align top pieces
So then I redrilled the pocket holes, making sure there was some slop fine adjustability in the holes. And then I kludged together this big offset clamp thing that allowed me to force the pieces into alignment (against some residual warp) near each screw before tightening the screw down. This rather involved process seemed to work fine, fortunately.
Inter-piece joint filled
I used drywall mud to fill the dip between the two sections of the top. This photo shows it applied rather generously since I didn't want to do numerous coats.
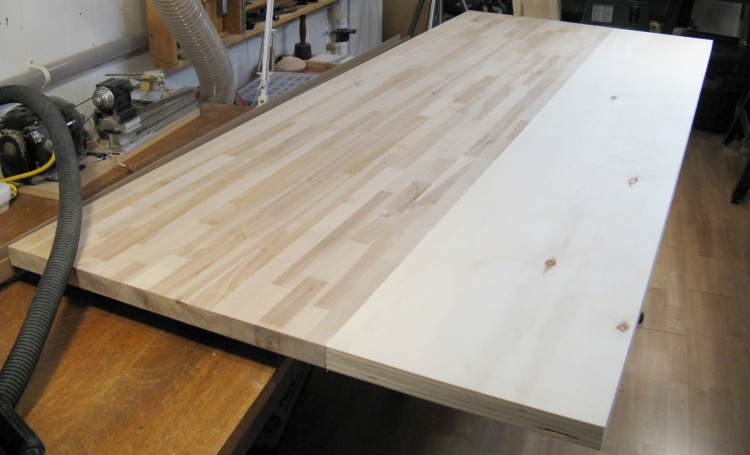
The joined top after cleaning up filler
It looked a bit better with the excess filler sanded off.
I had left the plywood a bit long and then cut it flush with the laminated-top edge before this photo so it also looks a bit cleaner here.
I had left the plywood a bit long and then cut it flush with the laminated-top edge before this photo so it also looks a bit cleaner here.

Adding a coat of varnish
I added a rear lip to keep things from sliding off the back of the bench, and then the whole bench was varnished with four coats of polyurethane; top, edges and bottom.
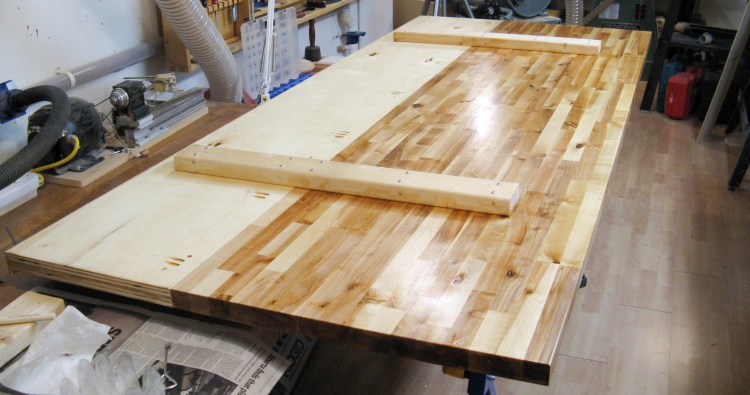
Bottom side stiffeners
Once the varnish was dry the two pieces forming the top were tied together with a couple 2x4s on the bottom. These added some rigidity and also determined where the top sat between the front and rear metal frame rails of the bench base.
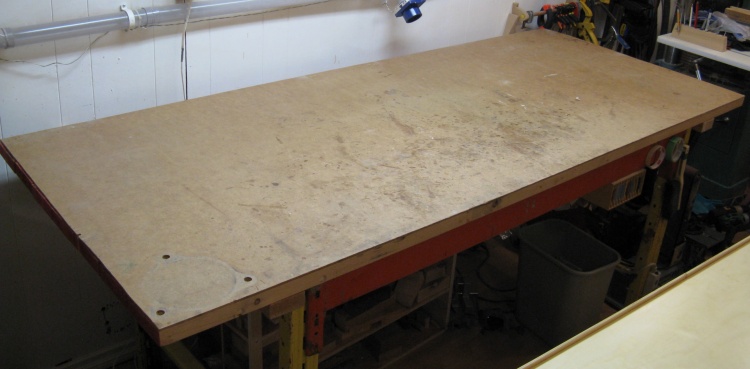
The old bench top, laid bare
This is the old bench after cleaning everything off and unmounting any attached items (like the vise).
I disassembled it for easier handling (since it was maybe 60 pounds) and was able to get rid of it on Kijiji.
I disassembled it for easier handling (since it was maybe 60 pounds) and was able to get rid of it on Kijiji.
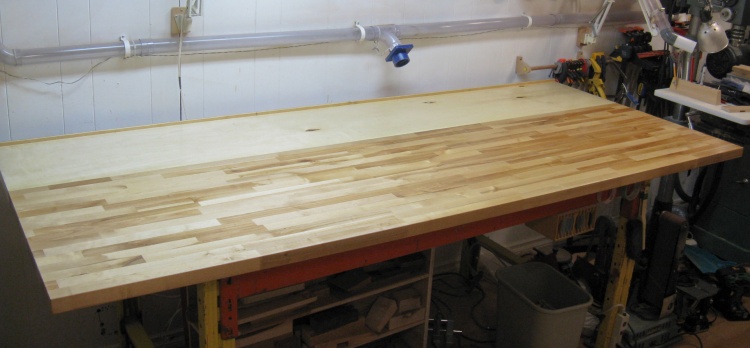
The new top in place
And here's the equivalent shot with the new bench top in place.
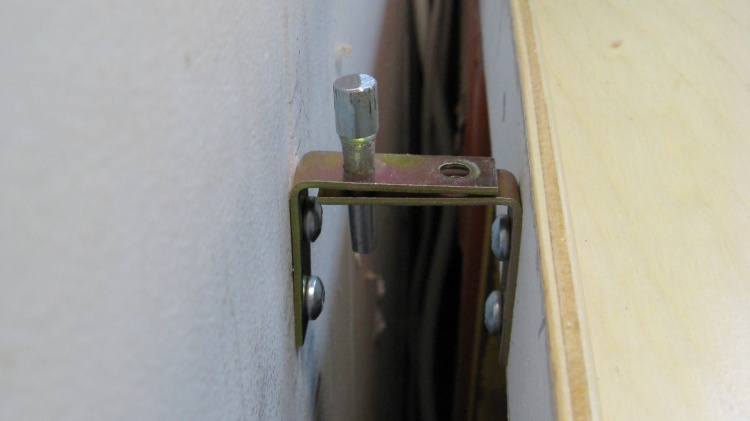
Wall attachments
To reduce the wobbling of the bench when I'm doing something like sawing or planing, I attached it to the wall in two places with a couple L-brackets and a pin fashioned from a bolt.
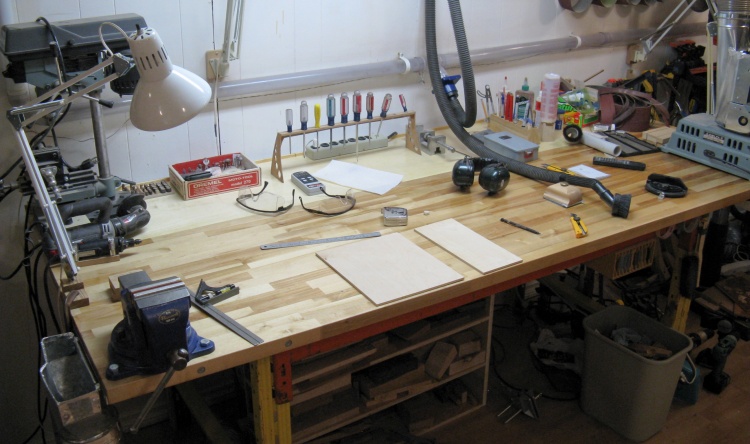
New bench top, now repopulated
I remounted the vise and a couple duct attachment points, loaded it up with all the normal junk and declared it done.


