This cabinet was the answer to the question: "How do we get more space for gloves and other warm wear?". Or to be more precise, it was an answer since it provides only limited additional space and Further Measures Will Be Needed. It does have the advantage of not requiring any real estate or volume from regular living space since it takes up an otherwise unused space. Other pluses are that it is lower than the closet shelf for better access while also being in the same convenient location.
Now a cabinet permanently hidden behind a door need not be too fancy so construction was pretty simple. It would in fact have worked perfectly well without solid-wood facing or a curved inner-side profile but those are my own indulgences and I like to think that they nudge it a tiny way off the "utilitarian" end of the design scale.
Now a cabinet permanently hidden behind a door need not be too fancy so construction was pretty simple. It would in fact have worked perfectly well without solid-wood facing or a curved inner-side profile but those are my own indulgences and I like to think that they nudge it a tiny way off the "utilitarian" end of the design scale.
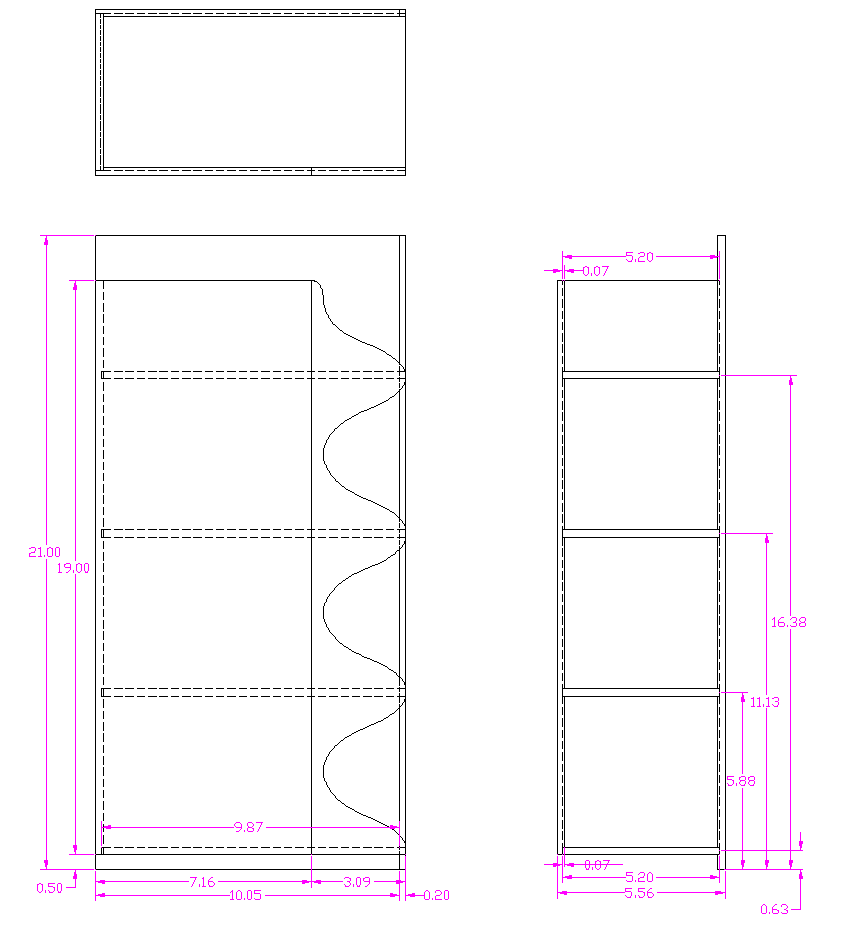
The overall plan
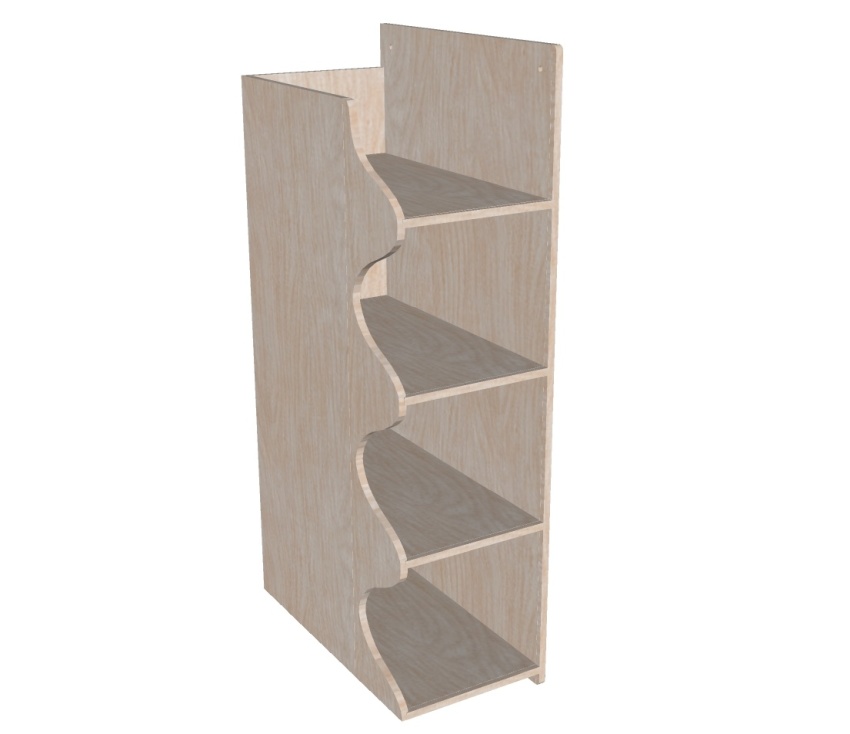
Rendered in digital wood
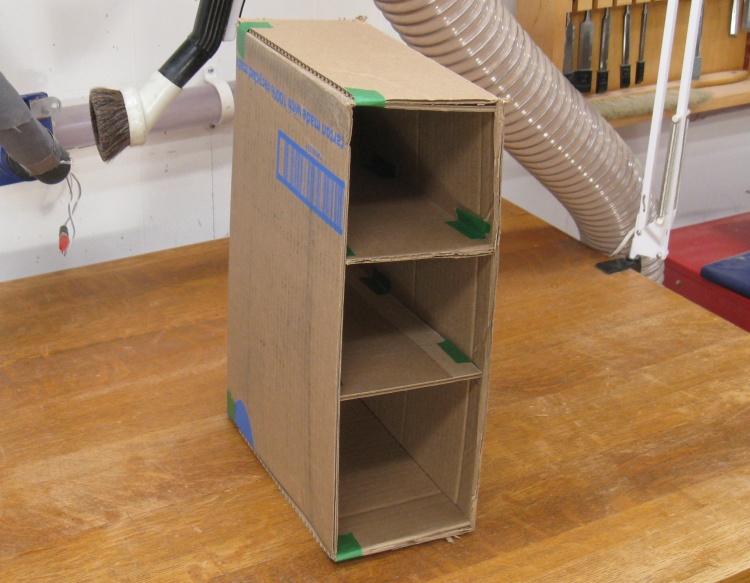
A finely-crafted prototype
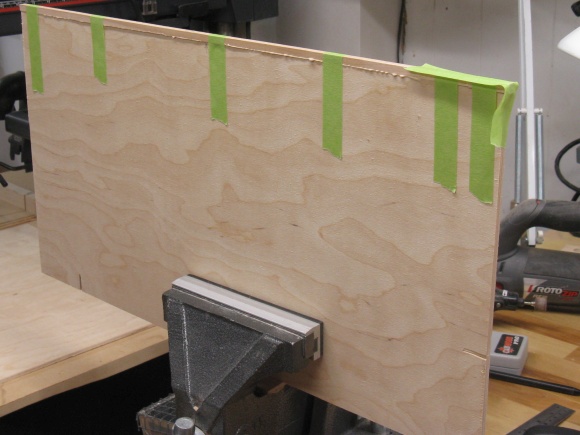
I thought it would be prudent to check how the cabinet shape would fit into the proposed space so I whipped up a cardboard version of the correct size without too much concern for quality or indeed, accurate angles.
A check on the inside of the door showed that it should fit in just fine so then it was on to the real thing.
A check on the inside of the door showed that it should fit in just fine so then it was on to the real thing.
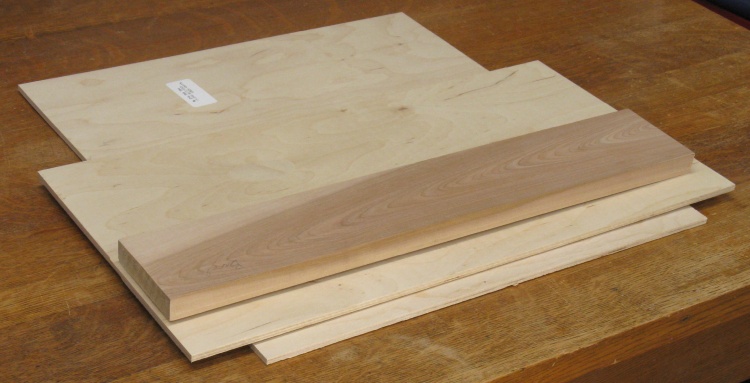
A big enough pile of wood for the cabinet
I had enough scraps of 1/4" Baltic Birch plywood from previous projects and also some leftover Birch lying around so I selected some suitable pieces for a short pile.
Chopping up the solid piece for edge trim
The solid Birch would be used to face the front edges of the cabinet to hide the plys. I started by cutting my piece to just a bit thicker than 1/4".
Thin strips of the Birch were glued to the right side and a couple pieces out of which the shelves would be cut. The left side needed a much thicker piece since that one will be contoured.
Gluing on the narrow edge trim to the right side
...and the wide stuff to the left side
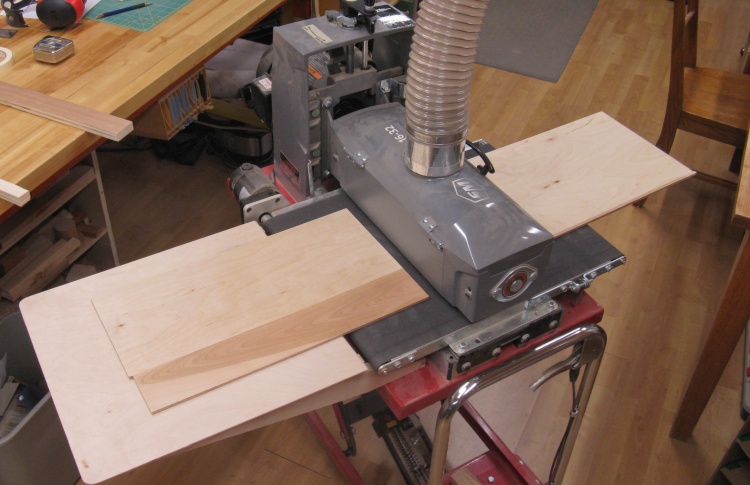
Using the sander to make trim flush
It wasn't practical to make the trim perfectly match the thickness and perfectly align with the plywood so I made it a bit oversized and made sure it overhung the plywood on both sides.
Then I used the drum sander to thin down the trim wood to be flush with the plywood.
Then I used the drum sander to thin down the trim wood to be flush with the plywood.
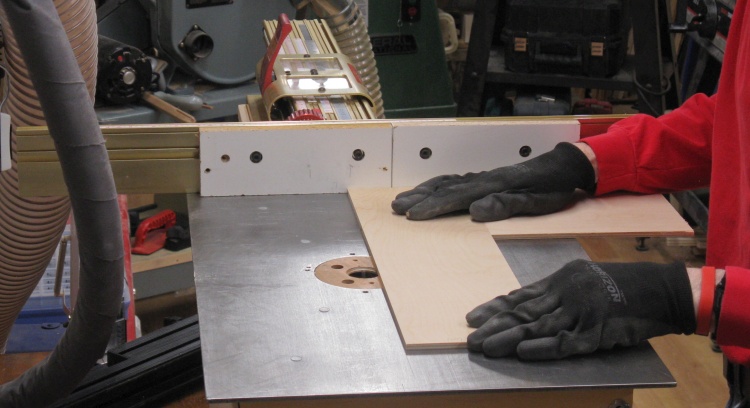
The four shelves needed to be cut from a larger trim-equipped piece. In these shots a shelf is being cut to the proper 5.2" width and then the trim is smoothed off.
Cutting a piece into shelves

Smoothing off the edge trim
Routing dados
The last major operation was to route the slots (AKA dados) into the inside faces of the sides and back. Since the slots needed to match the plywood width at around 0.220", I used a 3/16" bit and took two cuts offset by a bit. The dado depth was only 0.07".
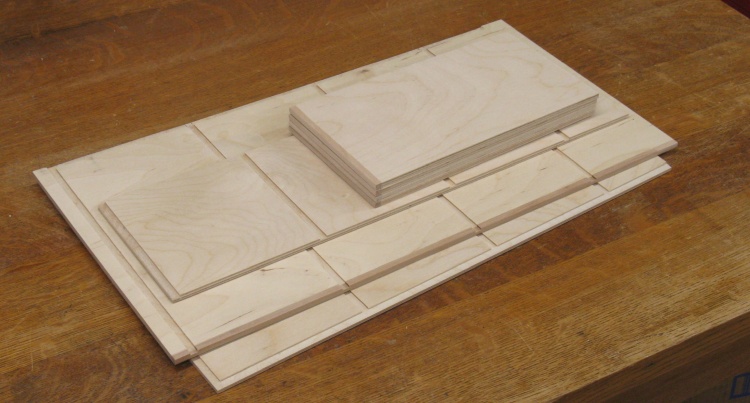
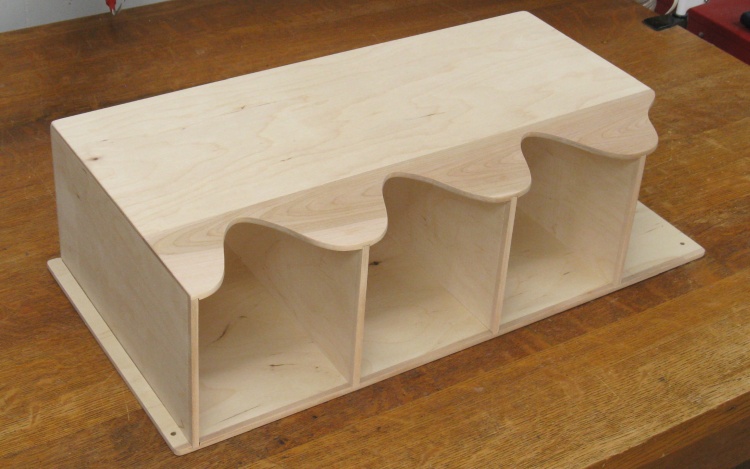
All the pieces, almost ready to go
This new pile is comprised of all the properly-prepared pieces for the cabinet.
The one exception is the left-side wall (mostly hidden on the bottom here) which still needs its contour cut.
The one exception is the left-side wall (mostly hidden on the bottom here) which still needs its contour cut.
~Aside~
I won't get into the logic of banning plastic shopping bags for the 0.5% of the world's population who live in Canada but it means we are currently stuck with the alternatives like reusable bags. Now there are lots of problems with reusable shopping bags but the worst ones may be human-related. I've managed to bypass some of the minor problems by finding some nice compact bags that are easy to put in a pocket and that hold a decent amount and are easy enough to stuff into the little storage sack (5 seconds flat. Thank you).
We've got several of these in my car and that's where the problems start. First you need to remember to take one into the store with you - and I'm averaging a decent 70% on that aspect. Then you need to remember to use it in the store which is usually not a problem. But if the bag doesn't get used then it needs to come out of the pocket back into the car, which seldom happens. It is usually discovered in the house when the jacket comes off at which point it goes wherever you put things you want to take back out to the car. If you did use it then when you bring it into the house and empty it out and it goes wherever you put things you want to take back out to the car. Unfortunately that last leg of the return journey usually takes two or three trips to the car before it is remembered. Then when you return it is sitting there as if taunting you for your lousy memory. Curse You Trudeau!
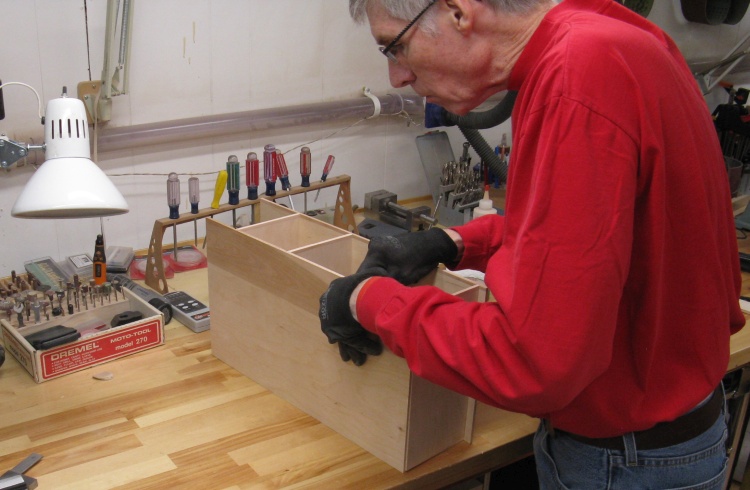
Assembling the cabinet dry to check the fit
Before finishing up I thought I'd do a test fit and make sure everything was going to go together properly. It all looked good so it was on to the shaping.
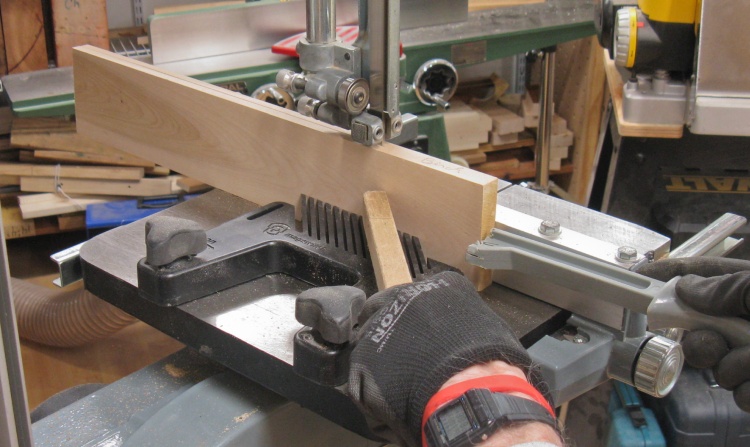
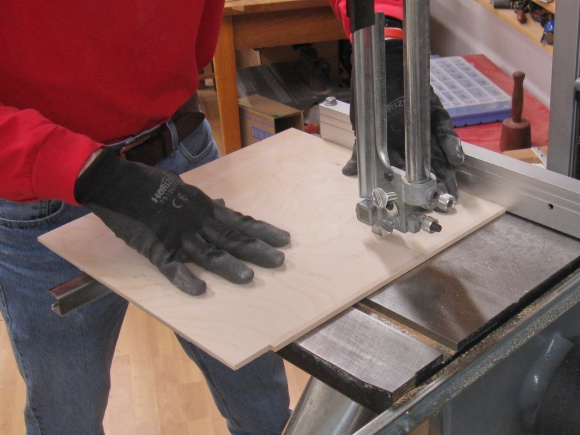
The left side of the cabinet was to be contoured so I traced on the shape and then cut close to the line using a band saw with a narrow blade.
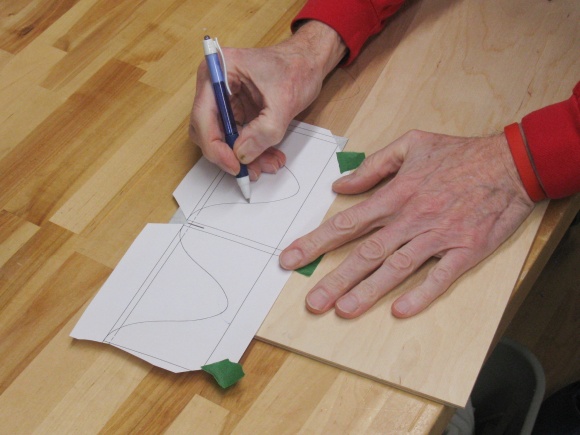
Marking on the curved profile
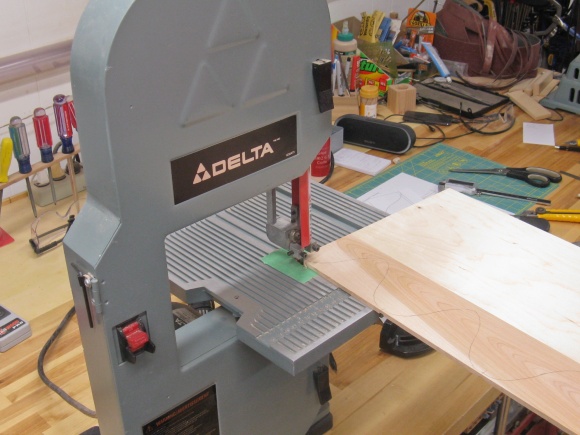
Cutting the profile on the 8" band saw

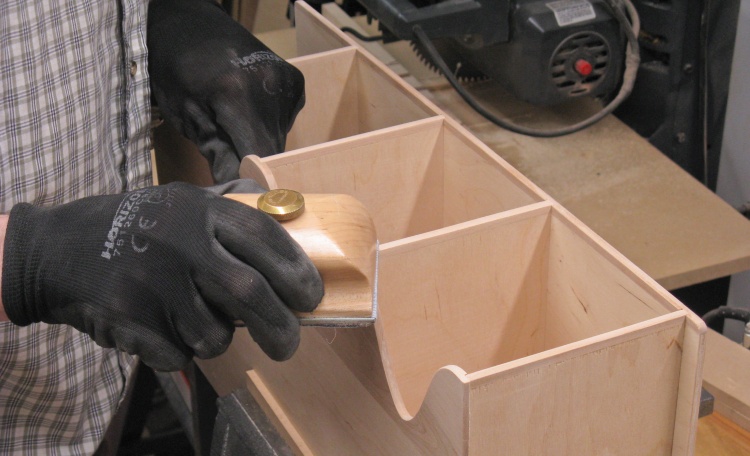
Smoothing off the curves
Then it was just a matter of smoothing off the curves, starting with the spindle sander and finishing up with hand sanding. All the edges with trim were rounded slightly for a smoother look.
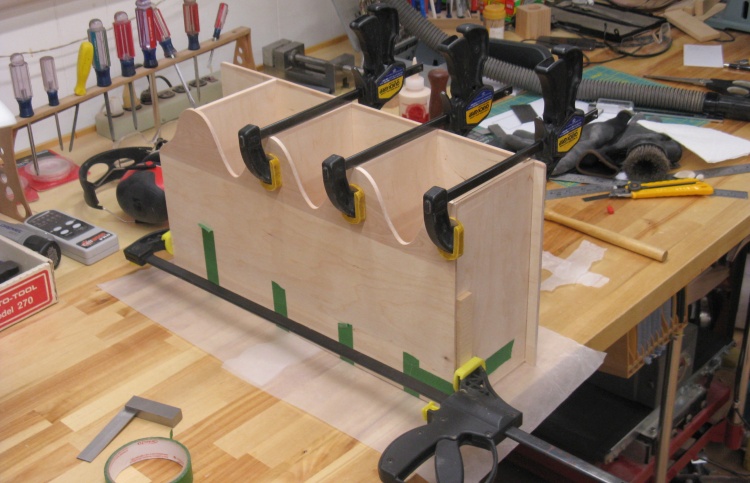
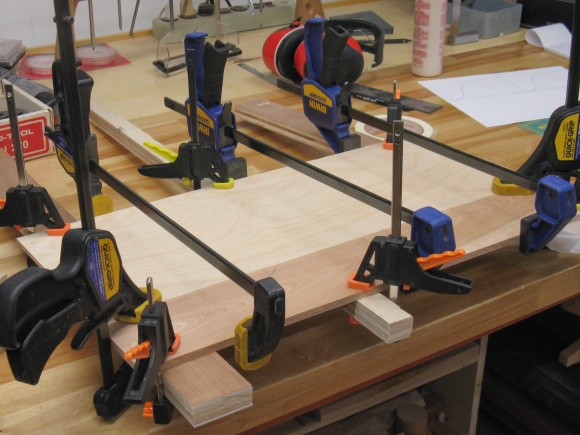
Gluing the whole thing together
Then it was time to glue it together. Due to the large number of joints I did it in two stages, first gluing everything but the right side as shown in this photo. When that was dry I glued on the right side.
Evening up the joints
Despite my precision machining of the wood, somehow the joints between the shelves and sides were not all exactly the same level. Yet another Mystery Of The Universe. So I sanded any offenders into compliance.
Woodworking done
The last task was to drill some holes in the right-side wall for mounting and that completed the woodworking.
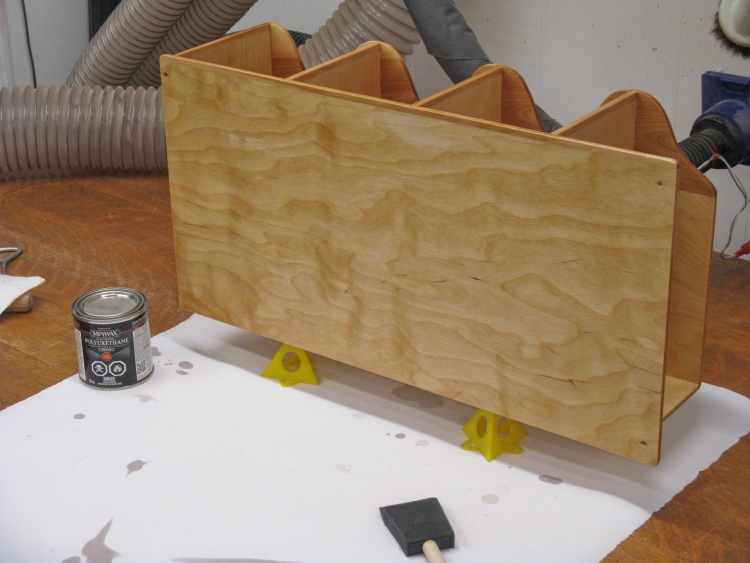
First coat of varnish on
For the finish I employed my usual Minwax Fast-Dry Poly and used three coats. This shot shows the cabinet with the first coat applied.
As is usual with a polyurethane finish, the surface need to be roughened up between coats. For flat surfaces that can be done with 220 grit sandpaper while corners and edges are handled using #0000 steel wool. A thorough vacuuming and then a wipe with a tack cloth removes the sanding dust and readies the surface for the next coat.
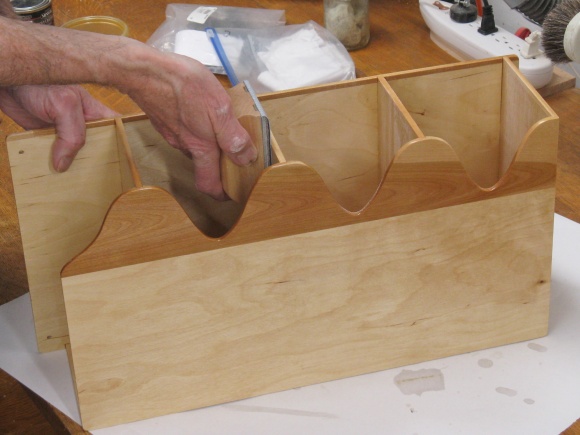
The sandpaper part
...and the steel wool (on a stick) part
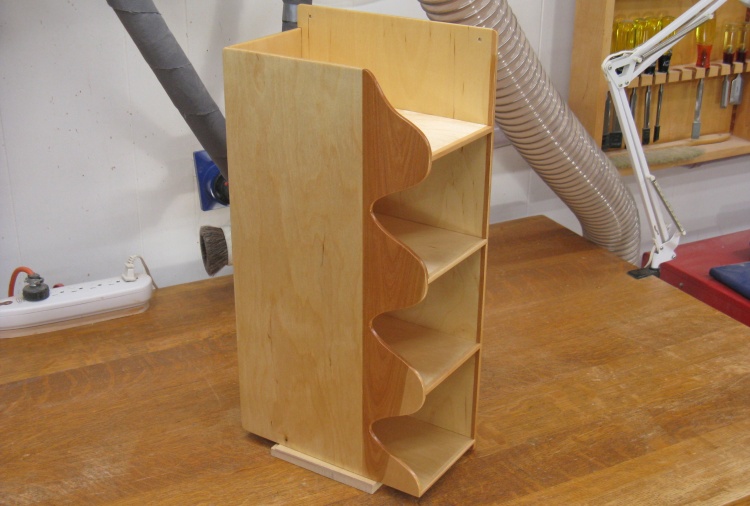
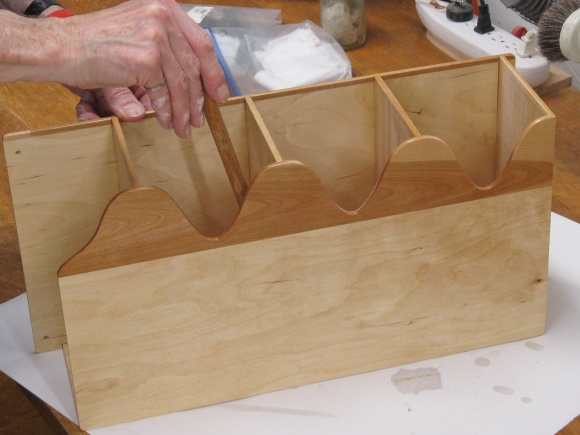
Done
Completed.


