There is a sort of standard cheap/simple air filter that involves a commercial fan and as many filters as feasible to minimize airflow resistance. I had bought plans to build one (primarily to find out what exact components were used) and it was the default configuration (a "Corsi-Rosenthal Box") which is a big cube. The problem is that a decent-sized cube is pretty tough to fit into an already-too-full shop. After rejecting every possible location, I finally managed to "think out of the box" and realized it didn't need to be a volume-consuming cube. Instead I came up with a tall stand-at-the-wall design that I was able to find a place for.
I ended up using a smaller fan than what was called for in the purchased plans, primarily since it was quieter and included a remote control. I did make the enclosure large enough so that I could change from that 16" fan to a larger 20" model if the airflow turned out to be insufficient.
As for filters, there's a whole spectrum of ratings for MERV filters which (to explain nothing at all) stands for Minimum Efficiency Reporting Values. Yah - thanks for clearing that up. However the rating represents the filter's ability to capture particles between 0.3 and 10 microns. You can get ratings from 1 through 20 with higher ratings catching higher percentages of smaller particles but of course having more resistance to airflow. Fine sawdust is in the size range of 1 to 10 micron diameter and the MERV 13 filters are rated for removal of 85 - 90% of particles in that size range. Obviously you can go up or down in filter rating but I thought I'd start with a 13 which is still relatively easy to get (Home Depot!) and see how effective that was.
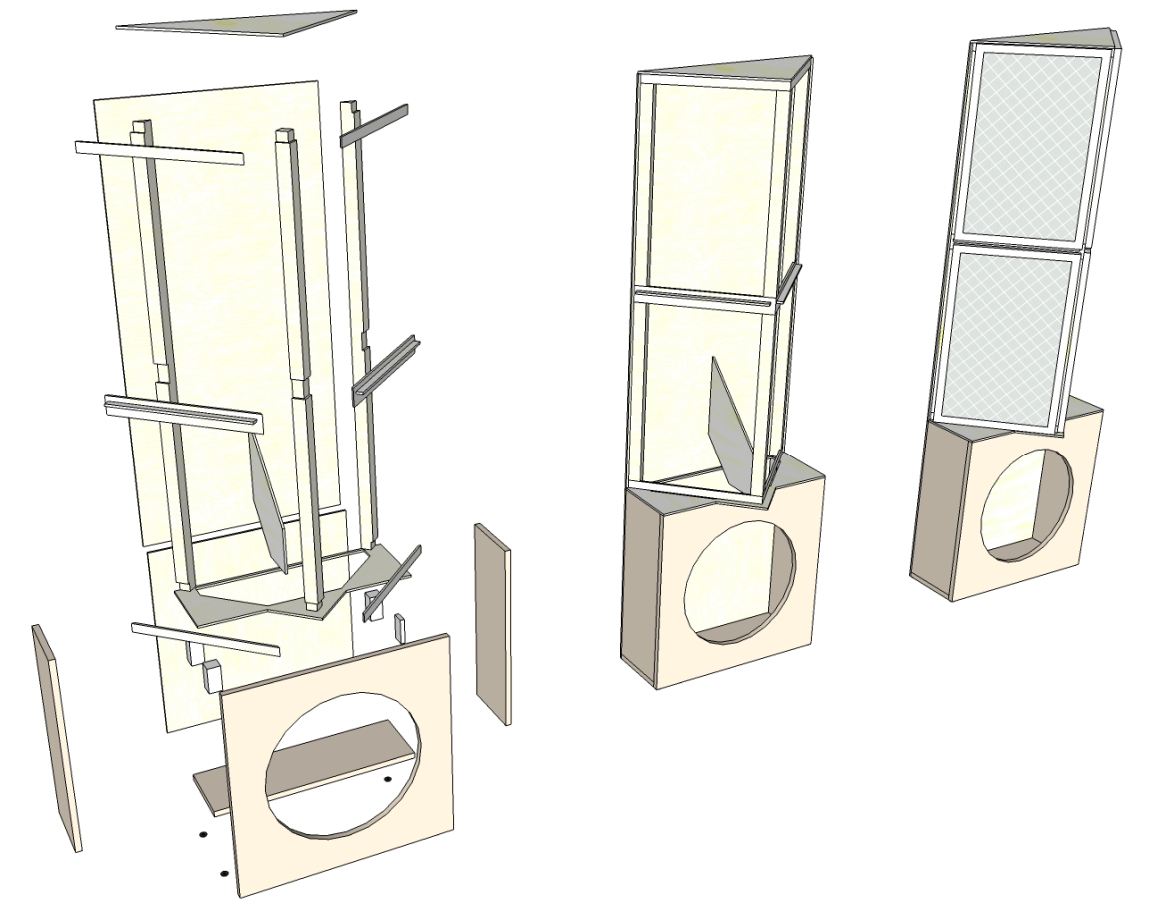
The plan, minus the way-too-hard-to-draw fan.
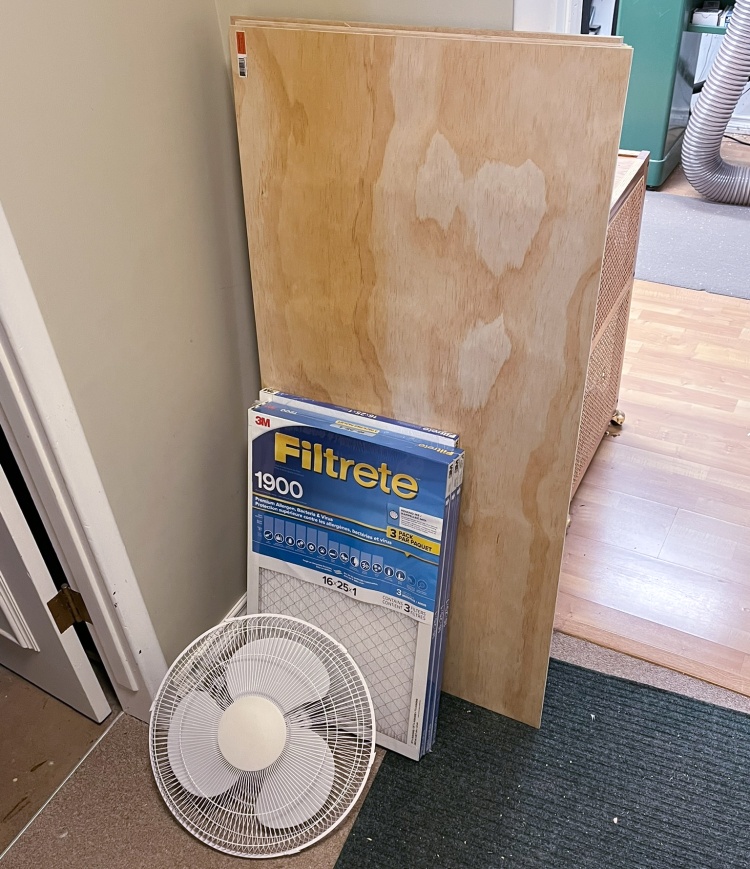
An air filter kit -just needs assembly
I had ordered the 16" wall fan in this photo as well as a 20" metal fan but the latter seemed like overkill and was noticeably noisier so that one went back.
The rest of the supplies were pretty simple - some MDF, a few sheets of 1/4" plywood and some lumber for the frame (missing from this shot).
The rest of the supplies were pretty simple - some MDF, a few sheets of 1/4" plywood and some lumber for the frame (missing from this shot).
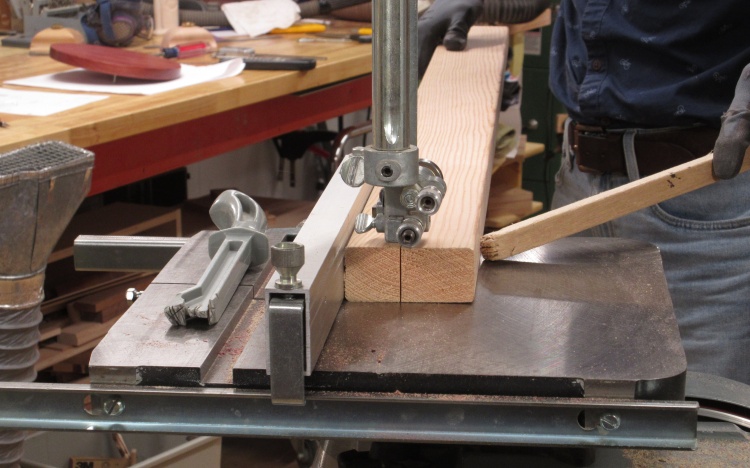
Chopping up some fir for the filter frame
For some reason I decided I would use Fir for the frame (Strong! Lightweight! Way more expensive than regular lumber!) and in this shot I'm cutting one of the rails to make the filter-holding frame.
I had considered making the frame out of 1/4" plywood but due to inconvenient dimensions, it would have taken a couple 4' x 8' sheets to get enough pieces of the correct size so I opted for the assembled-frame approach.
I had considered making the frame out of 1/4" plywood but due to inconvenient dimensions, it would have taken a couple 4' x 8' sheets to get enough pieces of the correct size so I opted for the assembled-frame approach.
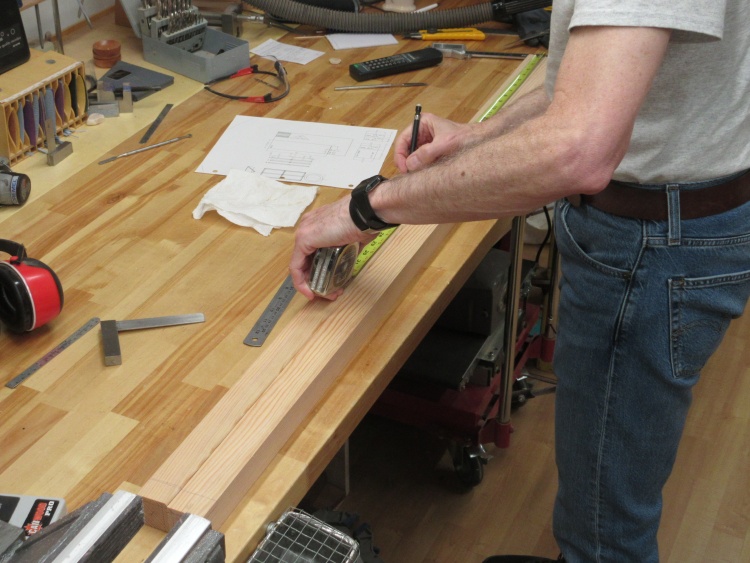
Marking dados for horizontal supports
The rails will need dados into which I'll embed horizontal cross pieces so they are flush and here I'm marking the locations.
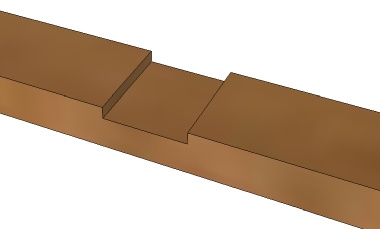
Like that
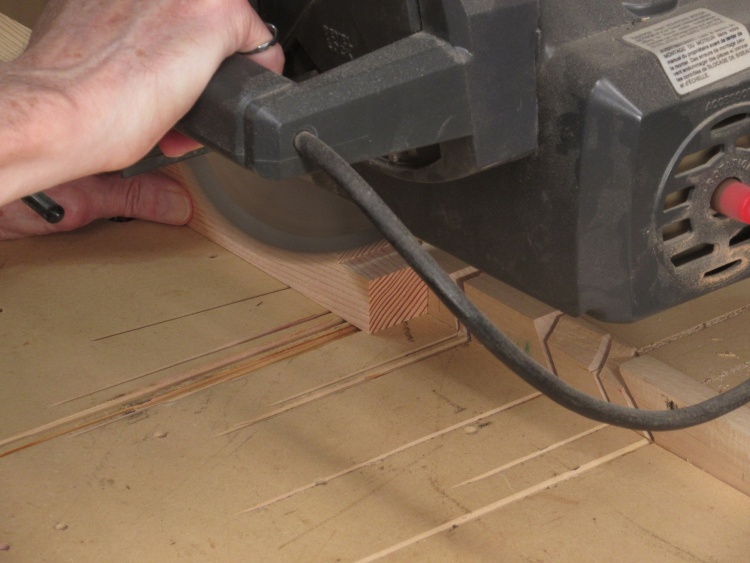
Cutting dados
The dados will just have plywood glued into them so they don't need to have nice smooth bottoms and I could form them with repeated cuts of the radial arm saw.
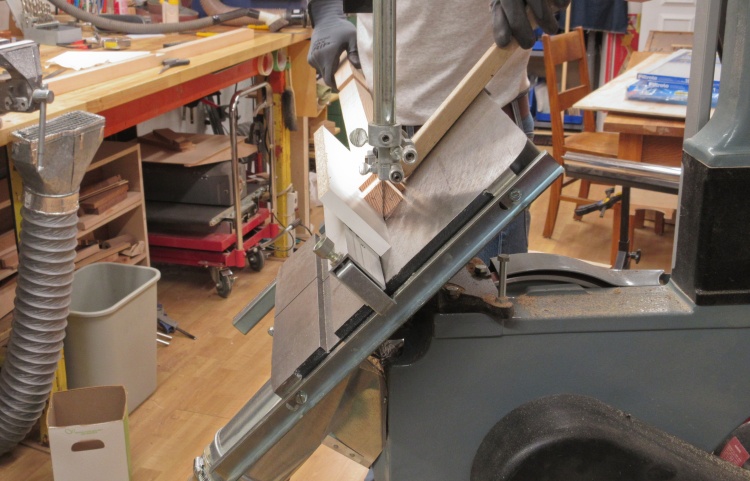
Making a square rail into two triangular rails
The frame needed one square rail and two triangular rails so I made two square-cross-section rails and cut one of them at a 45° angle to produce the two triangular versions.
I decided to make the base out of 3/4" MDF to make sure it was heavy enough to resist fan vibration and provide stability to the tall structure. It's a simple rectangular box with a hole in the front for the fan to mount.
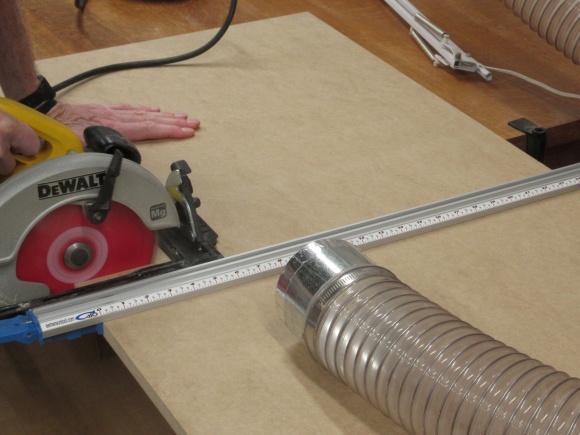
Cutting MDF for fan support
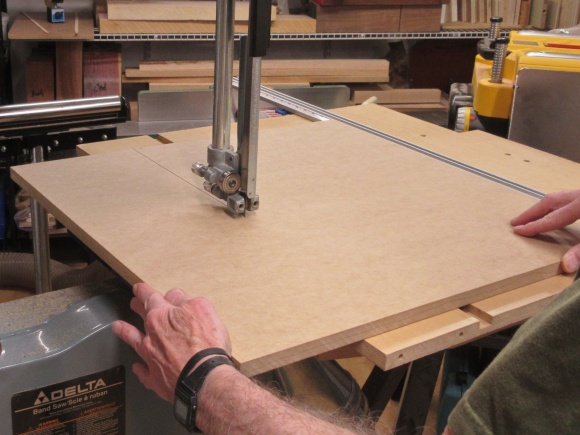
Cutting sides & floor
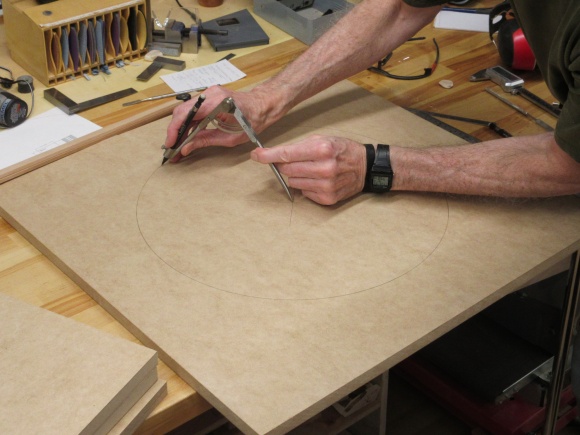
Marking fan cutout
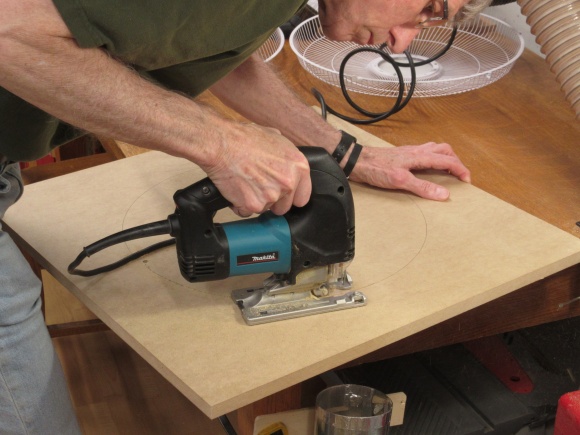
Cutting out fan hole
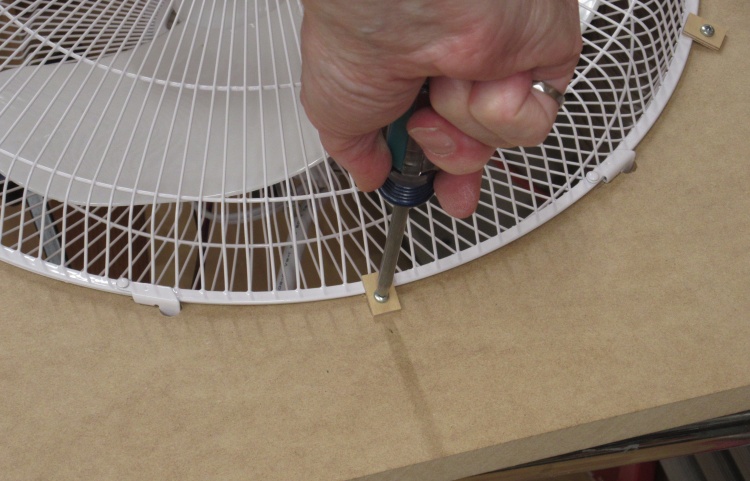
Fastening fan in place
The fan was supported by its metal grill which was held in place with small screwed-on clamps made from 1/8" plywood.
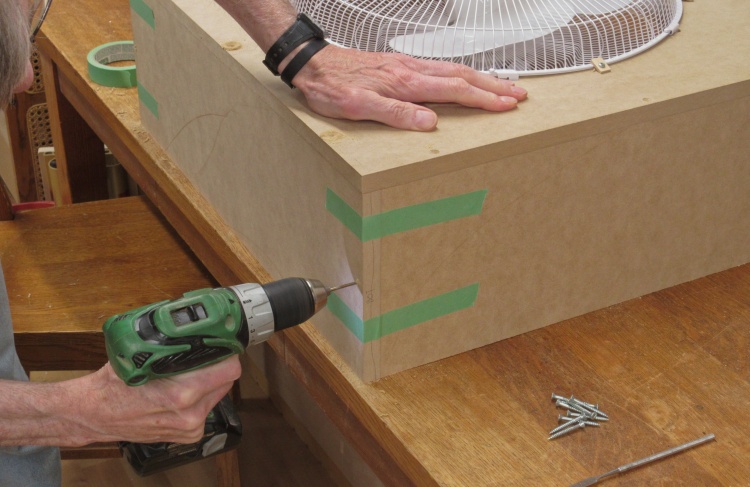
Drilling pilot holes in base box
The box was going to be glued together but I added some small screws to ensure an accurate alignment. Here I'm drilling a pilot hole for a screw to hold the bottom to one of the sides.
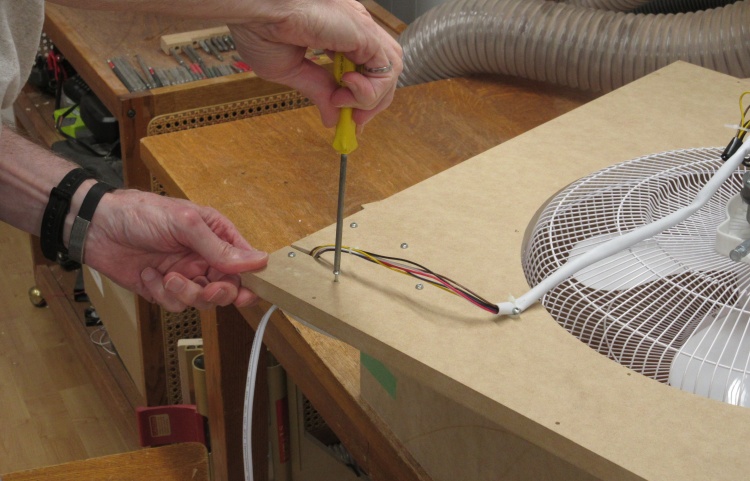
Adding the control box to the corner
The fan controller board was housed in a plastic case/mount that I rudely cut apart. The abbreviated remains were screwed to the front corner of the fan box to expose the indicators and the remote-control receiver.
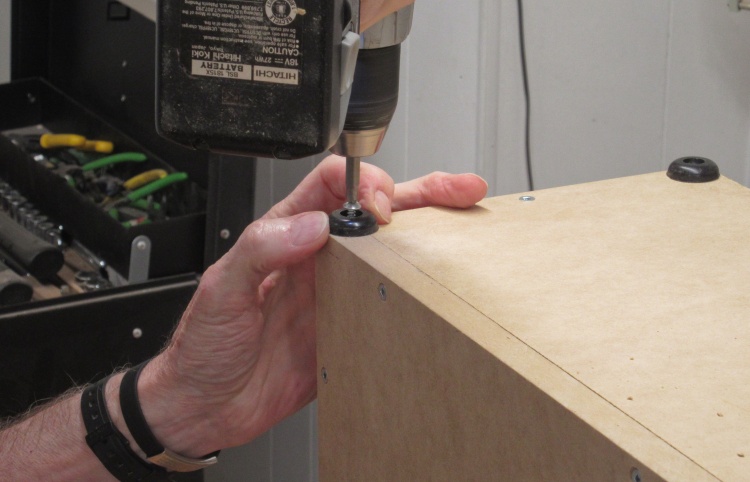
Attaching some feet
The bottom also received a set of rubber feet. They were ideal for this application and I found them in one of my "spare parts" bins but I have no idea where they were originally salvaged from.
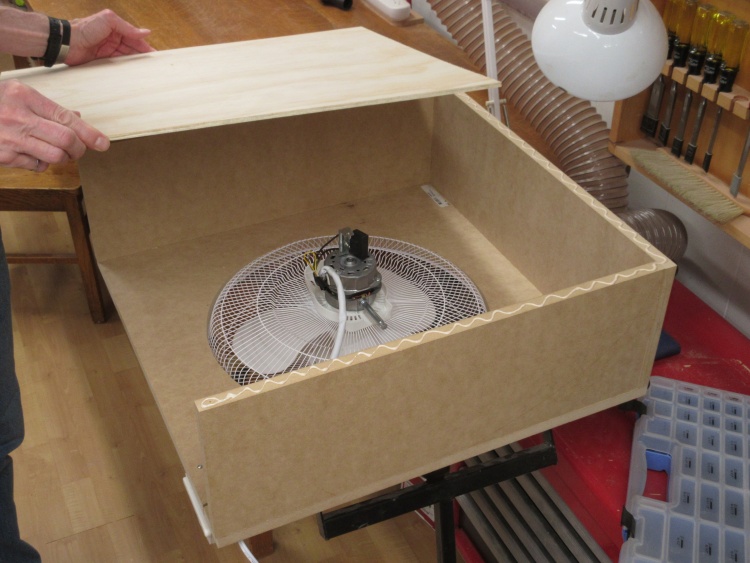
Putting the base together
After the front and three sides were assembled, the 1/4" plywood rear wall went into place.
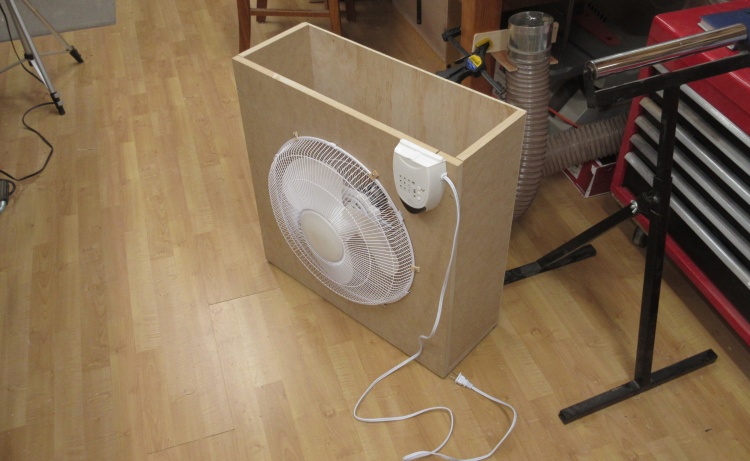
The base box ready to go
And there is the completed base.
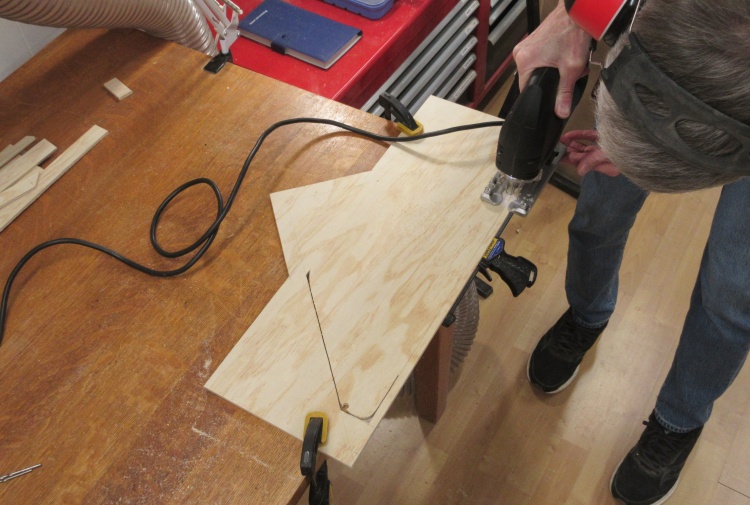
Working on frame bottom
Then it was back to the frame section. The interface between the rectangular fan box and the triangular filter section was accommodated by this lower shelf section.
Here I'm cutting out the large central opening that allows for airflow from top to bottom.
Here I'm cutting out the large central opening that allows for airflow from top to bottom.
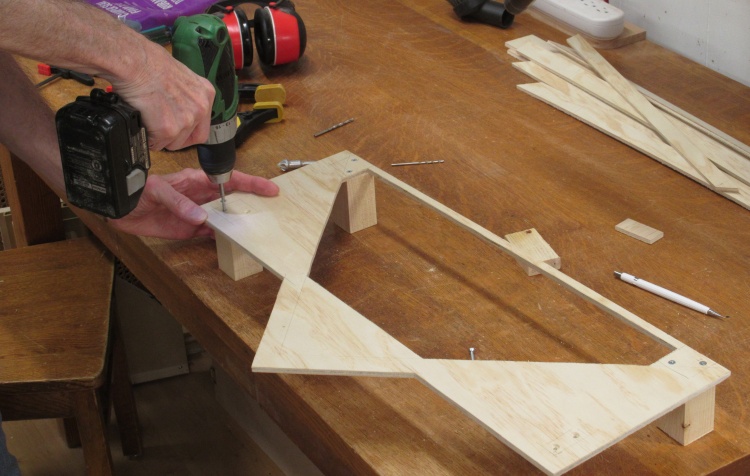
Adding some interconnect pieces
The original plan had been to build the air cleaner as one unit but it occurred to me that it would be easier to handle a 6'-tall heavy-ish item if it was in two pieces. This was accomplished by adding "interconnect" pieces to the top section. These would fit into the fan box to align the two halves.
Here I'm adding the interconnect pieces to the underside of the lower shelf.
Here I'm adding the interconnect pieces to the underside of the lower shelf.
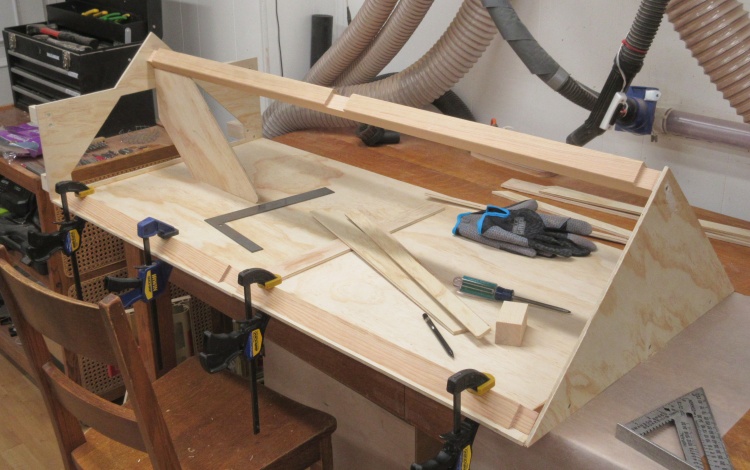
Assembling the filter frame
Next was assembling the filter frame. It was built around a back piece composed of 1/4" plywood.
The frame is already mostly assembled by the time of this shot. The top and bottom shelf sections and the center square rail have been assembled and one of the triangular rails is being glued in.
The frame is already mostly assembled by the time of this shot. The top and bottom shelf sections and the center square rail have been assembled and one of the triangular rails is being glued in.
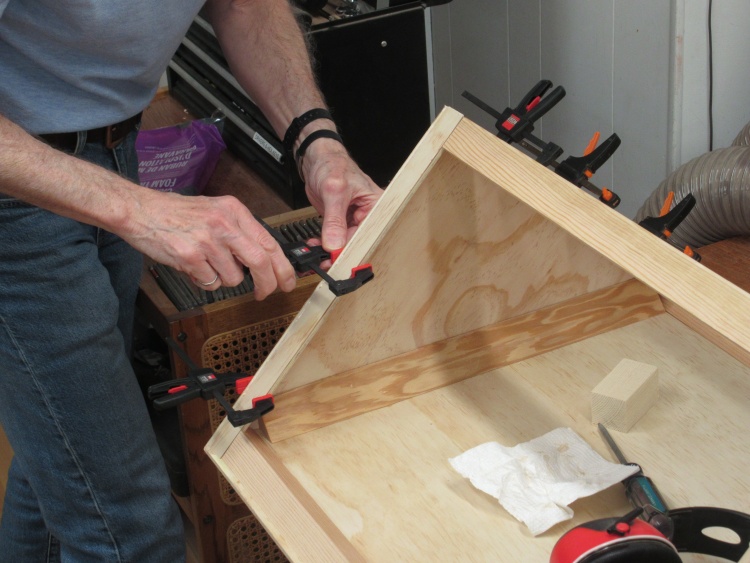
Adding one of the horizontal supports
The filters need flat horizontal faces to sit against at bottom, middle and top. In this photo I'm gluing a top support into the rail dados.
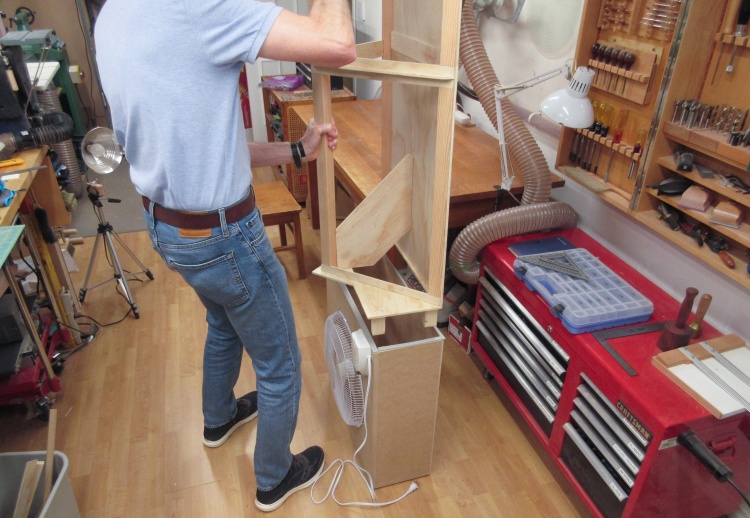
Installing the frame into the base
When the frame was all together, it was time for the acid test: fitting the top into the bottom - it fit!
Ok, that may not have been too surprising since of course I checked the interface a few times before this but you always like confirmation from the full-up test.
Ok, that may not have been too surprising since of course I checked the interface a few times before this but you always like confirmation from the full-up test.
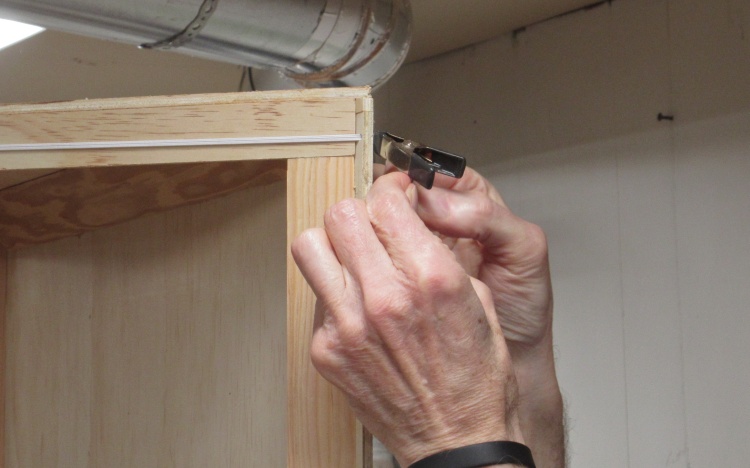
Tying off filter-holding elastic cord
The last detail was to add a method of holding the filters in place.
I just used elastic cord at top and bottom of each filter pair and in this shot I'm tying off one of the cords.
I just used elastic cord at top and bottom of each filter pair and in this shot I'm tying off one of the cords.
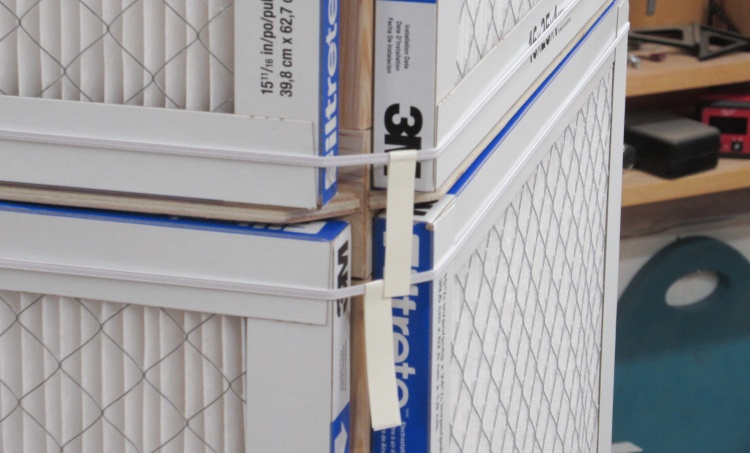
Filter securing elastic
I added paper tags to make it easier to grasp the cords and this shot shows the filters held in place.
I didn't worry too much about sealing (like trying for air-tight seals around the filters) since I thought minor air leaks would have little effect on the overall filtering action.
I didn't worry too much about sealing (like trying for air-tight seals around the filters) since I thought minor air leaks would have little effect on the overall filtering action.
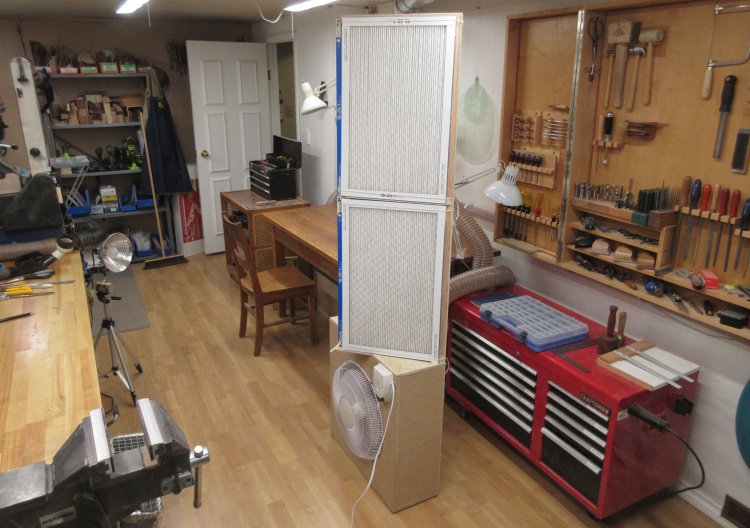
The air filter all together
That's the unit, fully assembled.
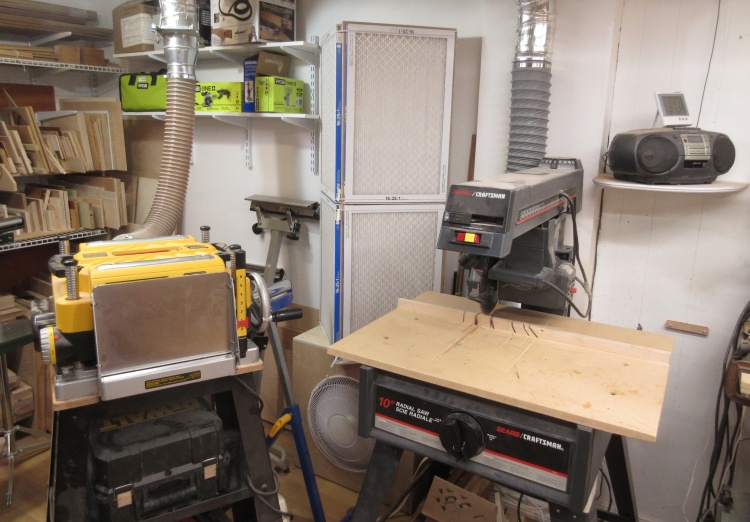
Installed in its new home
And there is is, tucked away in a not-exactly-empty-but-not-really-needed spot in the shop.
So let's go over the requirements:
1. Somehow fit it into the shop - Check
2. Not too too noisy - Check
3. Cleans the air - Guess I better check that...
So let's go over the requirements:
1. Somehow fit it into the shop - Check
2. Not too too noisy - Check
3. Cleans the air - Guess I better check that...
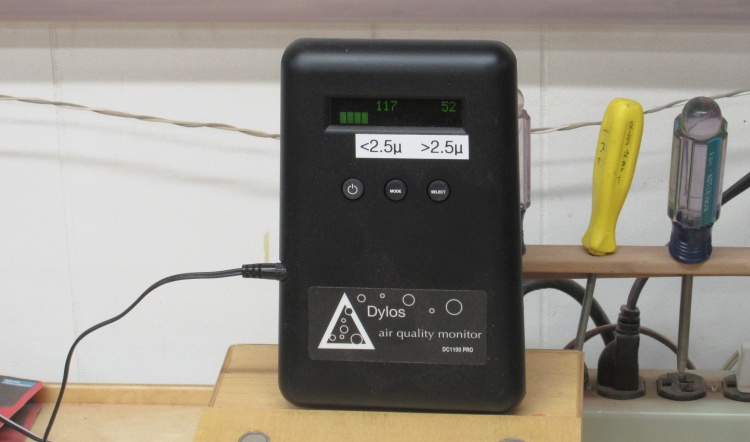
The air quality monitor
This is the air quality monitor I use. It measures concentrations of particles with diameters above and below 2.5 microns. The readings shown are particles per 1/100 cubic foot. I don't know how accurate it actually is but at least relative readings should be comparable.
As it runs, it stores readings for later review.
Note that the 117 & 52 showing on the monitor is a very good reading - lower than anything I've measured around the house or even outside. It takes an air filter running to get to those levels.
As it runs, it stores readings for later review.
Note that the 117 & 52 showing on the monitor is a very good reading - lower than anything I've measured around the house or even outside. It takes an air filter running to get to those levels.
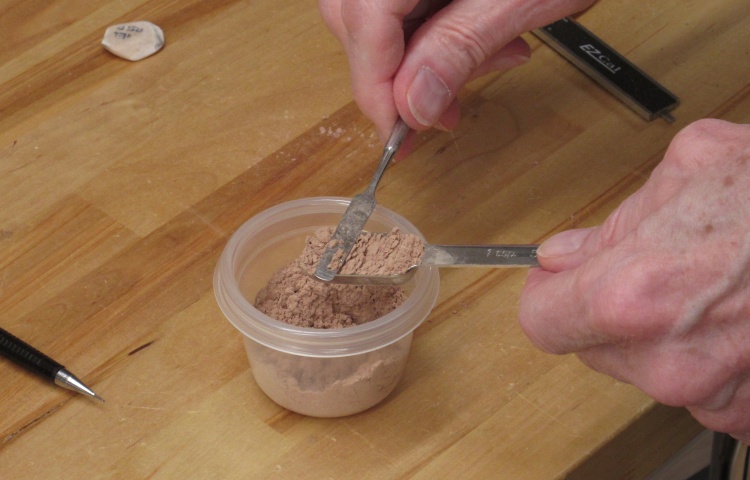
1 tsp of lovely fine dust
To test the air in various scenarios, I wanted to start with a relatively constant dust concentration. I used this nice fine dust precipitated off the filter of my main dust collection system and here I'm measuring out a teaspoon (I used 2 tsp for each test).
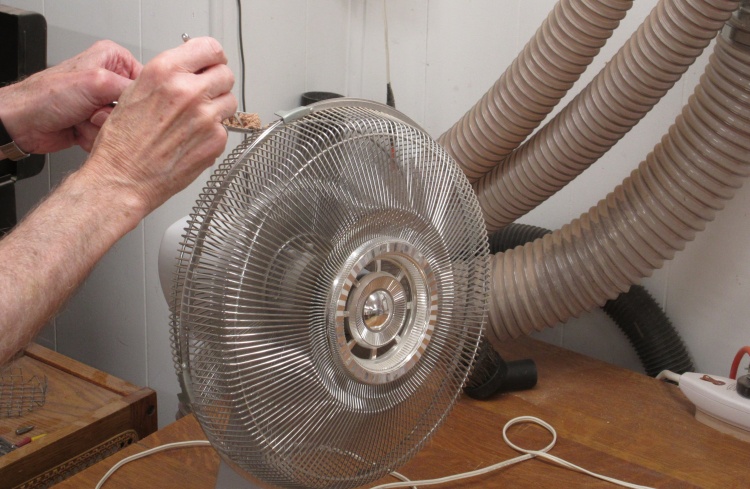
Getting it into the air (cough, cough)
The dust was fed into this fan which helped distribute it into the air.
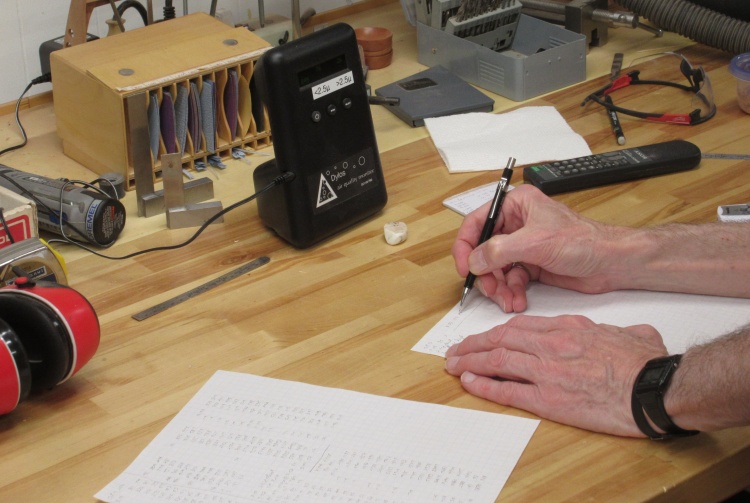
Recording dust concentration after some air cleaning
After polluting the air with sawdust I let the air cleaner run for 45 minutes or so and then recorded the concentration each minute based on the monitor's memory. Longer-duration tests took a couple of recording sessions since the memory seems to run out after 53 readings.
The initial dust concentrations varied a bit so I started plotting data on the graph as soon as the concentration dropped below 1,000,000 particles/cu ft.
The initial dust concentrations varied a bit so I started plotting data on the graph as soon as the concentration dropped below 1,000,000 particles/cu ft.
The plot below summarizes the results:
- The top blue curve shows what happens with no filtering; the concentration just slowly drops as the particles eventually fall out of the air.
- The bottom brown curve is the new air cleaner with the fan on high. It takes about 35 minutes to drop the dust to the level where the air quality is "good". To put that in perspective; pure, clean, fresh outdoor air measurements vary from "very poor" to "fair" on ordinary days.
- The old air cleaner (on high) in yellow and the new one with the fan on low (dark blue) are pretty similar in getting the air quality to "good" in 50 minutes or so but the new one carries on cleaning, presumably due to superior filtering.
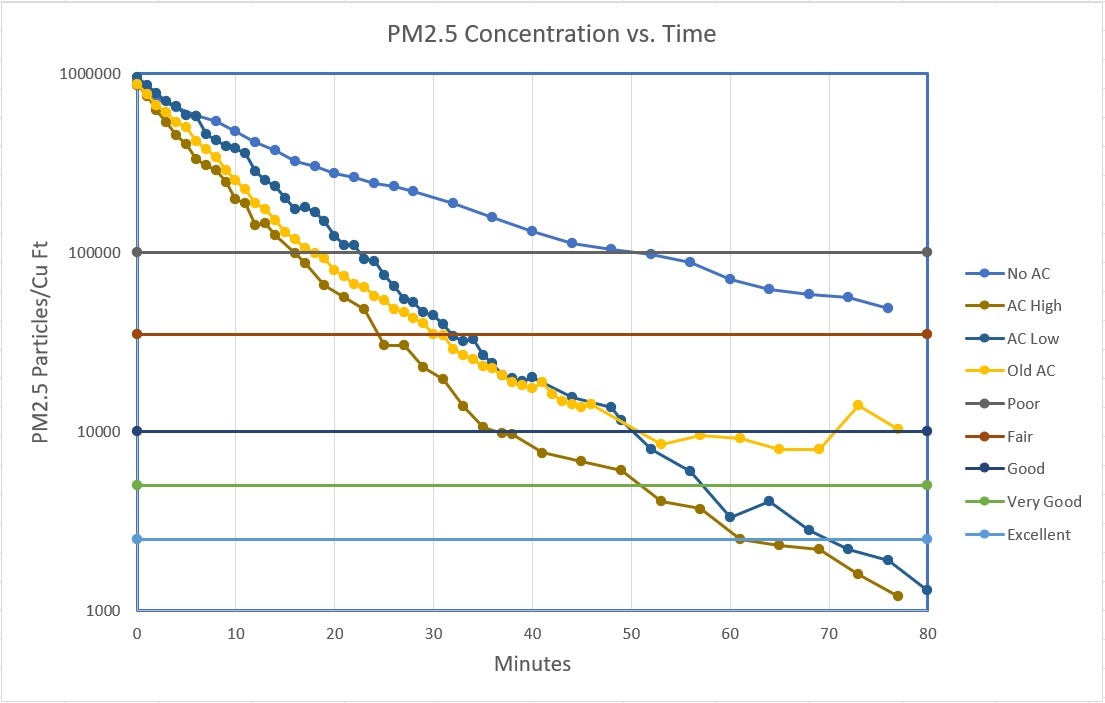
The air cleaning action curves