The finish that I had used on the original set of house numbers didn't last very long. I think that less than a year after putting them up I had to pull them back down, strip off the old finish and redo it. That had got me to thinking that I would be better off with something made from composite or plastic so it didn't need to be refinished periodically. Then the re-finish job lasted for a couple decades, so I guess it wasn't that big of a problem.
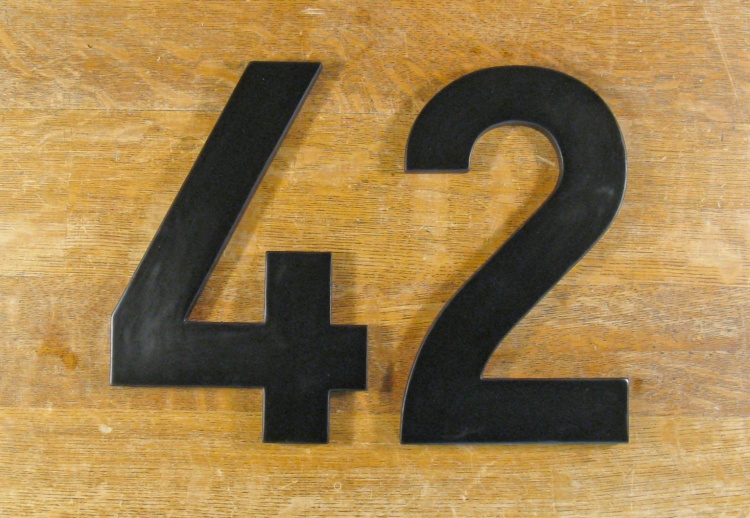
As a result I have reasonable confidence that the new wooden numbers will stand up fairly well. I thought I'd go for a fresh look and perused all the (150 or so) fonts I could find on my PC but didn't see anything I really liked. I then rummaged through the Internet until one we liked turned up. Or close to it; I used the "4" as-is but modified the "2" a bit. Appropriately, these were derived from actual house numbers you could buy rather than a generic text font. So they are almost certain to actually work...
As a result I have reasonable confidence that the new wooden numbers will stand up fairly well. I thought I'd go for a fresh look and perused all the (150 or so) fonts I could find on my PC but didn't see anything I really liked. I then rummaged through the Internet until one we liked turned up. Or close to it; I used the "4" as-is but modified the "2" a bit. Appropriately, these were derived from actual house numbers you could buy rather than a generic text font. So they are almost certain to actually work...
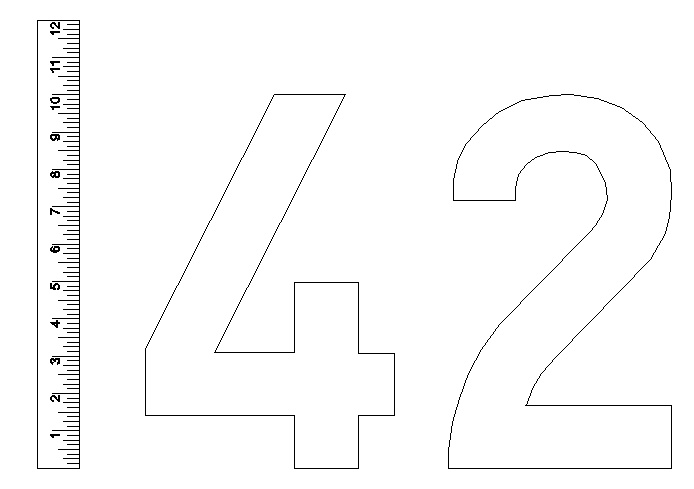
It's, like, the simplest plan ever
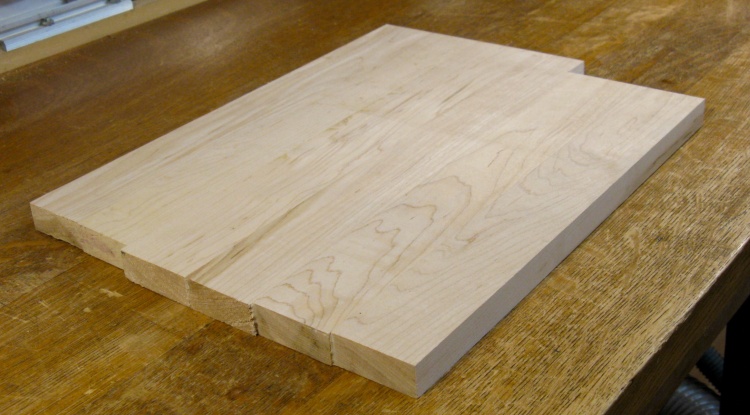
A convenient piece of laminated maple
I happened to have a appropriately-sized piece of laminated maple on hand that looked like it should do the trick. I don't remember where it came from but I probably saw it at a good price and bought on spec years ago ("I might be able to use than in ten or twenty years"). Sure enough...
The grain differences between laminations wouldn't be a problem since they would all be hidden by the black stain I planned to use.
The grain differences between laminations wouldn't be a problem since they would all be hidden by the black stain I planned to use.
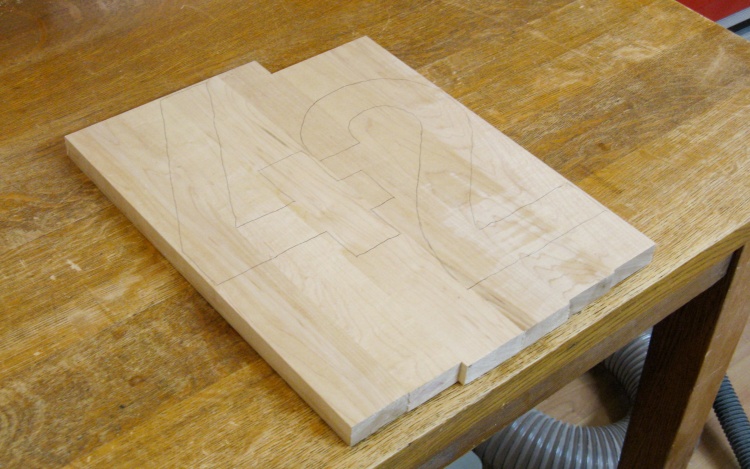
Just squeezed both digits in there
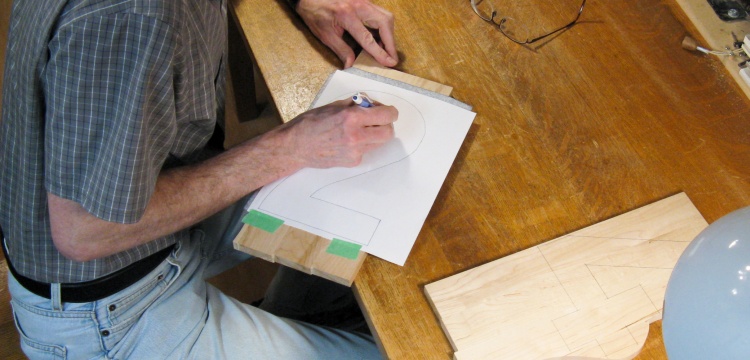
The wood had plenty of area, but just barely enough width. The plank was going to need to be thinned using the planer and this would be easier to do in two pieces. So to figure out where exactly to cut it, I first traced on the numbers as seen here.
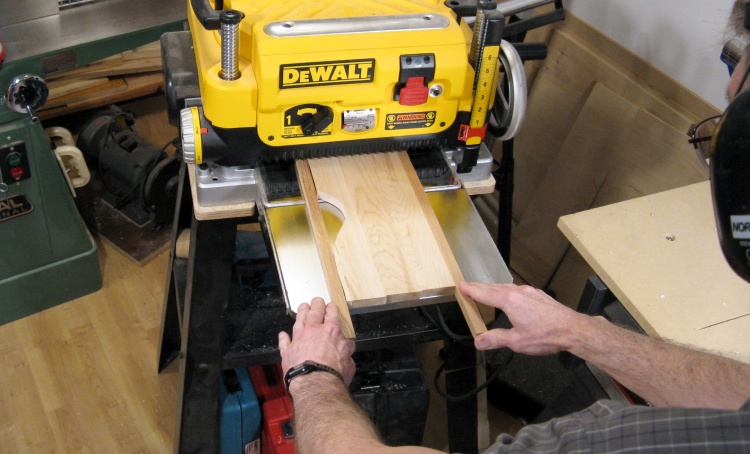
The parrot-cam showing thickness-planing what will become the "2"
After cutting the board into two pieces, they were both run through the planer a few times (with the obligatory anti-snipe side rails added) to get them down to about 1/2" thickness.
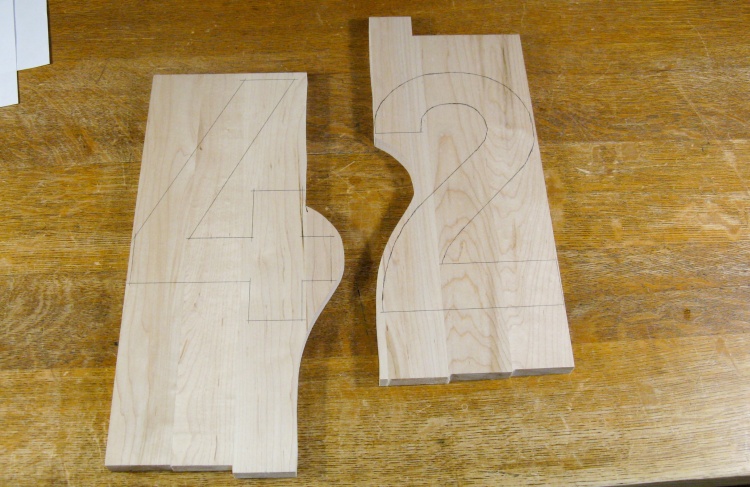
Re-marking the numbers onto the wood
Both sides of the wood had been planed so the original markings were gone. Here I'm tracing the numbers onto the wood again.
Ready to be cut out
Good old (really old) carbon paper was used to trace the digits, which gave a great contrast with the maple.

The number 2 being cut out
And then the numbers were cut out on a small bandsaw that I set on my main bench.
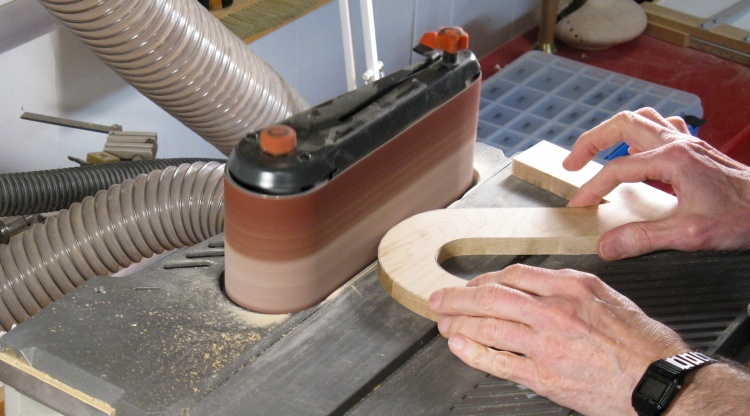
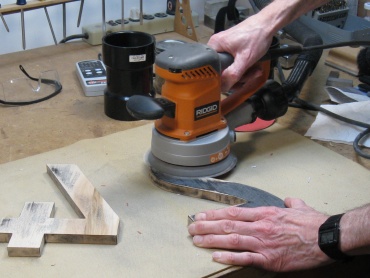
Smoothing off those saw marks
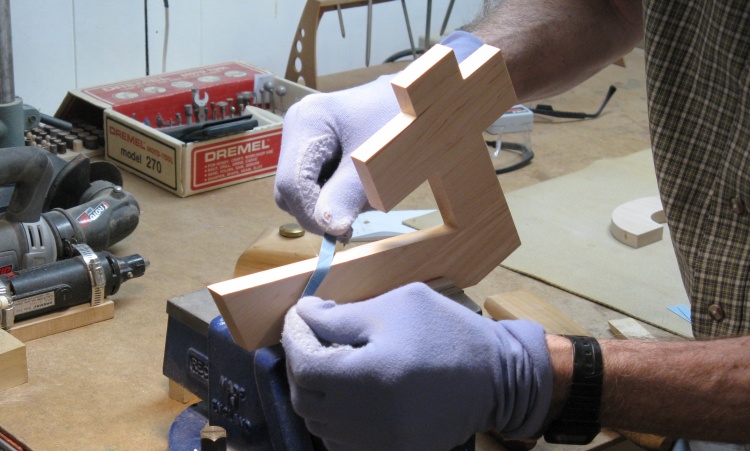
Using a horizontal belt sander, the outside edges were smoothed off and sanded to the marked lines.
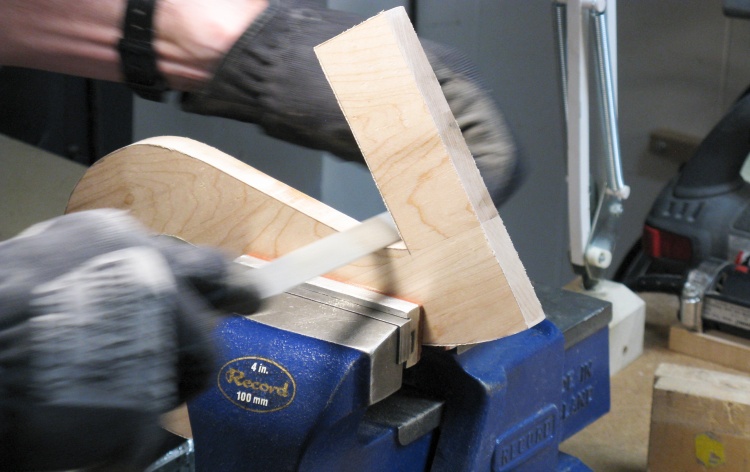
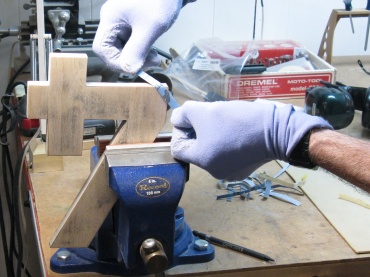
A bit of manual smoothing for the inside edges
Smoothing the inside bits was somewhat more laborious since it needed to be done manually with files and sandpaper.
Rounding off the corners a bit
The last of the smoothing involved rounding off the corners so they would hold the finish a bit better, shown here being done with strips of sandpaper.
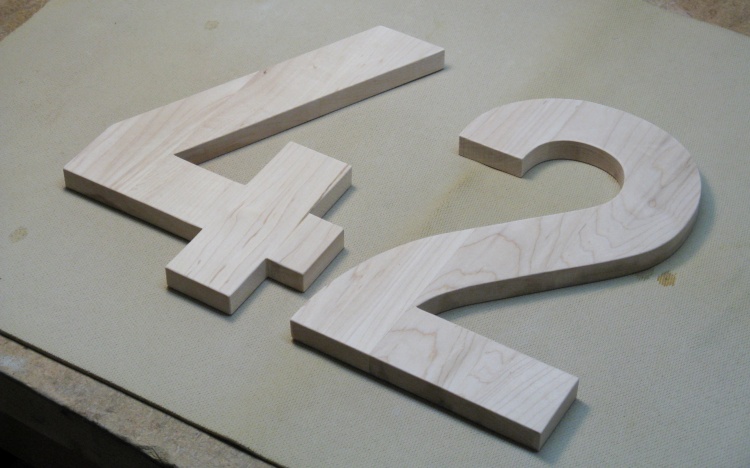
The finished digits, ready for, well, finish
And here is the complete set of digits that I'll need.
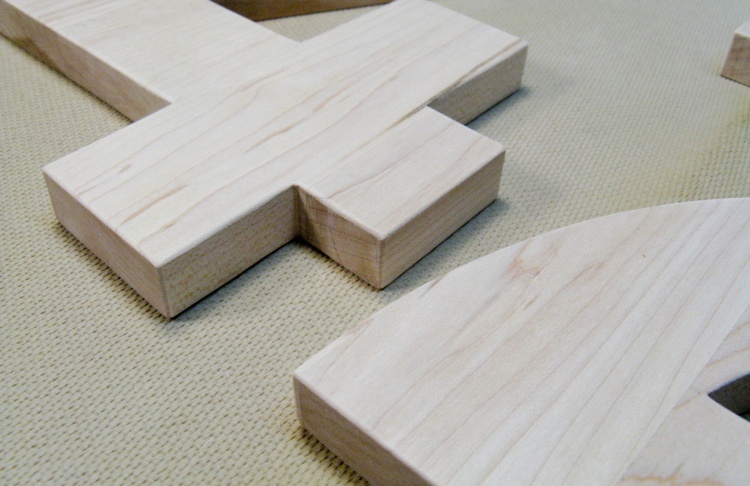
Corner close-up
This shows a close-up of the edges showing the bit of rounding.
Now is a good time to appreciate the fine maple-ness of the wood, 'cause it'll be gone in the next picture.
Now is a good time to appreciate the fine maple-ness of the wood, 'cause it'll be gone in the next picture.
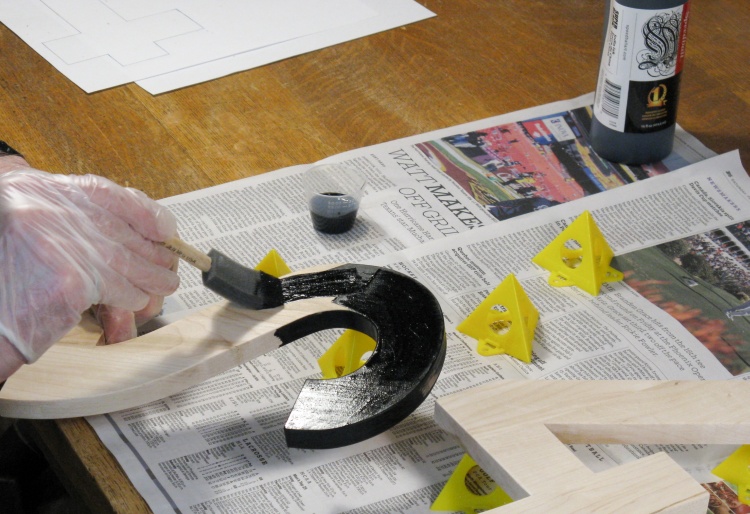
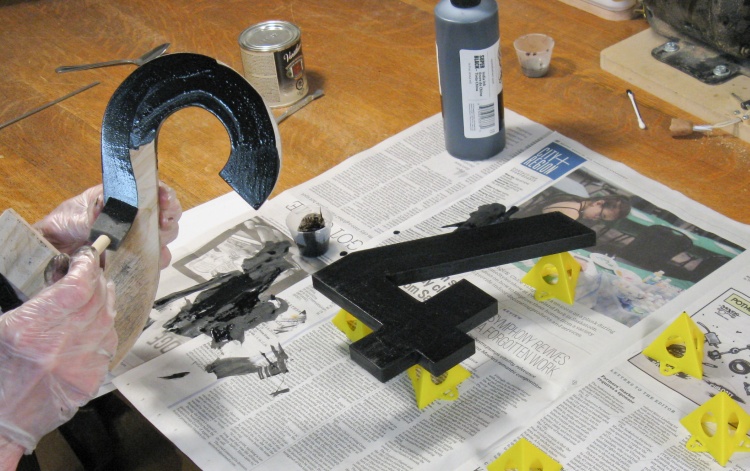
Using India Ink for a super-black stain
For the previous set of numbers I used black aniline dye but based on a hint from my big brother (thanks, Greg!) I used india ink, which did a much better job of "black".
Here the ink is being applied with a sponge brush.
Here the ink is being applied with a sponge brush.
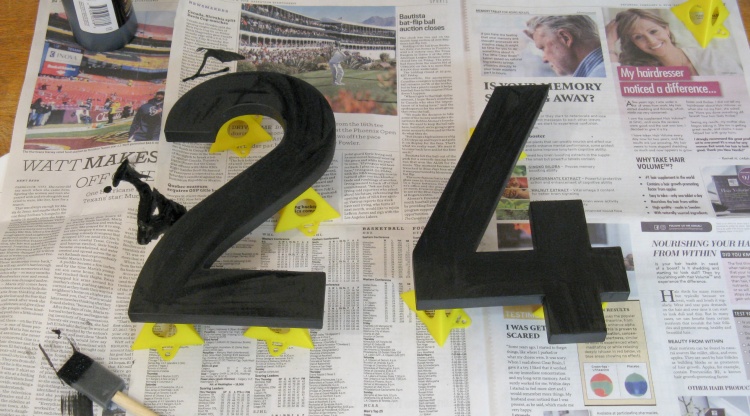
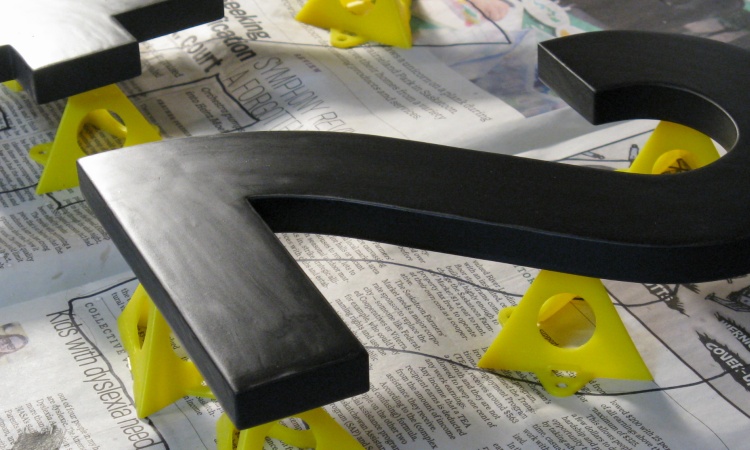
The drying ink
Just the one coat is enough to make the surface completely black.

And drying varnish
I didn't have any exterior varnish so a trip to hardware store was necessary. I made the trip to Home Depot since I was avoiding my normal go-to destination of the Co-Op, which with employees on strike was acting like other crap retailiers in treatment of both employees and members. Unfortunately Home Depot was showing classic Big-Box-itis symptoms in that they have 20 feet of shelf space for varnish but only one brand. So I had a choice of two, and decided to try a water-based product.
This photo shows the first coat of varnish on. It isn't evident from this shot, but there were lots of brush marks showing. I hoped that would improve with sanding and additional coats.
This photo shows the first coat of varnish on. It isn't evident from this shot, but there were lots of brush marks showing. I hoped that would improve with sanding and additional coats.
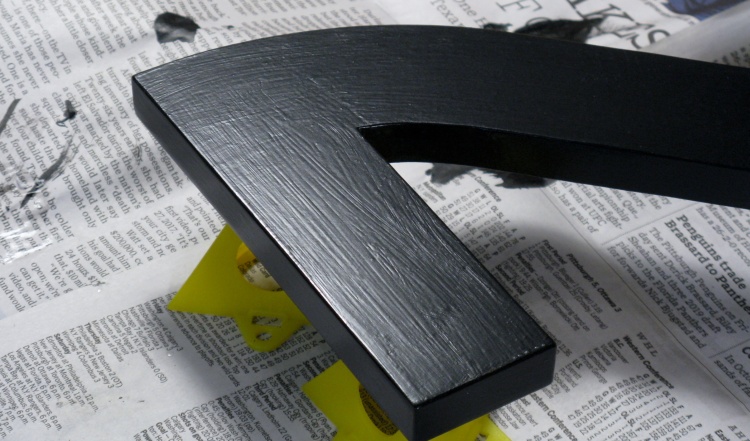
Very nasty varnished surface
Yah, so no. It didn't improve even with multiple coats.
This shows the end result with pretty obvious brush marks. Things I hoped might improve the surface including sanding, using different applicators, different thickness of coat etc. didn't help.
I was pretty unsatisfied with the finish and couldn't think of anything else to try to make it better so I decided to just strip it off and start over.
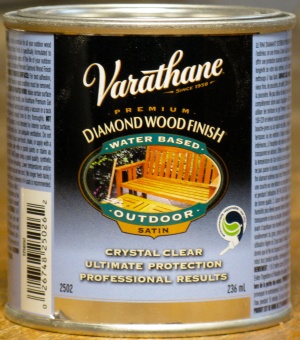
Don't buy this crap
Enough said.
Files and sandpaper for the sides
Power sander for the faces
And some sanding strips for the corners

Stripped and ready to give 'er another shot
So then after some filing, hand sanding, power sanding and a bit more hand sanding, I was back to square one (OK, technically square 10 if you count photos above).
So then here we are with clean wood again with just a subtle hint of leftover ink.
So then here we are with clean wood again with just a subtle hint of leftover ink.
On with the black
And then again with the ink.
The not-great-but-probably-good-enough-for-house-numbers finish
This time I tried Home Depot's other varnish choice: oil-based. It was better but still pretty crappy. Even after several coats, agressive sanding and then a final thinned coat it still looked poorer than pretty much anything I had done before.
But after the ten or so coats of varnish applied between the two types, I figured I'd done enough varnishing and that this would have to be good enough. It will certainly look just fine from 30 feet away on the street...
But after the ten or so coats of varnish applied between the two types, I figured I'd done enough varnishing and that this would have to be good enough. It will certainly look just fine from 30 feet away on the street...
Done
This stuff's pretty useless too
And there's the completed set, ready to be brought up from the basement and exposed to the light of day.
Mounted with glue drying
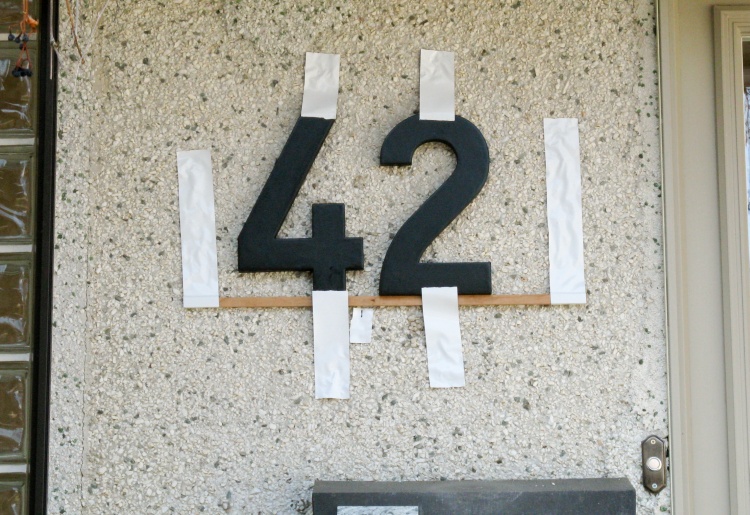
The outside wall is pebble-dash stucco which is pretty rough, so the numbers were mounted using generous globs of silicone glue.
Here they've been aligned, glued and taped to hold them in place until the glue dries.
The items are held on to the rough surface using a particularly effective duct tape, originally bought to make a duct-tape hat.
Here they've been aligned, glued and taped to hold them in place until the glue dries.
The items are held on to the rough surface using a particularly effective duct tape, originally bought to make a duct-tape hat.
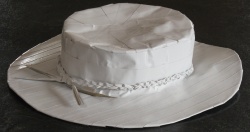
Good for hats, too


