I didn't have any significant projects on the go so I thought I'd improve on the phone stand I'd made last year. I'll admit to the fact that the issue of not folding flat isn't necessarily a problem and may in fact be a feature since you can fold it and set it on its edge where it will stand by itself due to the thickness. But one that folded as flat as possible seemed like a desirable thing and I thought I'd give that a go.
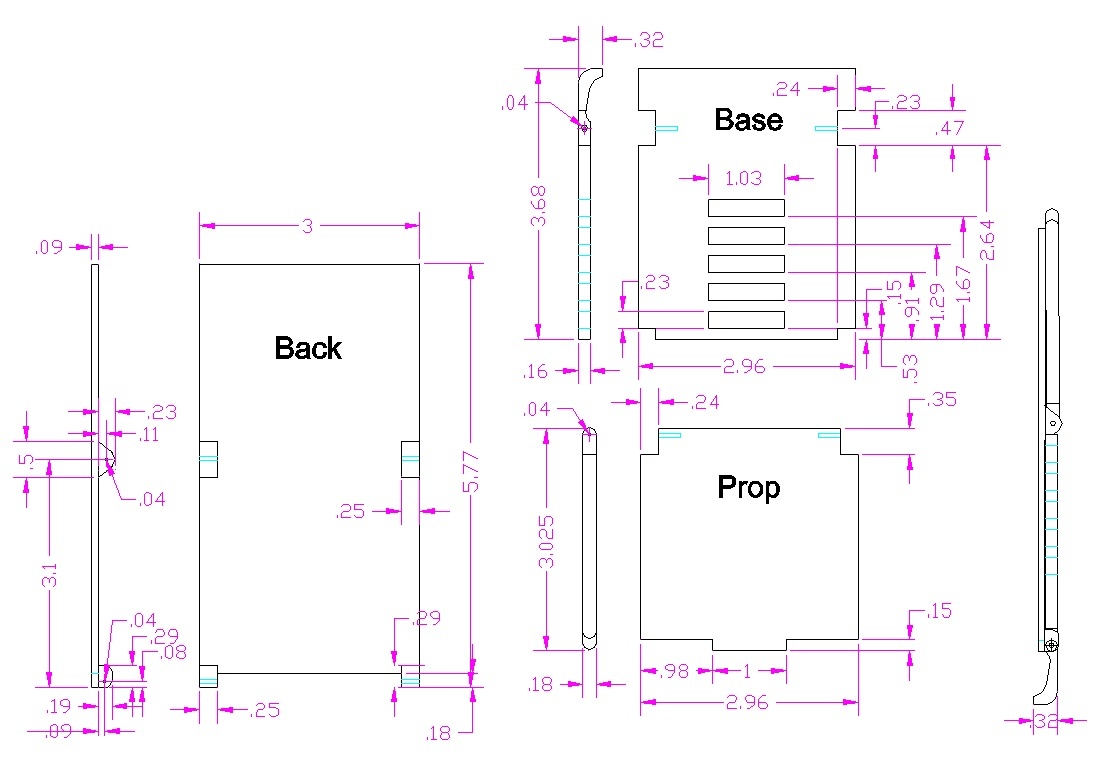
I made a minor change to the design where the bottom support for the phone, previously attached to the back, became part of the base and therefore folds away with the base. Sue said she also wouldn't mind if the phone could recline a bit more than the original permitted so I tweaked hinge locations and base dimensions to achieve that.
I made a minor change to the design where the bottom support for the phone, previously attached to the back, became part of the base and therefore folds away with the base. Sue said she also wouldn't mind if the phone could recline a bit more than the original permitted so I tweaked hinge locations and base dimensions to achieve that.
A lotta purple dimensions
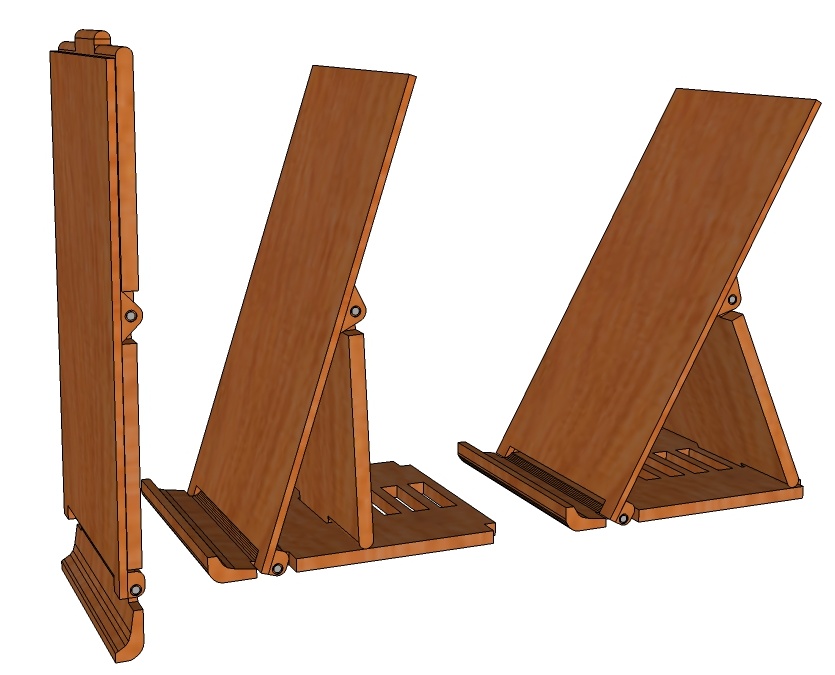
The woodier and 3D-ier version
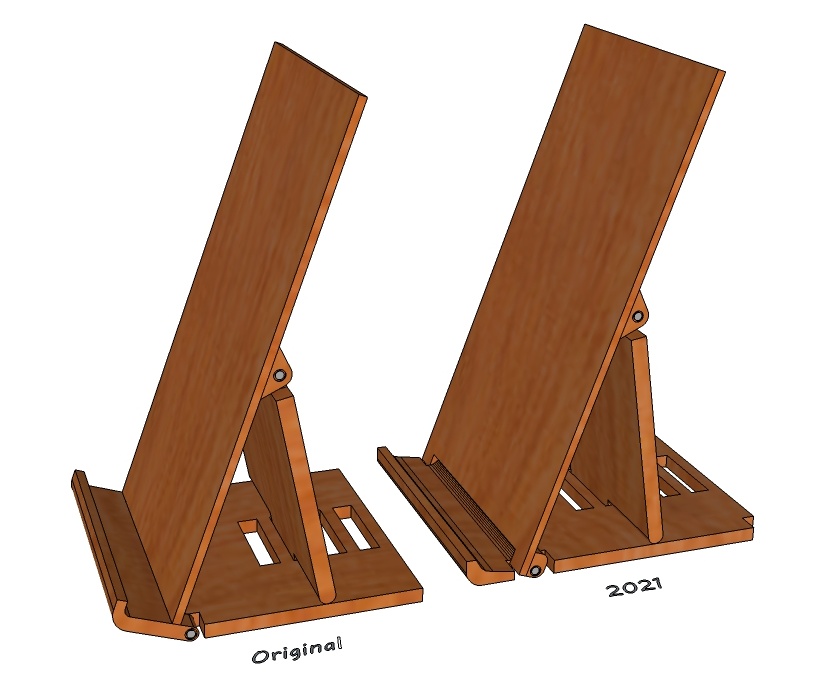
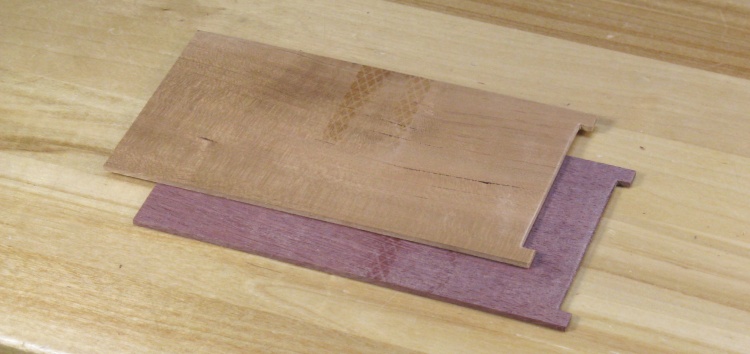
Original and new comparison
Wood
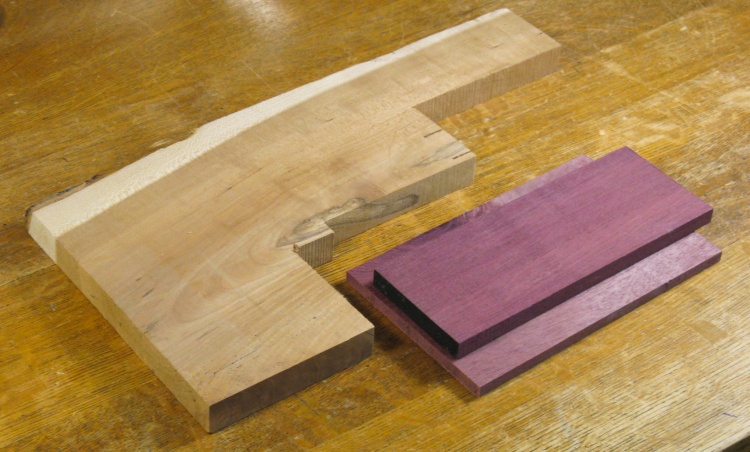
Some big-enough scraps
I wouldn't need much wood for the phone stands so I pulled out some large-enough scraps of maple and purpleheart.
These particular pieces were too small or oddly-shaped to be useful for any kind of larger project but would be fine for this one.
These particular pieces were too small or oddly-shaped to be useful for any kind of larger project but would be fine for this one.
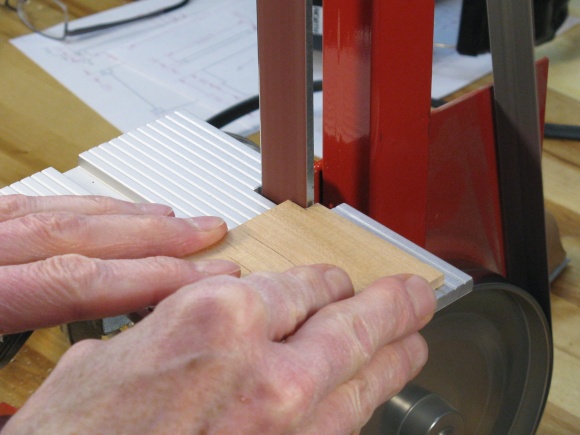
I did my standard cut-it-smaller steps to get to a couple of 3"-wide slabs for each stand.
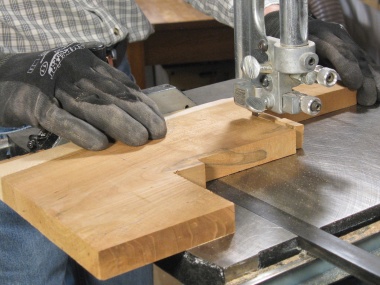
Cutting out a cherry blank
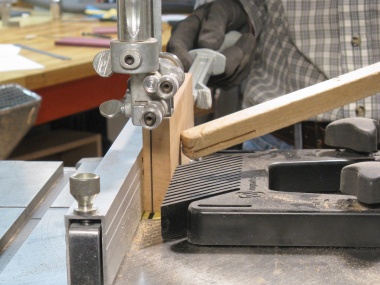
Thinning the cherry
Ready to plane both woods

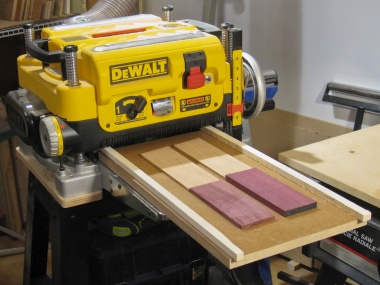
The correctly-thicknessed blanks
After the dust settled from the cutting and planing I was left with two pieces for each of the stands; a thinner one for the back and a thicker one for the base and prop.
Backs
Shaping of the backs was pretty simple
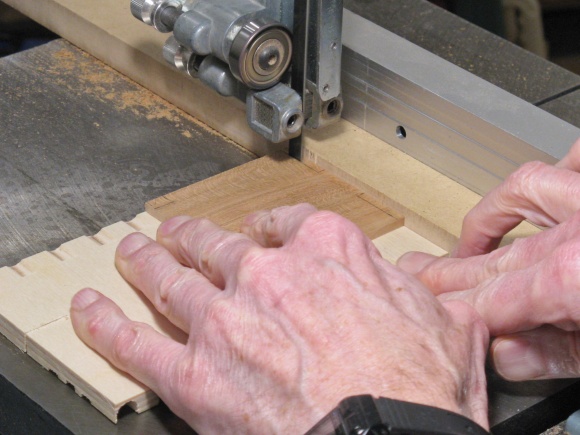
The backs were pretty simple to shape; just cut to length and remove a rectangular area at the bottom.
A bit of bandsawing and hand sanding did the trick.
A bit of bandsawing and hand sanding did the trick.
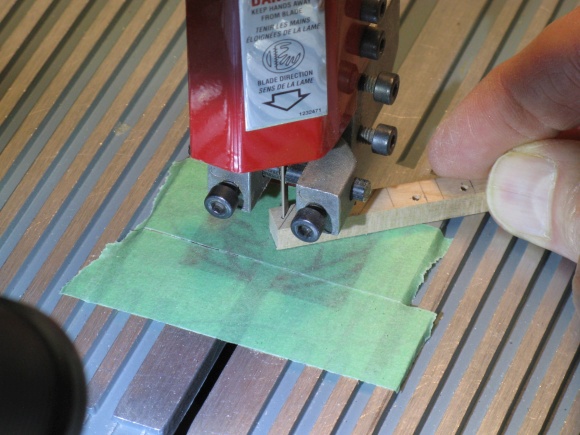
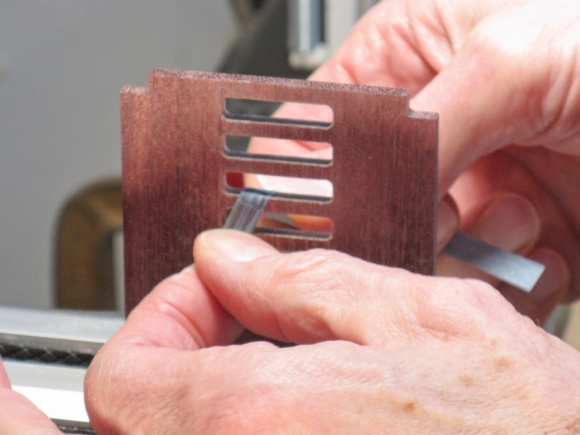
Next I worked on the hinge points. Each stand has a pair of lower and upper hinge points, both about 1/4" wide. They were cut out of a single little piece of 1/4"-thick wood for each stand.

Marking for cherry hinges
Chopping up hinges
A slightly rough-looking set of hinges
The hinge points also received 1/16" holes for the hinges. Now I don't actually know why I chose that size but I seemed to think it was right. In fact it was wrong, wrong wrong. I guess I'll be fixing that later.
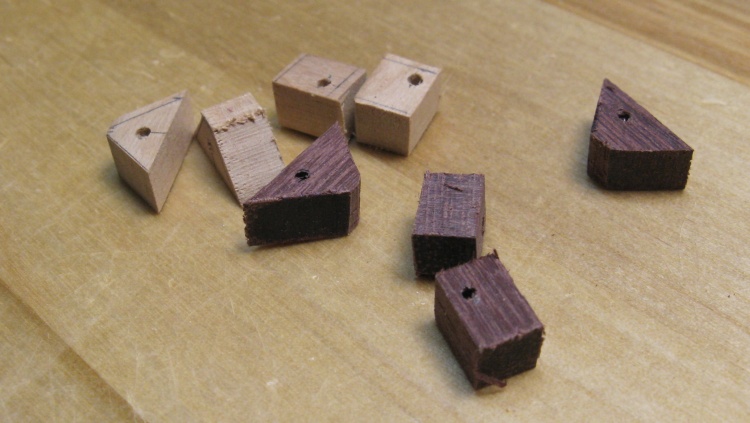
Meanwhile this photo shows the eight hinge points just hot off the bandsaw and looking a bit ragged.
Meanwhile this photo shows the eight hinge points just hot off the bandsaw and looking a bit ragged.
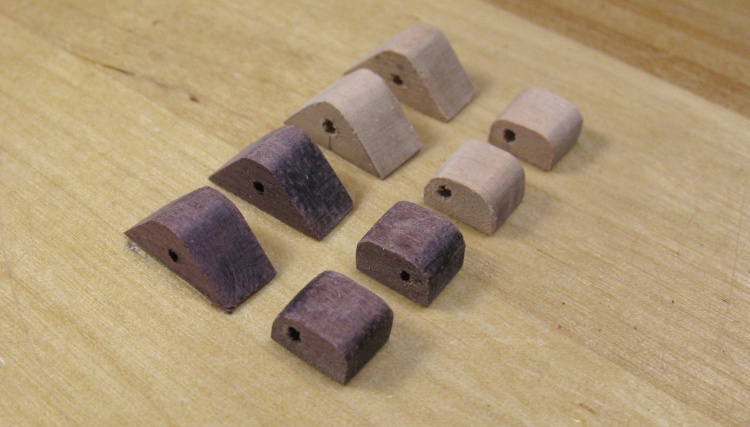
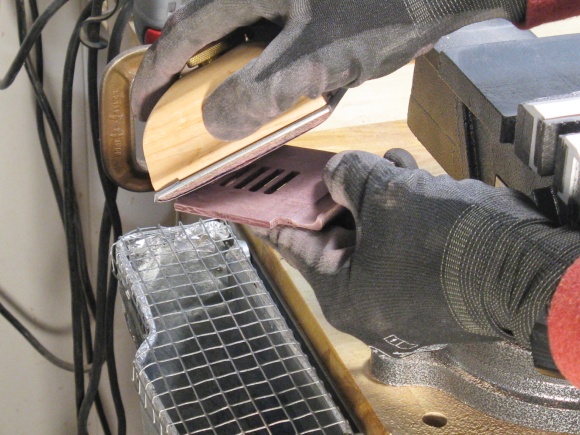
Cleaning up the hinge points was a rather fiddly job since my fingers were much larger than the pieces. I used the belt sander and some manual sanding to get them trimmed to size and smoothed out.
Some hinge shaping
Some finer hinge shaping
Hinges all shaped
This is the cleaned-up group of hinge points, looking rather more respectable than a few photos ago.
Gluing on a couple sets of hinges
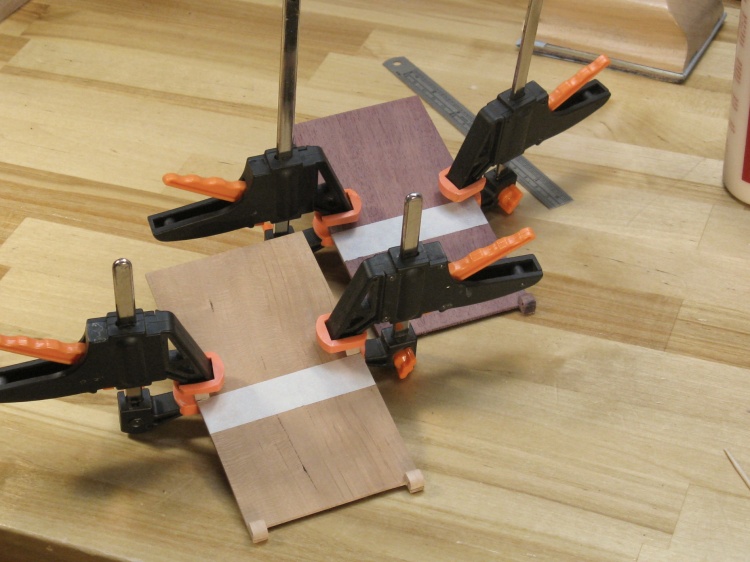
The hinge points were simply glued to the backs. In this photo the lower hinge points are already in place and the middle hinge points are being clamped to the backs at the positions marked by the masking tape.
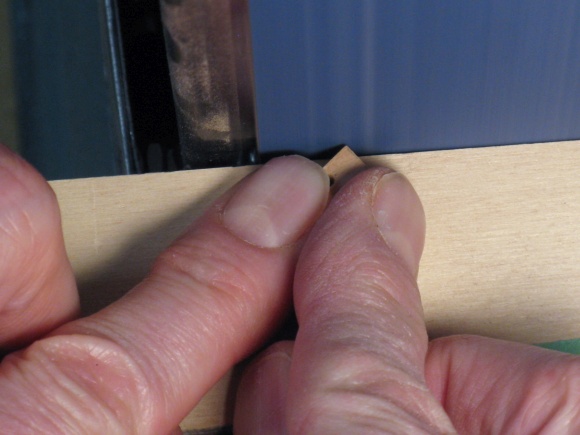
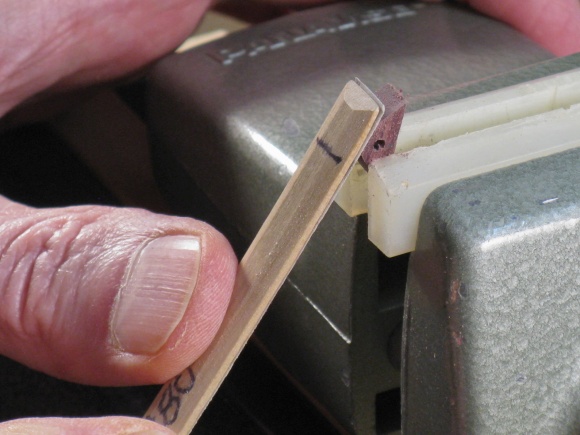
OK, time to fix those oversized holes; I could have sanded off the old hinge points and made new ones but instead I just plugged the holes and re-drilled. These photos show a 1/16" plug being made for one of the purpleheart holes, accomplished by sanding a little blank round with the aid of the belt sander and a rotary tool. The plug was just glued into the hole and then trimmed off on both ends.
A little plug blank in a rotary tool
Rounding it with the belt sander
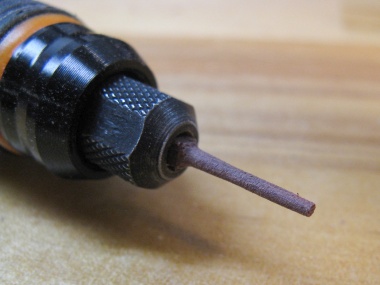
A 1/16" (ish) dowel for a hole plug
After the hinge points were re-drilled with the proper size of hole (0.04"), the last operation on the backs was to drill little counterbores around the holes. The head of the hinge nails would go into that dip and end up flush with the rest of the wood.

Doing a counterbore
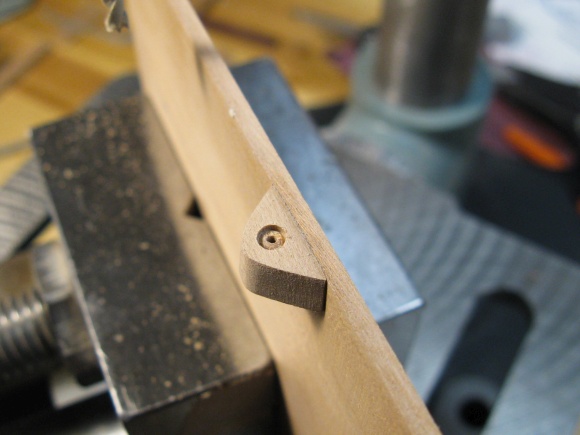
Counterbored for nail head
Prop
The prop pieces were pretty simple - they just needed some bits trimmed out of the corners, accomplished with the bandsaw and some sanding from a narrow belt sander. After that, the top and bottom edges were rounded on the belt sander followed by some hand sanding.
Shaping a prop piece
Sanding the sawn faces
Base
I somehow failed to account for the full thickness of the base when initially cutting the wood blanks; the very front needs to be about twice as thick as the rest of the base. So I decided to remake the maple base and these photos show a new piece of wood being cut for the base and then the cut surface getting sanded.

Cutting a thicker cherry base blank

Sanding the base blank
I took a different approach with the purpleheart. Instead of remaking it, I just cut off a quarter-inch and glued it onto the end for the added thickness. The left photo shows the two glued pieces being clamped in the bench vise. The shot on the right is the glued-together base being cut to the proper length on the radial arm saw. The scrap of plywood under the purpleheart keeps the bottom edge from being chipped by the saw.
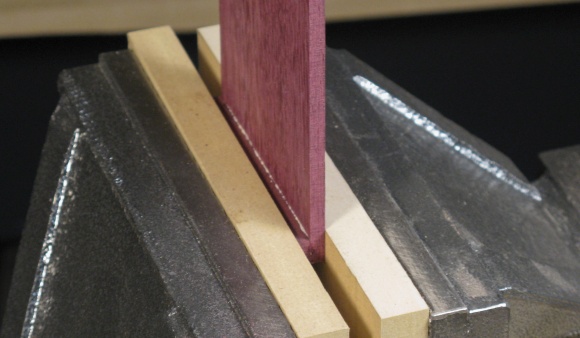
Purpleheart "folded over" to double thickness
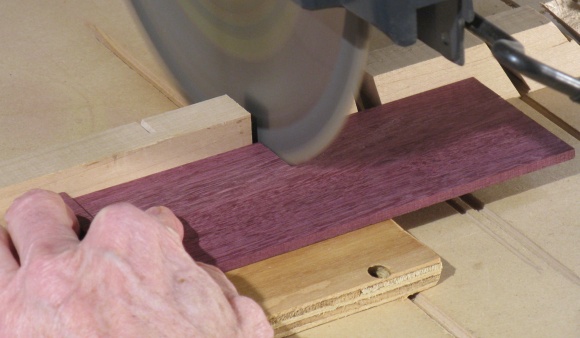
Cutting base to length
Routing base slots
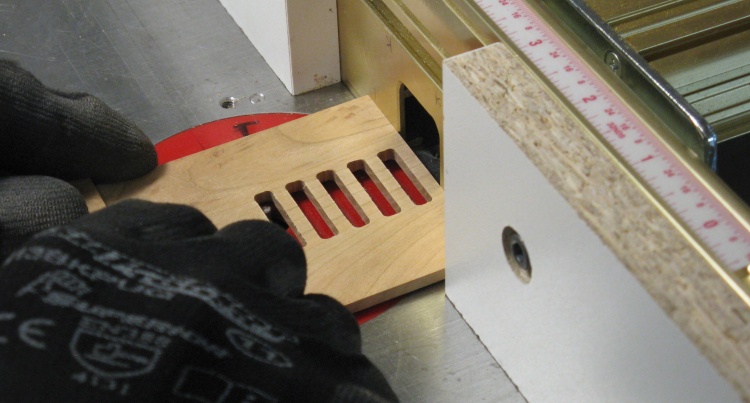
The base needed slots added, which was done on the router table using a 1/8" bit.
I used the adjustable fence to position the base properly for each side of each slot, which gave a nice consistent pattern.
I used the adjustable fence to position the base properly for each side of each slot, which gave a nice consistent pattern.
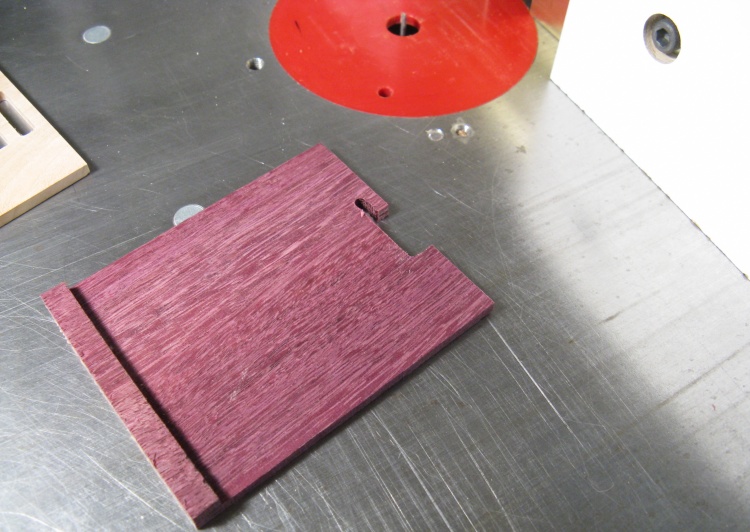
Oops
The purpleheart is a much harder (and more brittle) wood and routing the first slot ended up chipping out a big chunk. Yah, I'm going to stick with the "brittle" excuse.
So that base was remade and the slots in the new one were routed more carefully by cutting through the wood in three or four steps rather than with a single pass.
So that base was remade and the slots in the new one were routed more carefully by cutting through the wood in three or four steps rather than with a single pass.
The base need a few more operations, including drilling 0.04"-diameter holes, done on a small drill press. It also needed the very front shaped to form the curved phone support. That was done by routing out the bulk of the shape and then sanding it smooth.
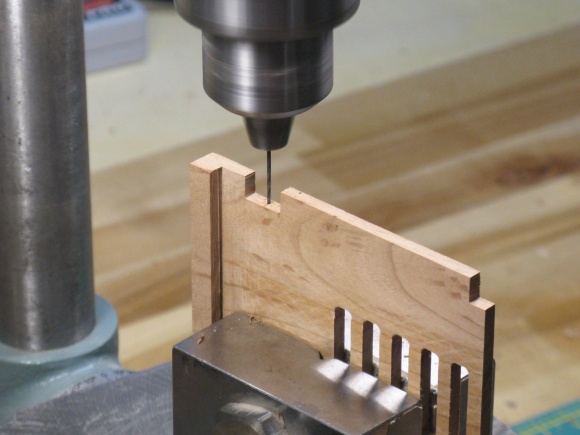
Drilling a hinge hole
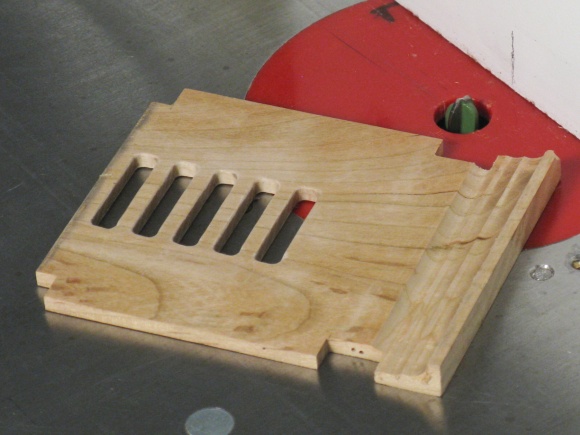
Phone tray roughly shaped using router
And then finally there was a bit more hand sanding to clean up the edges and surfaces.
Hand sanding
...and more hand sanding
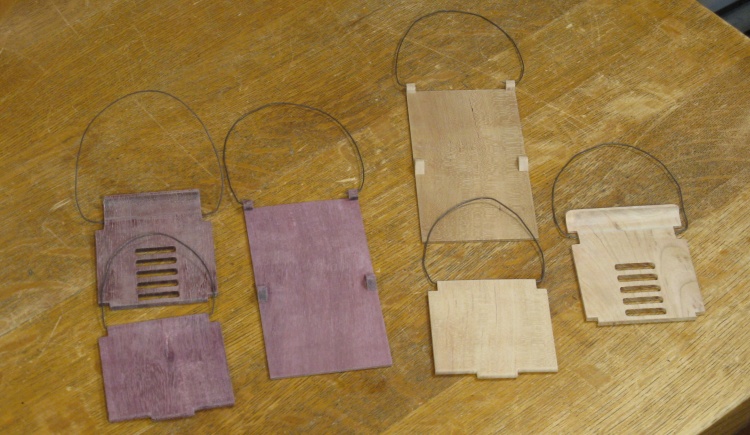
All the pieces done and equipped with hangers for varnishing
This shows all six pieces completed and ready for the varnish. I added wire loops to support the pieces through the hinge holes which kept the varnish unmarked as it dried.

Starting with the varnish
I used my standard Fast-Dry Polyurethane varnish and in this shot I'm adding the first of three coats.
Polyurethane varnish has an unfortunate tendency to get thick in the can. My last little can only lasted about three months and was less than half used. So for this one, I immediately decanted the new can (in the background) it into a Stop-Loss bag (in the foreground). The idea is to squeeze all the air out of the bag before capping it so the varnish doesn't thicken or harden. We'll see how that works.
Polyurethane varnish has an unfortunate tendency to get thick in the can. My last little can only lasted about three months and was less than half used. So for this one, I immediately decanted the new can (in the background) it into a Stop-Loss bag (in the foreground). The idea is to squeeze all the air out of the bag before capping it so the varnish doesn't thicken or harden. We'll see how that works.

Hung up to dry with first coat
After varnishing, the pieces were hung up to dry.
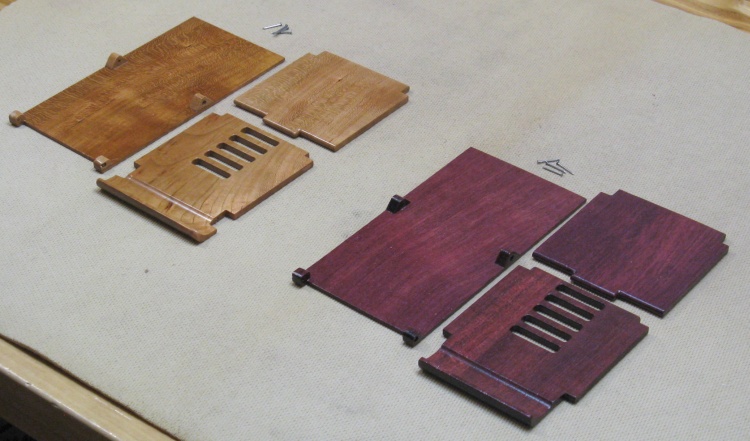
Ready for assembly
Then three varnish coats later, they were done.
Here they are arranged with the hinge pins ready for assembly.
Here they are arranged with the hinge pins ready for assembly.
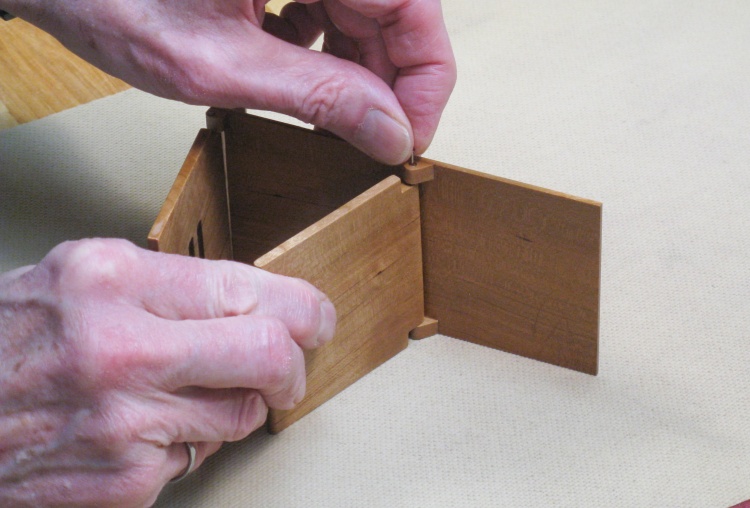
Assembly just involved inserting the hinge pins
The assembly just consisted of inserting four hinge pins on each stand, those being 1/2" common nails
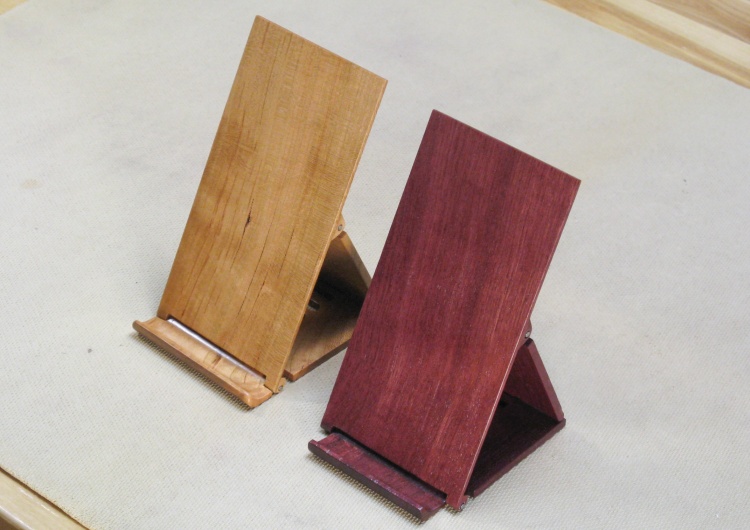
Completed stands
Here stands the two completed...stands.
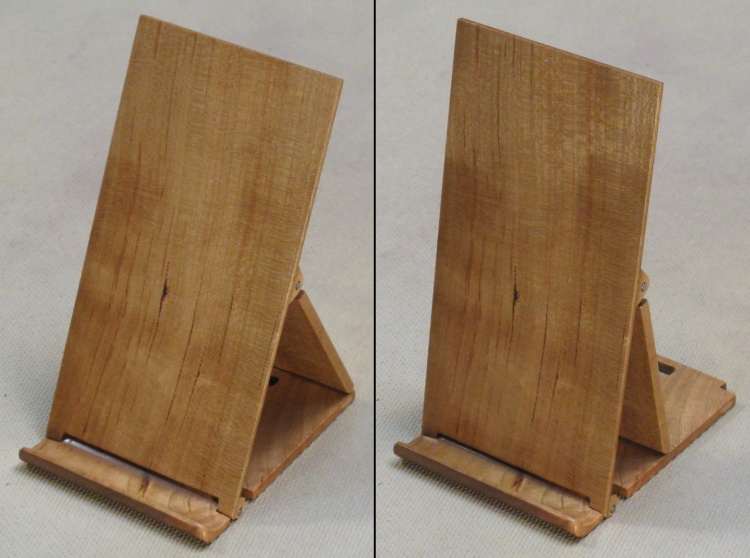
Maximum and minimum angle settings of the Cherry stand
This shows the range of back angles which can be set between about 18° and 28° from vertical.
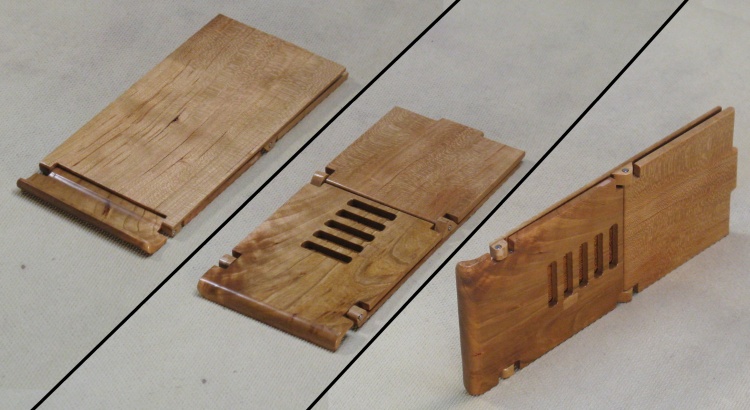
A composite of the folded stand
Three views of the Cherry stand when folded.


