This was a pretty simple little project and barely seems like it should to rate a web page but since projects were pretty thin this summer, it made the cut. I gave a bit of thought to what material and construction should be used for the shelf and ended up at the Cedar-slat design seen here. The Cedar was chosen since I didn't really want to bother with a finish and had a 13-year-old unfinished Cedar lattice that is still holding up well to give me some confidence that it would be fine.
The shelf was simple enough that it didn't really need a plan - I just sketched up the shape and got to it.
The shelf was simple enough that it didn't really need a plan - I just sketched up the shape and got to it.
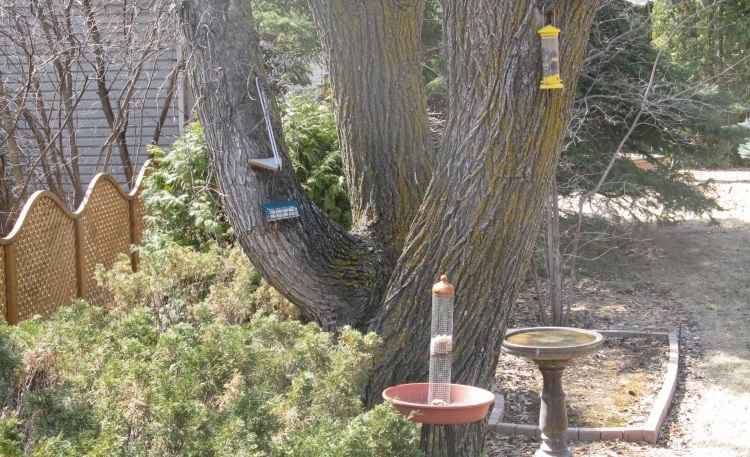
The Elm tree
This shot shows the Elm tree in the back yard. Not only does it have bird amenities such as food and water, but it also includes branches that extend over the deck so the birds can sit up high and express how much they don't care about our generosity; the deck gets hosed off regularly.
The tree splits into three main sub-trunks at about waist height. They're not really symmetrically arranged but they do encompass more than 180° so they can support something set in the middle.
The tree splits into three main sub-trunks at about waist height. They're not really symmetrically arranged but they do encompass more than 180° so they can support something set in the middle.
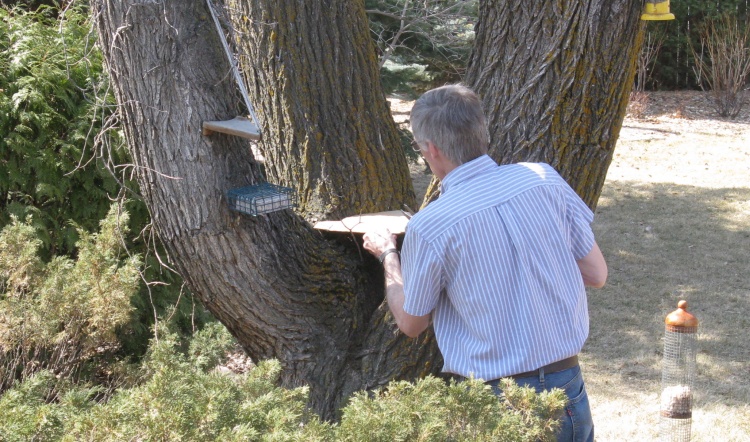
Working on a pattern
I needed to determine the shape that would contact the three trunks so I started with a piece of cardboard and cut off (and later taped back on) pieces until it looked good.
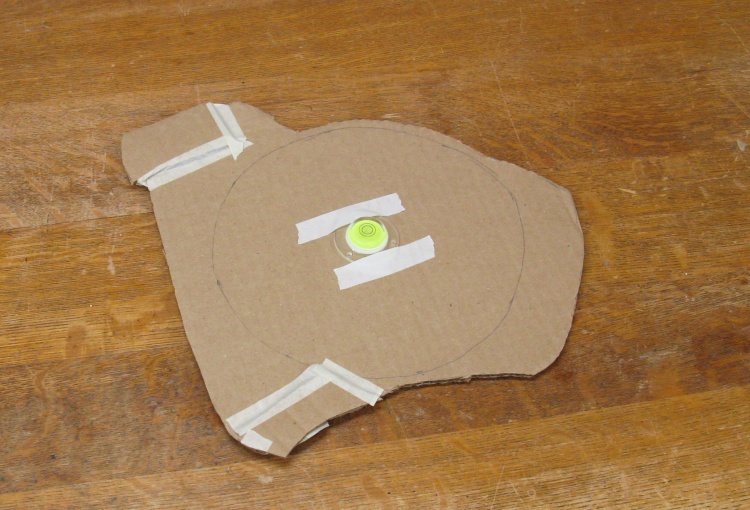
The cardboard pattern
This is the pattern that emerged from my trimming efforts. I had taped on the small bubble level to make sure it was mounted level in the tree as the shape was defined.
The pencilled-on circle is the maximum diameter of the pot that the shelf needs to support.
The pencilled-on circle is the maximum diameter of the pot that the shelf needs to support.

A few scrap cedar 2x4 pieces
I had a few pieces of leftover cedar 2x4 from building a lattice for the yard a couple years ago. These were not-square-enough-to-use pieces but would be fine for this project since i was just going to cut small slats out of them.
The cedar had been purchased from Home Depot and their web site claims that it is Western Red Cedar, which is a wood known for good outdoor use due to a high rot resistance. Its main drawback is that it's a pretty soft wood but that wasn't much of a problem for my application.
The cedar had been purchased from Home Depot and their web site claims that it is Western Red Cedar, which is a wood known for good outdoor use due to a high rot resistance. Its main drawback is that it's a pretty soft wood but that wasn't much of a problem for my application.
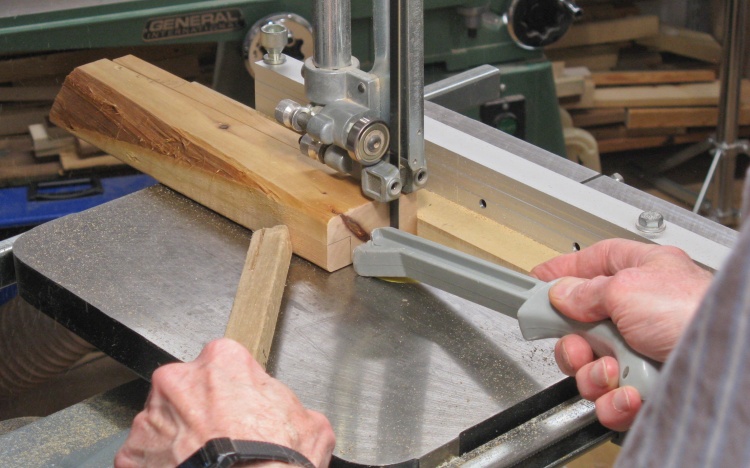
Ripping Cedar into slats
The bandsaw was used to rip them into square-sectioned pieces just over 3/4" thick.
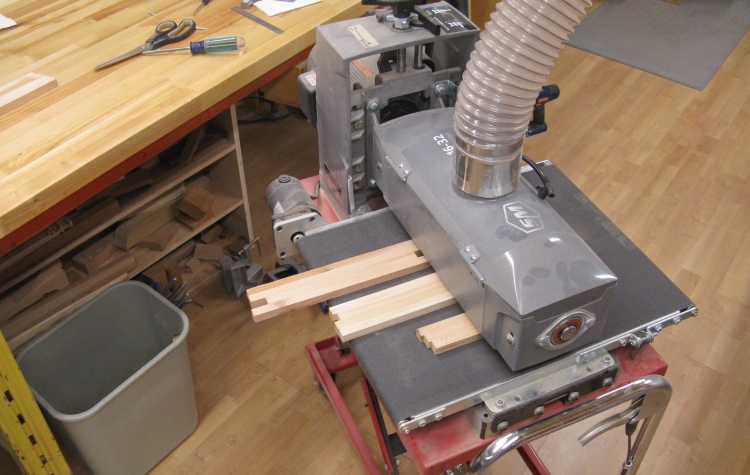
Sanding the slats smooth
After cutting to size, the slats went through the drum sander a few times to smooth off the sides and get them to the finished size.
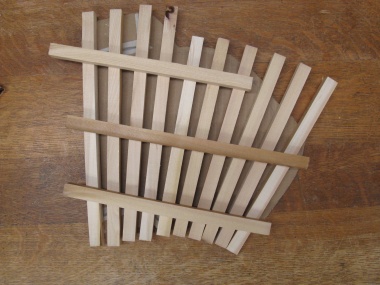
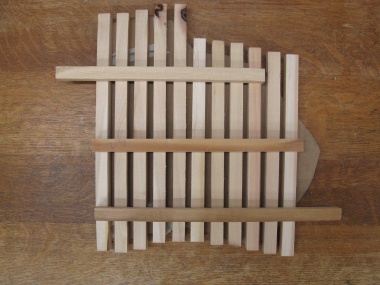
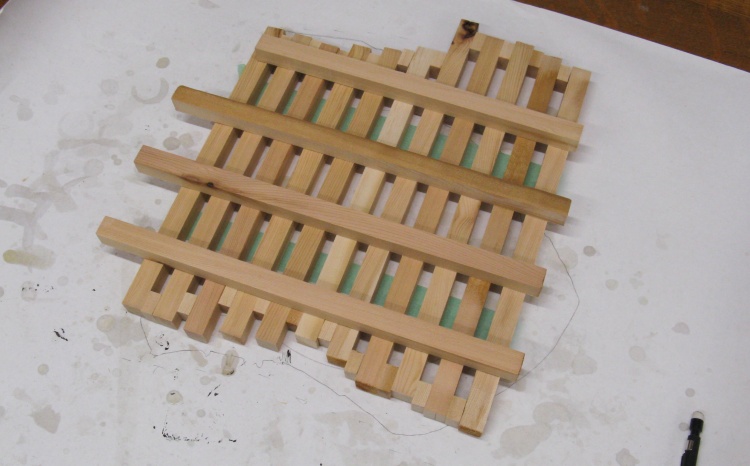
I needed to come up with a suitable arrangement for the slats constrained by the quantity and lengths. These are a few of the ones I tried out. Ultimately I used the rightmost parallel arrangement.
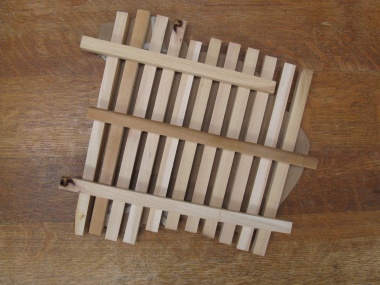
Hmmm...
Hmmm...
...or Hmmm
I went with "Hmmm"
I arranged the shelf upside-down to enable assembly and taped the slats and spacers together to hold things in place.

Drilling pilot holes for screws
I used short brass screws to hold the shelf together. In this shot I'm drilling pilot holes for the screws to prevent splitting of the slats. I subsequently drilled clearance holes and countersinks for each screw.
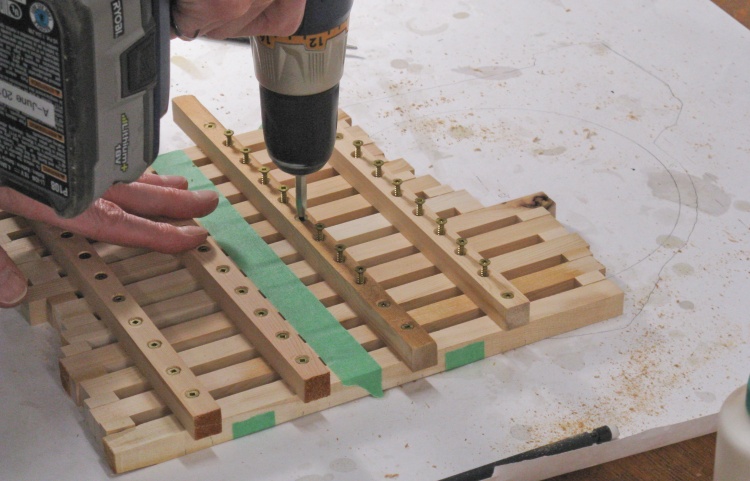
Assembling the shelf
And then the screws were installed.
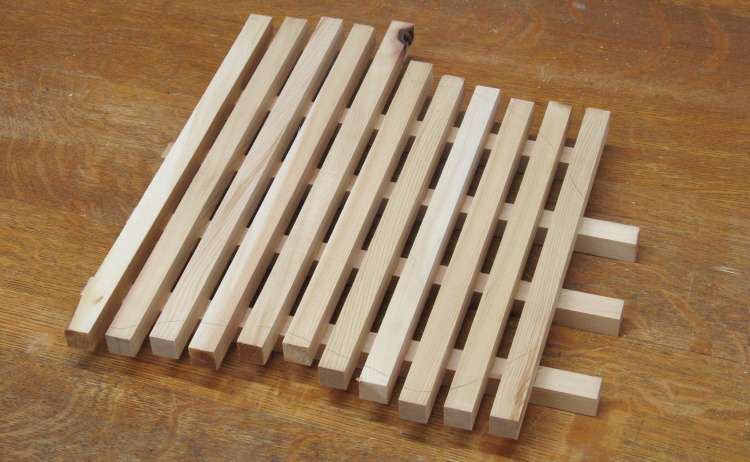
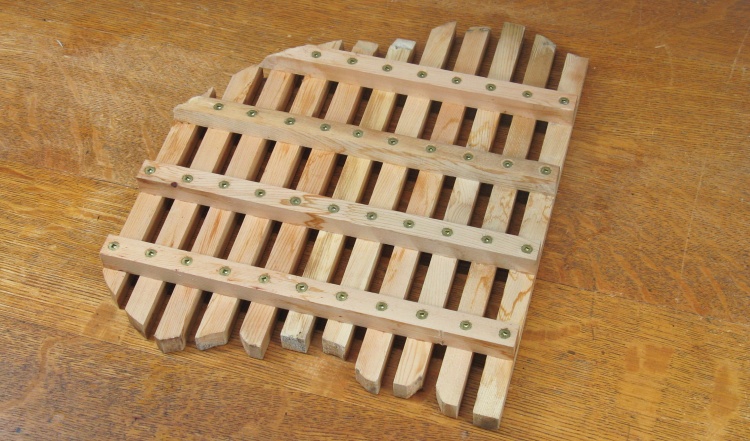
Completed shelf before trimming
This shows the completed shelf. All the slats have extra length and will need to be individually trimmed "on-site" at the tree.
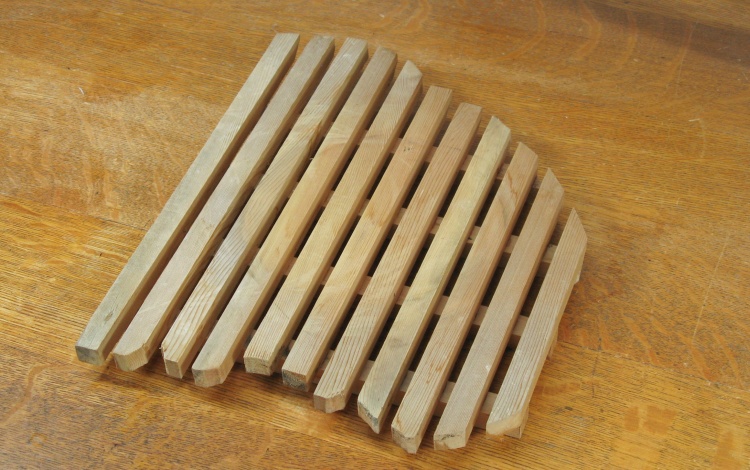
Trimmed shelf
After the slat lengths were trimmed to rest against the tree bark, this was the final shape.
It's looking a bit weathered since it was in service for around 4 months before this photo was taken.
It's looking a bit weathered since it was in service for around 4 months before this photo was taken.
Bottom of shelf
The bottom view.
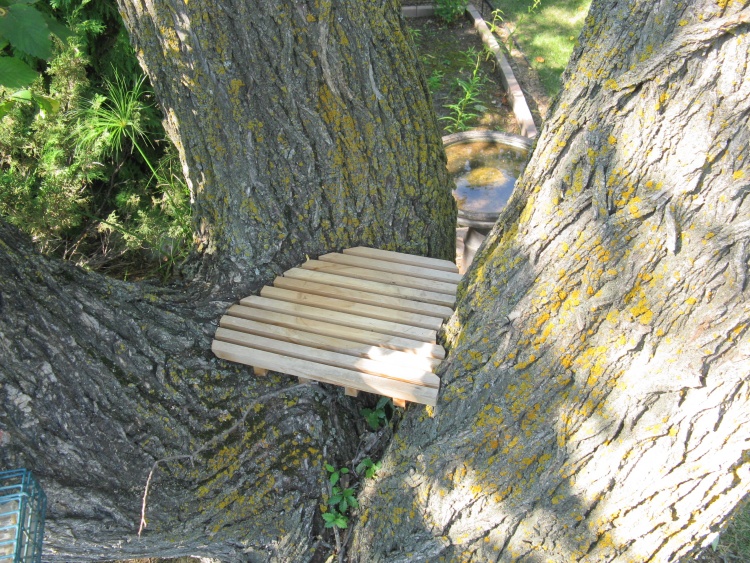
The shelf in place
Here the shelf is in place in the tree.
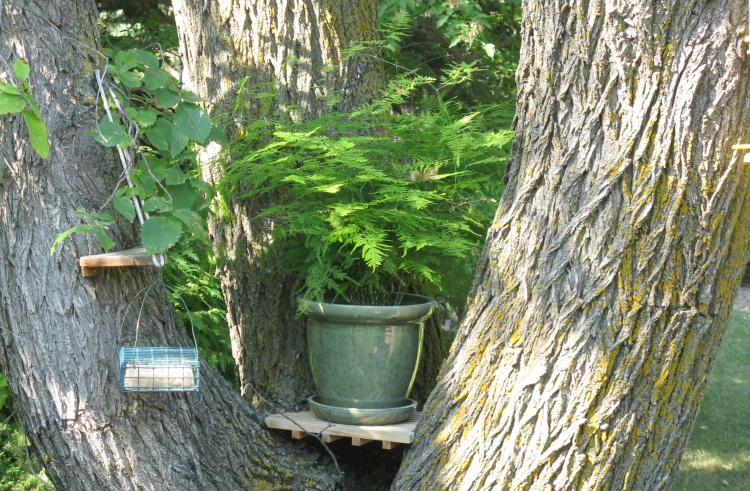
...and loaded up with Asparagus fern
...and supporting the fern pot.


