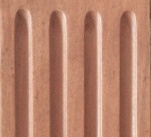
I did my usual thing when making a common item and looked though images of different versions for inspiration or shameless copying. This four-legged design showed up a few times and I liked the simplicity and I suppose "modern" look. So then it was just a matter of choosing a wood (hmmm...Cherry), banging out a quick drawing and then getting to work.
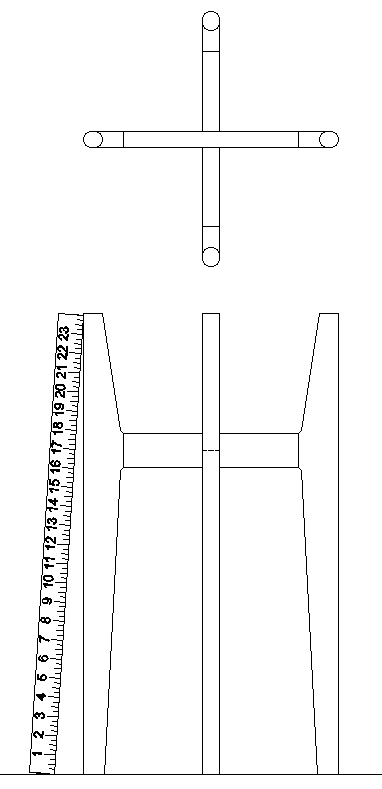
Quickly banged-out drawing
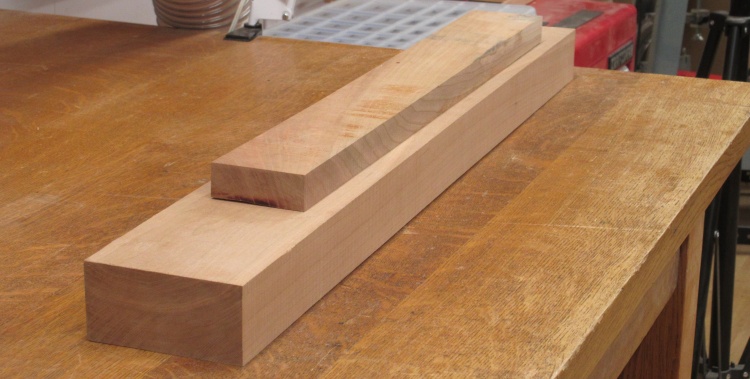
A couple planks of Cherry ready to go
Fortunately I had enough Cherry in the shop for this simple stand.
Then it was the standard cut-to-size, flatten and plane-to-thickness operations.
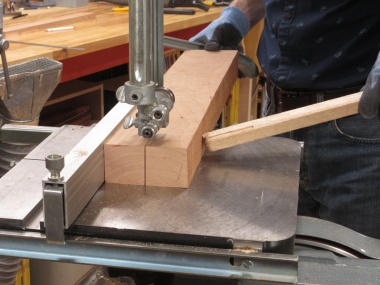
Cutting up leg piece
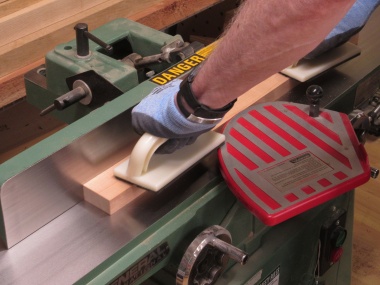
Straightening a face
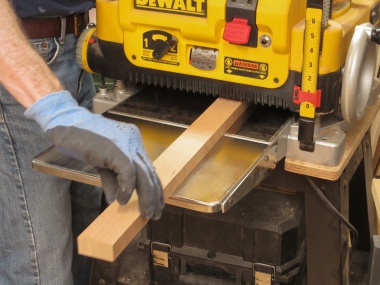
Planing to the right thickness
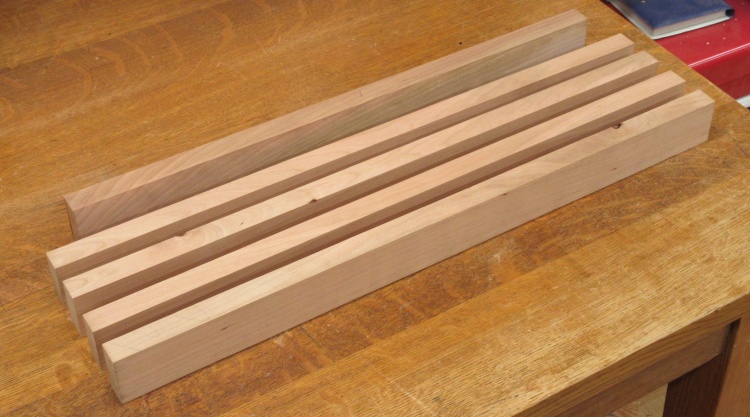
Blanks for legs & crosspiece prepped
That's the four legs and a section for the two cross pieces ready for shaping.
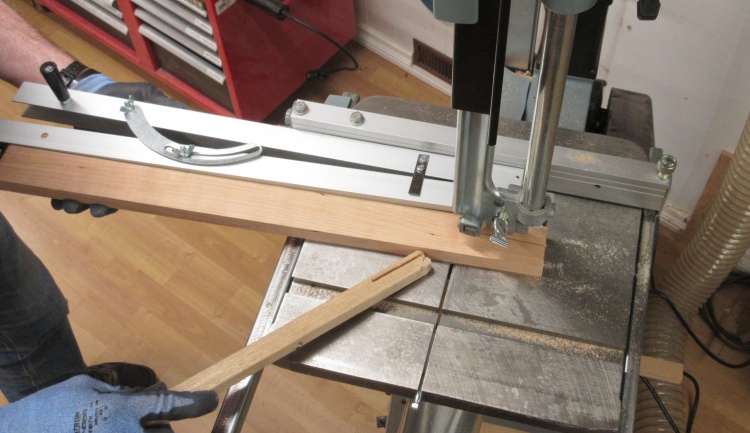
Cutting a leg to shape
The legs were marked using just pencil and ruler to outline the simple tapered shape and then cut on the band saw using an angle guide.
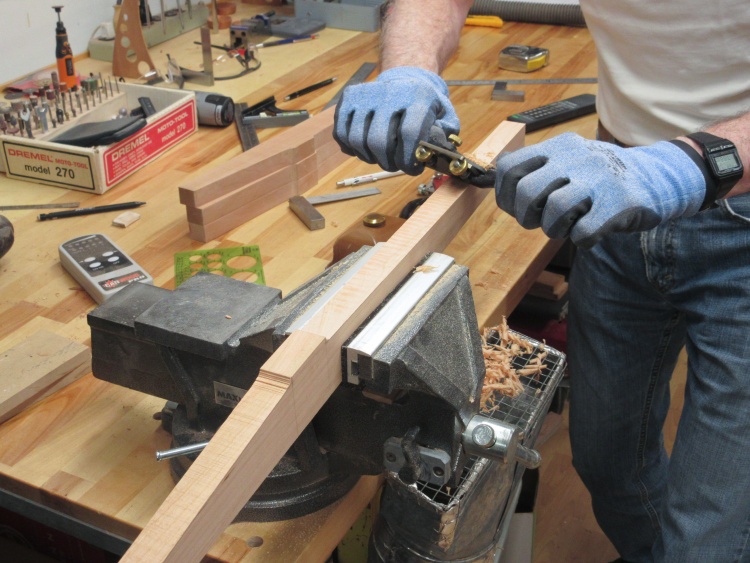
Cleaning up the cut edge
The saw-cut edges were smoothed using a spokeshave followed by sanding.
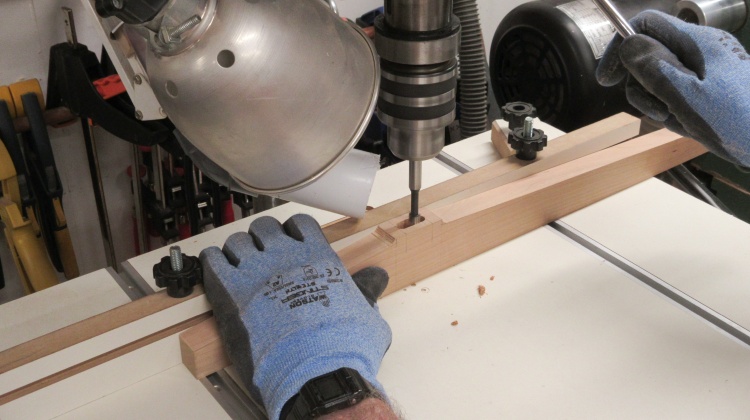
Drilling a mortise
The cross-pieces would connect to the legs with a mortise and tenon joint. Here one of the legs is getting a mortise formed using the drill press.
The edges of the mortise slot were trimmed flat with a chisel after the drilling operation.
The edges of the mortise slot were trimmed flat with a chisel after the drilling operation.
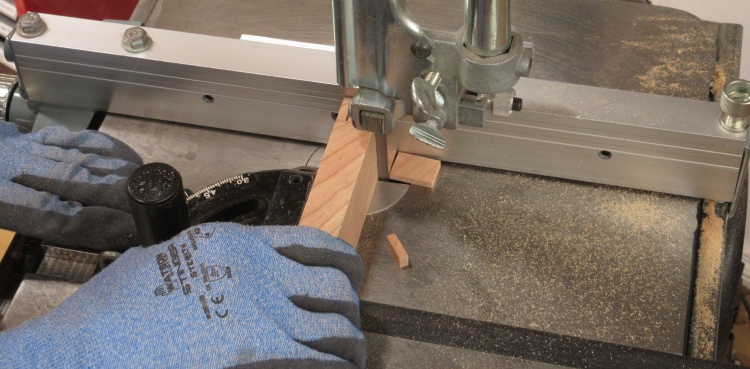
Cutting the crosspiece tenon
And then it was back to the band saw to cut tenons out of the ends of the cross-pieces.
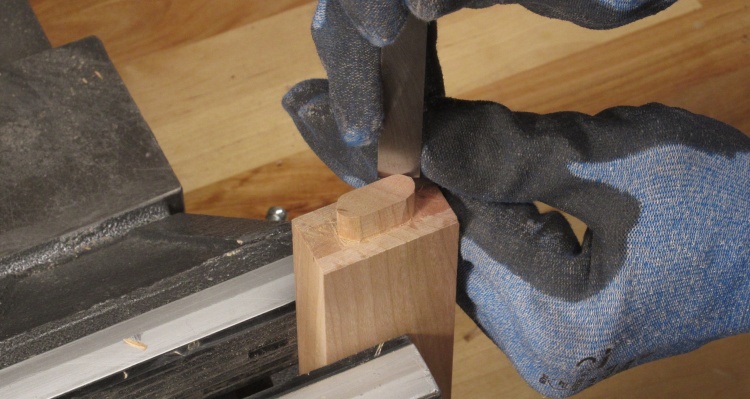
Rounding off the tenon
The sawing operation of course formed rectangular tenons so they were trimmed to have round ends to fit into the round-ended mortises.
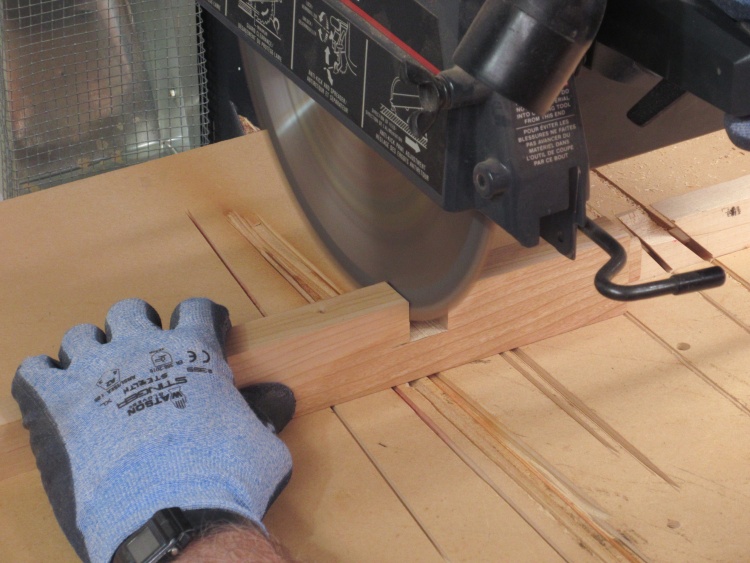
Cutting the crosspiece crossing area
The cross-pieces also received their half-way-through cutouts where the two pieces would overlap.
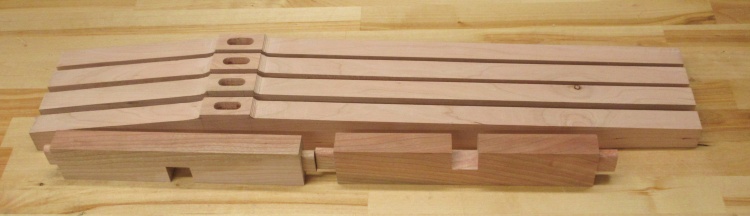
The six pieces ready for assembly
Here's the entire plant stand kit ready for assembly.
I planned to have rounded corners on all the pieces but that was left as a post-assembly operation.
I planned to have rounded corners on all the pieces but that was left as a post-assembly operation.
Aside

I'll buy the flying one

Where's the future?
Remember the future? The one we were going to have not so many years ago? It looked a lot like this:
I'll buy the flying one
Well the future is now. Look out your windshield - see any flying cars? Nope - you see this:
Where's the future?
It's the trucky dystopia :-(.
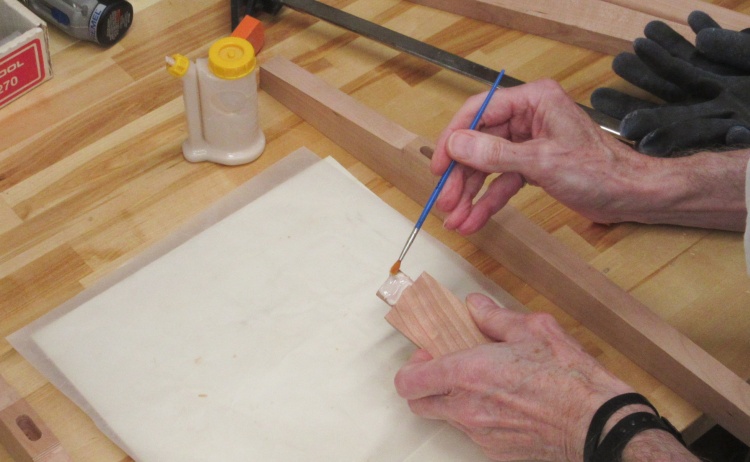
Slathering glue on a crosspiece tenon
OK, back to the plant stand and time to start the assembly.
To minimize glue squeeze-out in the joints, I mostly glued the tenons rather than the flat mating faces.
To minimize glue squeeze-out in the joints, I mostly glued the tenons rather than the flat mating faces.
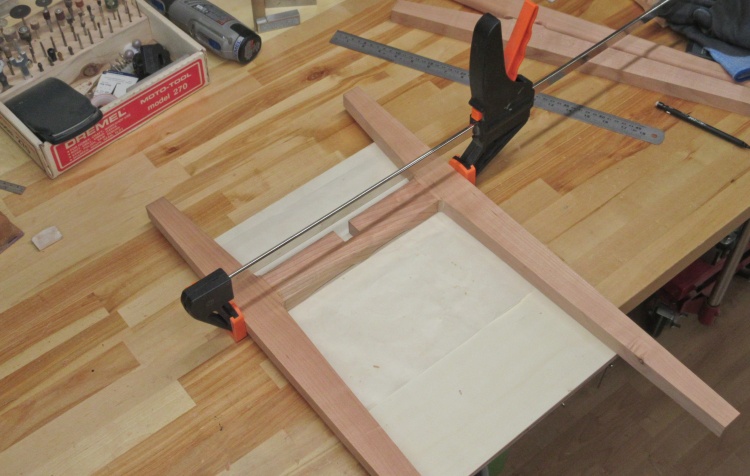
Half of the stand glued and clamped
That's the first half glued together and clamped.
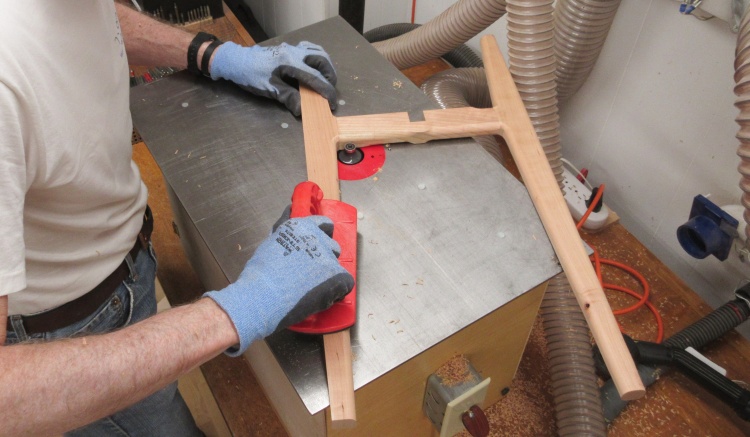
Rounding off the corners on the router table
Once the frame-half was together, I used the router with a roundover bit to radius all the corners.
Of course the corners and edges all needed to be cleaned up by sanding, so I proceeded to do that, finishing with 320 grit paper.
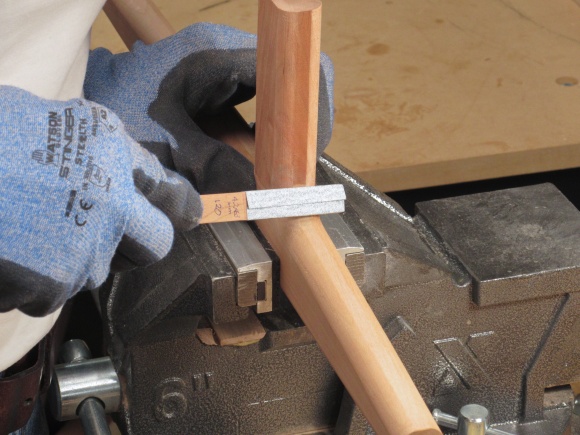
A bit of work on the inside corner
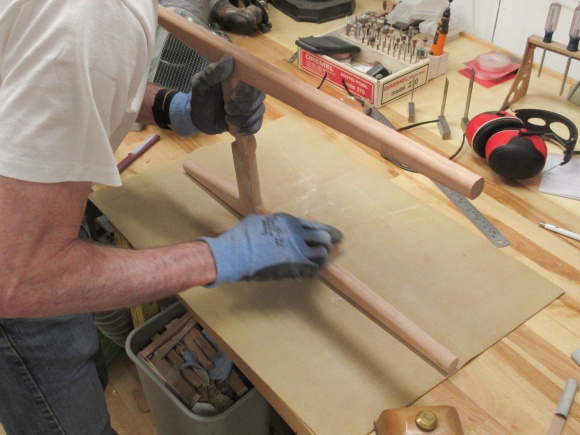
...and the straightaways
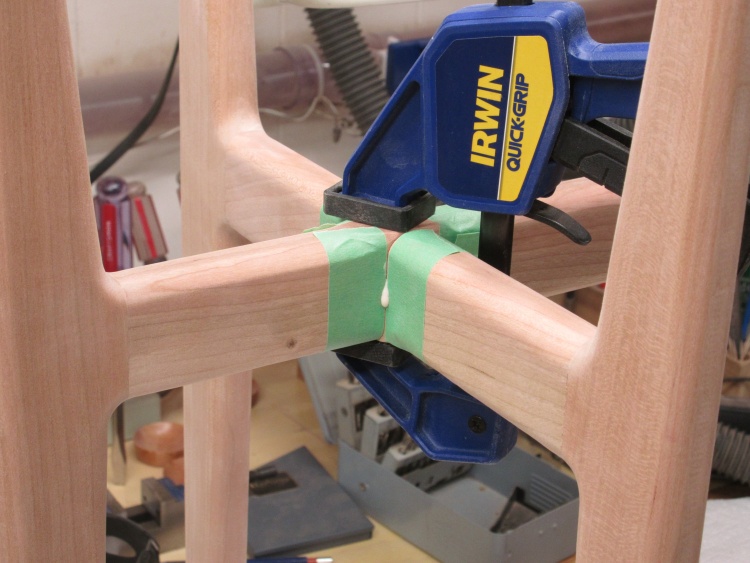
The two halves glued together
After both halves were rounded, they were glued together at the center joint.
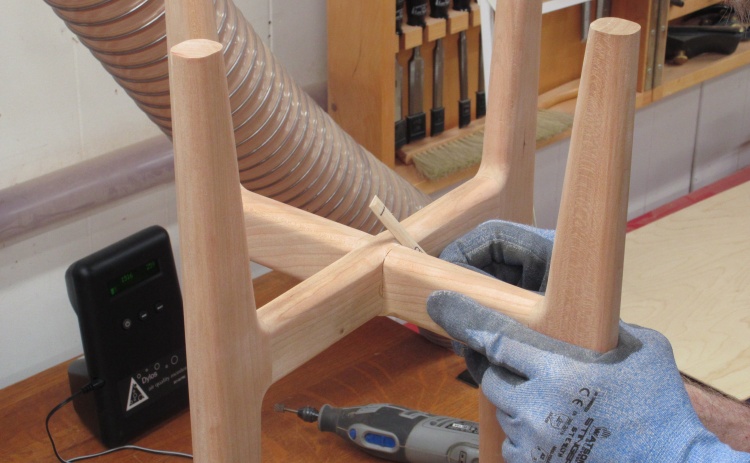
Cleaning up that center joint
That middle joint needed a bit of shaping where the two cross-pieces actually crossed and some sanding sticks and a file took care of that.
I wasn't too crazy about the square-edged top of the legs so I decided to round them off;
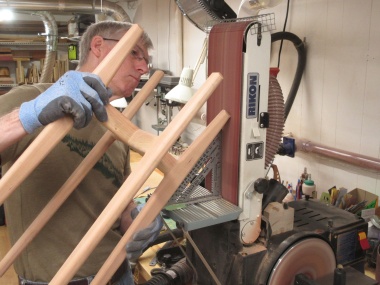
Start with some sanded bevels
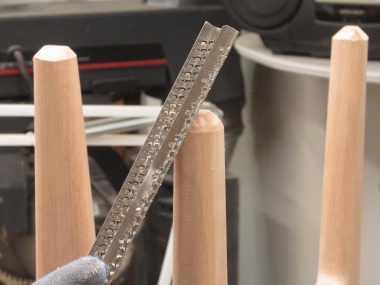
Cutting the next level of bevels
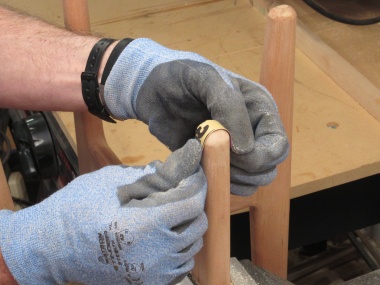
Sanding to roundness
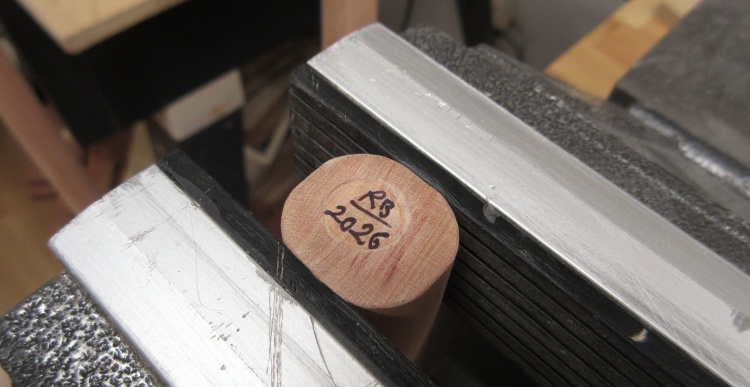
One of the leg bottoms gets initialled
The last bit of woodworking was adding the date to the bottom of one of the legs.
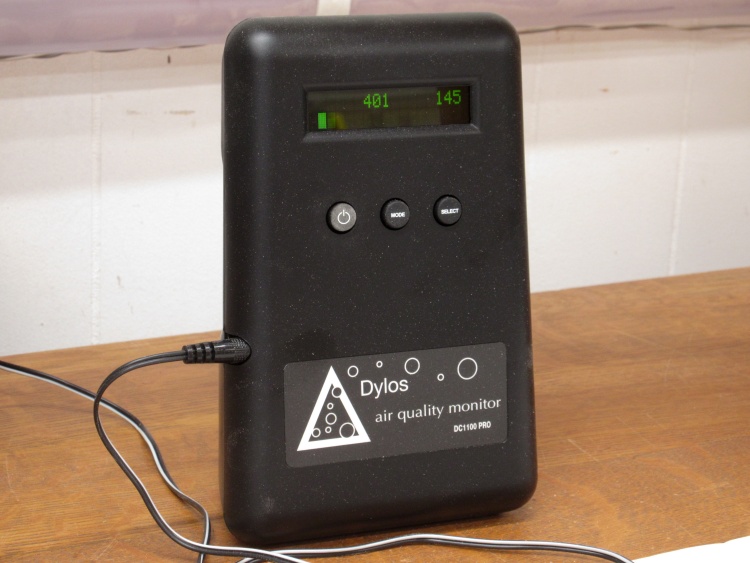
Pre-finishing air particle count
A while ago I got an air quality monitor for use in the shop. It displays particle counts for small (0.5-2.5 micron) on the left and large (above 2.5 micron) on the right. These counts are per 0.01 cu ft so multiplying the displayed values by 100 will give particle counts per cubic foot.
These are actually pretty decent numbers for the shop (whose observed range is 250 to 3000 for the small particle range). Unfortunately even the lowest count I've seen only rates "Fair" and 3000 is well into "Very Poor". Cough.
These are actually pretty decent numbers for the shop (whose observed range is 250 to 3000 for the small particle range). Unfortunately even the lowest count I've seen only rates "Fair" and 3000 is well into "Very Poor". Cough.
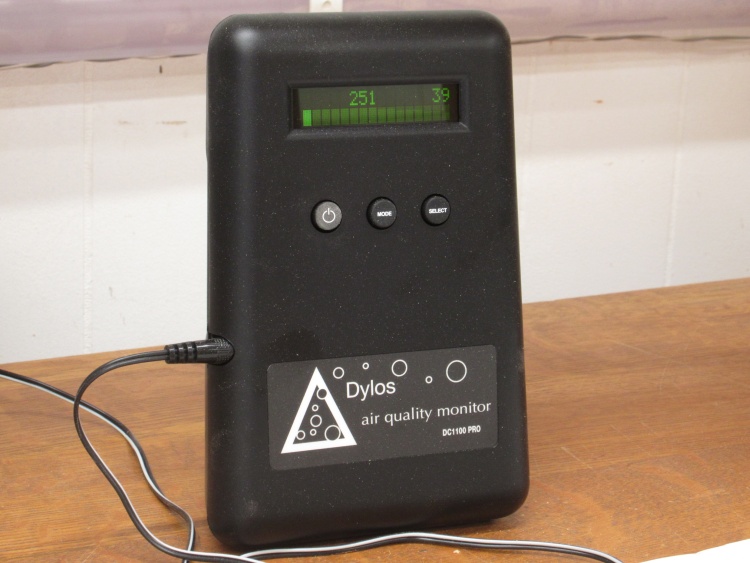
Air a bit cleaner after some filtering
I thought before starting the finishing I would run the air cleaner for a while and after an hour or so the counts dropped a fair amount (but didn't go any lower than this). I have my doubts that this will have any noticeable effect on the finish quality but it can't hurt.
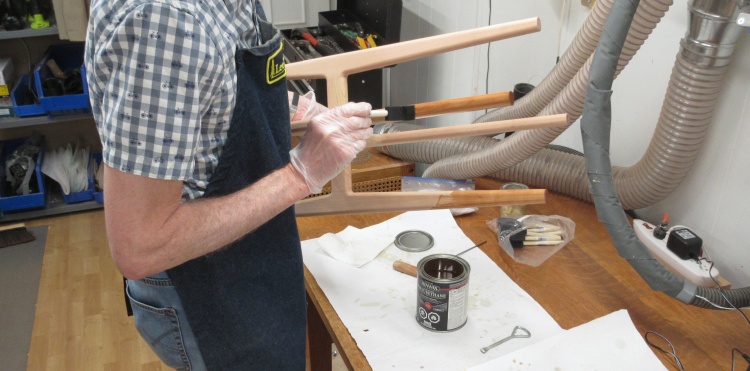
Starting with the varnishing
Out came a can of Minwax Fast-Dry Polyurethane. The first coat I'll usually put on with a foam brush as seen here while the next two coats will use a cloth-coated foam brush which seems to give a smoother surface.
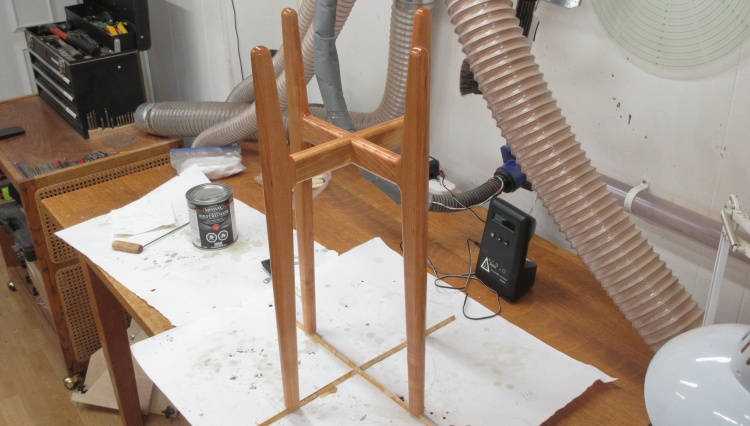
First coat of varnish in place
Let the drying begin!
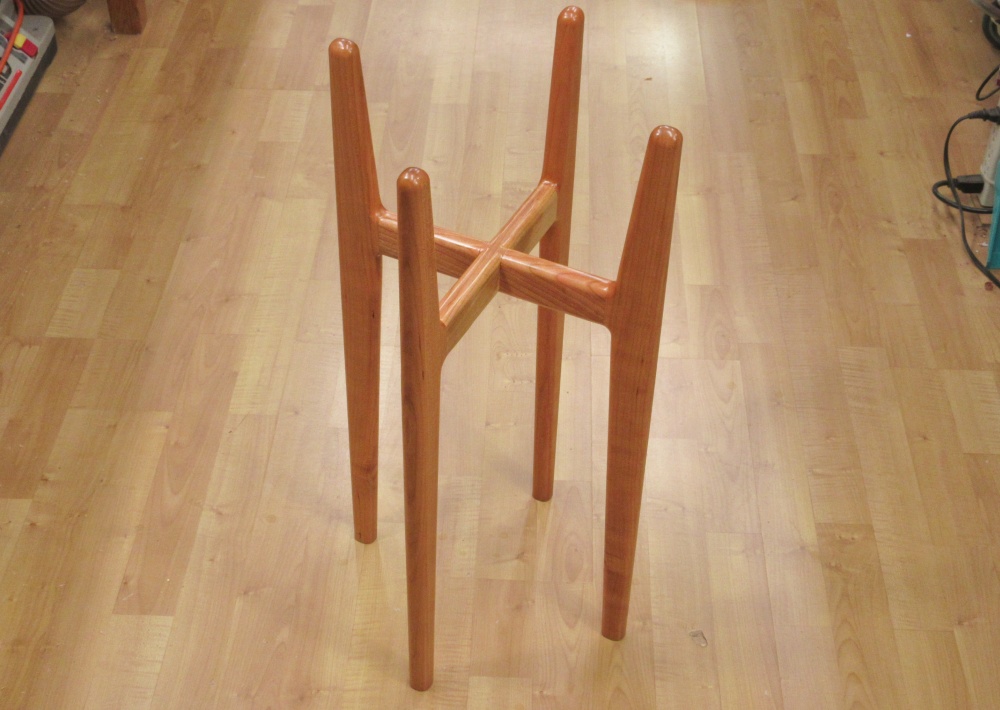
Done