I have to confess that the main impetus for making this plate was as a "filler project" while I finalized details on a rather more involved item. My spouse had been using a saucer for holding a small reusable heating pad to keep it off the of-course-we-keep-it-clean-but-maybe-just-use-a-saucer-in-case-there's-any-soup-splatter-from-lunch microwave oven plate. This is the kind of saucer that you would use put a teacup on, if you were the type of person that used teacups. We're not. But since the teacup-free saucer was sitting out most of the time, I thought something more decorative might be in order. Sue likes Cherry, I like easy stuff, and voilà; a simple project to work on.
Ya gotta have a plan, man
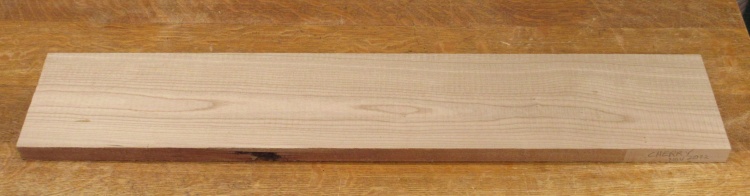
A cherry plank, 5 or 6 plates in length
I had a nice plank of cherry that was about the right width for a small plate. And extra length in case I messed up the first one.
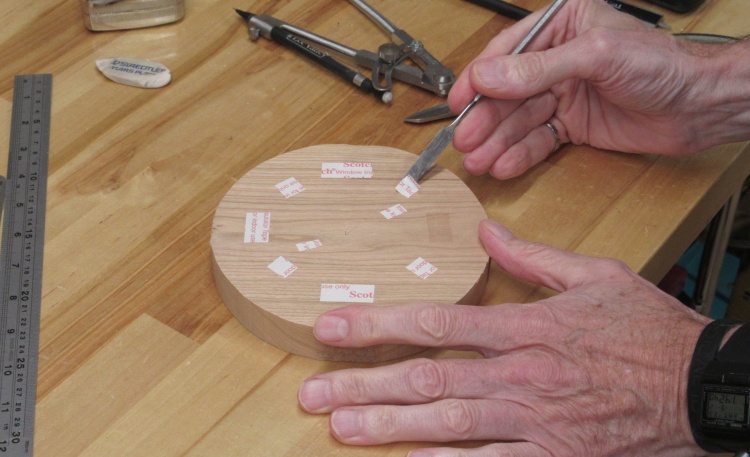
Applying tape to the plate blank
I cut out a circular blank with the bandsaw, flattened one side and applied tape to hold it to a large wooden disc attached to a lathe faceplate.
The tape is very thin which means the two surfaces need to be dead flat to get good adhesion.
The tape is very thin which means the two surfaces need to be dead flat to get good adhesion.
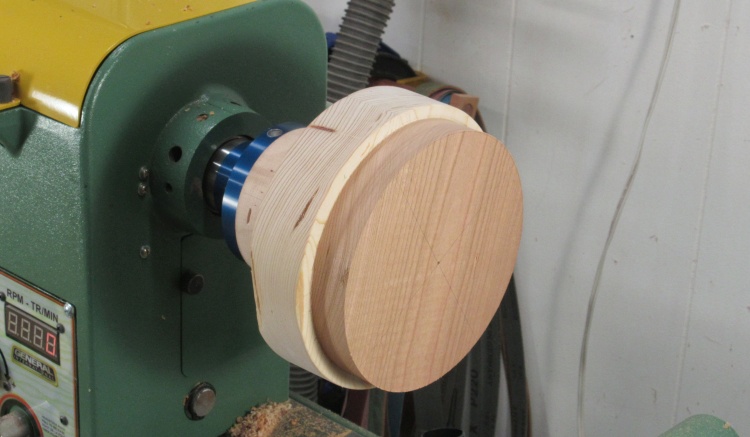
Blank taped to the big wood disc
The blank was centered using the tailstock live center and then pressed to the light-coloured wood disc mounted to the blue faceplate.

Top and edge turned
A few minutes with a bowl gouge and scrapers sufficed to shape the inside. A bit more attention with scrapers also shaped the lip and part of the underside of the plate.
I also sanded the cut surfaces to get things to a finished state before moving on.
I also sanded the cut surfaces to get things to a finished state before moving on.
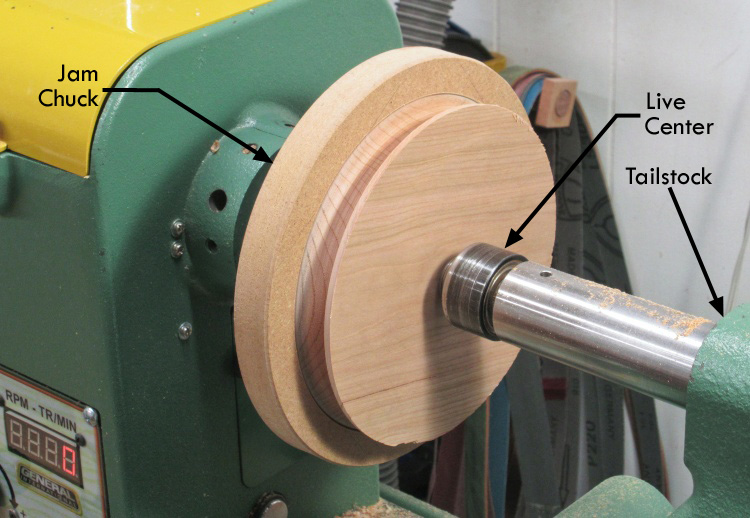
Flipped around into jam chuck
In order to work on the underside, the plate had to be reversed.
First I modified an already-used disc of MDF to make a jam chuck to fit the top edge of the plate, then pried the taped plate off the wood disc, flipped it around and mounted it as seen here with the live center holding it on place.
I also added a spacer under the center of the plate to provide support to counter the force of the tailstock live center pushing the bottom in.

Shavings shot!
Then it was a matter of removing the excess blank thickness and shaping the foot and the rest of the underside.
In this shot the foot is already formed and I'm shaping the edge with a small scraper.
In this shot the foot is already formed and I'm shaping the edge with a small scraper.
The inevitable sanding stage
Of course after all the excitement of creating shavings that shoot around and cover everything in one end of the shop (not excluding me), the wood then has to be sanded.
Here I am using using a strip of sandpaper (held with a "FIRM GRIP") on the underside. I sanded to 320 grit which gave a nice finish.
Here I am using using a strip of sandpaper (held with a "FIRM GRIP") on the underside. I sanded to 320 grit which gave a nice finish.
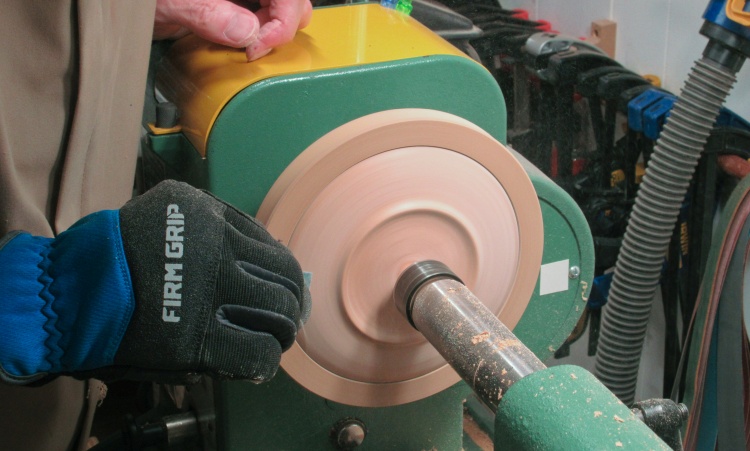
Grinding off the center nub
The little bit of wood in the center that was still contacting the live center was cut short to a nub and then ground off as seen here.
The grinding was followed by the use of a small sanding disc to further smooth the bottom.
The grinding was followed by the use of a small sanding disc to further smooth the bottom.
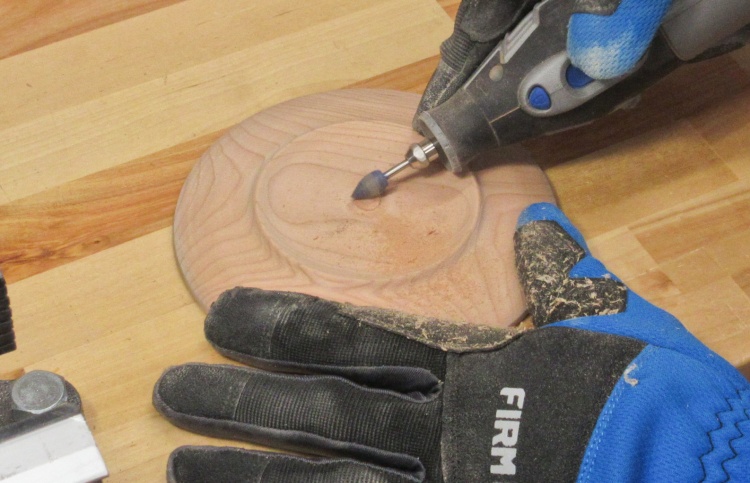
And that's it for the woodworking
The last operation was to add initials to the bottom, and that finished off the plate. The actual woodworking only spanned two days and took maybe 2 or three hours total. Gotta like those easy projects.
Starting in with the varnish
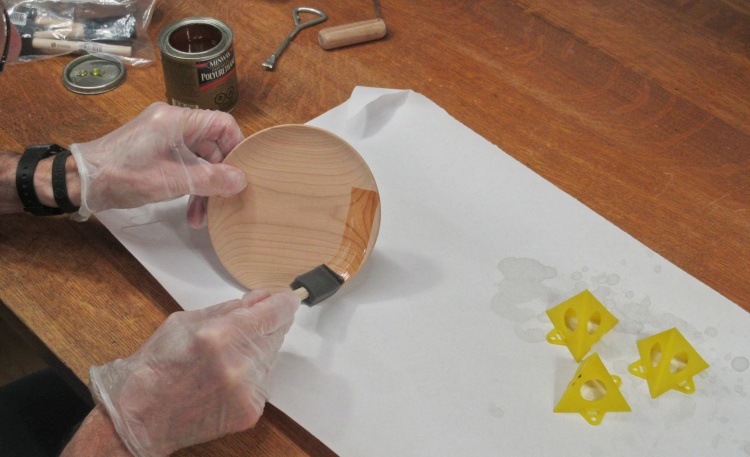
The last step was to add the finish. I took my usual approach of three coats of polyurethane with the first coat starting to go on here.
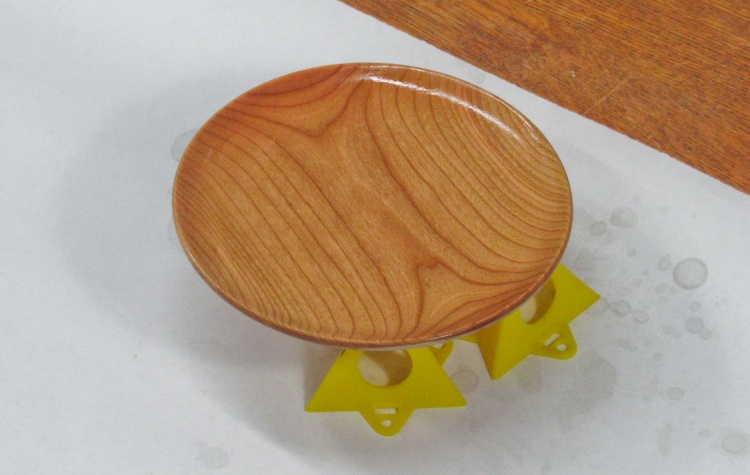
First coat of varnish, still wet
As usual the colour brightened up with the varnish. Once the first coat was dry, I steel-wooled the surface, cleaned it and added a second coat, repeating for a third coat.
I use a cloth-covered brush to apply the final two coats since it results in a smoother finish.
I use a cloth-covered brush to apply the final two coats since it results in a smoother finish.
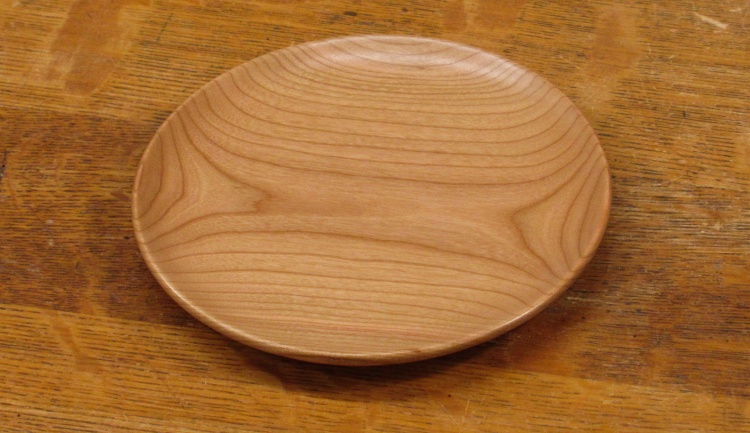
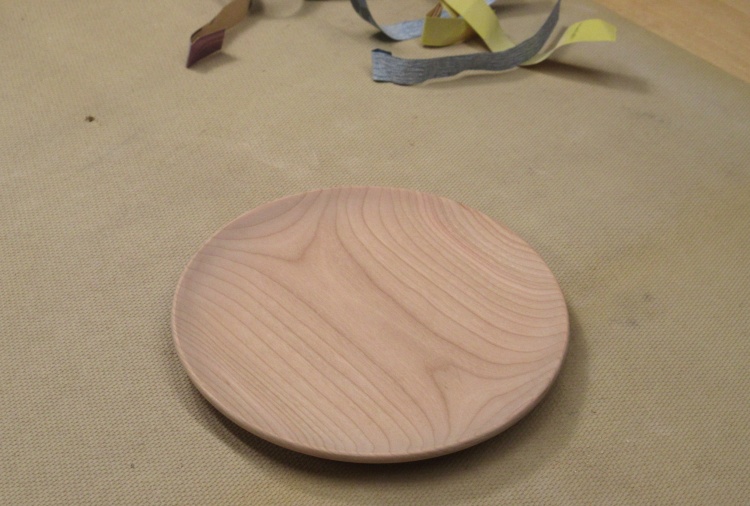
Done
Completed.
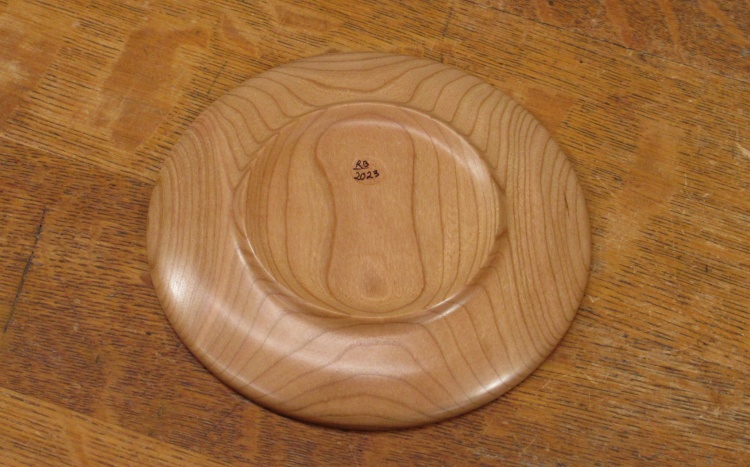
The underside is revealed


