I usually cut the standard-sized sheets of sandpaper into six pieces to fit a Lee Valley sanding block. My normal technique has been to manually mark and cut them, a process that probably takes the better part of a minute. Obviously this is intolerably long.
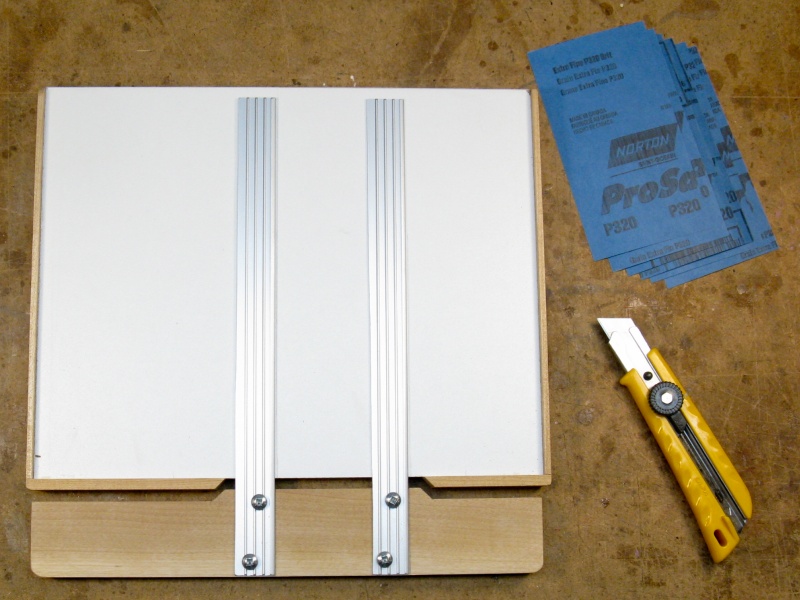
In the most popular DIY sandpaper cutting jig design, you tear the sheets against a hacksaw blade. However, that leaves a jagged edge which I don't like. My solution is to use a knife and ruler to cut them from the backside to leave a nice clean edge. Of course that dulls the knife but this isn't much of a problem since I have a dedicated snap-off knife on my bench for non-critical cutting and I can do a dozen sheets or more before needing to snap off the end and expose a new edge.
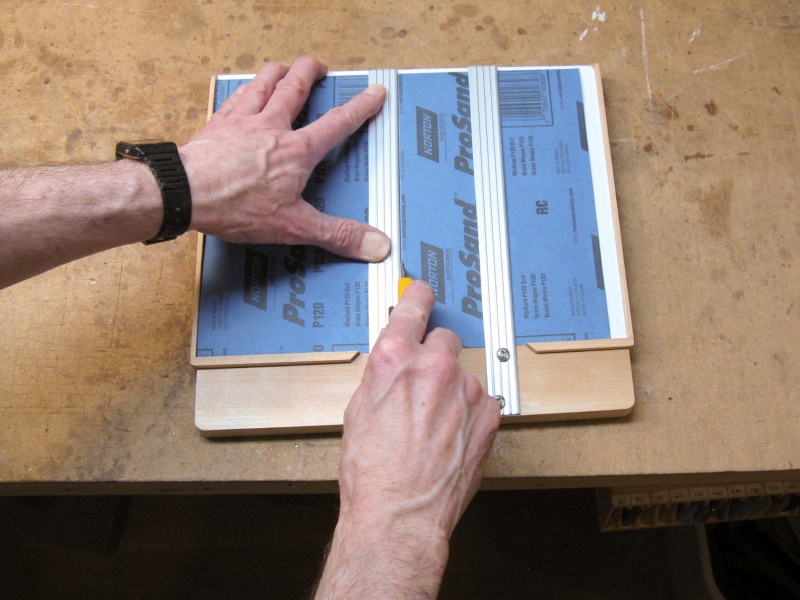
To use my cutting jig, a sheet is aligned to the left corner, the removable side holding two metal straightedges is set in place and a cut is made with a knife along the center straightedge to divide the sheet in half. Then the two sandpaper halves are stacked and aligned with the right corner, and cuts are made on both straightedges to divide that piece equally into three. Cutting time can be well under 30 seconds, freeing up much valuable loafing time.
I used melamine as the base for the jig to give a smooth cutting surface while the glued-on walls form corners against which the paper is positioned. For the straightedges, I just used pieces from an aluminum channel I happened to have stashed in the rafters. The removable side has 45° slopes to mate with the jig edges to ensure proper positioning. This
drawing provides some dimensions.
| Material: | Melamine, Maple, Aluminum |
| Finish: | 1 coat Miniwax Fast-Dry Poly, Clear Satin |
| Size: | 11" deep x 11.75" wide x 1" tall |
| Done: | April 4, 2018 |