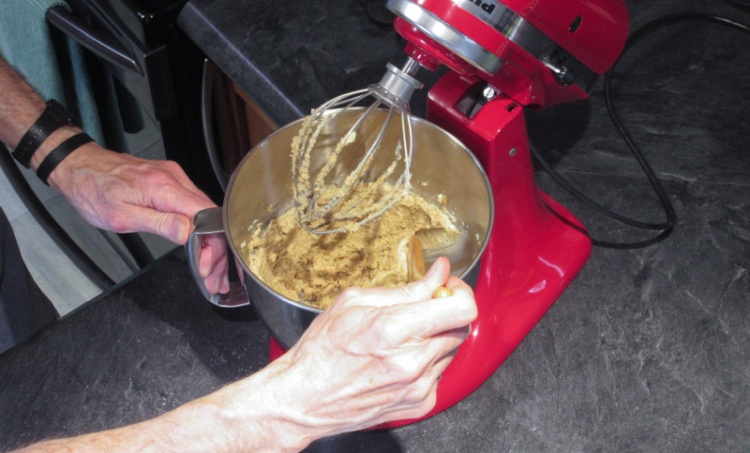
This scraping spoon (and what the heck - I might as well make two) was largely modelled on the spoons I currently use for bowl scraping. I'm specifically talking about the periodic scraping of unmixed ingredients - like when making cookie dough - from the sides of the stand mixer bowl down into the bottom so the wire whip beaters can get to it.
The current choices
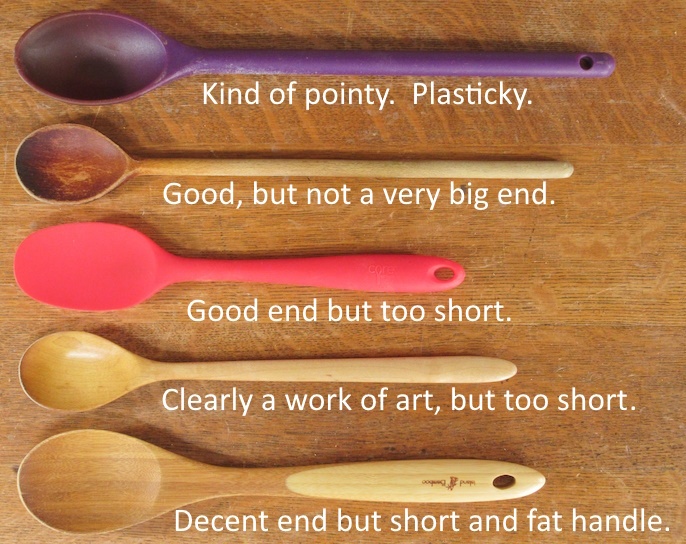
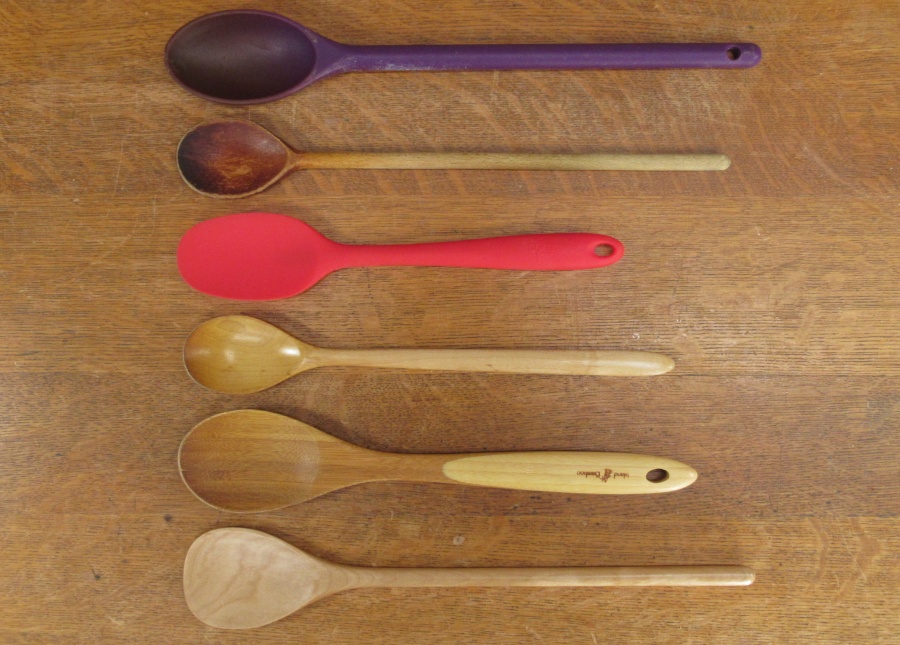
The spoon needs:
- a long handle to allow one to keep hands distant from the sticky beaters,
- a smallish diameter to allow purchase while holding just the handle end,
- a broad end to scrape as much of the bowl as possible and
- an appropriate curve to be a good match to the bowl contour.
Oh, and wood. It needs to be wood, 'cause that's my favourite medium.
This eclectic group is a selection of spoons I have used for the scraping function. They all work to some extent but also have noteworthy flaws that drives the low-on-projects woodworker into the shop.
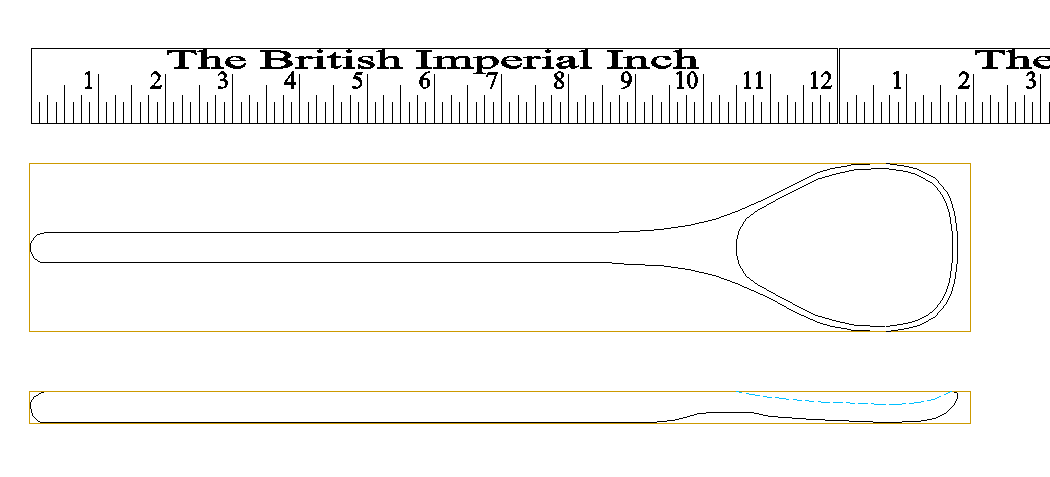
Maybe I should try something like this...
I started with the usual pick-the-wood-and-cut-it-to-size procedure:
Chopping up a piece of Maple

Chopping up a piece of Yellowheart
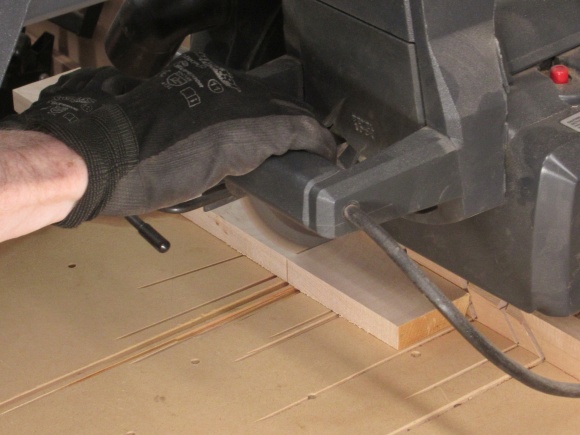
Getting Yellowheart down to size
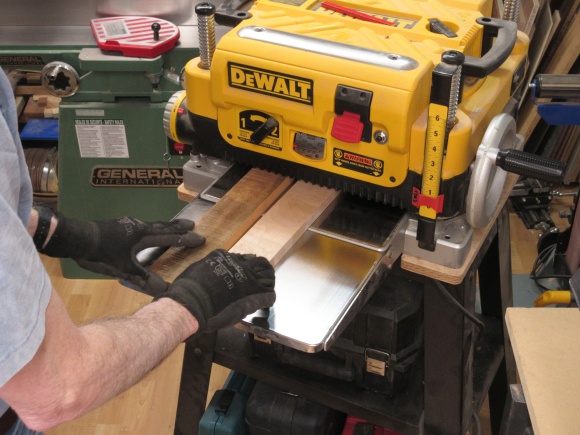
Planing down to thickness

Marking the pattern
I had printed paper plans for the business end of the spoon but didn't bother to print the full extent of the handle. The paper plan was stuck to the wood and the remainder of the straight handle was drawn on in pencil.
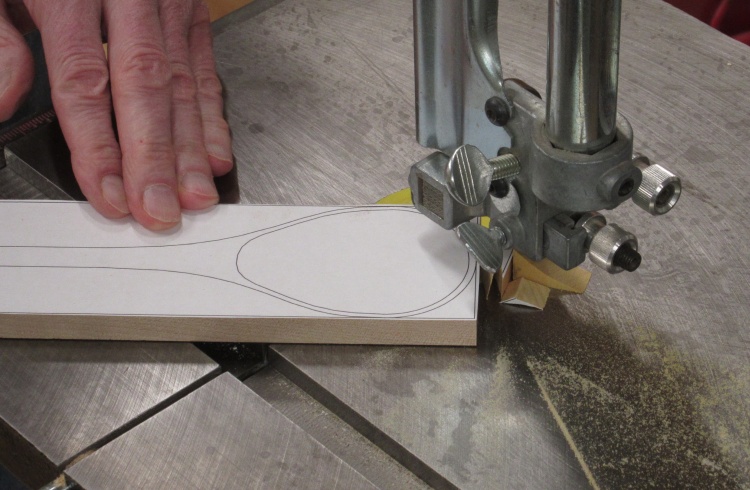
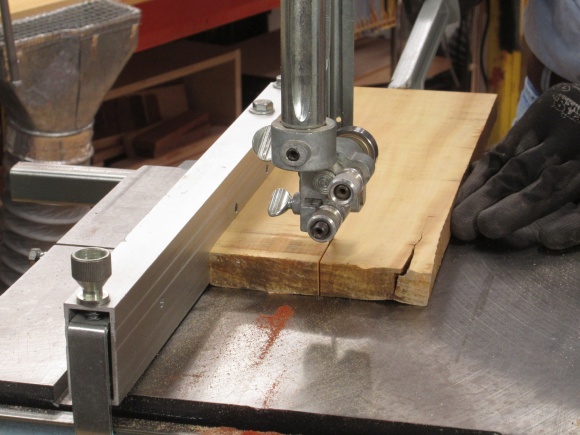
Cutting out the Maple spoon
The spoons were crudely cut out using the band saw (crudely since I was using a wide blade that I didn't bother changing for a couple cuts).
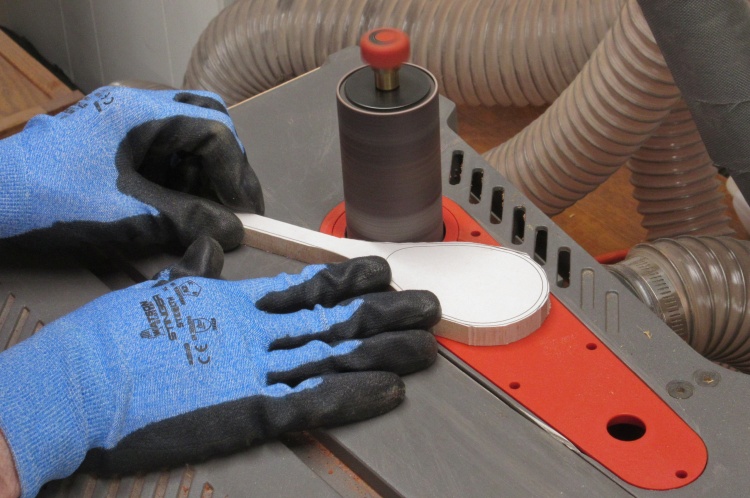
Smoothing the inside curves
The outside of the spoon was sanded down to the marked lines using the belt and spindle sanders.
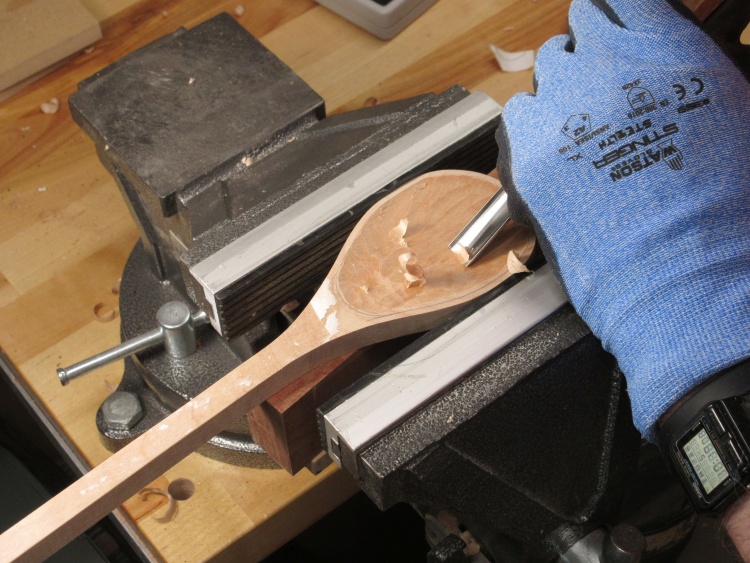
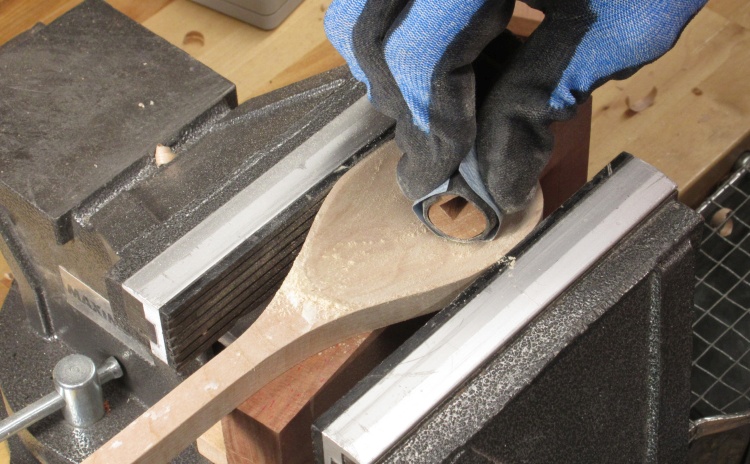
Hollowing the bowl
A curved chisel was used to hollow the bowl of the spoon. As this was more a scraper than a spoon, I kept the bowl fairly shallow - perhaps 5mm.
Sanding the bowl smooth
Chise4l work was followed by sanding with a few grits of sandpaper on a curved form to remove the tool marks and produce a smooth surface.
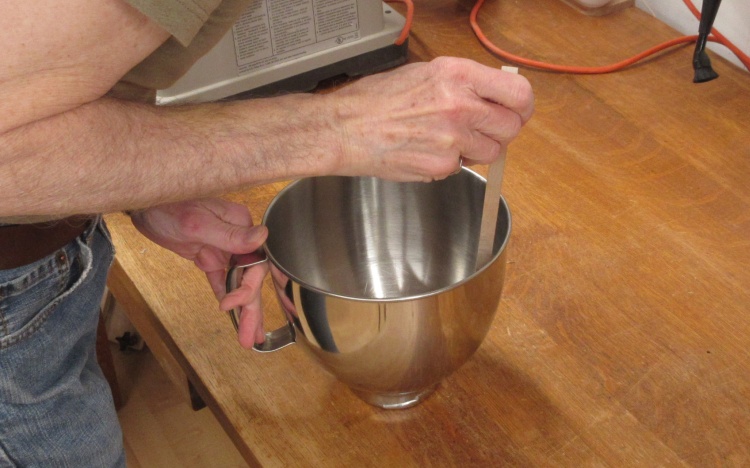
Checking the profile of the end
My first stab at the shape of the spoon turned out to be a bit "sharp" which became evident when checking against the actual mixing bowl. It was going to need a larger-radius curve for a wider contact point.
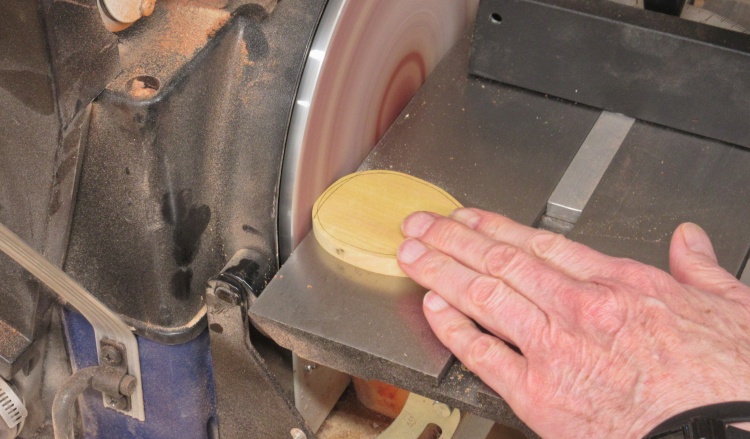
Modifying the profile
The end profile of both spoons was adjusted with the disc sander. Here I'm sanding to that inner line on the Yellowheart spoon.
Rounding off the bowl
With the end fixed, the rest of the spoon needed corners changed into curves.
I cut a bit out of the back to shape the neck area and then sanded down the back of the bowl using the belt sander, followed by hand sanding.
I cut a bit out of the back to shape the neck area and then sanded down the back of the bowl using the belt sander, followed by hand sanding.
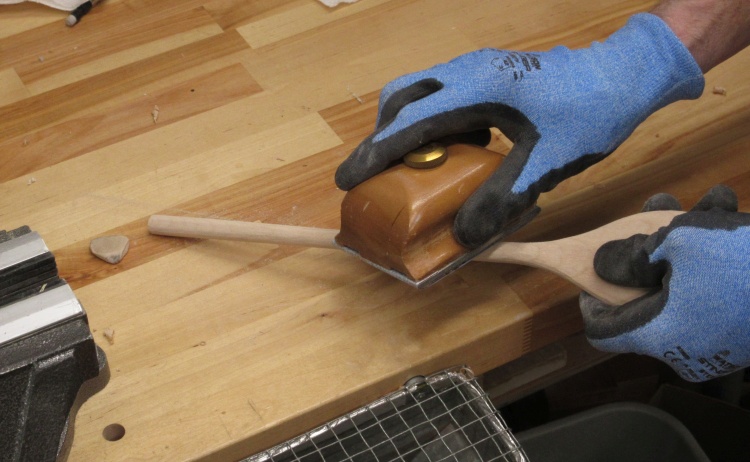
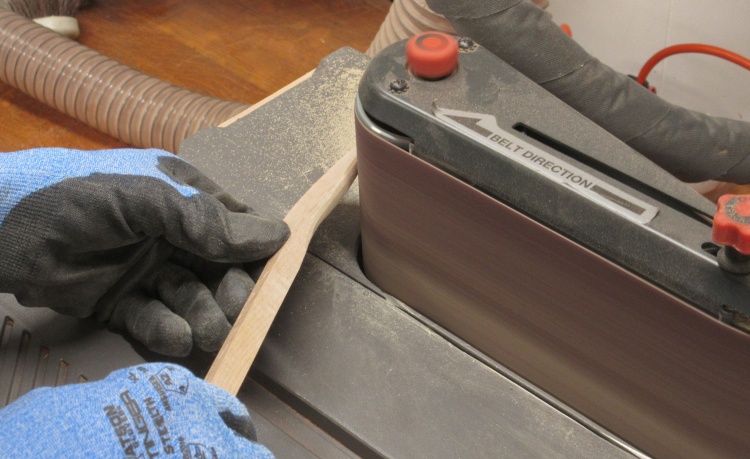
Finishing up handle sanding
The handle was also rounded off with the belt sander and then cleaned up with hand sanding as seen here.
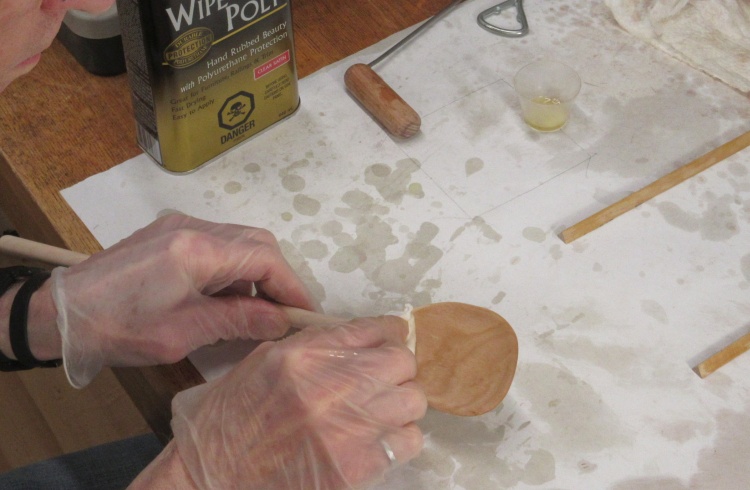
Wiping on the first coat of varnish
Once all the shaping and finish sanding was done, the spoons were ready for finish.
I would use three coats of Wipe-On Poly for the finish and in this shot the first coat is going on to the Maple spoon.
Based on my experience with wooden cooking spoons, the varnish would eventually wear off (inside a year with a regularly-used cooking spoon) but it should last for many years on the more laid-back environment and activities of a scraping spoon.
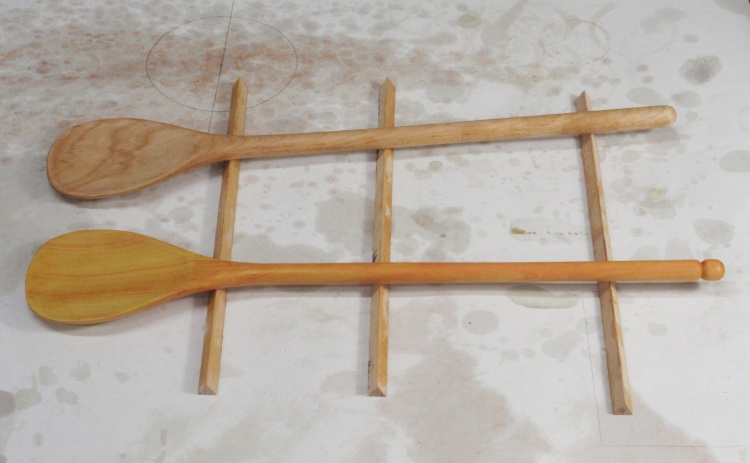
First coat of varnish on
That's the two spoons with the first coat of varnish. It brought out the wood colour nicely.
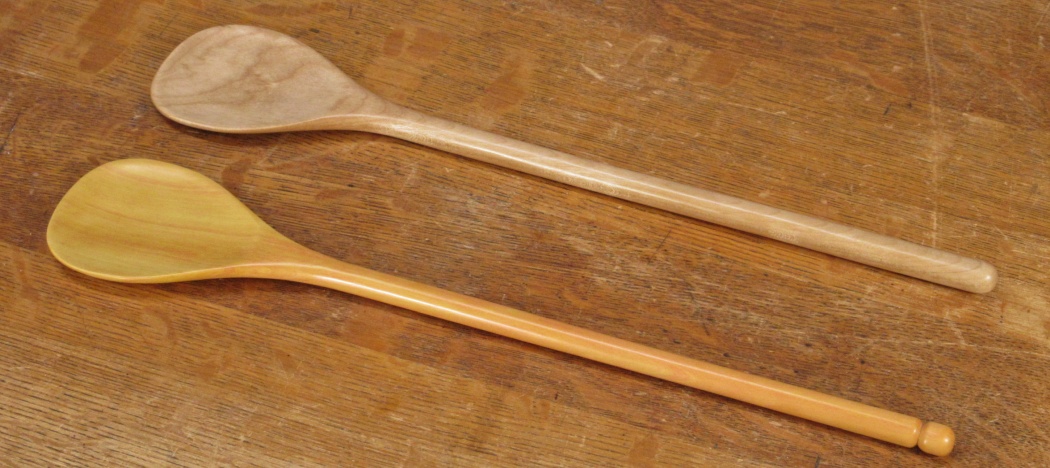
Spoons complete
Done.
Comparison to legacy spoons
For reference, here's the comparison to the legacy spoon group with the new Maple spoon at the bottom.
Let's see:
Long narrow handle? Check.
Wide bowl? Check.
Wood? Check.
Proper end curve? Maybe?
Let's see:
Long narrow handle? Check.
Wide bowl? Check.
Wood? Check.
Proper end curve? Maybe?
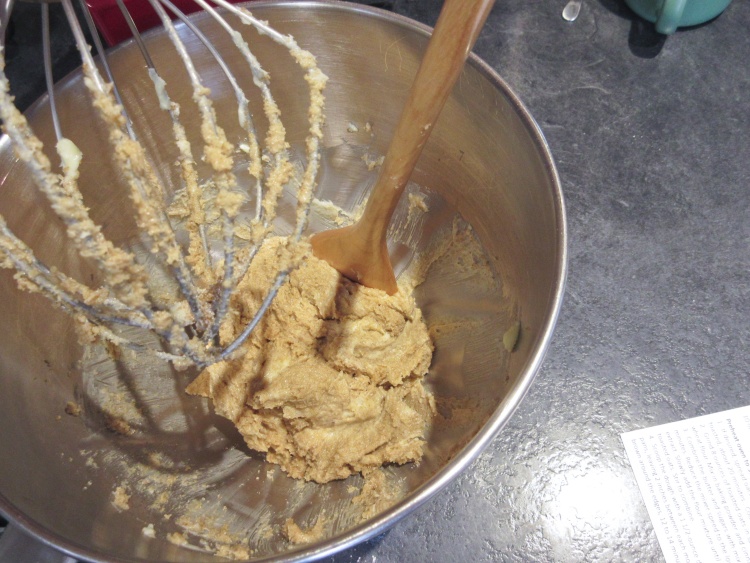
Checking out the scraping action
Of course, good looks aren't everything - I was going to need to see how it worked at its main task of scraping.
I'd had a hankering for some oatmeal cookies recently so whipping up a batch of those would be a test of the spoon.
This is a shot of scraping the bowl after adding the ground-up roasted oatmeal (in lieu of flour in this recipe).
It seemed to work pretty well - nice wide swath, good scraping action, handle long enough so I don't have to touch the mid-handle area where it got sticky from contacting the beaters.
Success declared!
Success.


